Keep a little reminder of door close with this Crochet House Keychain Free Pattern and enjoy a tiny home charm with lovely details.
A big shoutout to the talented @CrochetToysIryna, whose original YouTube tutorial inspired the charming Crochet House Keychain . This delightful creation turns simple yarn into a tiny, beautiful house that's both adorable and practical.
Tiny Home Crochet House Keychain Free Pattern With Cozy Details
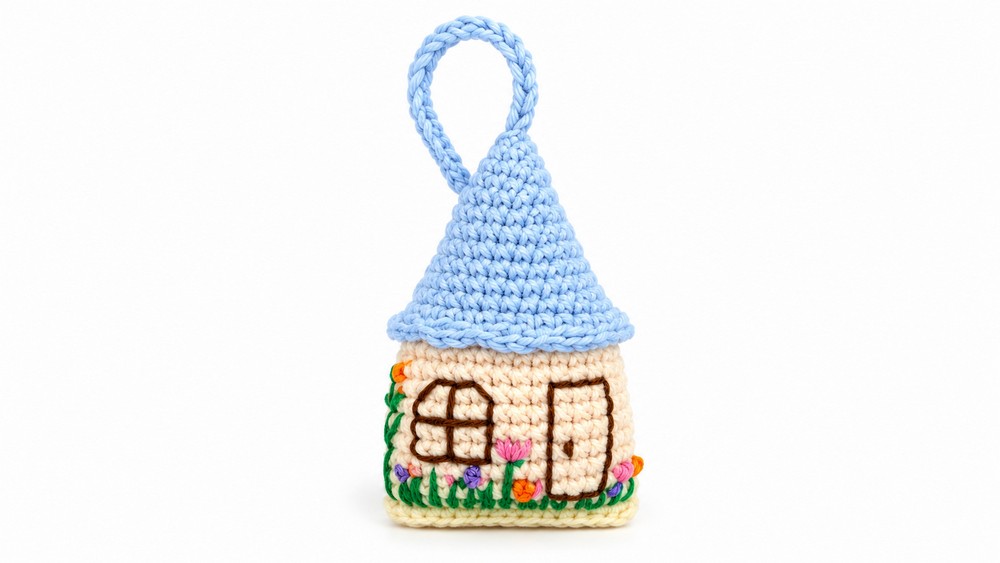
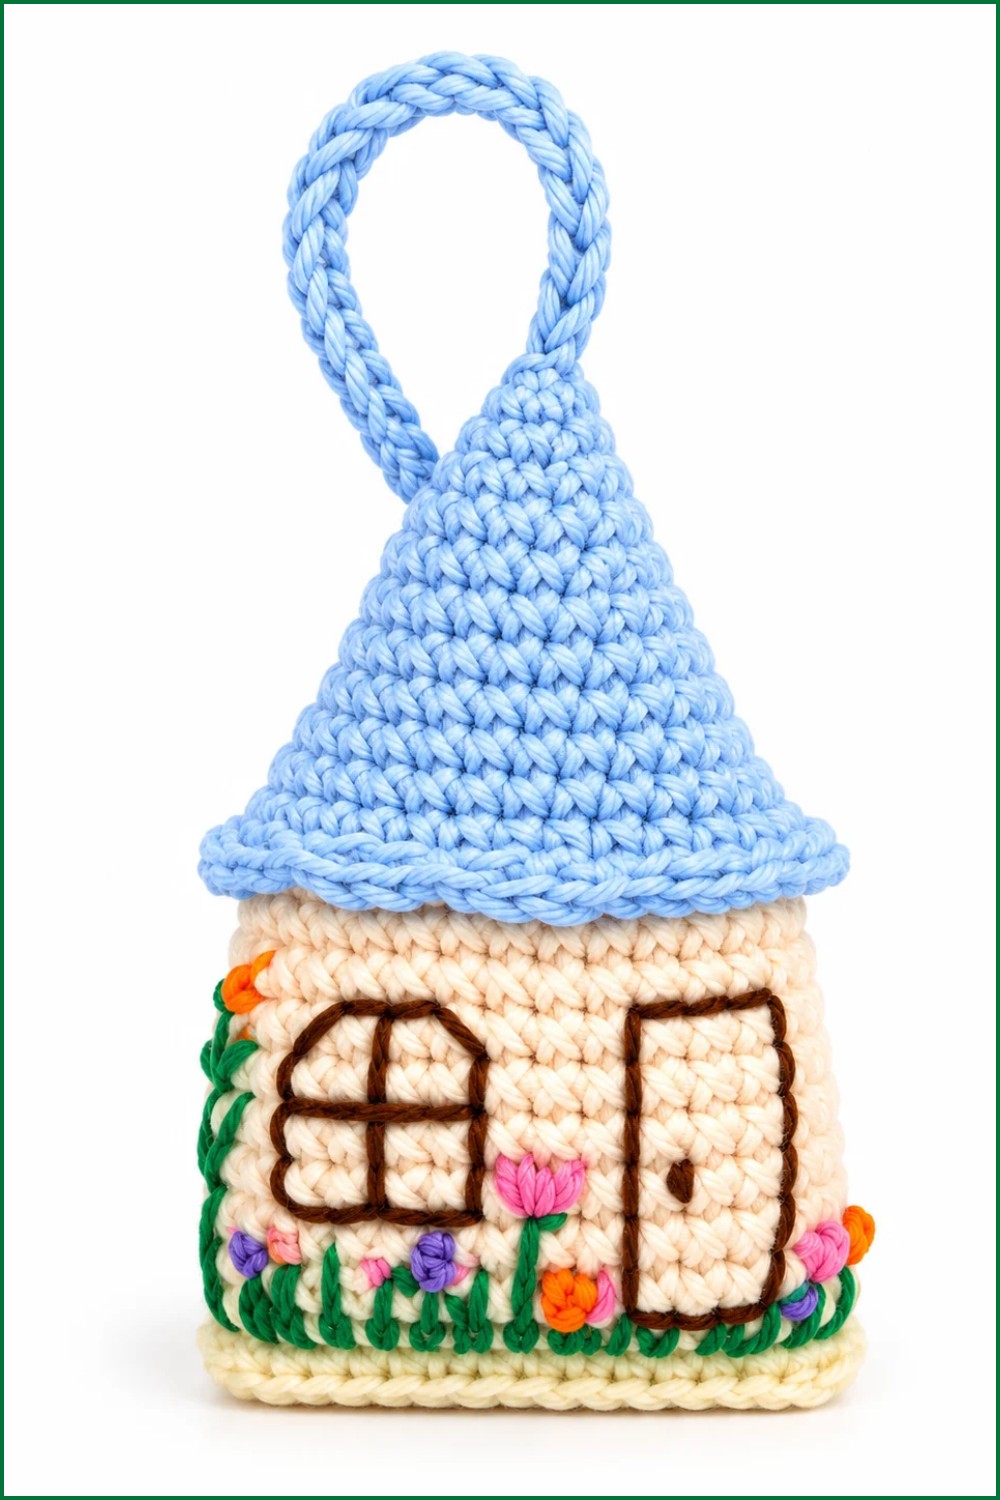
The Crochet House Keychain is a miniature house, perfectly sized to hang on your keys, backpack, or purse. It features a cute roof, cozy windows, and a welcoming door, all crafted in bright, cheerful colors that instantly catch the eye. What makes this project truly special is its combination of simplicity and charming detail, resulting in a sweet little home that feels inviting and full of character.
This keychain is versatile—you can use it as a cute accessory for your everyday items or gift it to someone as a thoughtful handmade keepsake. The pattern is highly customizable: change the colors of the walls, roof, or door to suit your personal style, or add tiny embellishments like buttons and beads to make each house unique.
Making this cozy keychain involves beginner-friendly crochet steps such as forming a magic ring, working single crochet stitches, increasing and decreasing to shape the components, and sewing everything together. It’s a quick and fun project that offers a perfect mix of creativity and practicality.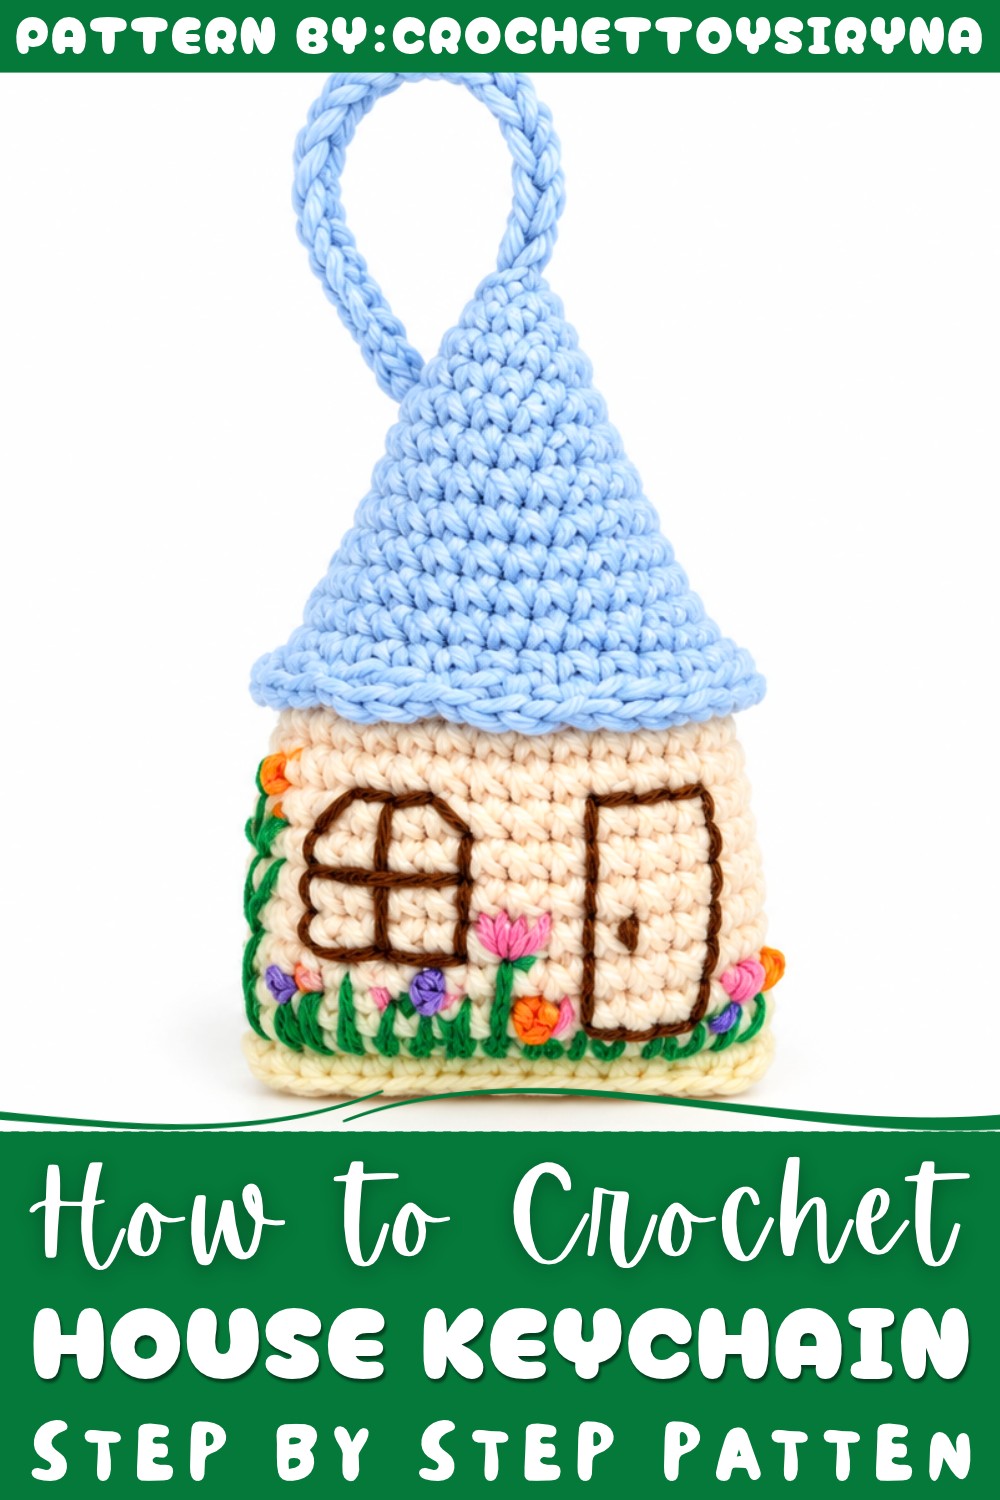
Try your hand at this free pattern and bring a little handmade warmth wherever your keys take you!
About the Pattern
This decorative house crochet pattern results in a charming 9 cm tall piece. With a classic pointed blue roof and lighter house base, the project has notable details, like a scalloped roof edge and delicately embroidered doors and windows. The construction is seamless and compact, making it ideal as a keychain, holiday ornament, or whimsical gift. Every step is guided for precision, inviting crafters to enjoy both the foundation work and finishing touches for an expressive miniature house.
Key Pattern Details
Each section in the house is constructed in precise rounds, focusing first on the roof, followed by the base, and finally on decorative elements. Color transitions are made cleanly using the back loop method, ensuring neat lines between roof and walls. The pattern incorporates 3D techniques by folding and sewing for a firm but plush shape, and the embroidery turns it into a vivid, storytelling piece.
Important Notes
- The pattern is worked in continuous rounds (spirals) unless otherwise stated.
- Use a stitch marker at the start of rounds for accuracy.
- Color changes are performed without fastening off the previous yarn, streamlining the process.
- Maintain a consistent tension throughout for even stitches.
- Stuff the house as you close, not before, to maintain its shape and fullness.
Difficulty Level
This project is approachable for advanced beginners and intermediate crocheters who are comfortable with basic stitches, seamless joinings, and simple embroidery. Familiarity with amigurumi structure, color changes, and reading round directions will help.
Supplies Needed
- Blue or dark-colored yarn (roof)
- Light-colored yarn (house body)
- Small amount of brown embroidery thread (door, window details)
- Crochet hook (size appropriate for yarn weight, e.g., 2 mm-2.5 mm for fine amigurumi cotton)
- Tapestry needle or yarn needle for sewing and embroidery
- Fiberfill stuffing
- Scissors
- Stitch marker (for rounds, optional)
Size & Measurements
- Finished house height: approximately 9 cm.
- Adjusting hook or yarn size will affect the final dimensions.
- Gauge is not crucial, but tight amigurumi stitches are preferred for firmness.
Gauge & Stitch Details
- Tight, even single crochet stitches are key to maintaining the house’s shape.
- Aim for standard amigurumi tension: stitches close enough so stuffing does not peek out.
Crochet Abbreviations
- SC: Single Crochet
- mr: Magic Ring
- inc: Increase (2 SC in one stitch)
- sl st: Slip Stitch
- ch: Chain
- BLO: Back Loop Only
Special Stitch Guide
- Magic Ring (mr): Wrap yarn around a finger, then work stitches into ring center for a tight, seamless start.
- Back Loop Only (BLO): Insert hook only into the back loop of each stitch, creating a pronounced ridge to ease color transitions.
- Increase: Make two single crochets in the same stitch to expand round.
- Slip Stitch (sl st): Insert hook, yarn over, pull through both loops to join stitches, often used in decorative edges.
Pattern Instructions
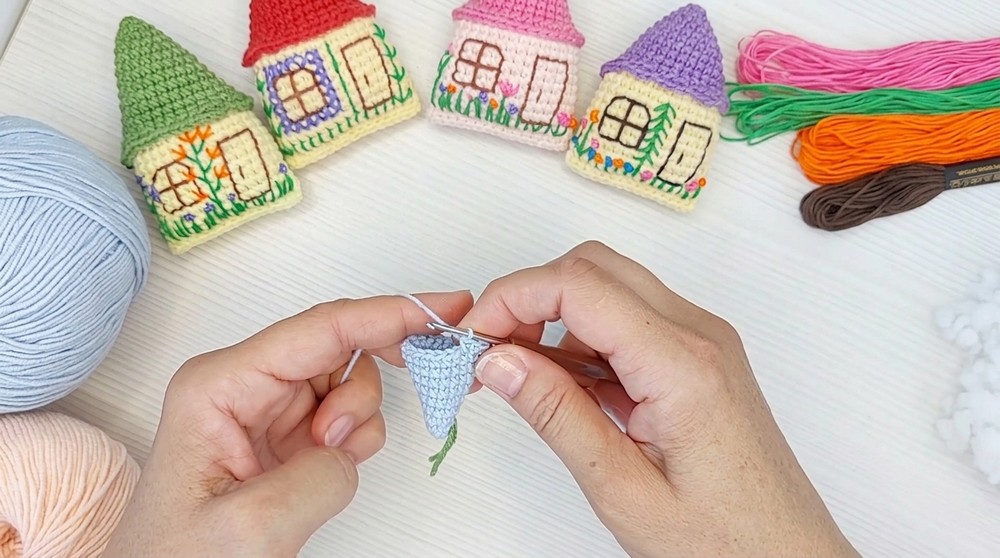
Roof (Blue/Dark Yarn)
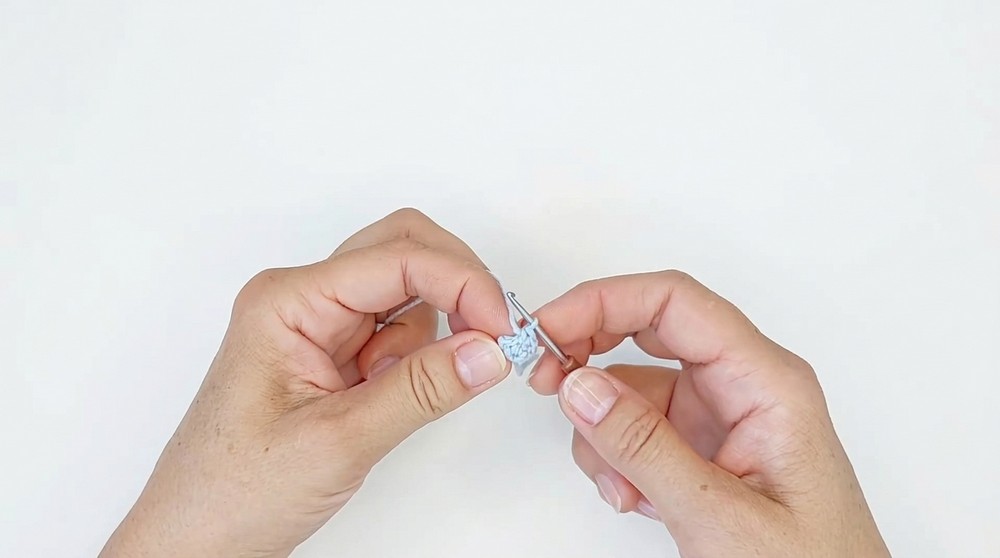
- Magic Ring:
- Create a magic ring (mr), work 6 SC into the ring.
- Round 2:
- 2 SC, inc, repeat from * to * two times (8 SC total).
- Round 3:
- 3 SC, inc, repeat from * to * two times (10 SC total).
- Round 4:
- 4 SC, inc, repeat from * to * two times (12 SC total).
- Round 5:
- 5 SC, inc, repeat from * to * two times (14 SC total).
- Round 6:
- 6 SC, inc, repeat from * to * two times (16 SC total).
- Round 7:
- 7 SC, inc, repeat from * to * two times (18 SC total).
- Round 8:
- 8 SC, inc, repeat from * to * two times (20 SC total).
- Round 9:
- 9 SC, inc, repeat from * to * two times (22 SC total).
- Round 10:
- 10 SC, inc, repeat from * to * two times (24 SC total).
- Round 11:
- 11 SC, inc, repeat from * to * two times (26 SC total).
- Round 12:
- 12 SC, inc, repeat from * to * two times (28 SC total).
- Round 13:
- 13 SC, inc, repeat from * to * two times (30 SC total).
House Base (Lighter Yarn)
- Transition Round:
- Without cutting blue yarn, attach the light-colored yarn.
- For one full round (30 SC), work in BLO. This creates a clean edge between roof and base.
- Body:
- Work in continuous spirals, making 1 SC in each stitch for 10 rounds (30 SC per round).
- Closure:
- Stuff the roof section form-firmly, making sure it holds its shape.
- Fold the entire piece in half, aligning stitches carefully.
- Work 15 SC, each through both sides (upper and lower edges), to seam the base closed.
Finishing Touches
- Decorative Roof Edge:
- Pick up the blue yarn left from the color transition.
- In the exposed front loops of the transition row, repeat all around:
- Ch 3, skip 2 stitches, sl st in the 3rd stitch.
- This forms scalloped edges around the roof’s lower rim.
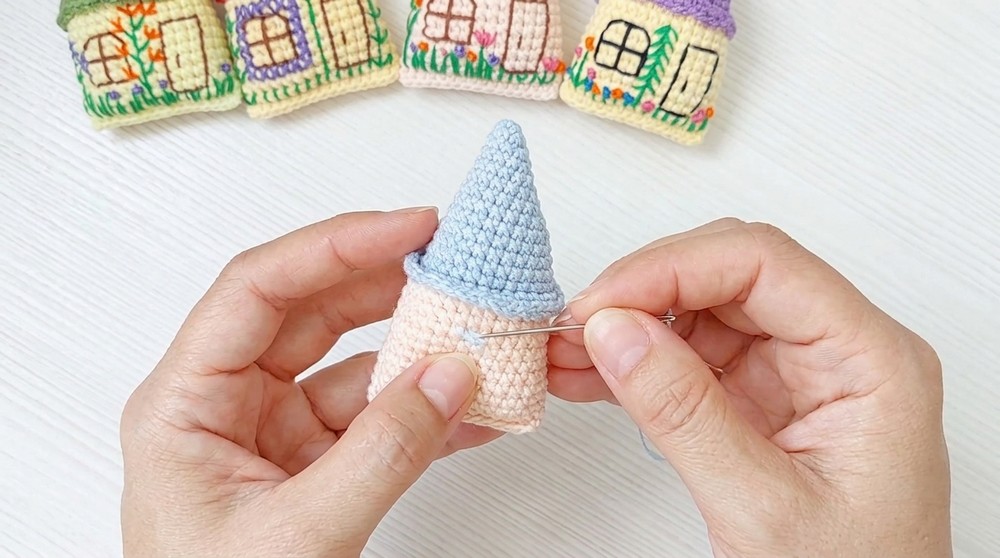
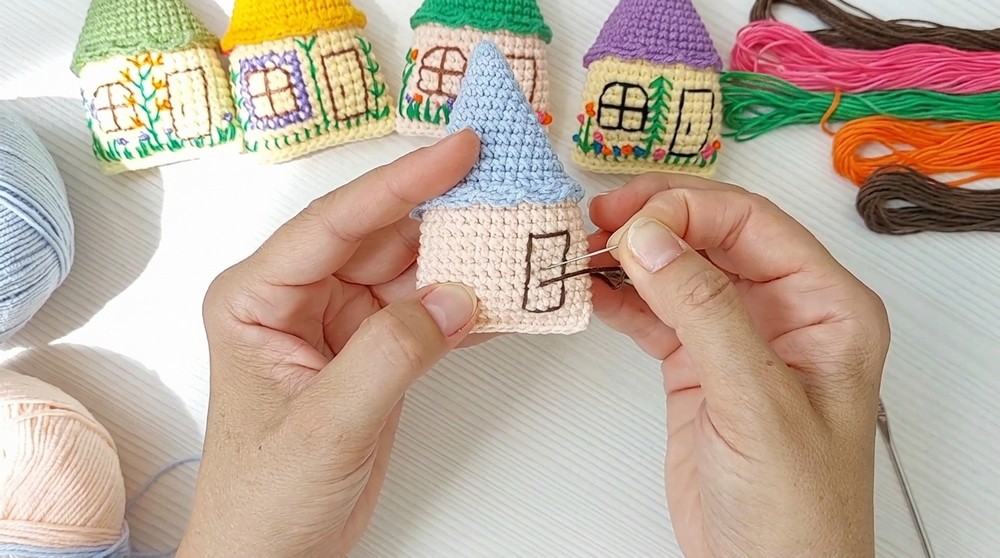
- Embroidery Details:
- Thread brown embroidery yarn.
- Door: Start three rows up from the folded base. Embroider a vertical rectangle 6 rows high, breaking into sections of 2 rows each for neat edges.
- Window: Embroider on the house base, making a square or rectangle 4 stitches wide. Add slanted lines on the top for a distinctive window frame appearance.
- Hanger:
- At the top center of the roof (magic ring start), insert hook and make a chain of 7.
- Attach the free end back to the same stitch at the roof’s tip with a slip stitch, forming a small loop for hanging.
Joining & Final Size
Careful folding and single crochet joining make the house firm and perfectly aligned. Once the base is seamed and the roof edge added, the embroidery details give the house its whimsical front. Dense stuffing keeps the form stable, and the miniature size makes the piece versatile in function. The house will stand about 9 centimeters tall (from base to tip of roof or hanger).
Final Words
This decorative crochet house project elegantly combines form, color, and embellishment in a compact module. The orderly rounds and easy construction provide an encouraging way to practice increasing, color changes, and decorative assembly. With clear directions for both construction and personalized details, the pattern creates a unique piece ready for use as a home accent, holiday ornament, or handmade token. The stepwise focus on each section ensures a rewarding crafting experience and a delightful collectible to treasure or share.