Hang sweet holiday decorations with this Crochet Candy Canes Free Pattern and enjoy making cute ornaments that bring festive charm to your tree.
A big thanks to @CrochetToysIryna for the original YouTube tutorial and for sharing this fun and festive Crochet Candy Canes pattern. This project is a simple and sweet way to add a handmade touch to your holiday decorations.
Adorable Crochet Candy Canes Free Pattern To Try This Winter
The Crochet Candy Cane is a small, lightweight decoration that looks just like the classic red and white striped treat we all enjoy during Christmas. It features the traditional curved cane shape, with clean stripes that alternate between two colors. This makes it a charming addition to Christmas trees, wreaths, gift wrapping, or even as a little stocking stuffer.
One of the nice things about this project is how easy it is to customize. You can use different color combinations — like green and white for a fresh twist or gold and white for a more elegant look. Adding a small ribbon or bead at the top can also change its style and make it your own.
The crochet steps involve working mostly in single crochet stitches, starting with a flat strip. The stripes are made by switching colors every few rows. After reaching the desired length, the piece is bent into the candy cane shape and stitched to hold it together. The process is straightforward, making it a great project for someone who wants a quick, festive craft.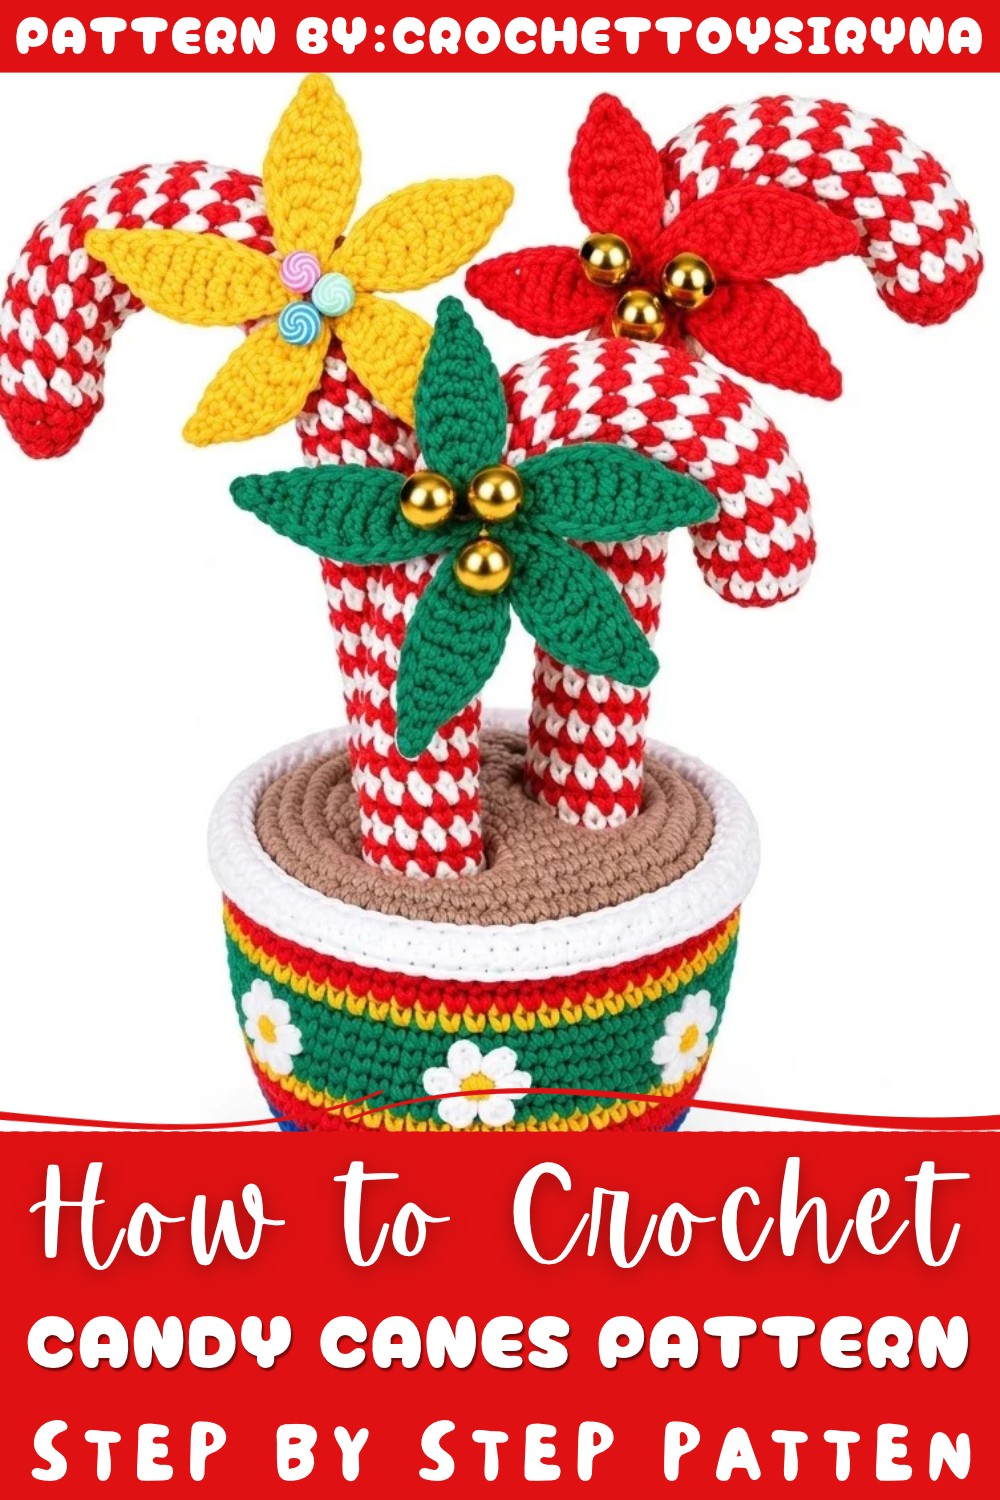
Try this free pattern and add some cozy, handmade cheer to your holiday with these charming Crochet Candy Canes!
About the Pattern
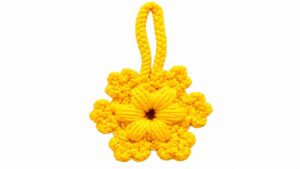
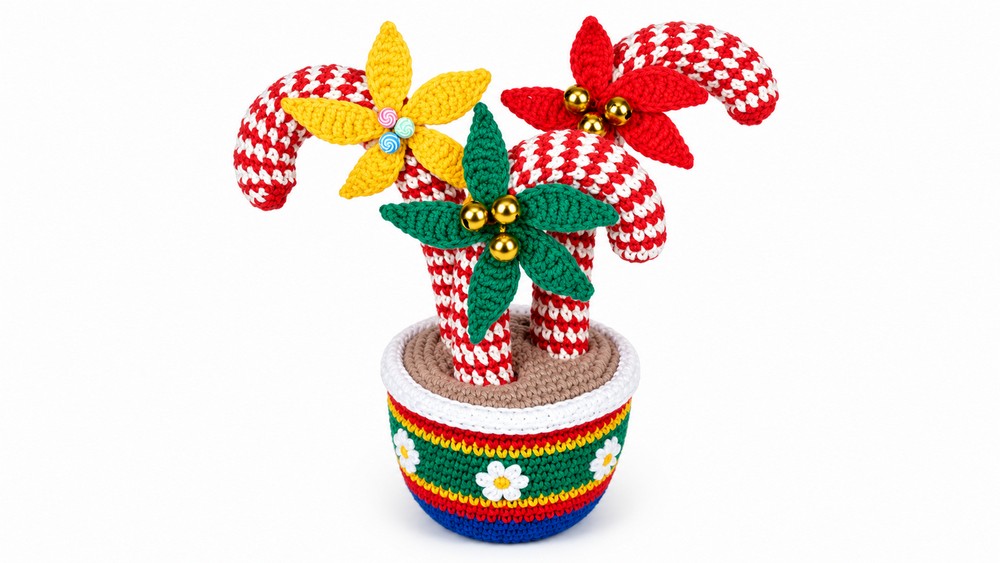
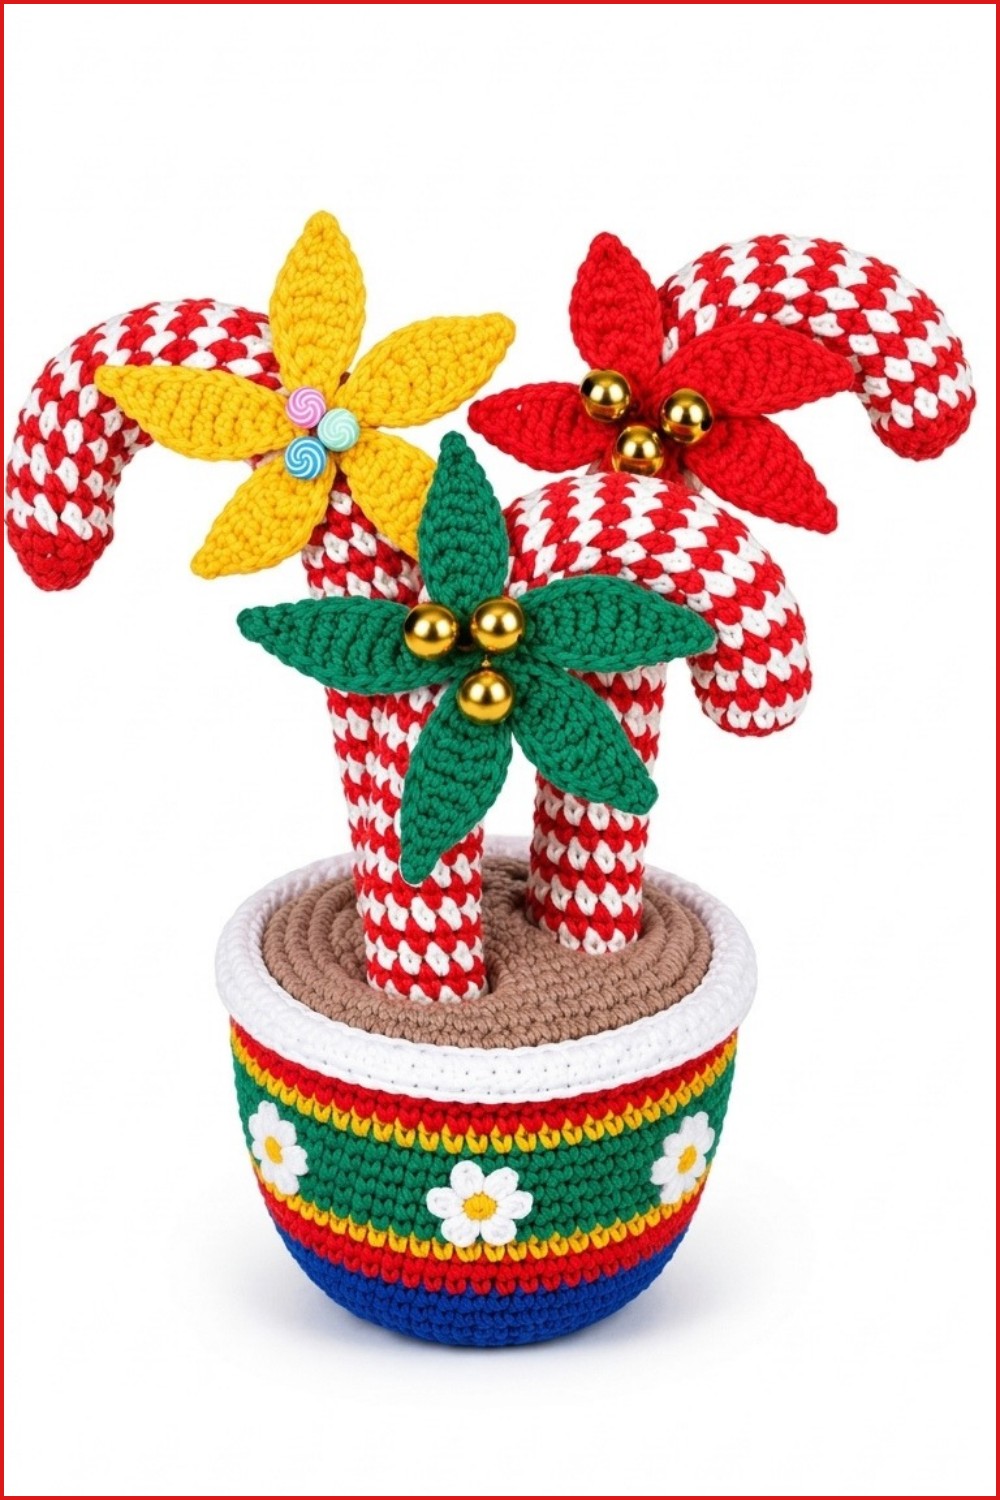
This crochet candy cane decoration brings festive spirit through its classic spiral stripes and whimsical floral ornament. Compact and lightweight, it makes a delightful addition to holiday decor. The pattern is designed for seamless color transitions and easy stuffing, shaping the cane as both sturdy and flexible. The accompanying flower ornament is worked as a five-petal blossom from a simple chain, offering a bright accent and customizable embellishment. To attach, a crocheted tie replaces sewing, allowing the decoration to be reused or repositioned as desired. The candy cane’s elegant shape and durable stuffing technique ensure lasting charm and utility.
Key Pattern Details
- The pattern features two main sections: the striped candy cane and a five-petal flower ornament.
- Construction uses color changes every round for a true spiral effect, with invisible transitions.
- The cane is stuffed progressively with holofiber to achieve firmness and maintain bendability.
- The flower ornament is crocheted separately and attached with a chain tie for versatility.
- Final embellishments include beads or bells added to the flower for sparkle and festive detail.
- The curved shape of the cane is ensured by internal yarn stitching, creating a permanent bend.
Important Notes
- Alternate colors every round by switching yarn in the last pull-through loop for seamless stripes.
- Stuff consistently as you progress so the cane is evenly packed; insufficient stuffing can result in collapsed or uneven sections.
- Finish both ends cleanly: knot tails to prevent unraveling and use decreases for a neat closure.
- The cane’s curved shape is achieved by stitching through the center with red yarn, allowing you to control the bend precisely.
- The flower’s tie should be tight enough to keep the ornament in place but loose enough for repositioning.
Difficulty Level
This pattern is suitable for confident beginners and intermediate crocheters. It employs the magic ring, simple color changes, basic stitches (SC, Sl St, HDC, DC, Tr), and small-scale three-dimensional shaping. The flower ornament calls for working multiple stitches in a chain, while cane assembly requires attention for smooth striping and firm stuffing.
Supplies Needed
- Red yarn and White or Yellowish yarn (smooth, medium-weight ideal)
- 2mm crochet hook
- Holofiber (for stuffing)
- Tapestry needle (for finishing and stitching cane curve)
- Beads or small bells (for flower embellishment)
- Scissors
Size & Measurements
The finished candy cane is typically around 10–15 cm long, depending on the amount of stuffing and length worked. The flower ornament is sized proportionally for accenting the cane, with a tie long enough for secure attachment.
Gauge & Stitch Details
Gauge is not critical for this project, but tight, even stitches are needed so the stuffing remains contained and the cane retains its bend. Keep the stitch tension firm throughout—the candy cane is worked in continuous rounds of 12 SC.
Crochet Abbreviations
- MR: Magic Ring
- SC: Single Crochet
- Inc: Increase (2 SC in one stitch)
- Dec: Decrease (single crochet two together)
- Ch: Chain
- Sl St: Slip Stitch
- HDC: Half Double Crochet
- DC: Double Crochet
- Tr: Treble Crochet
Special Stitch Guide
- Magic Ring: Form a loop, crochet stitches into the center, then pull tight for a closed foundation.
- Color Change: In the last step of a single crochet (before pulling through the final loop), use the new yarn to create a clean, invisible join.
- Invisible Decrease: Insert hook into the front loop only of the next two stitches, yarn over and pull through both loops, then finish as a regular SC.
- Internal Yarn Stitching: With a tapestry needle, sew small stitches through the center of the cane to help create a permanent curve.
Complete Crochet Pattern
Candy Cane
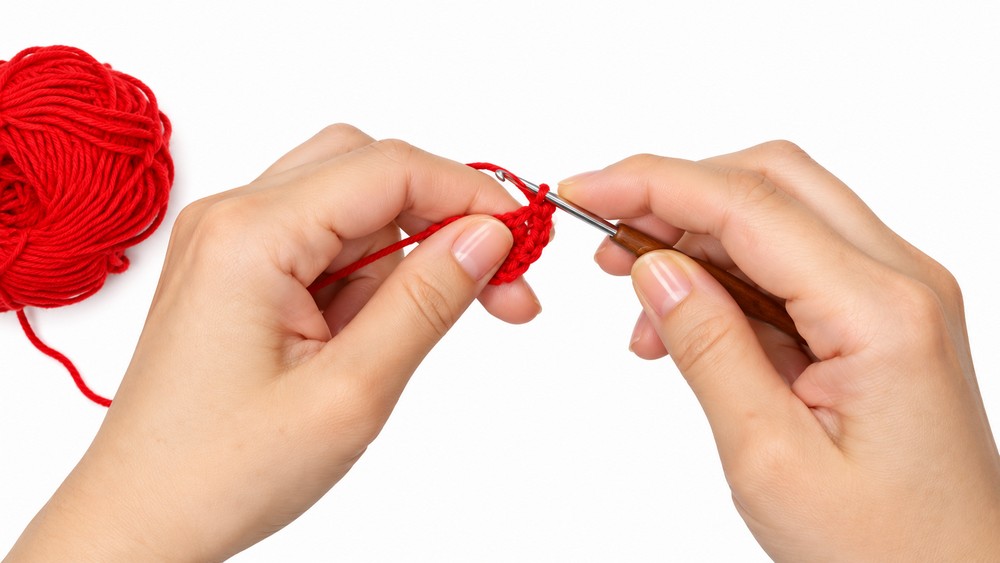
- Round 1: MR, 6 SC.
- Round 2: Inc in each stitch (12 SC total).
- Secure the magic ring tail by knotting tightly inside the cane.
- Rounds 3–Desired Length:
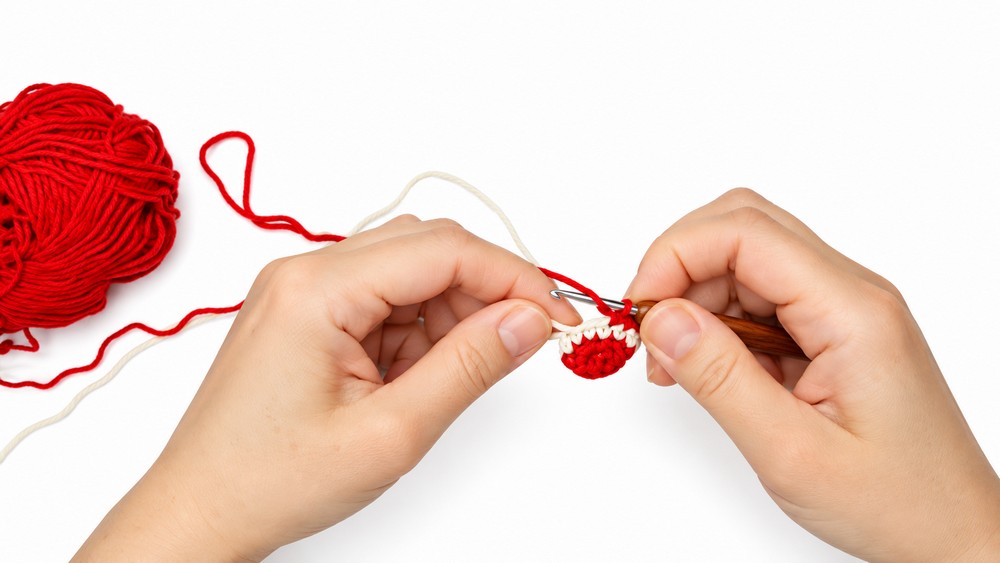
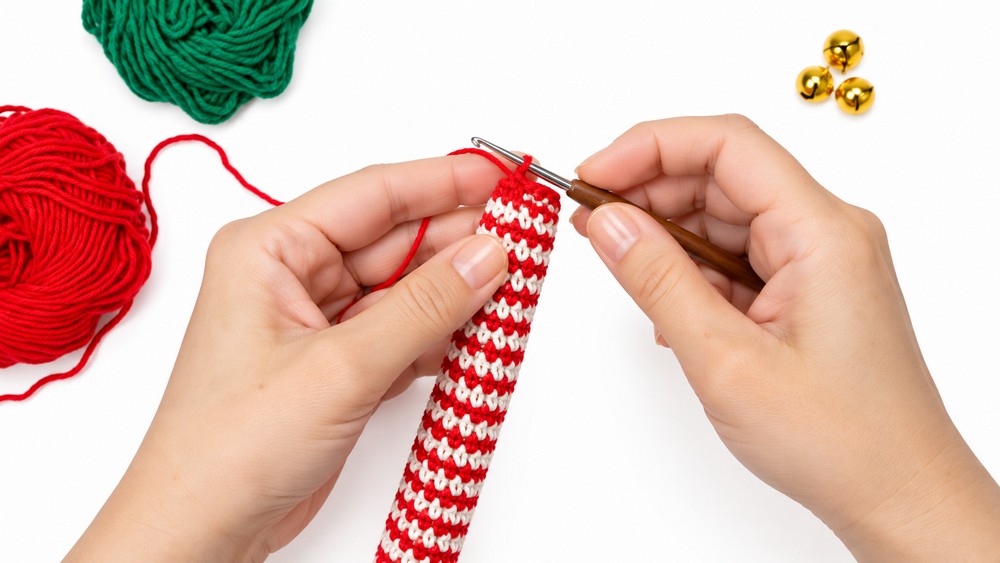
- Switch to second color: pull new yarn through the last loop of the previous SC.
- Work 12 SC in each round, alternating colors every round.
- Continue this striping, maintaining an even twist by changing colors after each round.
- As you progress, stuff with holofiber consistently to keep the cane firm and flexible. Stuff after every few rounds; do not overfill.
- Repeat alternating rounds until the cane reaches the desired size.
- Finishing the Cane:
- Secure the colors at the final round by knotting inside the tube.
- Close the end: (Dec) x 6, working around the top to bring the opening shut.
- Draw the remaining yarn tail through the last stitches and hide inside the work.
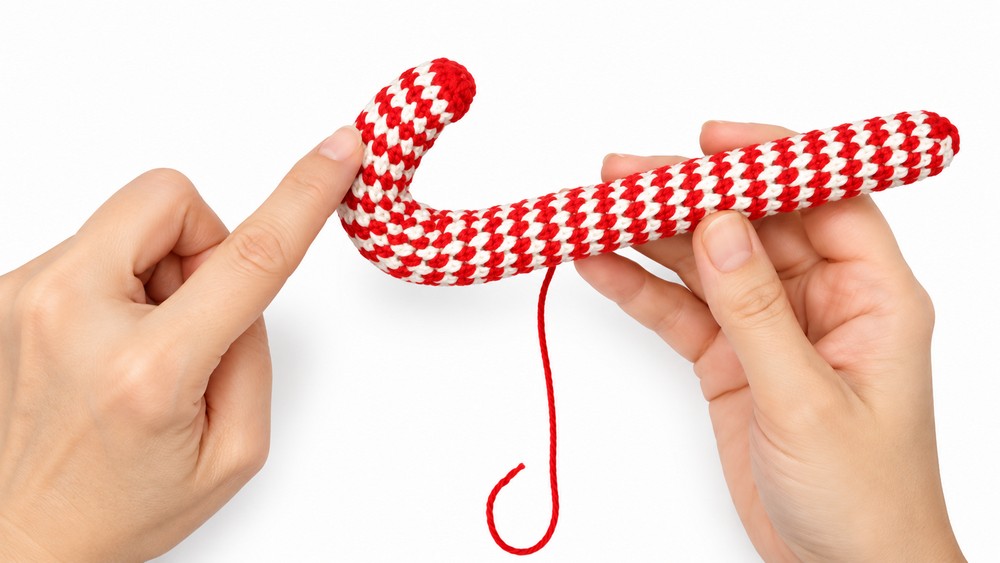
- With a tapestry needle and matching red yarn, stitch through the center of the cane in small steps, curving the cane as desired; this creates a lasting bend in the finished piece.
Flower Ornament
- Foundation: Ch 12.
- First Petal:
- In the second chain from the hook, Sl St;
- Next, SC;
- Next, HDC;
- Next, DC;
- Next, Tr Tr Tr (three Tr stitches—one in each of the next three chains);
- Next, DC;
- Next, HDC;
- Next, SC;
- Finish with a Sl St.
- Repeat Petal Formation:
- Continue these steps five times using the same base chain as the central axis. Each repeat forms a petal; adjust stitches for uniform sizing.
Final Assembly
- Tie:
- Crochet a chain of 18 for the flower tie.
- Wrap the tie around the candy cane, positioning the flower at the desired location. Knot securely, allowing the flower to be removed or repositioned.
- Embellishments:
- Add beads or small bells to the center of the flower to complete its festive look.
- Attach embellishments with the tapestry needle, ensuring knots are hidden.
Joining & Final Size
- Double-check that stuffing is smooth and the striped color changes are clean.
- The cane should display a controlled, permanent curve due to the internal yarn stitching.
- The flower sits securely on the cane, its tie wrapped and knotted in place without permanent sewing.
- The finished candy cane decoration measures about 10–15 cm, with embellishments properly attached and details tidy.
Final Words
This pattern offers a versatile and attractive holiday decoration that can be personalized with color and embellishment. Seamless striping and permanent shaping give the cane a polished look, while the removable flower ornament provides playful texture and festive brightness. Thoughtful construction methods keep the form consistent and sturdy, ensuring your candy cane is ready for display or gifting throughout the holiday season.