Meet a lovable little friend with this Crochet Horse Toy Free Pattern featuring a sweet face, beautiful mane, and charming horse details.
A big shoutout to @CrochetToysIryna for sharing an amazing crochet tutorial that brings a sweet creation to life. This project, called the Crochet Horse Toy, is a delightful handmade piece perfect for crochet lovers of various skill levels.
Sweet Crochet Horse Toy Free Pattern For A Charming Farm Display
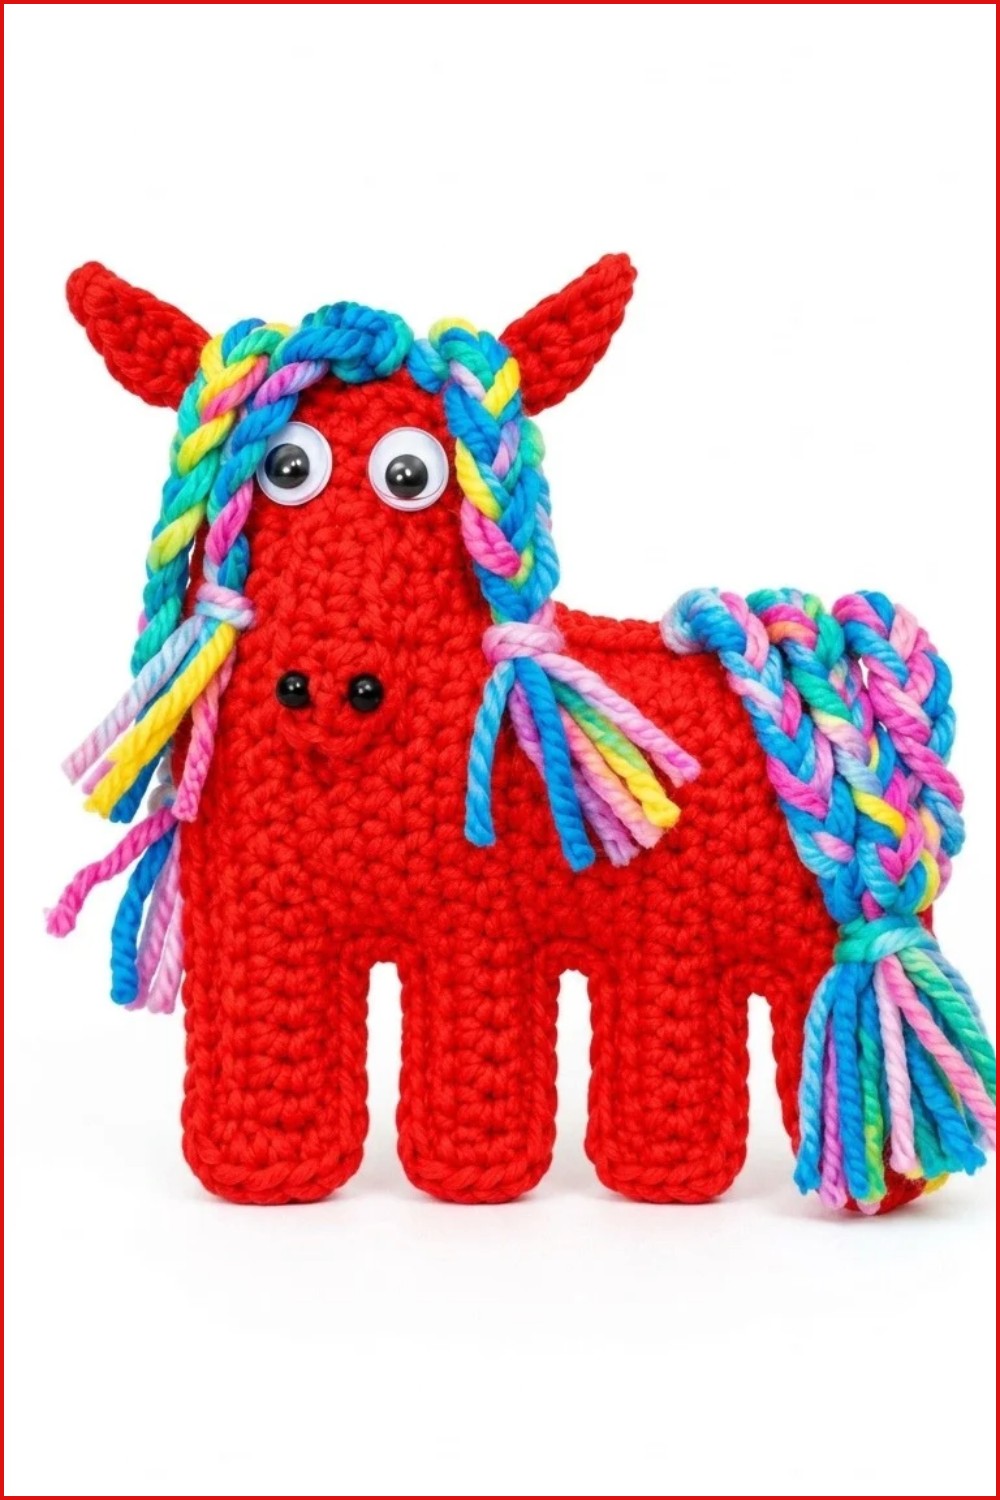
The Crochet Horse Toy is a soft, horse that stands around 6 inches tall when finished, making it just the right size for playtime or decor. Its main features include a rounded body, detailed mane and tail, and charming embroidered eyes that give it personality and warmth. This toy is ideal for gifting, decorating a child’s room, or adding a touch of whimsy to your home.
Designed with beginner to intermediate crocheters in mind, this project uses simple stitches such as the magic ring, single crochet, and increases and decreases to shape the horse’s body and limbs. The pieces are crocheted separately — like the head, legs, and tail — and then carefully sewn together, which offers a great opportunity to practice sewing skills while assembling the final toy.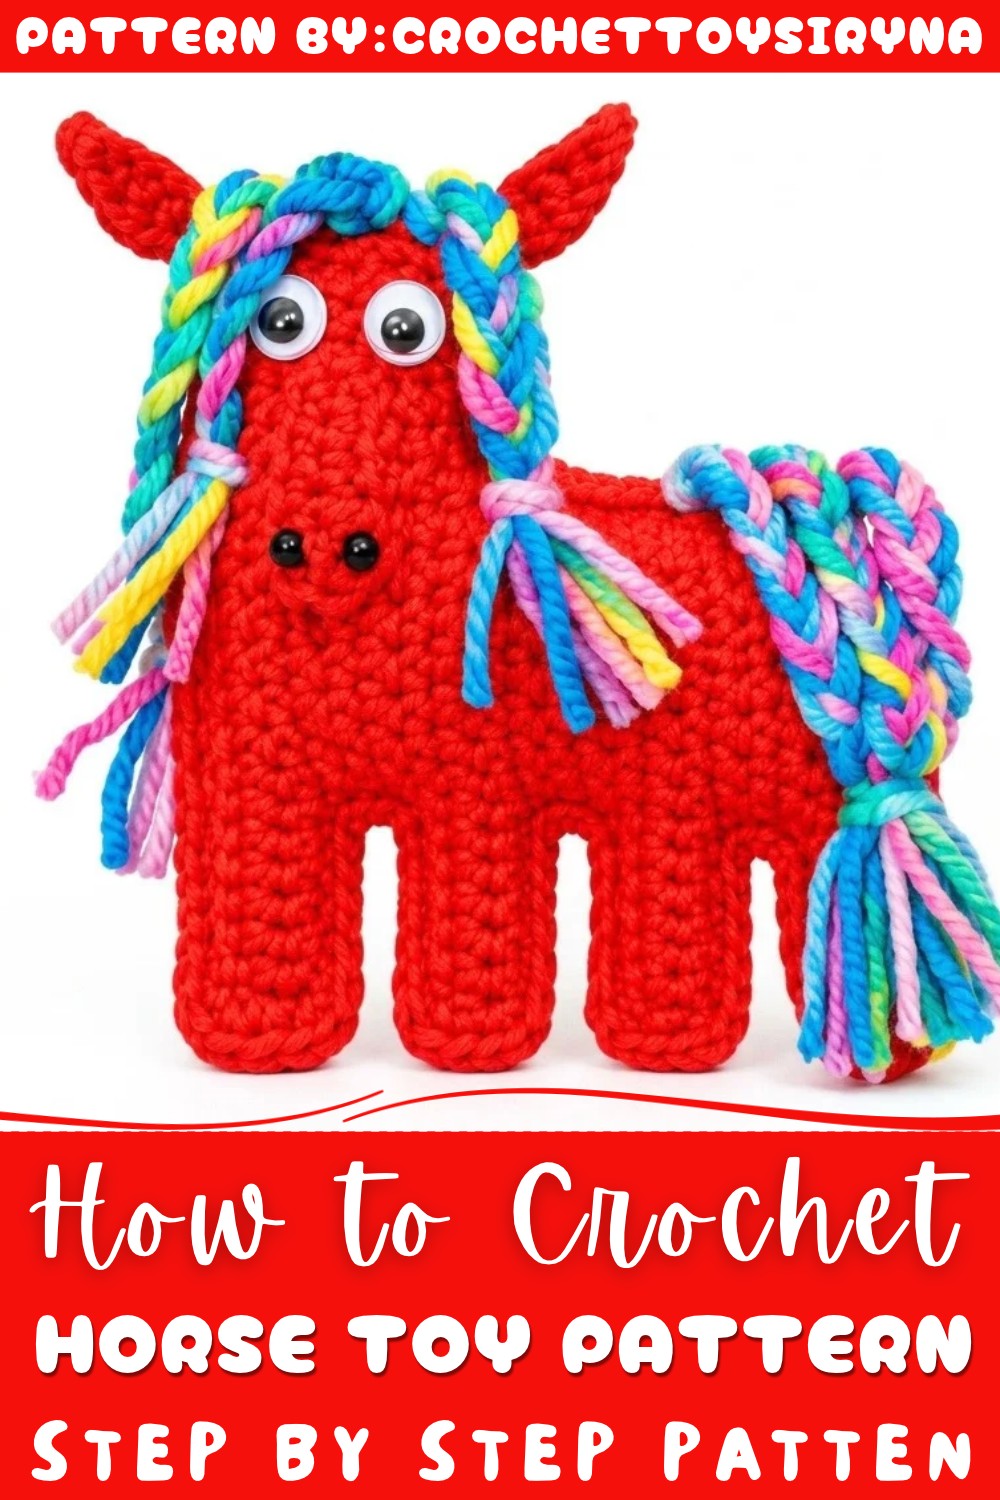
The blend of crochet and sewing steps makes this project engaging and satisfying, perfect for anyone wanting to learn or improve their crocheting skills. The horse’s cute details and handmade charm make it a joy to create and share.
Ready to add some handmade magic to your collection? jump into this free pattern and bring your very own crochet horse to life!
Flat Crochet Horse Pattern (7cm x 7cm)
About the Pattern
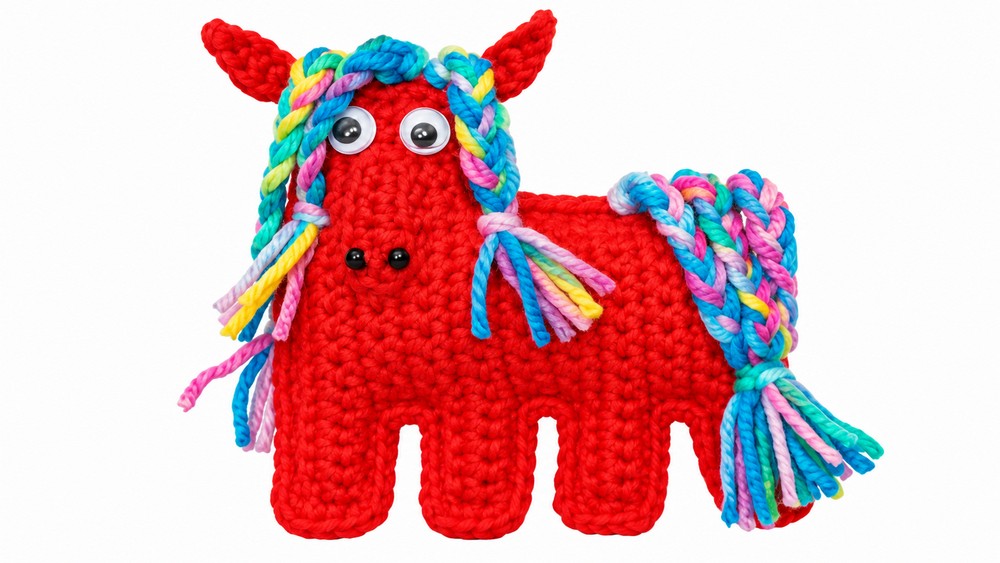
This flat crochet horse design produces a 7cm by 7cm horse motif with appealing details, suitable for a variety of uses such as appliqué, keychains, brooches, or decorative panels. The method involves making two identical body panels, then joining and adding simple crocheted features to create dimension and character. With clear row-by-row instructions and basic assembly techniques, the finished piece is sturdy and visually pleasing.
Key Pattern Details
The pattern is structured around forming two flat body panels that mirror each other, worked in rows and shaped with chain extensions for legs and neck. After joining, additional features such as ears, muzzle, mane, and tail are applied separately to enhance the look. Beads and adhesive eyes complete the facial details, giving the horse its unique and expressive personality. The use of YarnArt Jeans yarn provides softness and definition in stitchwork, ensuring a clean and professional finish.
Important Notes
- Tension should be consistent throughout to achieve the correct shape and proportions.
- Begin each row exactly as noted to ensure accurate shaping, especially for appendages and ears.
- Fasten off securely after completing each piece, to prevent unraveling.
- Stuff lightly with fiberfill during edge joining to maintain a flat yet plush appearance.
- Placement of features such as ears and muzzle should be symmetrical for best results.
- Use care when attaching decorative features and glueing on the eyes.
Difficulty Level
This pattern is suitable for advanced beginners and intermediate crocheters. It combines straightforward single crochet, slip stitch, chaining, and basic shaping. Some elementary sewing and assembly skills are required to finish off the detailed features.
Supplies Needed
- Crochet hook (1.5mm – 2mm)
- YarnArt Jeans yarn, or similar 8-ply cotton/acrylic blend
- Fiberfill stuffing
- Small beads for nose detail
- Adhesive eyes or small black beads for eyes
- Quick-drying glue
- Tapestry needle for sewing
- Scissors
Size & Measurements
Finished piece measures approximately 7cm x 7cm. Slight variance in size may occur depending on individual tension and yarn used.
Gauge & Stitch Details
- Gauge is not critical for this project, as proportion is maintained by following the row counts and stitch numbers as given.
- Maintain even tension throughout to ensure both body panels match precisely.
Crochet Abbreviations
- ch: chain
- sc: single crochet
- dc: double crochet
- hdc: half double crochet
- sl st: slip stitch
Special Stitch Guide
- Slip Stitch (sl st): Insert hook into stitch, yarn over, pull through both loops on hook.
- Single Crochet (sc): Insert hook into stitch, yarn over, pull up a loop, yarn over, pull through both loops.
- Double Crochet (dc): Yarn over, insert hook, yarn over, pull up loop, yarn over, pull through two loops, yarn over, pull through remaining two loops.
- Half Double Crochet (hdc): Yarn over, insert hook, yarn over, pull up loop, yarn over, pull through all three loops.
Complete Crochet Pattern
Body Panel Pattern (Make 2)
Foundation:
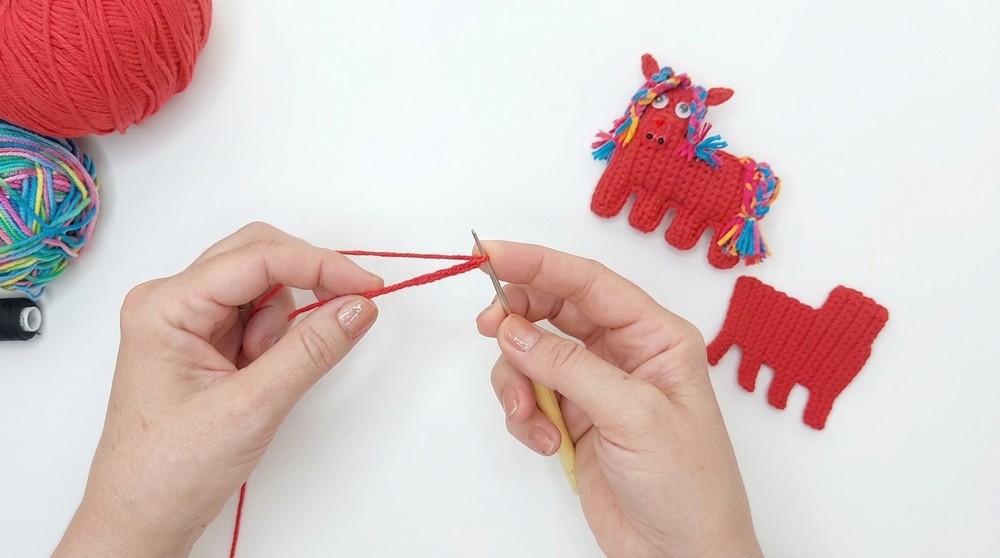
- Ch 15.
Row 1:
- 14 sc starting from the 2nd chain from hook.
Row 2:
- Ch 1, turn, 14 sc.
Row 3:
- Ch 1, turn, 9 sc.
Row 4:
- Ch 1, turn, 9 sc.
Row 5:
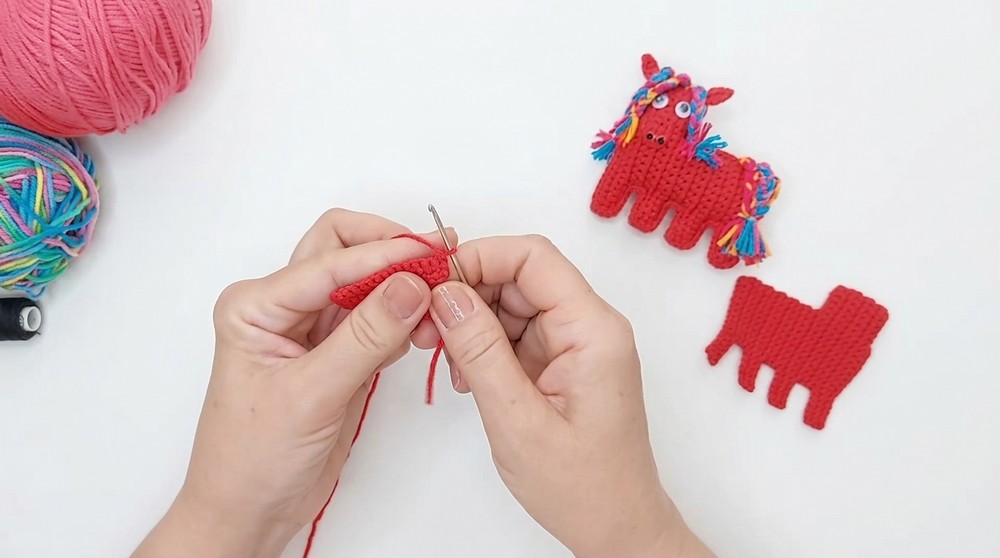
- Ch 1, turn, 9 sc, ch 6, turn.
Row 6:
- 5 sc along chain (beginning the horse’s leg structure), 9 sc along base.
Row 7:
- Ch 1, turn, 14 sc.
Row 8:
- Ch 1, turn, 5 slip stitches, 9 sc (forming the shape of the neck and leg).
Row 9:
- Ch 1, turn, 9 sc.
Row 10:
- Ch 1, turn, 9 sc.
Row 11:
- Ch 1, turn, 9 sc.
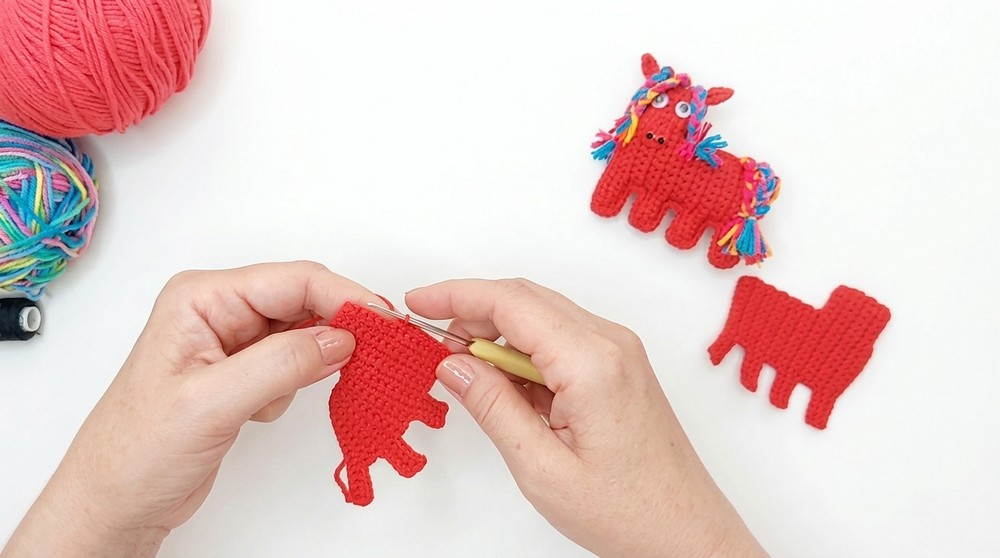
Row 12:
- Ch 1, turn, 9 sc, ch 6, turn.
Row 13:
- 5 sc along chain, 9 sc along base.
Row 14:
- Ch 6, turn, 19 sc (starting 2nd ch from hook).
Row 15:
- Ch 1, turn, 5 slip stitches, 14 sc.
Row 16:
- Ch 1, turn, 14 sc.
Row 17:
- Ch 1, turn, 14 sc.
Row 18:
- Ch 1, turn, 14 sc.
Row 19:
- Ch 6, turn, 19 sc (starting 2nd ch from hook).
Row 20:
- Ch 1, turn, 19 sc.
Row 21:
- Ch 1, turn, 5 slip stitches, 8 sc, 1 final slip stitch.
Fasten off and weave in ends. Repeat for the second panel so both match.
Assembly & Finishing
Join:
- Place the two panels together with wrong sides facing in.
- Crochet sc around the entire edge of the panels to join them, inserting fiberfill stuffing gradually as you close (ensure even distribution for a flat appearance).
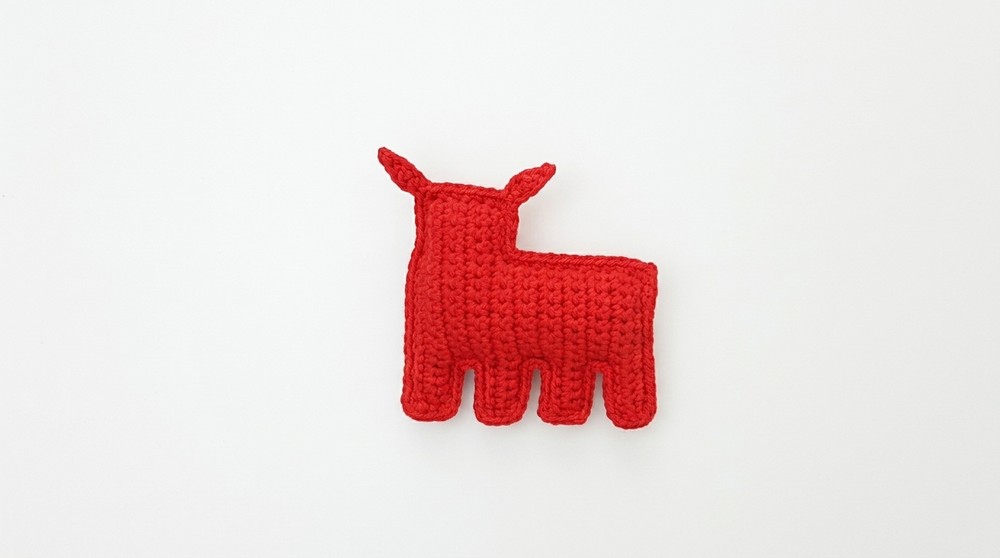
Ears:
- Crochet 6 chains at the top of the head section.
- Work back along the chain with: 1 slip stitch, 1 sc, 1 dc, 1 hdc, 1 sc.
- Fasten off and sew ear in place securely at the top of the head.
Muzzle:
- Chain 6.
- Row 1: 4 sc, 4 dc in last loop, 4 sc along other side of chain.
- Fasten off and sew the muzzle in place on the face section of the body.
Details:
- Sew muzzle securely to the body panel.
- Attach 2 beads at the muzzle for the nostril/nose detail.
- Attach yarn strands for mane and tail. Braid or style, then secure knots to anchor in place; trim to desired length.
- Glue on crochet eyes one row above the muzzle, adjusting for symmetry and expression.
Joining & Final Size
After completing all joining and assembly steps, the final flat crochet horse measures roughly 7cm by 7cm, with balanced proportions and a securely attached mane, tail, muzzle, beads, and eyes. The piece remains flat with a hint of plush stuffing, suitable for display or practical use.
Final Words
This pattern provides a structured approach to crafting a flat crochet horse, combining simple rows and clever shaping to produce gentle curves and distinct features. Crocheters will appreciate the clear instructions and manageable assembly steps which make this motif both attractive and practical. Using quality yarn and decorative elements results in a pleasing finish, and careful execution ensures the completed horse is durable, expressive, and ready to be displayed or gifted.