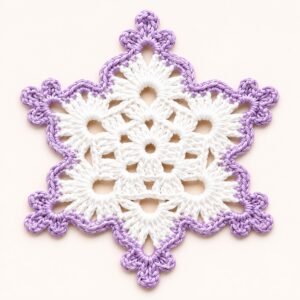
Hang an ornament from the Crochet Christmas Star Free Pattern near your tree lights so the pointed edges stand out against the branches.
There’s something truly magical about handmade holiday decorations, especially when they sparkle with a personal touch. One delightful example is a beautifully crocheted Christmas star that can light up any room or tree with its charm. This festive ornament adds a cozy, elegant sparkle to your holiday décor and becomes an instant conversation piece. The Crochet Christmas Star Pattern, designed and taught wonderfully by Mônica Moda Crochê on her YouTube channel, offers a joyful way to bring this star to life with your own hands.
Festive Crochet Christmas Star Free Pattern For A Holiday Garland
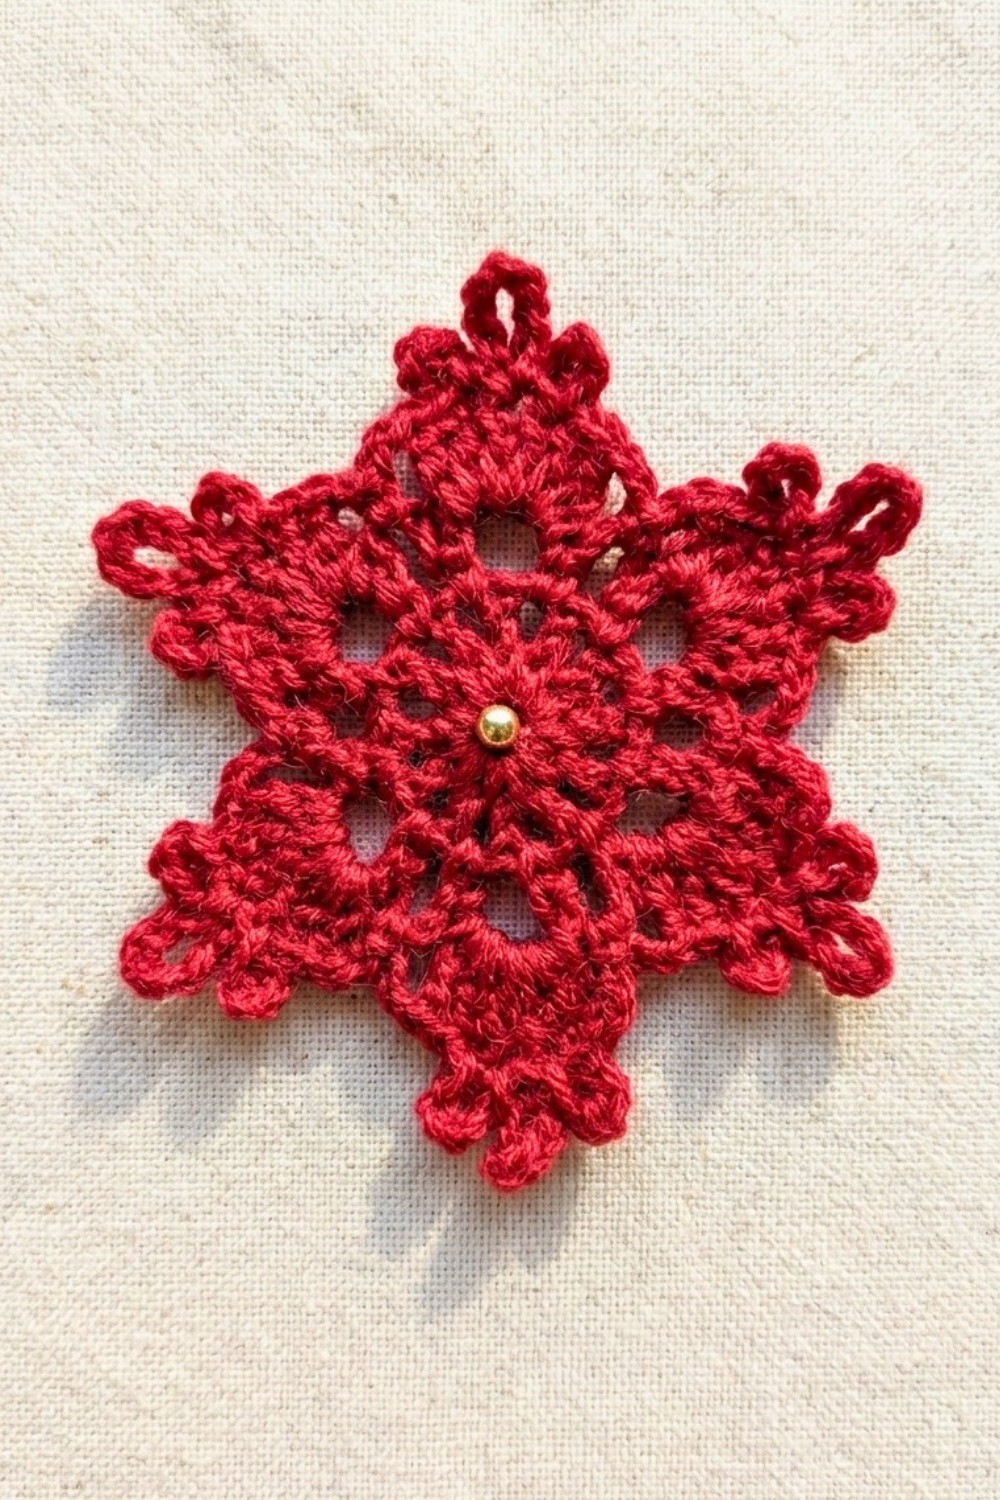
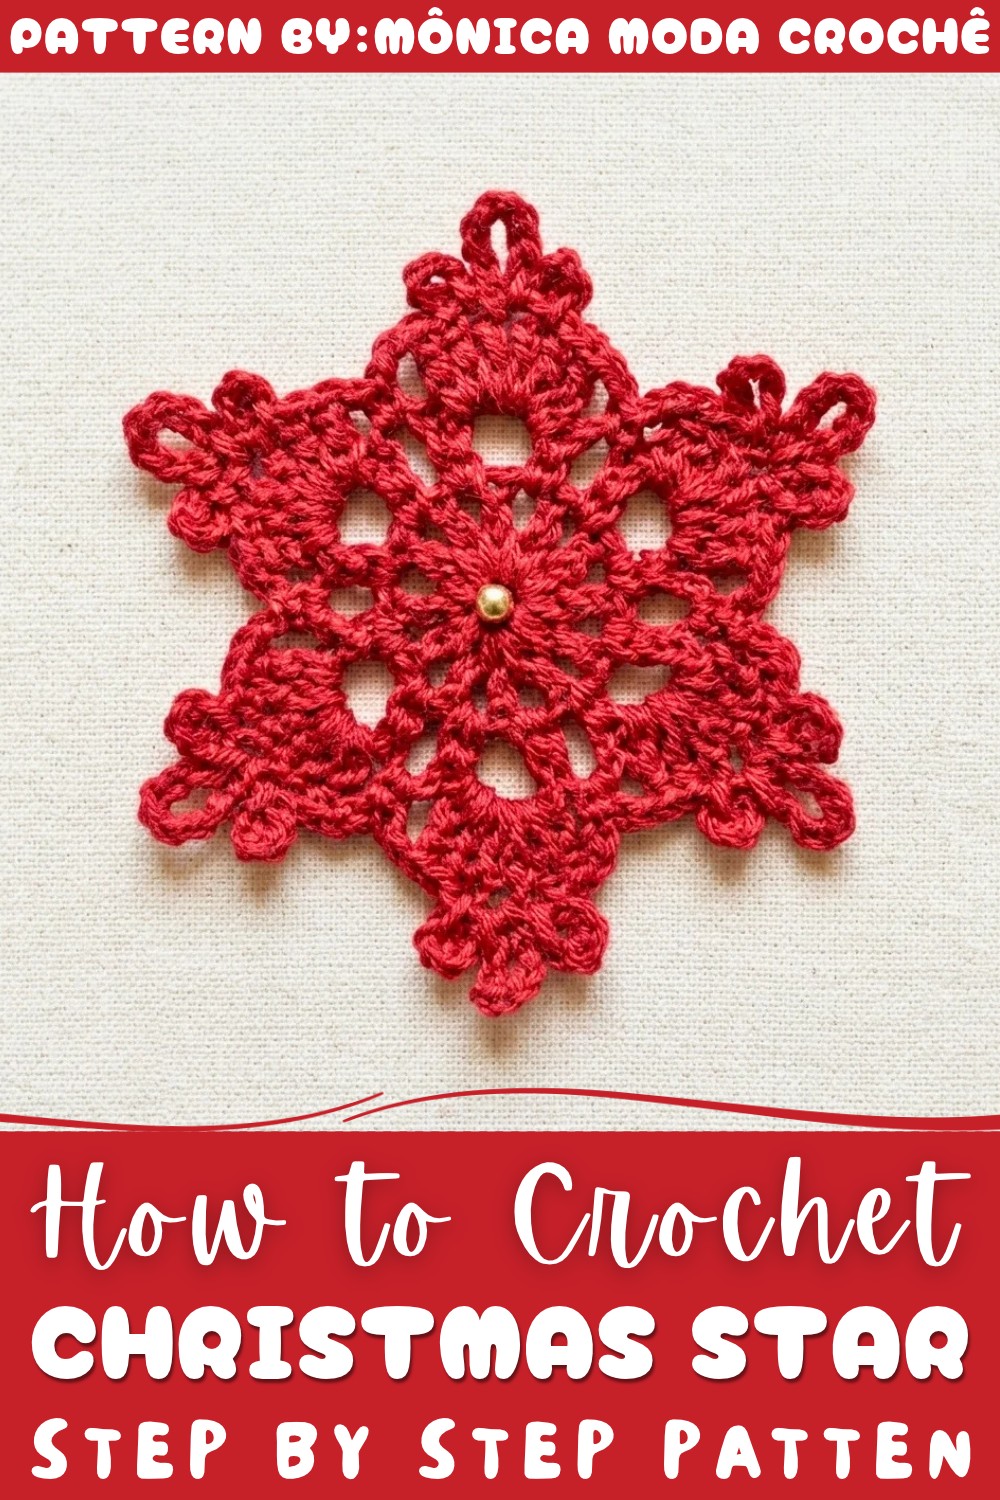
This charming star is not only visually stunning with its delicate points and lovely center embellishment but also pleasantly textured, offering a tactile experience that adds to its appeal. Its unique shape makes it ideal for decorating Christmas trees, windows, or even as a charming gift tag. The versatility doesn’t stop there—you can customize the star with different yarn colors like classic gold or vibrant red, and add finishing touches such as pearls or beads to match your holiday theme.
The project is accessible to a wide range of skill levels. Intermediate crocheters will enjoy the engaging rhythm of the stitches involved, while ambitious beginners can take their skills to the next level by following thoughtful step-by-step guidance. Along the way, you’ll gain a deeper understanding of combining chain spaces with textured stitches, creating beautiful picot edges, and how to neatly finish with a sewn or glued center accent—details that enrich your overall experience and elevate your finished star.
If you’re looking for a fun, festive project that combines creativity with tradition, this star could be your next favorite. For those who love adding their personal touch to holiday decorating, it’s an opportunity to produce something uniquely special. Feel free to check out the free pattern tutorial and get started bringing a little handmade sparkle into your holiday season.
Handmade Crochet Christmas Star Free Pattern
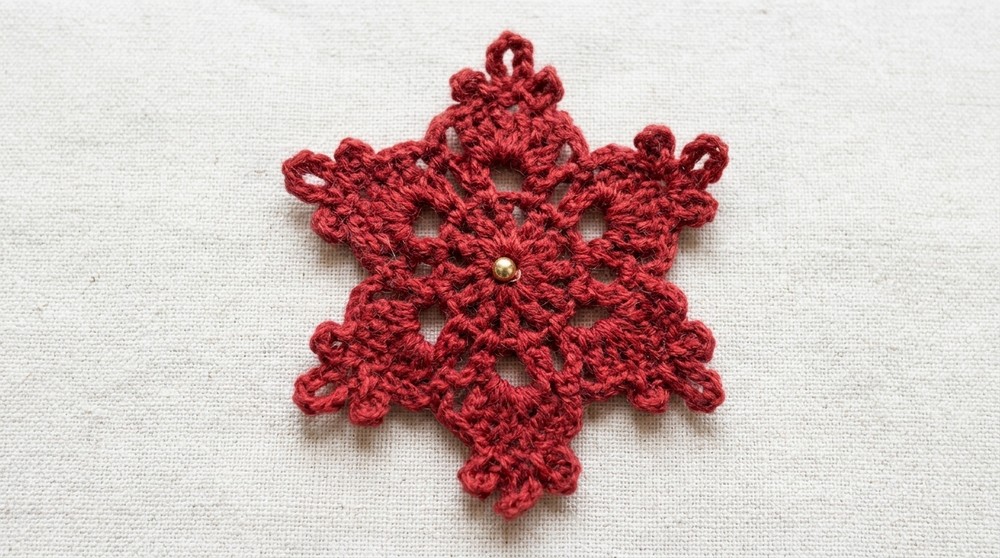
Shimmering holiday decorations add charm and individuality, particularly when self-made. This crochet star, featuring delicate points and a classic six-pointed shape, stands out as an eye-catching embellishment for Christmas trees, handmade garlands, and festive displays. The motif begins at a compact center and radiates outward, resulting in both a lacy structure and a well-defined silhouette. Layers of stitches accentuate the star’s geometry, and a single central pearl infuses a touch of elegance, capturing and reflecting light. With a detailed focus on accuracy and finish, this pattern ensures each round yields clean definition and impressive presentation. Whether chosen in metallic gold for sparkle or in bold red for tradition, your crochet star will serve as an emblematic seasonal accent that is easy to adapt and repeat for any celebration.
Quick Overview Of Pattern
- Foundation Ring: Begin with a closed ring using a chain base.
- Round 1: Work evenly spaced double crochets and chain spaces to form the star’s center framework.
- Round 2: Alternate chain loops of varying lengths to establish petals for the star’s points.
- Round 3: Create six points by combining clusters of double crochets, treble crochets, picots for definition, and chain valleys.
- Finishing: Add a pearl at the center for a refined touch.
Notes
- It is important to maintain even tension throughout for crisp star points.
- Alternate the chain loop lengths exactly as instructed to ensure accurate point placement and balanced symmetry.
- When joining rounds, always reference stitch counts for alignment; this guarantees points and valleys match perfectly.
- Central pearls can be sewn securely or attached with a strong, quick-drying fabric glue for convenience.
- Weaving in tails on the wrong side conserves the visual appeal.
Skill Level
Confident Beginner to Intermediate.
Proficiency with double crochet, treble crochet, working in the round, picot work, and basic assembly techniques is sufficient.
Materials
- Yarn:
- Encanto yarn (gold, for metallic effect) –or– Charme yarn (red for classic holiday vibe)
- Crochet Hook: Size 4 nickel-plated (approx. 2.5 mm)
- Embellishment: One gold pearl bead (size 8–10 mm, as fits the motif’s center)
- Notions: Sewing needle and coordinating thread or fabric glue for securing the pearl
Measurements / Sizing
- Finished motif size: Approximately 7.5–8.5 cm (3–3.5 in) diameter across star points, depending on yarn and hook choice.
- For larger or smaller motifs, substitute thicker or thinner yarn and adjust the bead size accordingly.
Gauge (and Stitch Pattern)
- Gauge is not critical for small ornaments.
- Stitch pattern focuses on working round shapes (increasing evenly from a ring), alternating chain loops, and forming petals and points with clustered stitches and picots.
Stitch Abbreviations (US Terms)
- ch: chain
- sl st: slip stitch
- sc: single crochet
- dc: double crochet
- tr: treble crochet
- picot: ch designated number, sl st into two top loops of the stitch indicated
Special Stitches
- Picot: Chain the prescribed number, insert the hook into the two top loops of the previous stitch, yarn over, pull through all loops on hook to form a small point or bump.
- Valley sequence: Ch 2, sc, ch 2—worked into ch-5 loops to create the recess between star points.
The Crochet Pattern
Foundation Ring
- Chain 6.
- Insert hook into the first chain and join with a slip stitch to form a small ring.
Round 1: Center Circle
- Chain 4 (counts as dc + ch-1 space).
- 1 dc inside the ring, ch 1.
- Repeat [1 dc in ring, ch 1] until there are 12 dc (including starting ch-3 as dc) and 12 ch-1 spaces.
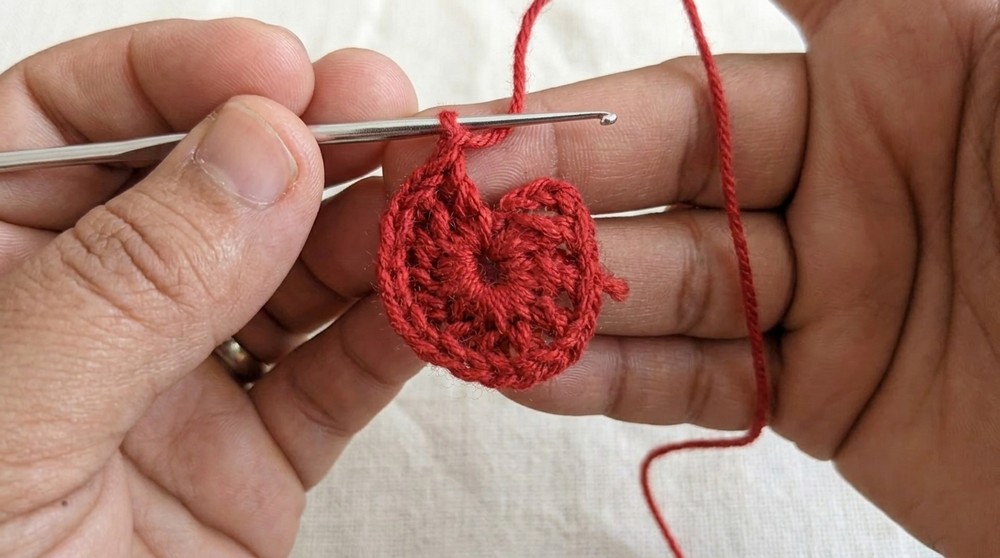
- Join with a sl st into the 3rd chain of the initial chain-4.
Round 2: Alternating Chain Loops
- Move into first ch-1 space, then work 1 sc.
- Begin loop alternation:
- Chain 5, 1 sc in next ch-1 space.
- Chain 6, 1 sc in next ch-1 space.
- Repeat [Ch 5, sc, Ch 6, sc] around, alternating between chain-5 and chain-6 loops for a total of 12 loops (6 of each).
- Finish the last loop with ch 6, join with a sc into the very first sc of the round.
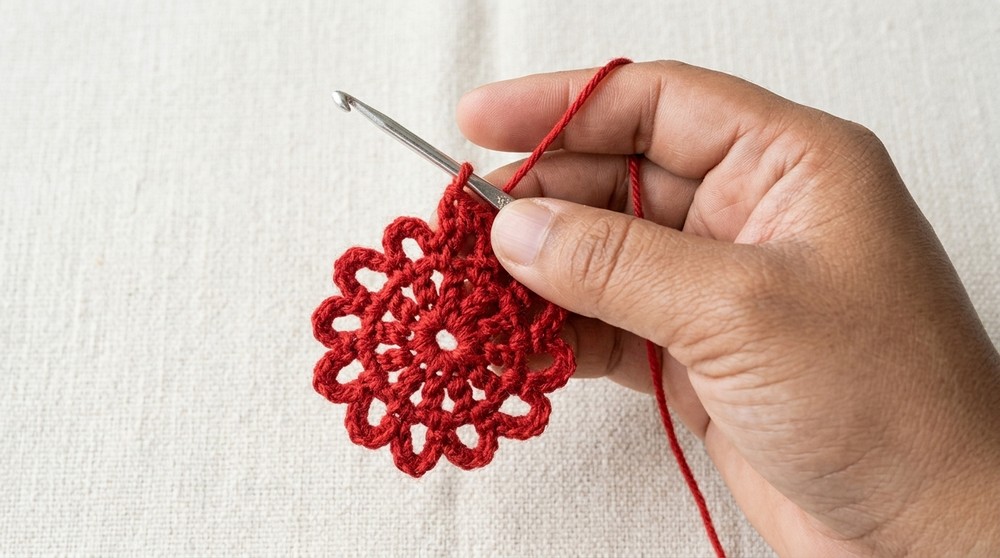
Round 3: Forming 6 Star Points
- Slip stitch into the first ch-5 loop.
- 1 sc in the same ch-5 loop (to secure starting point).
- Ch 2.
- In next ch-6 loop (star point cluster):
- 2 dc.
- Picot: ch 4, sl st in top loops of most recent dc.
- 1 tr.
- Picot: ch 7, sl st in top loops of most recent tr (this forms the sharp tip of the point).
- 1 tr.
- Picot: ch 4, sl st in top loops of tr.
- 2 dc.
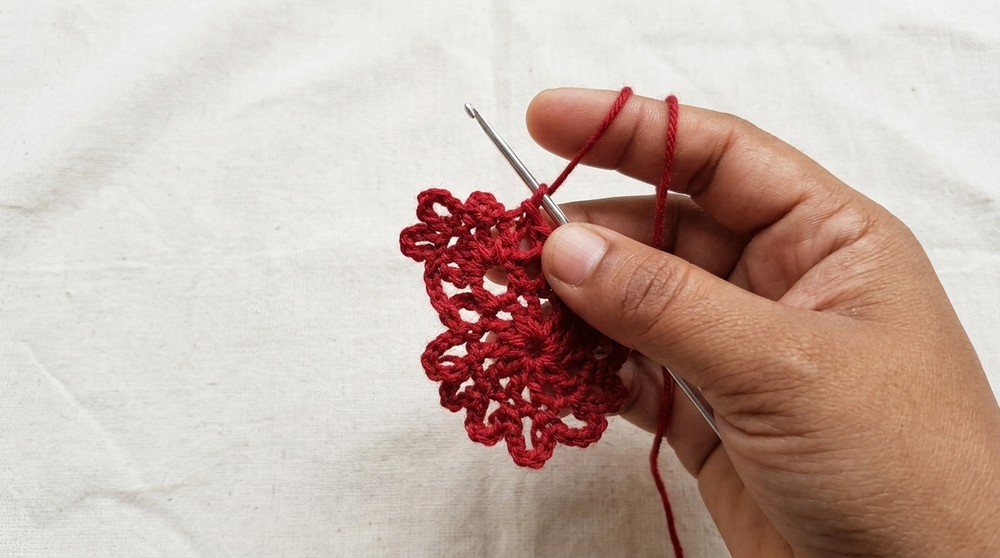
- Valley (space between points):
- Ch 2.
- 1 sc in next ch-5 loop.
- Ch 2.
- Repeat [2 dc, Picot(4), 1 tr, Picot(7), 1 tr, Picot(4), 2 dc] in each ch-6 loop, with valley [ch 2, sc in ch-5 loop, ch 2] in between every pair of points.
- After final valley, join with a sl st to the very first sc of the round.
- Fasten off: Chain 1, cut yarn, weave the end on the back of the star.
Assembly & Finished Size
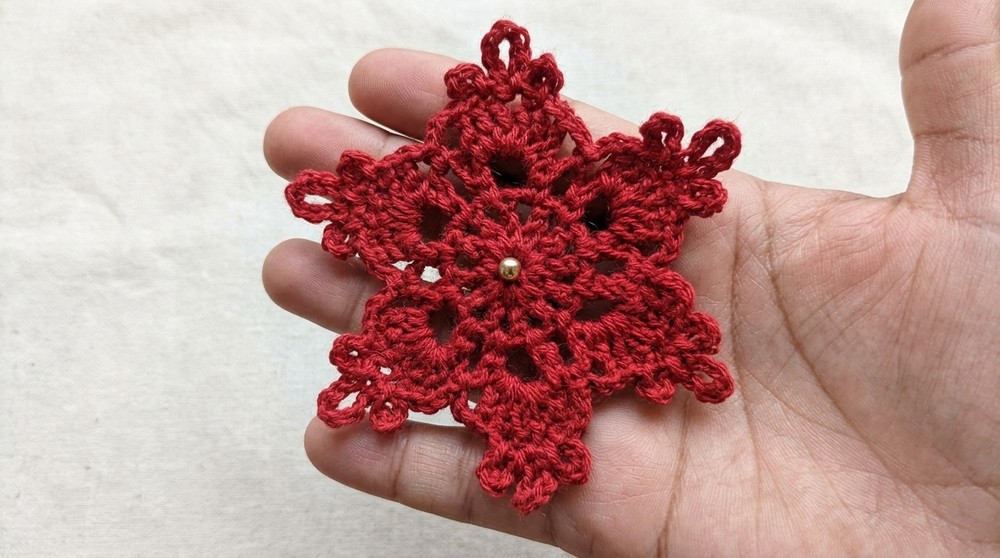
- Center the pearl bead at the motif’s center circle.
- Sew on the pearl using a matching thread and needle for secure attachment or glue it for a quick finish.
- Ensure thread or glue is invisible when viewed from the front.
- Finished star typically measures 7.5–8.5 cm (3–3.5 in) from point to point.
Conclusion and Ending Words
Fine detail, balanced symmetry, and lustrous color work together to produce a decorative accent ideal for festive occasions. Each round builds upon the previous for structural integrity and ensures six evenly spaced, sharply defined points. Picot accents emphasize each tip and give a crisp silhouette, while the central bead adds visual focus. The finished star makes a delightful ornament, suitable for display on tree branches, gift wrapping, or seasonal décor. Replicate in a spectrum of colors for a harmonious set or as a striking stand-alone piece. Consistent technique and accurate stitch placement will yield reliably beautiful results, bringing both satisfaction and sparkle to the holiday season or celebratory events, year after year.