Decorate your home with this Crochet Christmas Trees Free Pattern and enjoy making cute little trees that bring warmth and festive charm to any room.
Many thanks to the creative mind behind this festive project, Crochet with @CrochetToysIryna, who shares clear and helpful tutorials that inspire lots of crocheters.
The Crochet Christmas Trees are small, cheerful decorations that add a holiday spirit wherever they sit. Usually measuring between 6 and 8 inches tall, these trees fit nicely on shelves, desks, or mantels. Their cone shape is built using basic crochet stitches, mainly single crochet worked in rounds, with green yarn to resemble a Christmas tree. Small accents, such as tiny stars, beads, or bows, often join the final look for a festive touch.
Simple Crochet Christmas Trees Free Pattern For Festive Decor
This project suits beginners well since it involves familiar stitches and simple increases and decreases to shape the tree. Following the instructions lets you focus on tension and stitch consistency, which are important skills to develop.
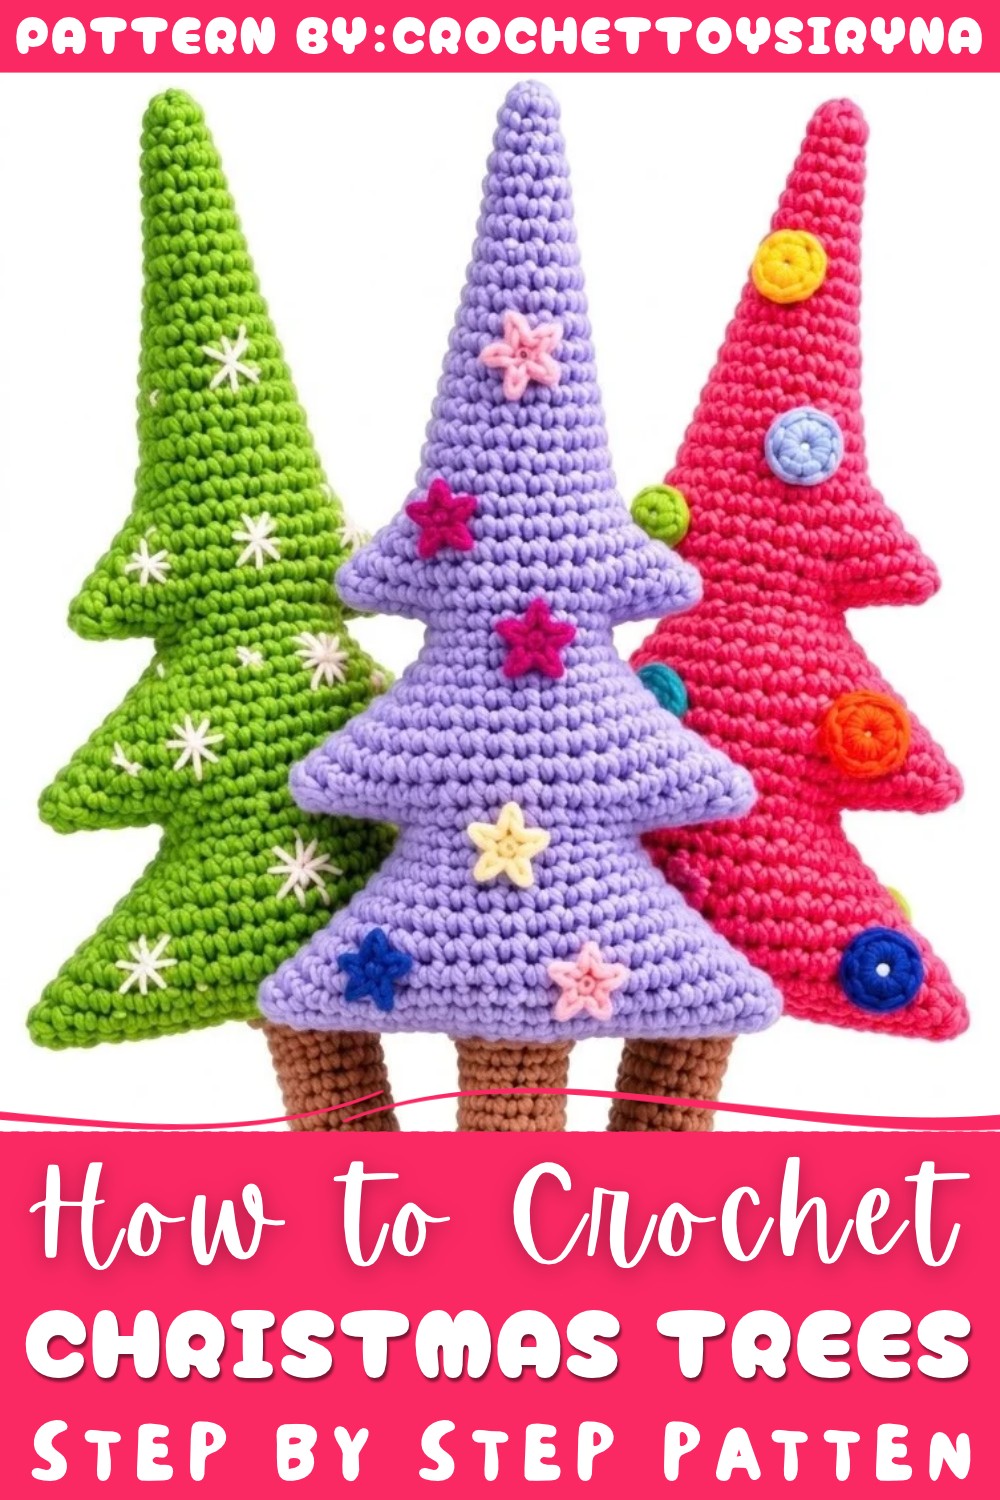
Try this free pattern and bring a little handmade holiday charm into your home with the Crochet Christmas Trees—it’s a neat little project that fits nicely into busy days.
About the Pattern
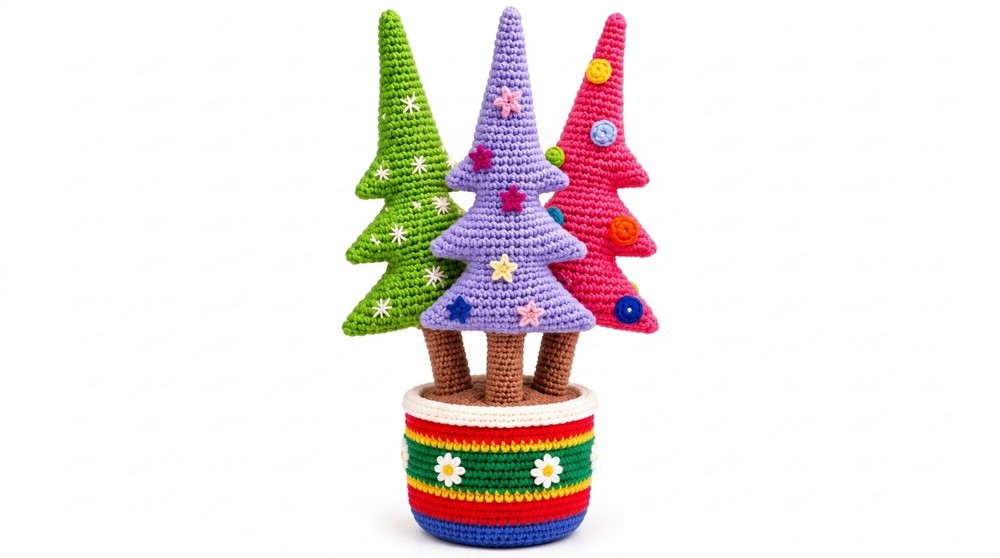
This Christmas tree crochet pattern utilizes a compact construction and elegant tiered branching to create a classic seasonal motif. The design incorporates a continuous main body with deliberate increases to shape the tiers, a separate stem for structure, and a refined finishing process that yields a three-dimensional ornament suitable for display or gifting. Worked with a small 2mm hook, the result is a tree that displays clean lines and distinct branches, ideal for festive decoration and customization. The assembly is practical, with extra steps for stuffing and stability, culminating in a tree that stands upright and decorates beautifully.
Key Pattern Details
- The main body begins with a magic ring, progressing through structured increases to form the trunk and branches of the tree.
- Branch tiers are carefully shaped with specialty increases at precise points to create pronounced layers.
- Color changes to brown yarn mark the transition to the stem, replicating a genuine tree base.
- Assembly includes sewing branch tiers shut to reinforce the shape, inserting a chopstick for upright support, and closing the base with deliberate decreases.
- Final embellishments with buttons or beads are suggested for authentic festive flair.
Important Notes
- Stuff the tree lightly as you proceed to maintain structure and avoid misshapen tiers. Fiberfill is used for this purpose.
- When sewing the branch tiers, keep the center stitch of each increase at the apex for optimal symmetry and visual appeal.
- The pattern incorporates skips, joins, and increases in specific positions—precision is important to achieve the tiered effect.
- The disposable chopstick serves as an internal stabilizer, ensuring the tree stands upright on its own.
Difficulty Level
This pattern is suited for intermediate crocheters. It requires comfort with magic rings, increases, skips, chains, color changes, sewing amigurumi-style shapes, and adding stability elements. Attention to stitch placement during shaping and the assembly process is necessary to achieve a clean finish.
Supplies Needed
- Green yarn (main tree body)
- Brown yarn (tree stem)
- 2mm crochet hook
- Fiberfill (stuffing)
- Disposable chopstick (for internal support)
- Yarn needle (for sewing and closing)
- Buttons or beads (for decoration)
- Scissors
Size & Measurements
Finished size depends on yarn and stuffing, but generally produces a small tabletop ornament (typically 12–18 cm tall, including the stem). Adjust yarn weight and stuffing to modify size as preferred.
Gauge & Stitch Details
Gauge is not critical, but stitches should be firm to hold shape and stuffing. The tree is worked in continuous rounds and rows, with structured increases and precise skips to shape branches.
Crochet Abbreviations
- MR: Magic Ring
- SC: Single Crochet
- Inc: Increase (2 SC in one stitch)
- Ch: Chain
- Sl St: Slip Stitch
- Dec: Decrease
Special Stitch Guide
- Magic Ring: Form a loop, crochet into it, then pull tight for a closed start.
- 3-SC-Increase: Work 3 single crochets into one stitch to create a pronounced branch point.
- Skip & Join: Skip multiple stitches, chain one, reattach and continue working SC in specified position for branch formation.
- Stuffing: Insert fiberfill as you progress to maintain the tree’s structure.
- Sewing Branch Tiers: Using a yarn needle, stitch through the tree's branch tier stitches, aligning the apex, for reinforced shape.
Complete Crochet Pattern
Main Body Pattern
- Foundation:
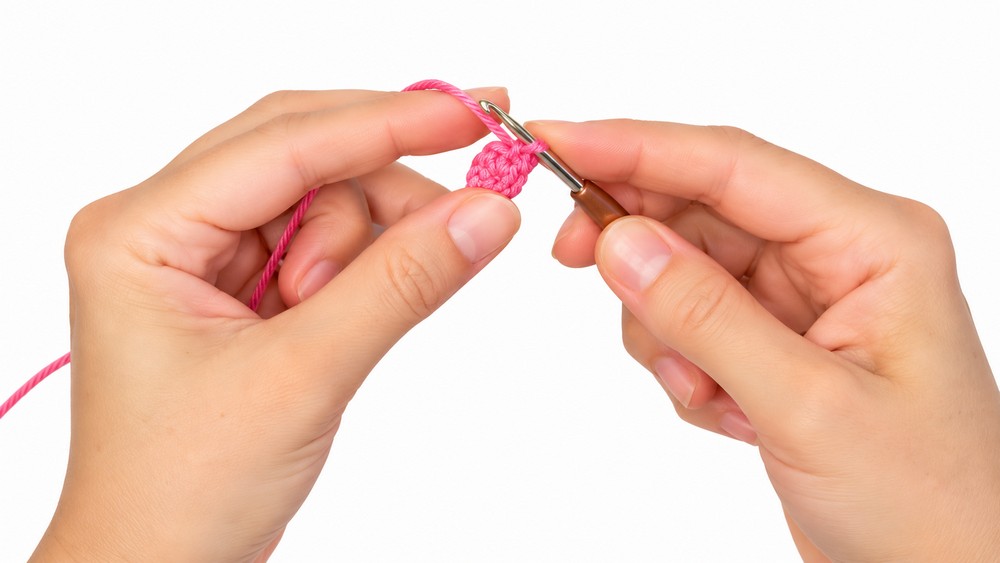
- Magic Ring, 6 SC.
- Base Shaping:
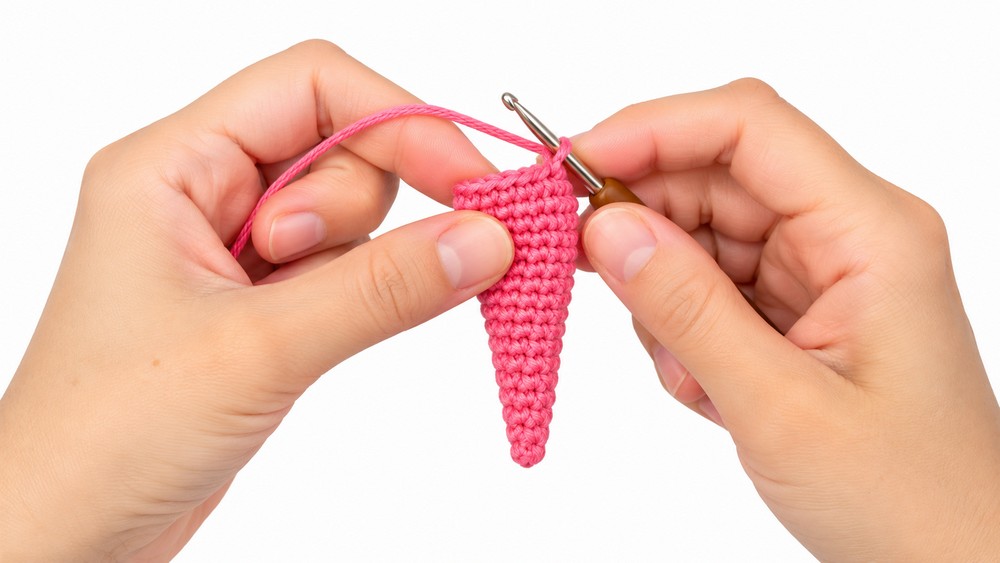
- Rows 1–2: 6 SC in each row.
- Increase to 9 SC, work 9 SC for 3 rows.
- Increase to 12 SC, work 12 SC for 3 rows.
- Increase to 15 SC, work 15 SC for 3 rows.
- Increase to 18 SC, work 18 SC for 3 rows.
- Stuff lightly as you progress.
Branch Tiers
- First Level:
- Row 1: Work 4 SC, 3-SC-Inc (3 SC into one stitch), 8 SC, 3-SC-Inc, 4 SC.
- In subsequent rows, continue to increase in the center stitch of each previous 3-SC-Inc cluster to extend the branches outward, until you reach 38 SC.
- Second Level:
- Ch 1, skip 11 stitches, join in the 12th stitch, work 8 SC, Ch 1, join in 12th stitch again, finish with 4 SC.
- Using the same logic, increase in relevant stitches until you reach 46 SC.
- Third Level:
- Ch 1, skip 13 stitches, join in the 14th stitch, work 10 SC, Ch 1, skip 13 stitches, join in 14th stitch, finish with 5 SC.
- Continue with strategic increases until you reach 54 SC total across this tier.
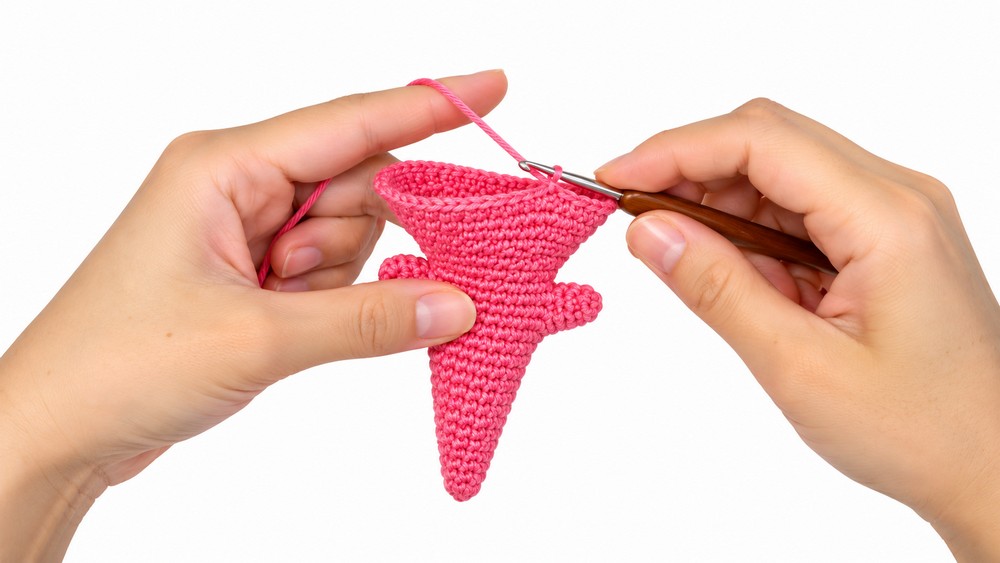
Stem and Assembly
- Stem:
- Switch to brown yarn.
- Work 3 SC, skip 21 stitches, 6 SC, skip 21 stitches, 3 SC.
- Work 25 rows of 12 SC to create a columnar stem.
- Closing & Stuffing:
- Stuff the tree with fiberfill as you work through each tier and before closing the stem.
- Use a yarn needle to sew branch tiers shut by working through the stitches on each tier, making sure the central stitch of the increase remains at the apex.
- For extra stability, insert a disposable chopstick into the stem prior to final closing.
- To finish, work 6 decreases at the bottom, then sew the final opening closed securely.
Decoration
- Personalize your tree by sewing or gluing buttons or beads onto the surface.
- Place decorations evenly around all visible sides for a festive appearance.
Joining & Final Size
- Confirm branch tiers are sewn shut neatly, with the central stitch at the apex of each fold for best symmetry.
- The stem should be straight, closely fitted around the chopstick, and comfortably stuffed without bulging.
- The decreases at the base close the tree’s stem, forming a neat finish.
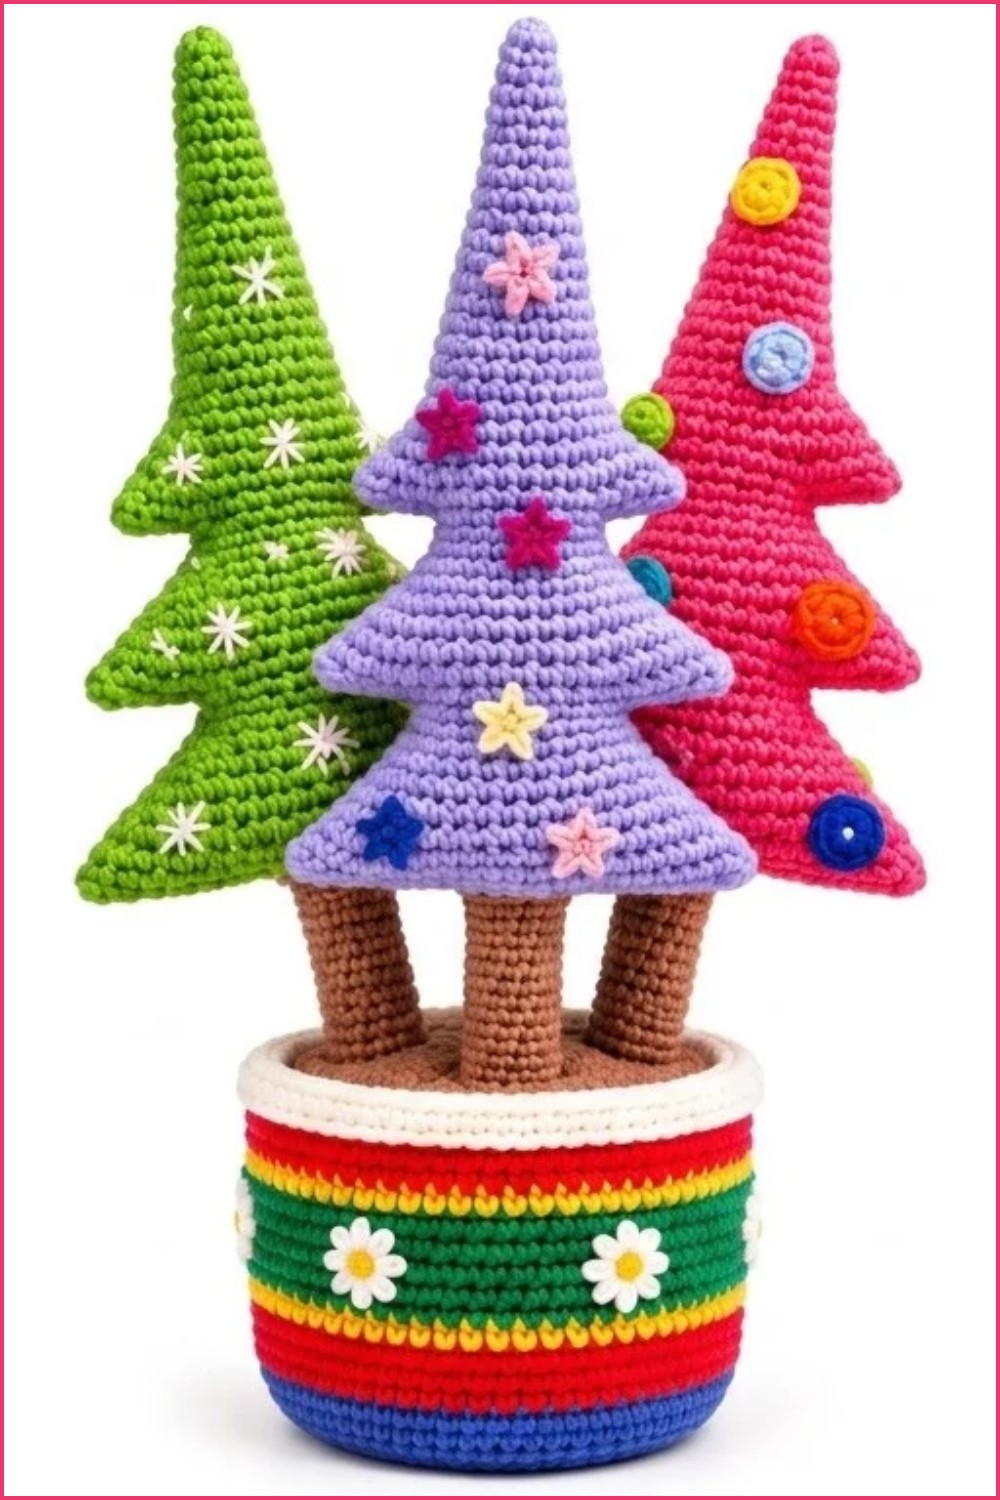
- The finished tree stands upright, displays distinct three-dimensional branches, and is ready for decoration.
Final Words
This pattern was constructed to produce a visually appealing tiered Christmas tree, with an emphasis on precise shaping and assembly. The magic ring foundation, structured increases, and tiered branches come together to create a tree with classic seasonal beauty. Assembly techniques such as stuffing, sewing, and internal stabilization provide a lasting silhouette suitable for display. Embellishments with beads or buttons add individuality and festive charm. Careful attention to placement and closure ensures a polished result, ready to enhance any holiday setting.