Add a spooky touch to your Halloween with a soft and cute Crochet Ghost that is easy to make and perfect for decorating your home or giving as a gift.
Looking for a simple and cozy way to celebrate halloween ? A Crochet Ghost Halloween decoration is a great choice. It’s soft and friendly, with a round shape and simple eyes that give it a playful look.
Free Crochet Ghost Halloween Pattern for Spooky Fun
These ghosts are mainly white, but small details like eyes or a smile can be added in different colors. Made from yarn, they feel warm and are safe around children and pets. Unlike fragile decorations, they won’t break if dropped.
Because they are light and small, crochet ghosts can hang on doors, walls, or pumpkins. They also fit nicely on shelves or tables alongside other Halloween items. You can use several to add a fun, spooky touch all over your home.
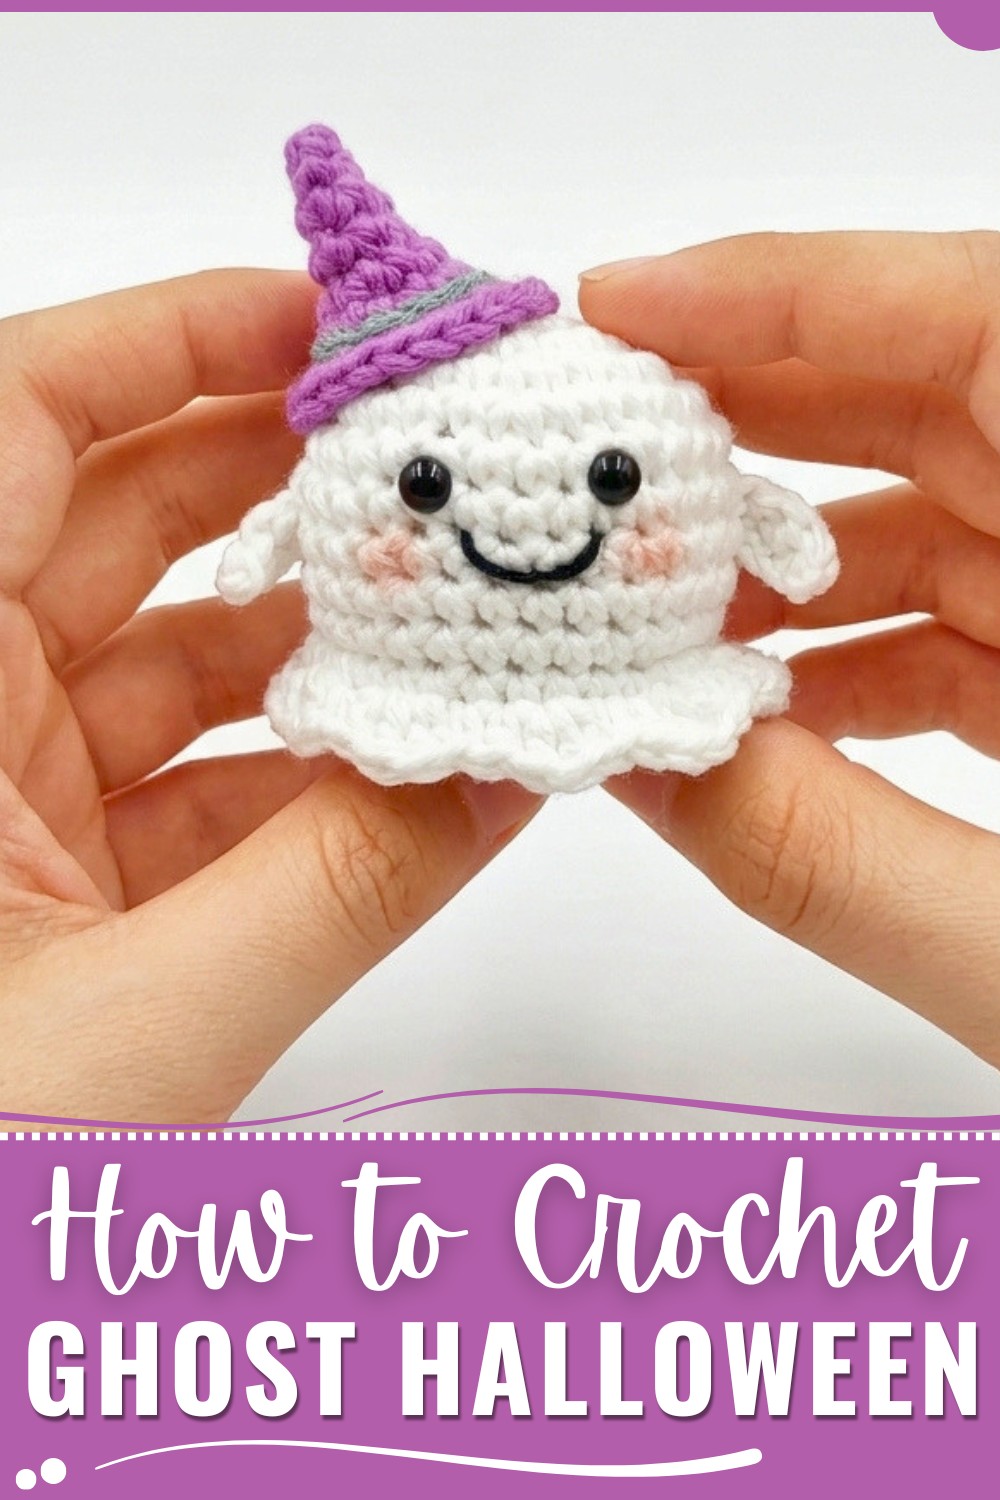
Crochet ghost decorations work well as gifts, party favors, or even small toys for kids. You can also attach them to bags or keys to carry a bit of Halloween wherever you go.
The simple design means they don’t take long to finish. Plus, you can change faces or add little extras to make each one unique.
Overall, these crochet ghosts offer a soft and safe way to bring a cheerful, friendly feel to Halloween decorations. Their gentle look adds warmth to the spooky season without being scary.
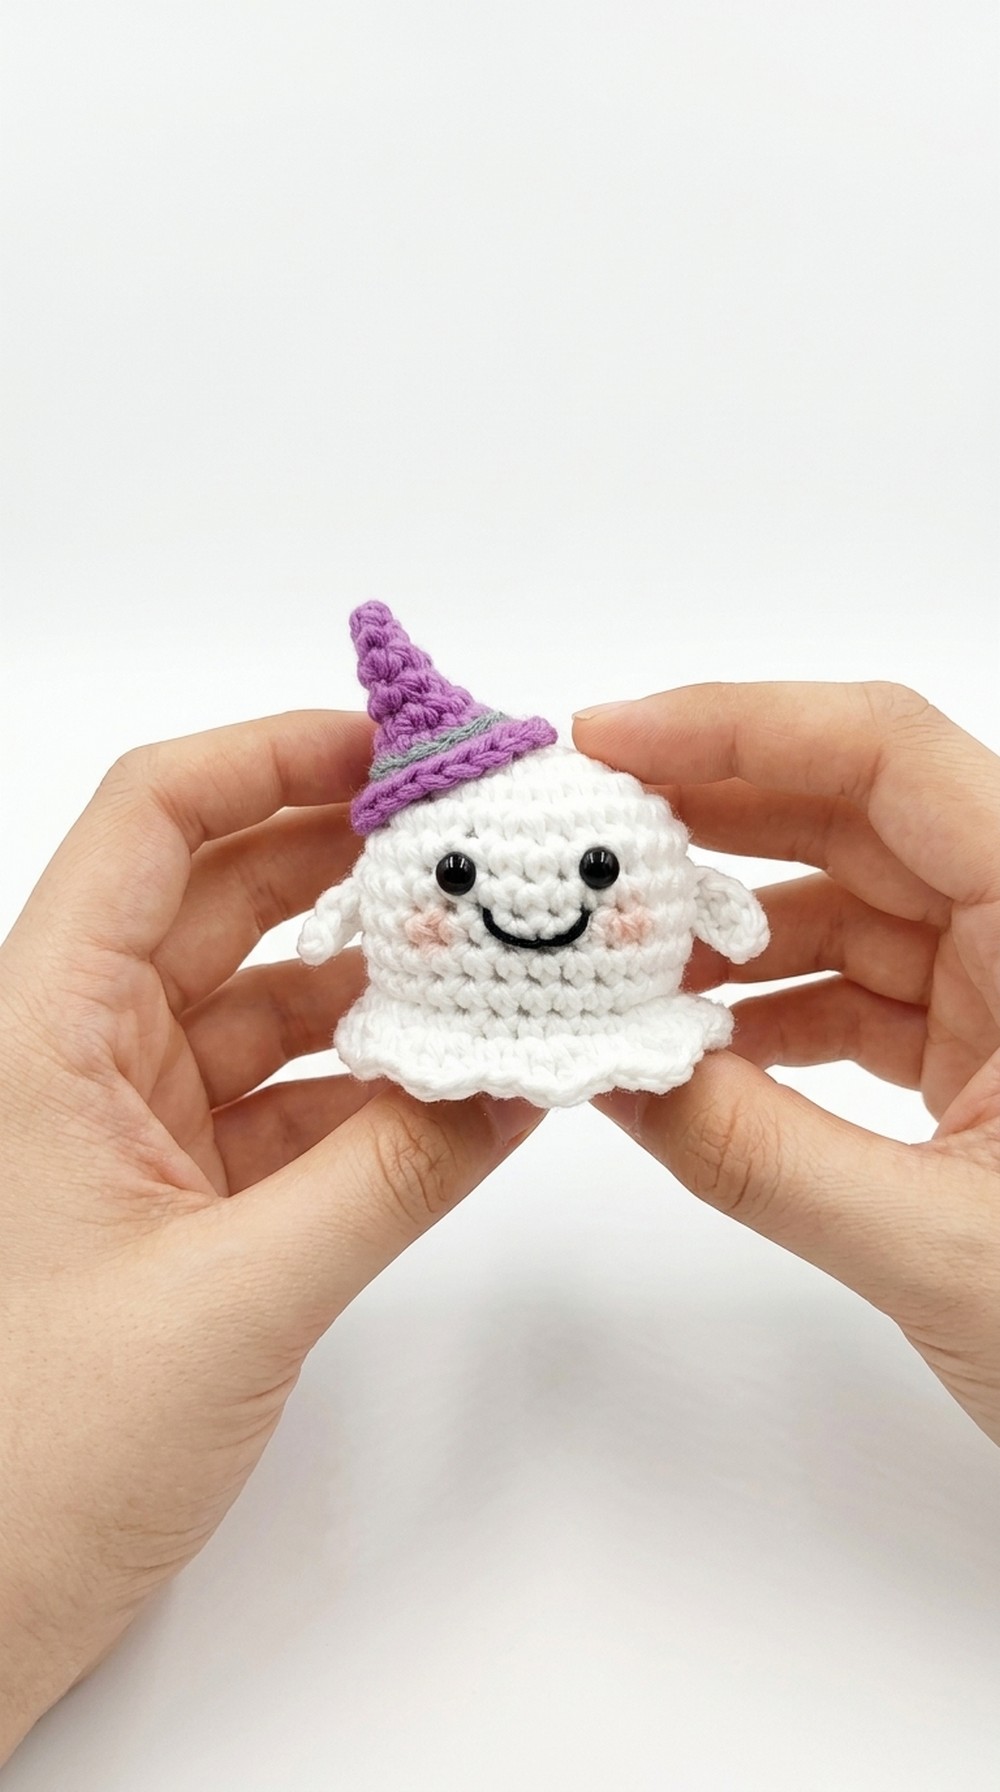
Cute Little Ghost with Witch's Hat
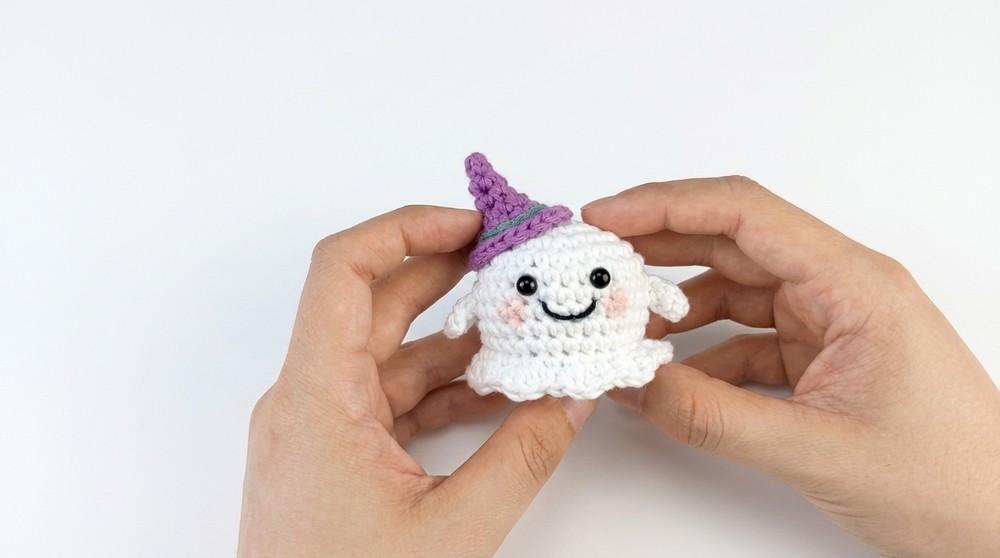
A charming project: a crocheted ghost with a witch’s hat. It’s simple, versatile, and can be used for a variety of decorations—whether as a keychain, a lovely gift, or even an accessory for your car’s rearview mirror. Follow along as we create this delightful little ghost step by step!
Quick Overview Of Pattern
- Ghost Body: Crocheted in the round with increases and decreases for shaping.
- Wavy Skirt: Adds playful movement to the base using leftover loops.
- Hands & Face: Simple details to personalize.
- Witch Hat: Crafted in contrasting colors, with decorative trim.
- Assembly: Attach all elements for a finished autumn decoration.
Notes
- Place safety eyes before stuffing the ghost and closing the head.
- Use the visible round join line as a guide for centering face and hands.
- Stuff firmly but not excessively to avoid distortion.
- When making the hat, adjust tilt for personality.
- If you plan to use it as a keychain or hanging decor, insert a loop at the top before closing.
Skill Level
Beginner to Easy Intermediate
This pattern requires knowledge of crochet in the round, basic increases and decreases, working in back and front loops, and simple sewing/embroidery for details.
Materials
- 100% cotton yarn or similar in:
- White (body)
- Purple (hat)
- Grey (hat brim)
- Black (mouth, face)
- 3 mm crochet hook
- Safety eyes (or black yarn for embroidery)
- Stuffing (fiberfill)
- Stitch marker
- Tapestry needle
- Scissors
- Hot glue or sewing needle for attaching hat
Measurements / Sizing
- Finished size: Approximately 7–10 cm tall including hat, 5–6 cm width.
- Size may vary slightly depending on yarn, tension, and stuffing.
Gauge
- Gauge is not critical for amigurumi; keep stitches tight to prevent stuffing from showing.
- Approx. 8 rounds ≈ 4 cm in diameter when lightly stuffed.
Stitch Abbreviations
| Abbreviation | Meaning |
|---|---|
| sc | single crochet |
| inc | increase (2 sc in 1 st) |
| dec | decrease (sc2tog) |
| hdc | half double crochet |
| dc | double crochet |
| ch | chain |
| sl st | slip stitch |
| BLO | back loop only |
Special Stitches
Magic Ring
Make a loop, crochet the required stitches into the loop, pull tail tight to close.
Increase (inc)
Work 2 single crochet in the same stitch.
Decrease (dec)
Work single crochet two together.
Back Loop Only (BLO)
Insert hook through the back strand of the stitch only (for texture or leaving loops).
Wave Pattern
(hdc, dc) in same stitch, dc in next stitch, sc in next stitch; repeat.
Crochet Instructions
GHOST BODY
- Round 1:
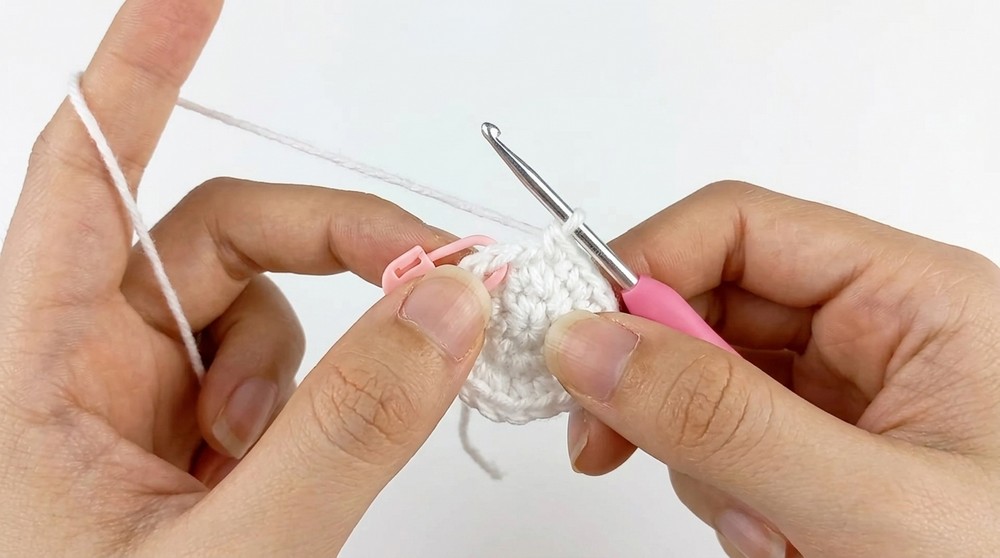
Magic ring, 6 sc into ring. Tighten and join with sl st. - Round 2:
2 sc in each st around (12 sc). Place marker at start. Join with sl st. - Round 3:
[1 sc, inc] around (18 sc). Join with sl st. - Round 4:
[2 sc, inc] around (24 sc). Join with sl st. - Round 5:
[3 sc, inc] around (30 sc). Join with sl st. - Rounds 6–10:
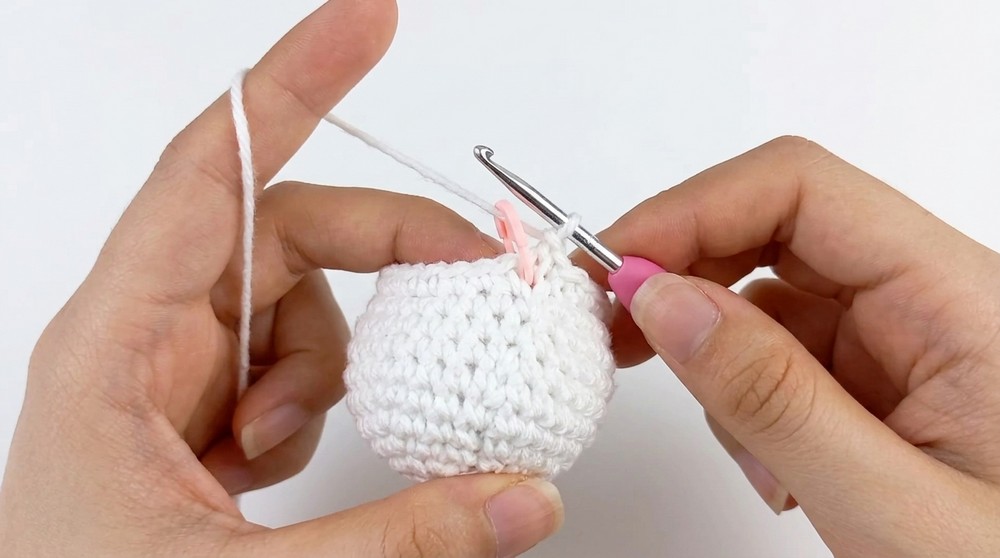
Sc in each st around (30 sc per round). Work evenly, move marker at start. - Round 11:
BLO only. [3 sc, dec] around (24 sc). When marker returns, pause to add safety eyes:- Between rounds 6 & 7, 4 stitches apart, centered on seam.
Join with sl st.
- Between rounds 6 & 7, 4 stitches apart, centered on seam.
- Round 12:
[2 sc, dec] around (18 sc). Stuff the body as you go. - Round 13:
[1 sc, dec] around (12 sc). - Round 14:
Dec around (6 sc). Stuff firmly before finishing. - Close:
Make a chain, leave a tail. Using tapestry needle, thread through last 6 stitches, pull tight to close, hide end inside.
WAVY SKIRT
- Locate the front loops from round 11.
- Round 1:
Attach white yarn. Ch 1, sc in each front loop around (30 sc). Sl st to join. - Round 2:
Ch 1. (hdc, dc) in same st, dc in next st, sc in next st; repeat triplet pattern for every set of three stitches. Join with sl st, fasten off, weave in end.
GHOST HANDS (Make 2)
- Decide placement (about nine stitches apart, between rounds 7 and 8), attach white yarn with no slip knot.
- Ch 4.
- Skip closest chain to hook, hdc in next, hdc in next, dc in last chain.
- Join the hand piece to the ghost body at the starting point with sl st. Ch 1, fasten off, hide ends. Shape hands to point slightly upward.
MOUTH & FACE
- With separated strand of black yarn or embroidery floss, use tapestry needle to embroider a small smile centered under the eyes, using the seam as a guide. Hide thread ends inside.
WITCH'S HAT
Hat Cone
- Round 1:
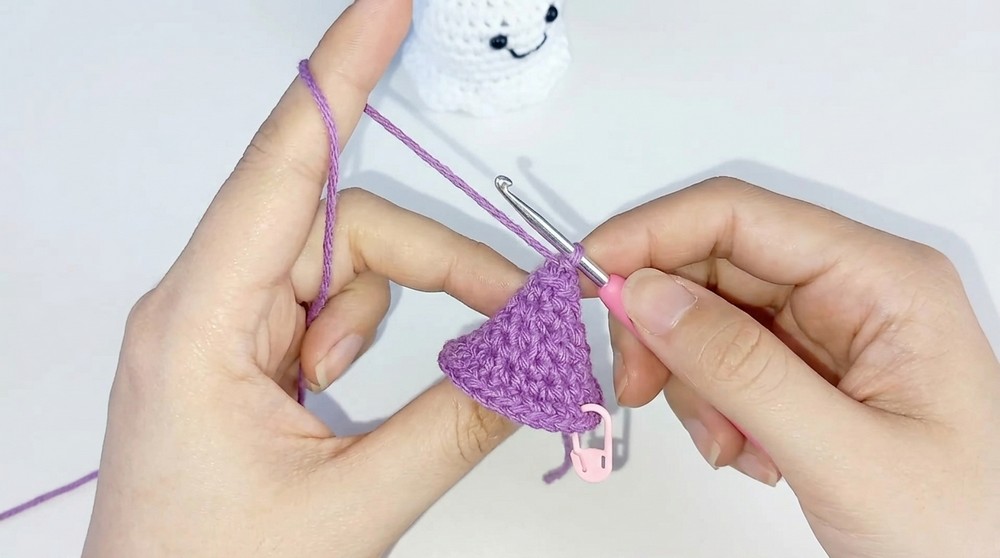
Magic ring, 6 sc into ring (purple yarn). Tighten, join with sl st. - Round 2:
2 sc in each st around (12 sc). Join with sl st. - Round 3:
BLO only, 2 sc in each st around (24 sc). Fasten off.
Hat Brim
- Attach grey yarn to leftover front loops from previous round.
- Sc in each front loop (12 sc), continuous rounds (do not join).
- [2 sc, dec] around (9 sc).
- [1 sc, dec] around (6 sc).
- Dec 3 times to finish (3 sc total). Fasten off and weave in ends.
Hat Decoration (Optional)
- With contrasting yarn, slip stitch through tiny holes where brim and tip meet, creating a decorative line. Weave in ends.
Assembly & Finished Size
- Assemble ghost body: stuff firmly, shape, and close.
- Attach and shape hands; use tapestry needle to secure and hide ends.
- Add wavy skirt, working into leftover loops for movement.
- Embroider mouth and add blushing or detail if desired.
- Make and decorate witch's hat, attach on top at a tilt for personality using glue or sewing.
- If making it a keychain/hanging ornament, add a thread loop at the top before closing the hat or ghost's head.
- Finished ghost measures about 7–10 cm tall, 5–6 cm wide.
Conclusion and Ending Words
And now, your little ghost with a witch's hat is ready for all your autumn and Halloween decorations! This fun and easy crochet project is ideal for gifts, keychains, or playful ornaments. The step-by-step instructions help you achieve a delightful result, full of character and charm. Thank you for following along—don’t forget to like and share so that many more inspired people can enjoy making their own magical ghosts. Wishing you a creative and cozy autumn.