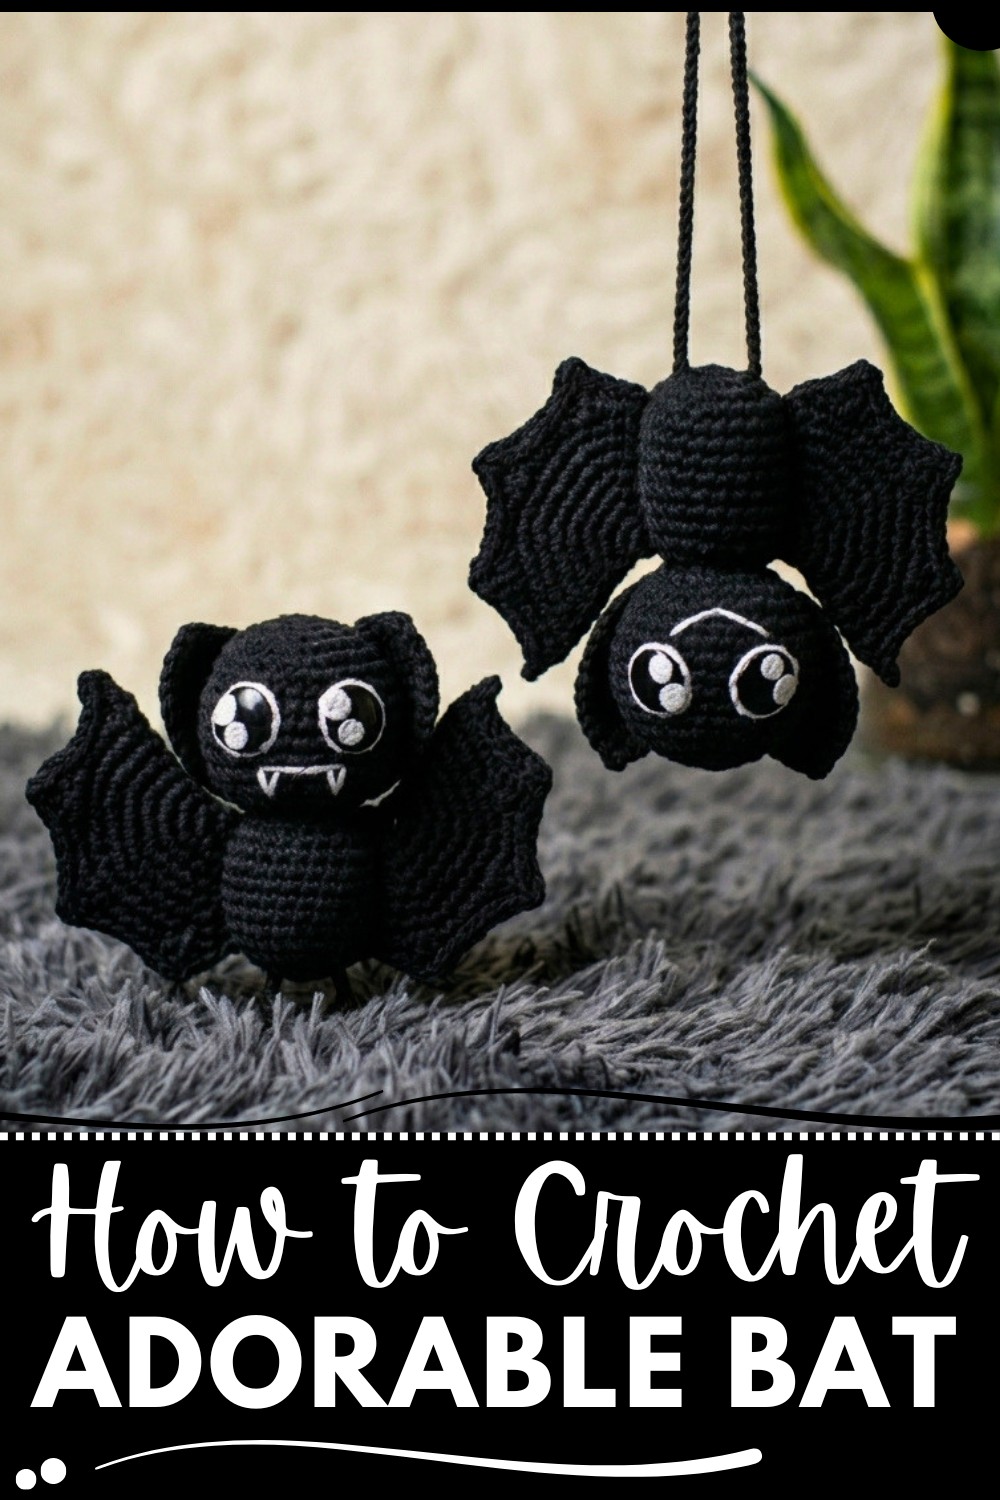
Create an adorable Halloween decoration or year-round plush toy with a free crochet amigurumi bat pattern that's easy, fun, and perfect for all skill levels.
Halloween is the perfect time to try fun and spooky crochet projects, and that’s how I found the Free Crochet AMIGURUMI BAT Pattern. This crochet pattern creates a beautiful project that is both practical and enjoyable to make. It results in an adorable little bat that’s soft and perfect for decorating your home or gifting to someone special. With a few small changes, you can also create other cute creatures or Halloween-themed amigurumi, making this pattern a versatile and exciting choice.
Halloween Free Crochet Amigurumi Bat Pattern for Decorations
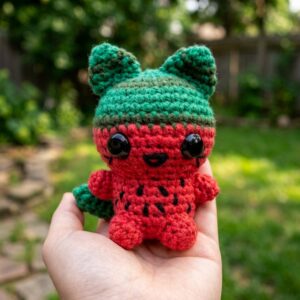
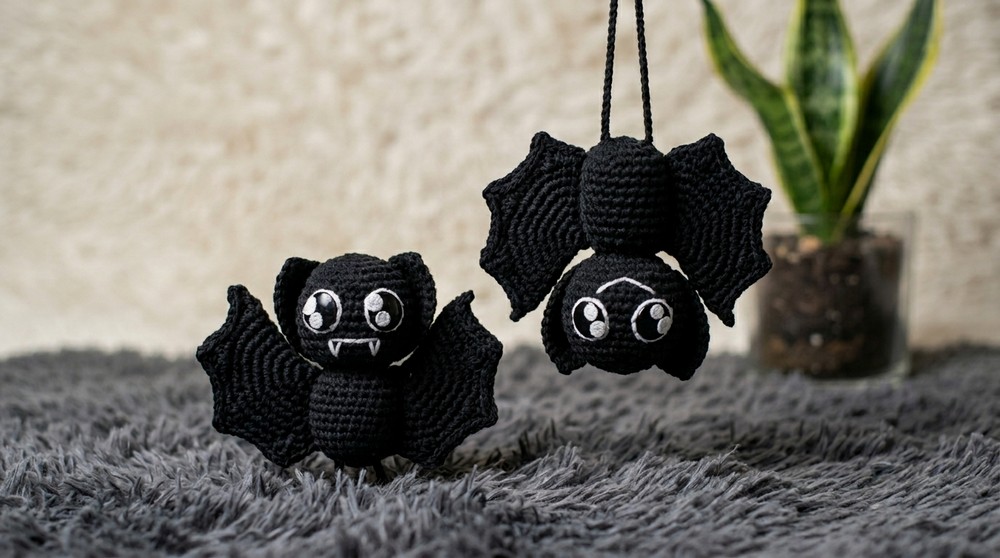
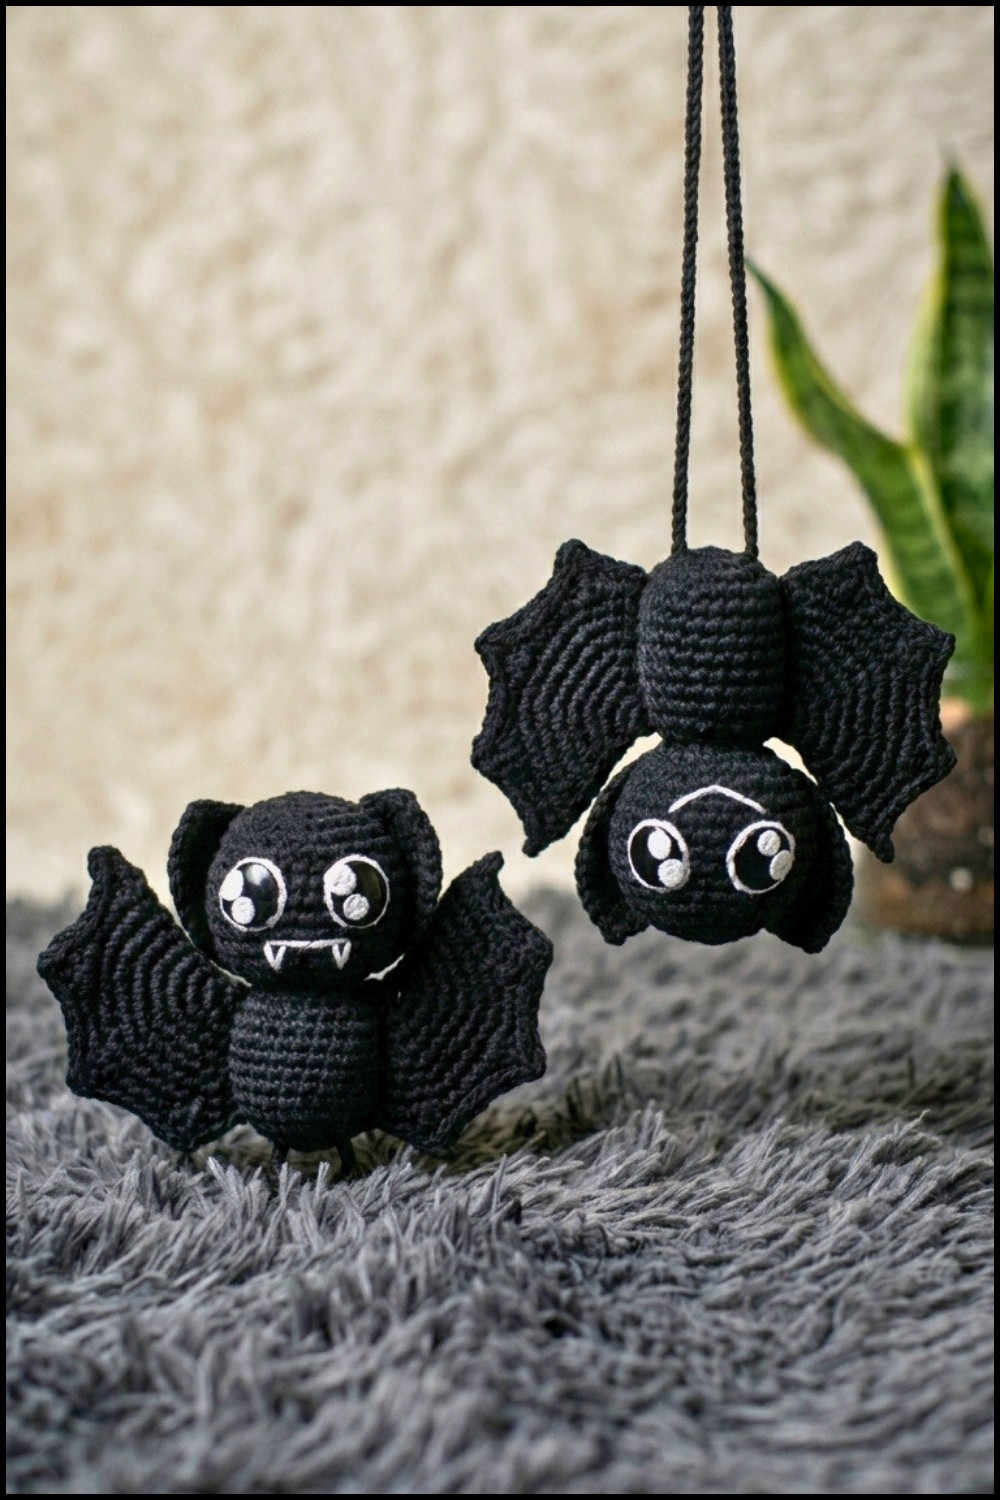
This amigurumi bat catches the eye with its charming and playful look. Its soft, plush texture invites you to hold it, while its rounded body shape and detailed wings bring a friendly yet spooky vibe. The carefully crafted wings are a standout feature, adding character and a whimsical touch ideal for Halloween decorations or year-round fun. Its compact size makes it easy to display on shelves, desks, or nightstands, giving any space a cozy, personalized flair.
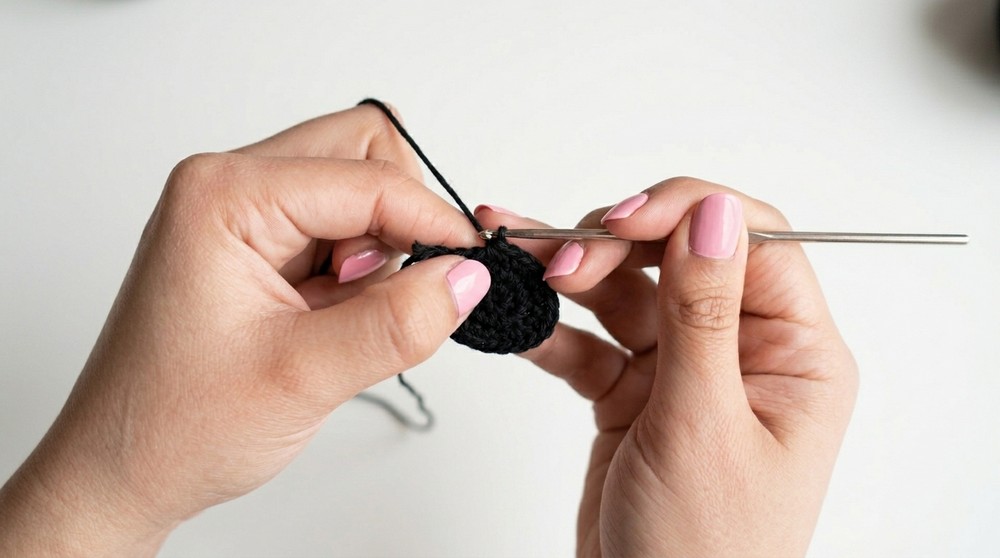
The project is built by crocheting the bat’s parts separately, the head, body, wings, and ears and sewing them together carefully. The main stitch used is single crochet, creating a tight fabric that keeps the stuffing safe inside. This pattern suits crocheters who have some basic experience, especially those comfortable working in rounds and shaping small pieces to bring this adorable bat to life.
This crochet bat makes a delightful handmade gift, a fun collectible, or a unique decoration that adds charm to your home. If you enjoy creating cozy, cute amigurumi toys with a hint of seasonal spirit, the Free Crochet AMIGURUMI BAT Pattern is a perfect project to try. Dive in and enjoy making your new little bat friend—you’re sure to love the result.
Amigurumi Bat Crochet Pattern (Halloween Edition)
Before You Start
- This amigurumi bat is designed for beginners and experts alike.
- The project includes standard amigurumi techniques: magic ring, increases, decreases, and working in rounds.
- Instructions cover the head, body, ears, wings, eyes, mouth, fangs, and legs.
- The bat is assembled after all parts are crocheted and stuffed.
- Personalize your bat with fabric, yarn, or felt for eyes and details.
Pattern Notes
- Pattern uses US crochet terminology.
- All rounds in the amigurumi are worked continuously (spiral). Use a stitch marker to note the first stitch of each round.
- When assembling, pinning pieces before sewing is highly recommended for placement.
- The wings and body use basic rounds and then are given shape with borders and fold/seam.
- For children under 3, securely sew on features and avoid small parts like safety eyes/wire.
- Amigurumi is typically worked tightly for shape—adjust hook accordingly.
How I Made the Crochet Pattern? (Summary)
- Started with magic rings for head, body, and ears, increasing each section to specified stitch counts.
- Created the head and body shapes with rounds of increases, followed by rounds of single crochet, and finished with decrease rounds.
- Made ears and wings using rounds of increases, then added signature points through simple shaping and slip stitches.
- Added facial features (eyes, mouth, fangs), legs (with wire or pipe cleaner), then assembled all parts for finishing.
- Embroidered, sewed, or glued on final details for character.
Skill Level
Beginner – Easy Amigurumi
Finished Size
- Finished bat: approximately 10–15 cm (4–6") tall, depending on your yarn and tension.
Materials
- Fingering or light (sport) weight cotton yarn in black, gray, or bat colors
- 2 mm crochet hook (or size to keep your stitches tight)
- Yarn needle for sewing and embroidery
- Stitch marker
- Polyester (fiberfill) stuffing
- Scrap white and black fabric or felt (for eyes and fangs)
- Thin wire or pipe cleaner (for legs, optional)
- White and black embroidery thread (for face/fangs)
- Scissors
Measurements / Sizing (Optional Schematic)
- Head: ~4–5 cm diameter
- Body: ~4–5 cm tall, 3 cm diameter
- Wings: ~7 cm span each
- Ears: ~2–3 cm tall
- Legs: 3–4 cm wire pieces
- Adjust size by altering yarn weight/hook.
Gauge
- Not critical, but fabric should be tight so stuffing does not show through.
Stitch Abbreviations
- MR – magic ring
- sc – single crochet
- inc – increase (2 sc in one stitch)
- dec – decrease (single crochet 2 together)
- ch – chain
- dc – double crochet
- sl st – slip stitch
- st(s) – stitch(es)
Special Stitches
- Magic Ring (MR): Used to start rounds in center; adjustable circle.
- Amigurumi Decrease (dec): Insert hook in front loops only of next two stitches, yarn over, pull through, yarn over, pull through 2.
- Pointed Wing/Ear: Working dc, chaining, sl st into previous stitch to make a pointed tip.
THE PATTERN
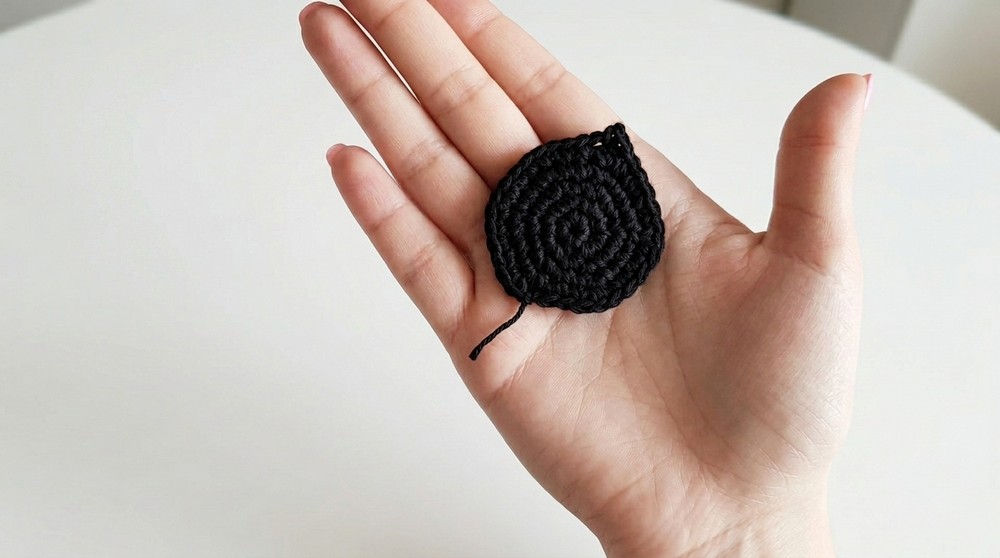
Head
- MR, 6 sc
- 6 inc (12)
- (sc, inc), repeat around (18)
- (2 sc, inc), repeat around (24)
- (3 sc, inc), repeat around (30)
- (4 sc, inc), repeat around (36)
7–10. sc in every st (36 per round, 4 rounds total) - (4 sc, dec), repeat around (30)
- (3 sc, dec), repeat around (24)
13–14. sc in every st (24 per round, 2 rounds) - (2 sc, dec), repeat around (18)
- (sc, dec), repeat around (12)
Stuff the head firmly. - Work continuous decreases (dec only) around until closed. Use needle to close any gap. Fasten off.
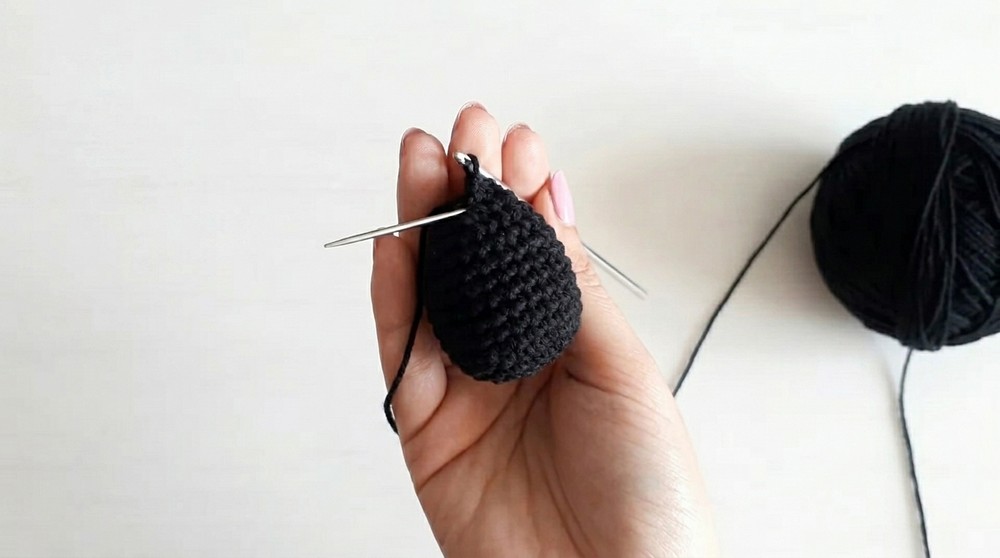
At this stage, your bat head is a tight sphere with a slight oval. If you don't read rounds, simply keep increasing and then decreasing, stuffing before final closure.
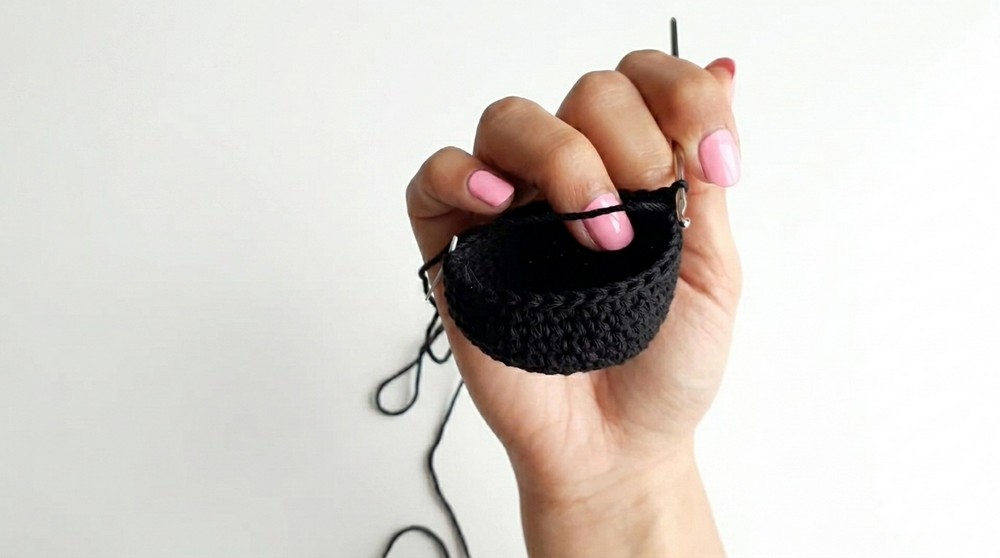
Body
- MR, 6 sc
- 6 inc (12)
- (sc, inc), repeat around (18)
- (2 sc, inc), repeat around (24)
5–11. sc in every st (24 per round, 7 rounds) - (2 sc, dec), repeat around (18)
- (sc, dec), repeat around (12)
- sc in every st (12) [final round]
Stuff well, fasten off, leaving long tail for sewing.
The body is slightly cylindrical and tapers at the ends.
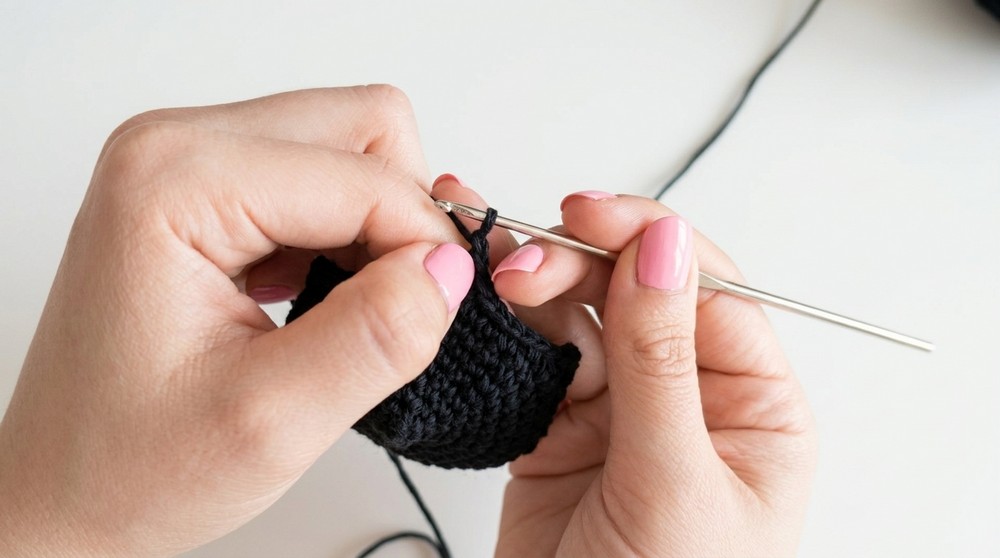
Ears (Make 2)
- MR, 6 sc
- 6 inc (12)
- (sc, inc), repeat around (18)
- (2 sc, inc), repeat around (24)
- (3 sc, inc), repeat until halfway round
- Make the pointed ear tip:
- dc in next st, ch 1, sl st into dc just made.
- dc again in same st for double point.
- Continue as before: finish with (3 sc, inc), repeat to end of round (final st count ~30).
Fasten off, leave long tail.
- Make the pointed ear tip:
Each ear is half-round, half-point, with one or two "tips". This special point is created by a combo of dc, chain, and sl st in same stitch.
Wings (Make 2)
Main Shape:
- MR, 6 sc
- 6 inc (12)
- (sc, inc), repeat (18)
- (2 sc, inc), repeat (24)
- (3 sc, inc), repeat (30)
- (4 sc, inc), repeat (36) or as wide as needed
- sc all around
Edging (Shape points):
- 4 sc, dc in next st, ch 2, sl st to the dc you just made, dc again in same st, 4 sc; repeat this for 3–4 points per wing.
- At end, even if stitch count doesn't divide evenly, it's not visible when sewn/folded.
- Finish border by sl st around, making a ch at each tip for definition.
Points are created by a sequence of dc, ch, sl st in the same stitch. The wings are later folded and sewn for a bat-like shape.
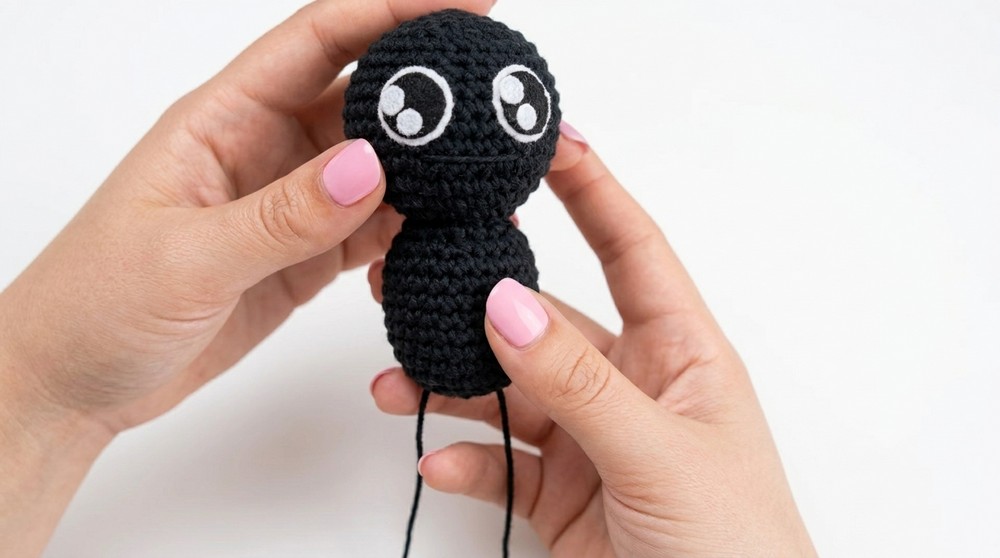
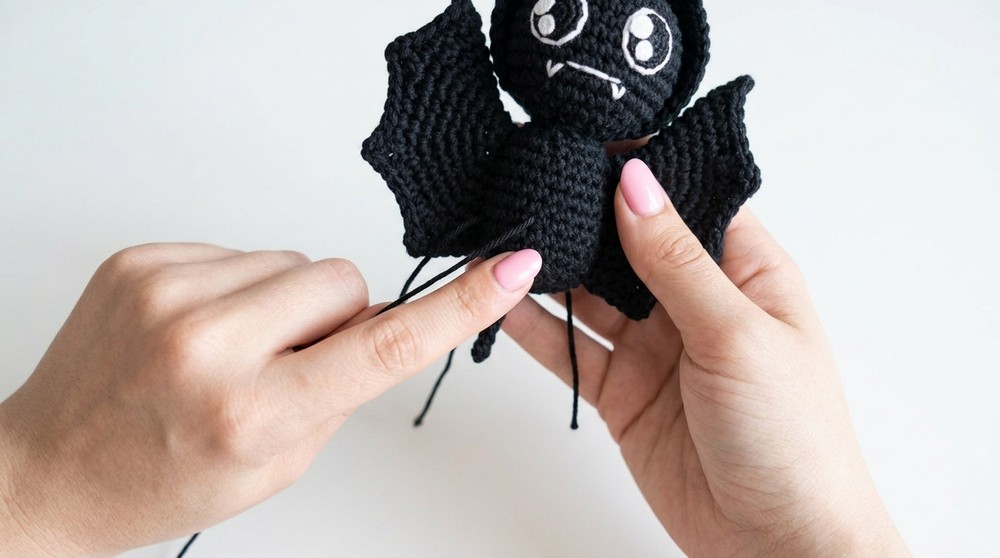
Face, Eyes, Mouth, and Fangs
- Embroider or cut two white fabric/felt circles for eyes; add small black pupils and eye highlights.
- Sew or glue in place.
- Use embroidery floss (white) to stitch small "fangs" below mouth.
- Stitch black mouth line as you like.
Legs (Optional, with wire or pipe cleaner)
- Cut 2 pieces of wire or pipe cleaner, ~3–4 cm.
- Insert through body bottom before closing.
- Fold ends inside and wrap with black yarn or embroidery floss, knotting securely to hide metal.
Assembly & Finishing
- Attach safety eyes, or sew/glue eyes made of felt/fabric before final closure.
- Pin head to body, then sew securely.
- Pin and sew ears to top sides of head.
- Fold wings as shown and sew along back sides, tips pointing up.
- Add legs before fully closing body if using wire; wrap with yarn/floss as needed.
- Stitch fangs and mouth using white and black embroidery thread.
- Weave in all ends; shape wings and pose as desired.
- Optional: Make loop for hanging or display.
After making and closing all pieces, your bat should look round and lively with structured wings and pointed ears. If you are unfamiliar with amigurumi, follow the approach of starting magic rings, increasing to widen, then decreasing to close, and always stuff before final closure.
Assembly & Finishing
- Sew parts in sequence: head to body, then ears, wings, facial detailing, and legs.
- Pin each part in place for symmetry before sewing.
- Tidy up visible joins by smoothing stuffing and working seams.
- If wire legs used, secure by wrapping with yarn and inserting ends into body.
- Add a hanging loop or string if turning into an ornament or mobile.
Solution of problem
Problem: Gaps showing between stitches or stuffing visible.
Solution: Use a smaller hook for tighter stitches, or stuff more gently and evenly. If holes remain after closing, sew up opening securely with a needle.
What you can make by using these stitches
- Amigurumi animals and plushies
- Halloween or holiday decorations
- Keychains, bag charms, or mobiles
- Custom dolls with the same shaping method
- Educational or storytelling toys
Congratulations! You've created a cuddly, kawaii bat perfect for Halloween or any time of year. Experiment with color, size, and embellishments for your unique bat buddy. Share your creation or adjust the pattern for fun new amigurumi creatures.