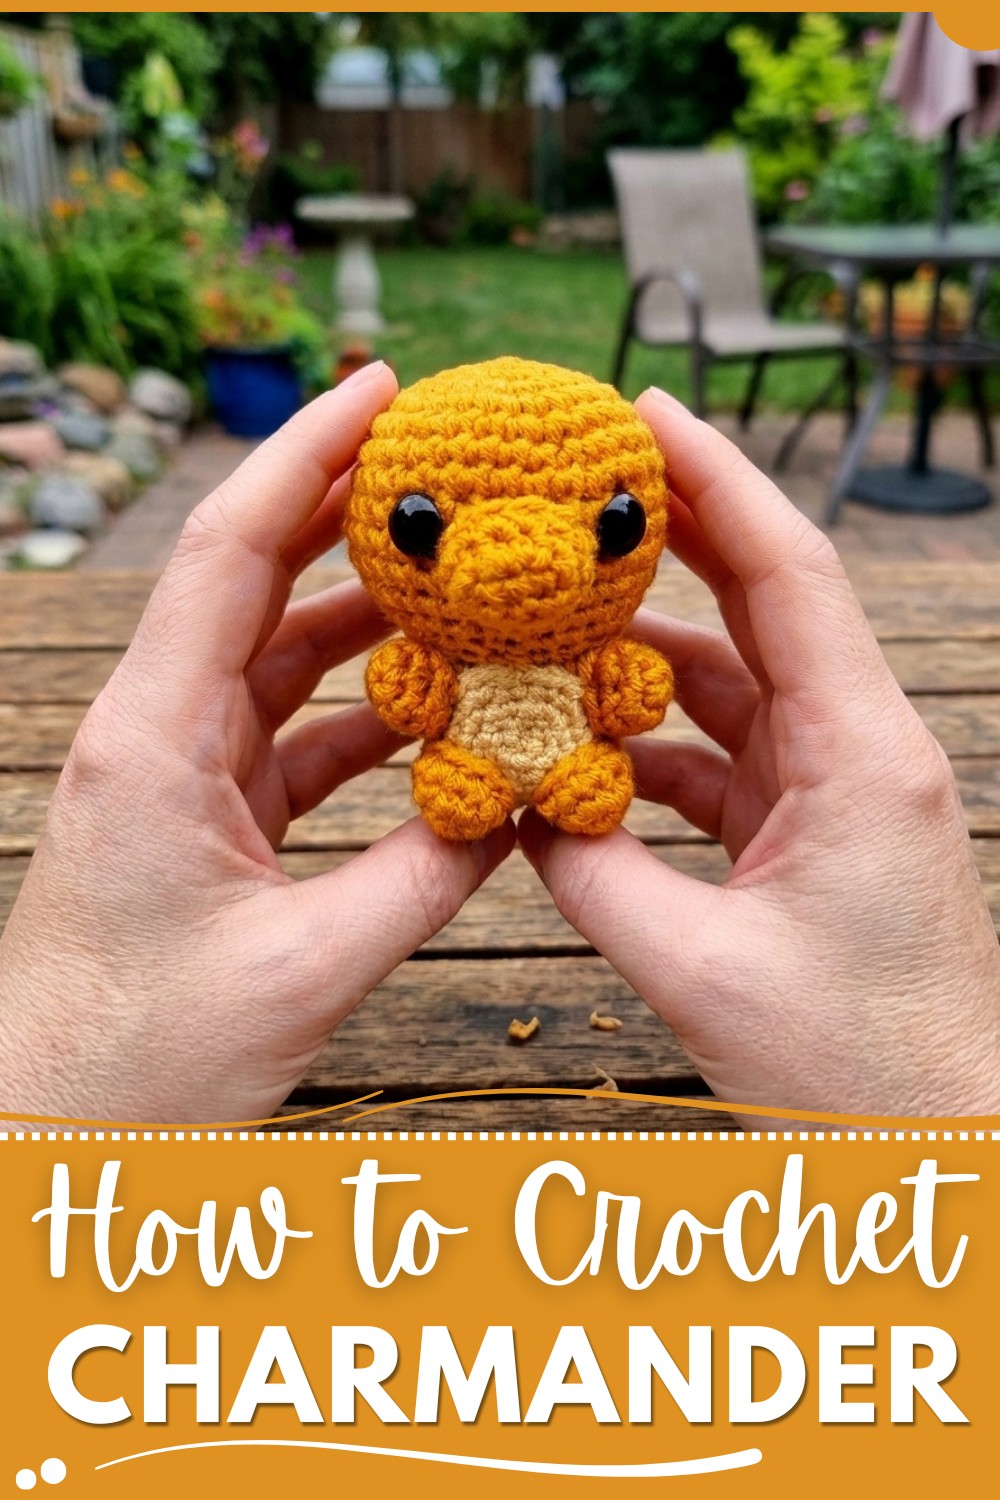
Capture the fiery spirit of your favorite character with this adorable Crochet Pokemon Charmander amigurumi that's for fans and collectors alike.
When I first started crocheting small toys, I loved making characters that bring back fun memories. One project I really enjoyed was creating a little fiery friend from a popular game. The Free Crochet Pokémon Charmander Pattern is a fun way to bring this lovable character to life with yarn. With small color and shape changes, you can also make other Pokémon or cute dragons, giving you lots of room to play with your creativity.
Simple Crochet Pokemon Charmander Amigurumi Pattern
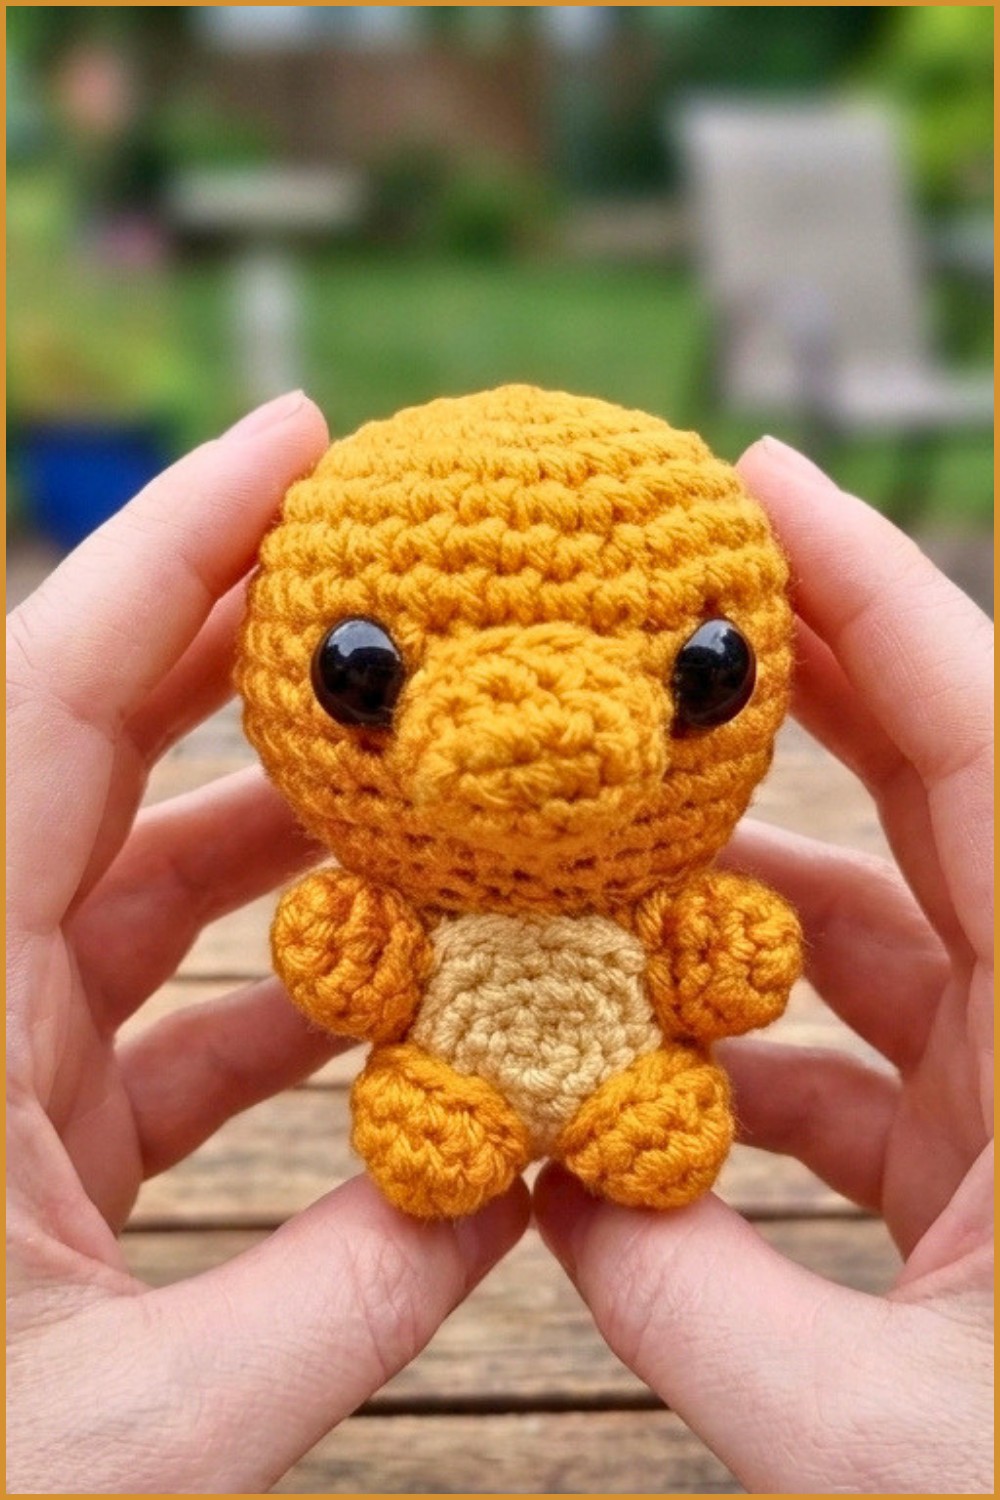
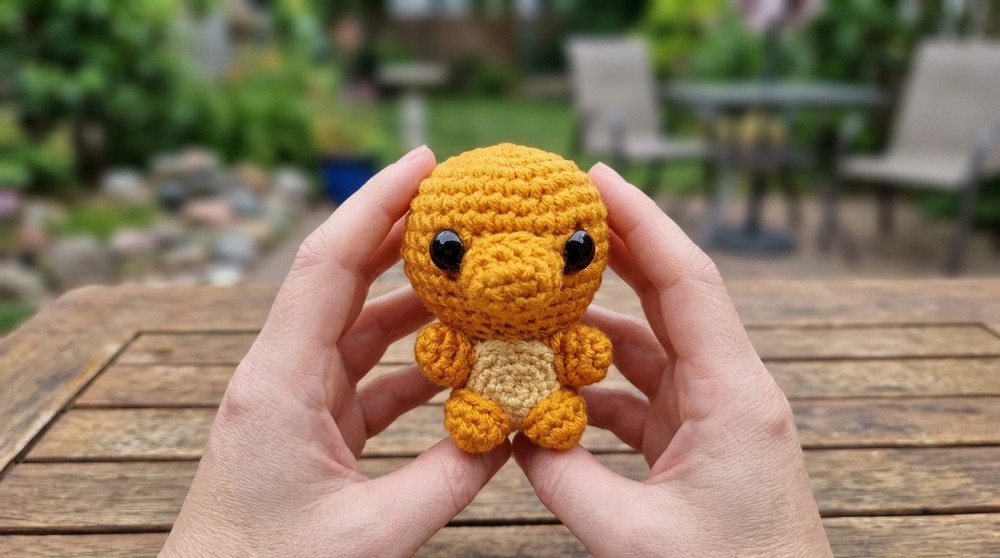
This Charmander crochet looks really charming and bright. It has a smooth, soft feel that’s perfect to hold or display. The shape is round and friendly, with its big eyes and tiny flame on the tail standing out as special details. The style is simple but true to the character, making it easy to recognize and love. Its warm orange color and smiling face make it a happy decoration or toy that can brighten any room.
To make this project, you create the parts like the body, head, arms, and tail separately before sewing them together. It uses the single crochet stitch, which is easy to learn and helps keep everything tight and neat. This pattern works well for beginners and those who enjoy quick, fun projects, making it a great way to build your crochet skills.
The Free Crochet Pokémon Charmander Pattern is perfect for making gifts that fans will adore, cute decorations, or small collectibles to keep on a shelf. If you love colorful, playful crochets and want something not too tricky to crochet, this Charmander is a wonderful choice. It’s a sweet project full of personality that will make you smile while you make it.
Charmander Crochet Pattern
Before You Start
- Read through the whole pattern before beginning.
- Prepare your yarn, hook, and notions in advance.
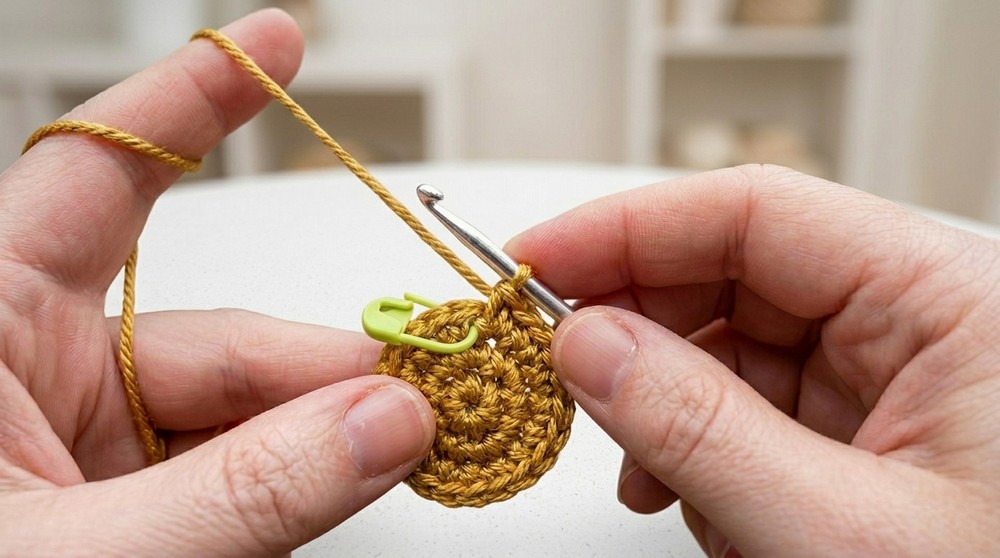
- Use a stitch marker to help keep track of rounds.
- Keep stuffing within reach for assembly.
- Safety eyes can be swapped for felt/embroidery for children.
Pattern Notes
- Body and head are worked as one seamless piece.
- Use tight stitches with a small hook so stuffing does not show.
- Color changes for the tail flame are made by tying and fluffing yarn strands.
- Eyes, arms, legs, tail, belly, snout, and flame are attached after crocheting.
- Each part includes basic increases and decreases.
How I Made the Crochet Pattern
- Designed the body and head as a single amigurumi segment to simplify assembly.
- Used basic shapes and color work to build up detail (snout, belly, flame).
- Applied stuffing during decreases so the figure holds its form and sits flat.
- Sewed body parts on after main assembly for flexibility in pose and placement.
Skill Level
Beginner to Confident Beginner — requires basic increases, decreases, magic ring, and color changes.
Finished Size
- Approx. 3.5–4” (9–10 cm) tall
Materials
- Worsted weight yarn in:
- Orange (body & limbs)
- Cream (belly)
- 3.25 mm crochet hook
- Polyfill stuffing
- Stitch marker
- Yarn needle
- Safety eyes (or felt/embroidery)
- Scissors
Measurements / Sizing
- Body/head diameter: 1.5–2" (4–5 cm)
- Arms: ~1" (2.5 cm)
- Legs: ~1" (2.5 cm)
- Tail (w/out flames): 1.5–2" (4–5 cm)
- Belly patch: ~1" diameter
- Flame tuft: ~1" (2.5 cm)
Gauge
Not critical for amigurumi, but work stitches tightly to avoid gaps.
Stitch Abbreviations
- ch = chain
- sc = single crochet
- inc = increase (2 sc in same stitch)
- dec = decrease (see Special Stitches)
- sl st = slip stitch
- st(s) = stitch(es)
- MR = magic ring
Special Stitches
Invisible Decrease (dec):
Insert hook under front loops of two stitches, yarn over, pull through both front loops, yarn over, pull through last two loops.
The Pattern!
Head and Body (Orange)
Round 1: MR, 6 sc in ring (6)
Round 2: 2 sc in each st (12)
Round 3: [Inc, sc] around (18)
Round 4: [Inc, sc, sc] around (24)
Round 5: [Inc, sc, sc, sc] around (30)
Round 6: [Inc, sc, sc, sc, sc] around (36)
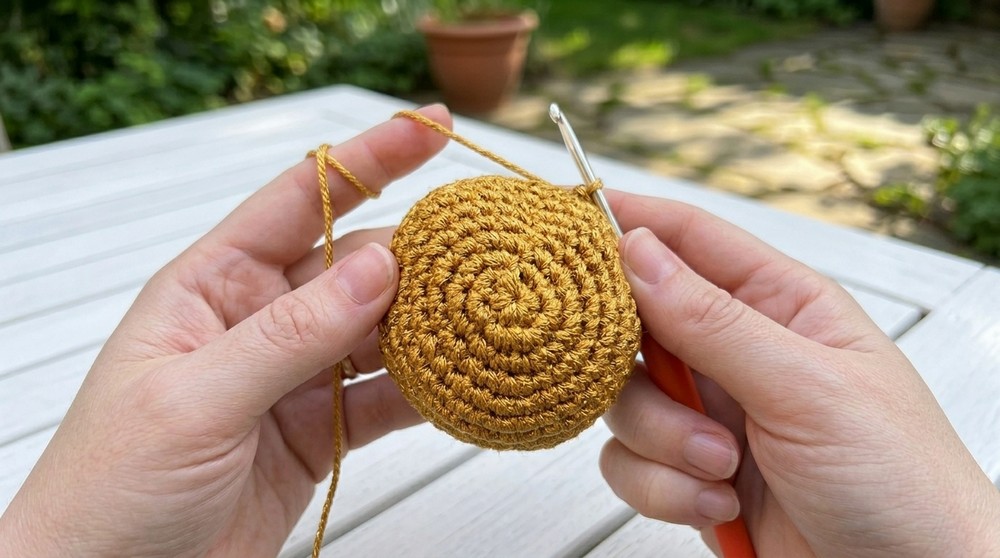
Rounds 7–12: Sc in each st (36)
This creates the head segment, shaped like a sphere.
Round 13: [dec, sc 4] around (30)
Round 14: [dec, sc 3] around (24)
Add safety eyes between rounds 4 and 5, 8 stitches apart.
Round 15: [dec, sc 2] around (18)
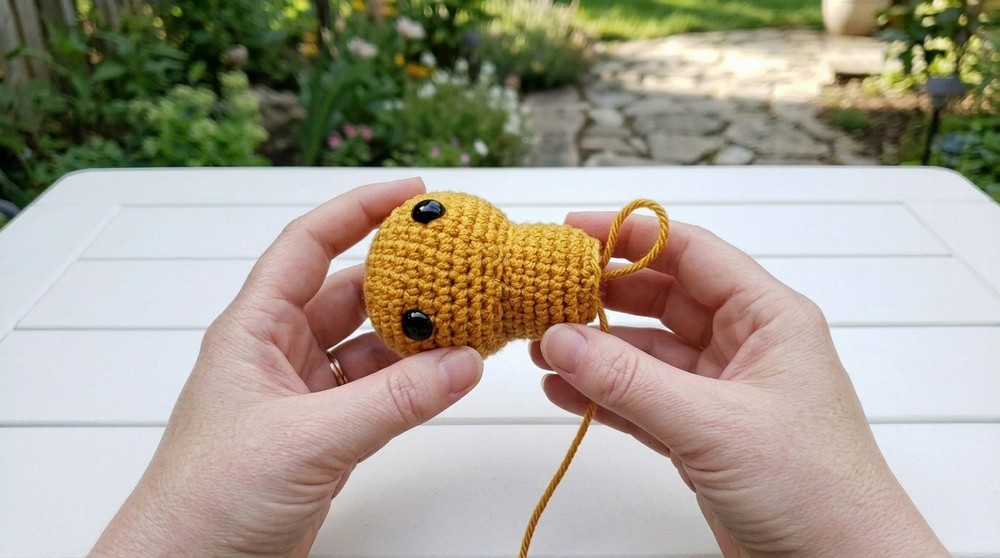
Now lightly stuff the head and tighten up the shape, making sure the eyes are set firmly and the snout area remains clear.
Body Segment (Orange, continues from head)
Round 16 (FL only): [inc, sc] around (27)
Work clearly in the front loops for a sharp transition; this is where body begins.
Rounds 17–21: Sc in each st (27)
Continue stuffing to maintain the shape, but keep the bottom of the body flatter for sitting.
Round 22: [dec, sc] around (18)
Round 23: [dec, sc] around (12)
Stuff the body as you go. Flatness helps it sit.
Round 24: Dec x6 (6)
Fasten off, slip stitch, leave tail for sewing. Weave through front loops of last round, cinch tight, and secure.
You now have a seamless Charmander body and head. If you don’t read traditional patterns: Start with a magic ring, build up to 36 stitches in rounds, work five rounds even, then decrease while filling with stuffing, and finish with the flat base.
Belly Patch (Cream)
Round 1: MR, 4 sc (4)
Round 2: [inc, sc] around (6)
Round 3: [inc, sc, sc] around (8)
Round 4: [inc, sc] around (12)
Round 5: [inc, sc 2] around, slip stitch to finish (16)
Cut tail for sewing.
This is a flattened oval. It sits underneath the body, but slightly overlaps the lower body for that ‘rounded’ belly look.
Arms (Make 2, Orange)
Round 1: MR, 4 sc (4)
Round 2: Inc in each st (8)
Round 3: Sc in each st (8), slip stitch to finish
Cut tail, lightly stuff, sew closed.
Arms are stubby and rounded—perfect for Charmander’s friendly pose.
Legs (Make 2, Orange)
Round 1: MR, 5 sc (5)
Round 2: Inc in each st (10)
Round 3: Sc in each st (10), slip stitch to finish
Cut tail, lightly stuff.
Legs are chunky and round, positioned diagonally from arms.
Tail (Orange)
Round 1: MR, 4 sc (4)
Round 2: [inc, sc] around (6)
Round 3: Sc in each st (6)
Round 4: [inc, sc, sc] around (8)
Round 5: [inc, sc, sc, sc] around (10)
Round 6: Sc in each st (10)
Round 7: [inc, sc 4] around (12)
Round 8: Sc in each st (12), slip stitch to finish
Cut tail, stuff.
Snout (Orange)
- Make a slip knot, ch 5.
- Turn to back bumps, sc in 2nd ch from hook and next 2, inc in last bump. (5 sts)
- Rotate work and sc along the other side: sc 3, inc in last bump. (5 sts)
- Continue sc around the perimeter of the oval for one row (10), slip stitch to join, cut tail.
Stuff lightly before sewing.
This little oval fits between the eyes, giving Charmander its signature snout.
Optional: Tail Flame (Yellow, Red, Orange)
Cut ~6" of yellow and red, and ~9" of orange. Lay strands together and tie into a tight knot.
Use tails to thread through the tail tip; knot inside, then trim flame ends to ~1" and fluff fibers with a yarn needle to create a fuzzy flame effect.
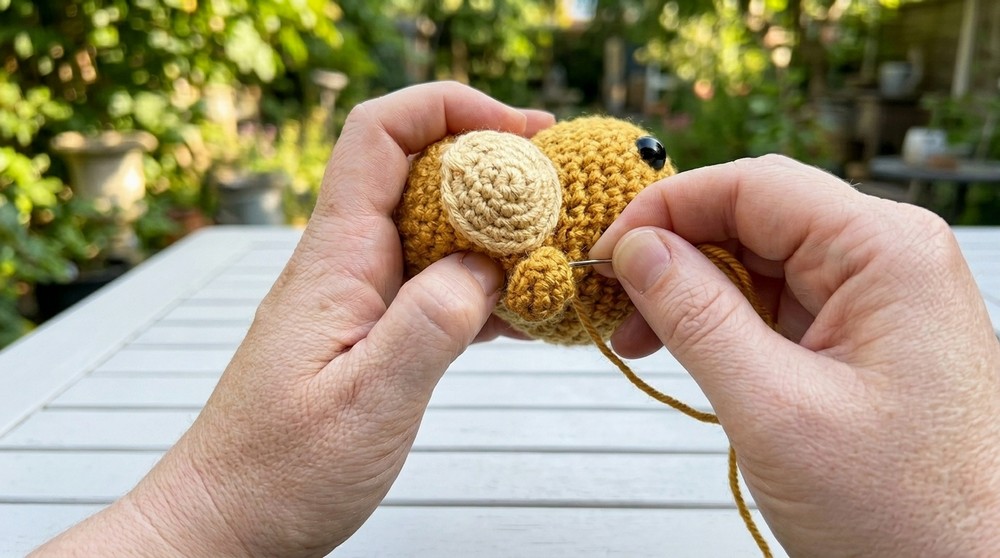
Assembly & Finishing
- Sew belly patch to the front lower body, flatten as needed.
- Attach snout between eyes on head, centered vertically.
- Sew arms just off-center below neck, stuffing as desired.
- Place legs diagonally from arms, towards the lower sides of the body’s flat area.
- Attach tail at rear body curve, stuff if needed.
- Poke and secure tail flame at tail tip, fluff.
- Weave in all ends, trim excess, shape with hands.
- Embroider nostrils or mouth if desired.
Solution to Common Problems
Stuffing pokes through: Use a smaller hook size, and do not over-stuff the body.
Parts collapse: Ensure stuffing is firm but not stretched; shape by hand before sewing.
Snout not oval: Work into back bump for even edge.
What you can make by using these stitches
- Amigurumi Pokémon (Bulbasaur, Squirtle, etc.)
- Mini plushies for bags/keychains.
- Custom animal shapes (with body, snout, tail construction)
- Any small round amigurumi toy!
With this pattern, you’ve made a cute, sturdy Charmander perfect for giving, play, or collecting! The techniques, magic ring, increases, invisible decreases, color work, and sewing—will serve for any beginner amigurumi. Try other Pokémon or animals with creative colors and shapes.