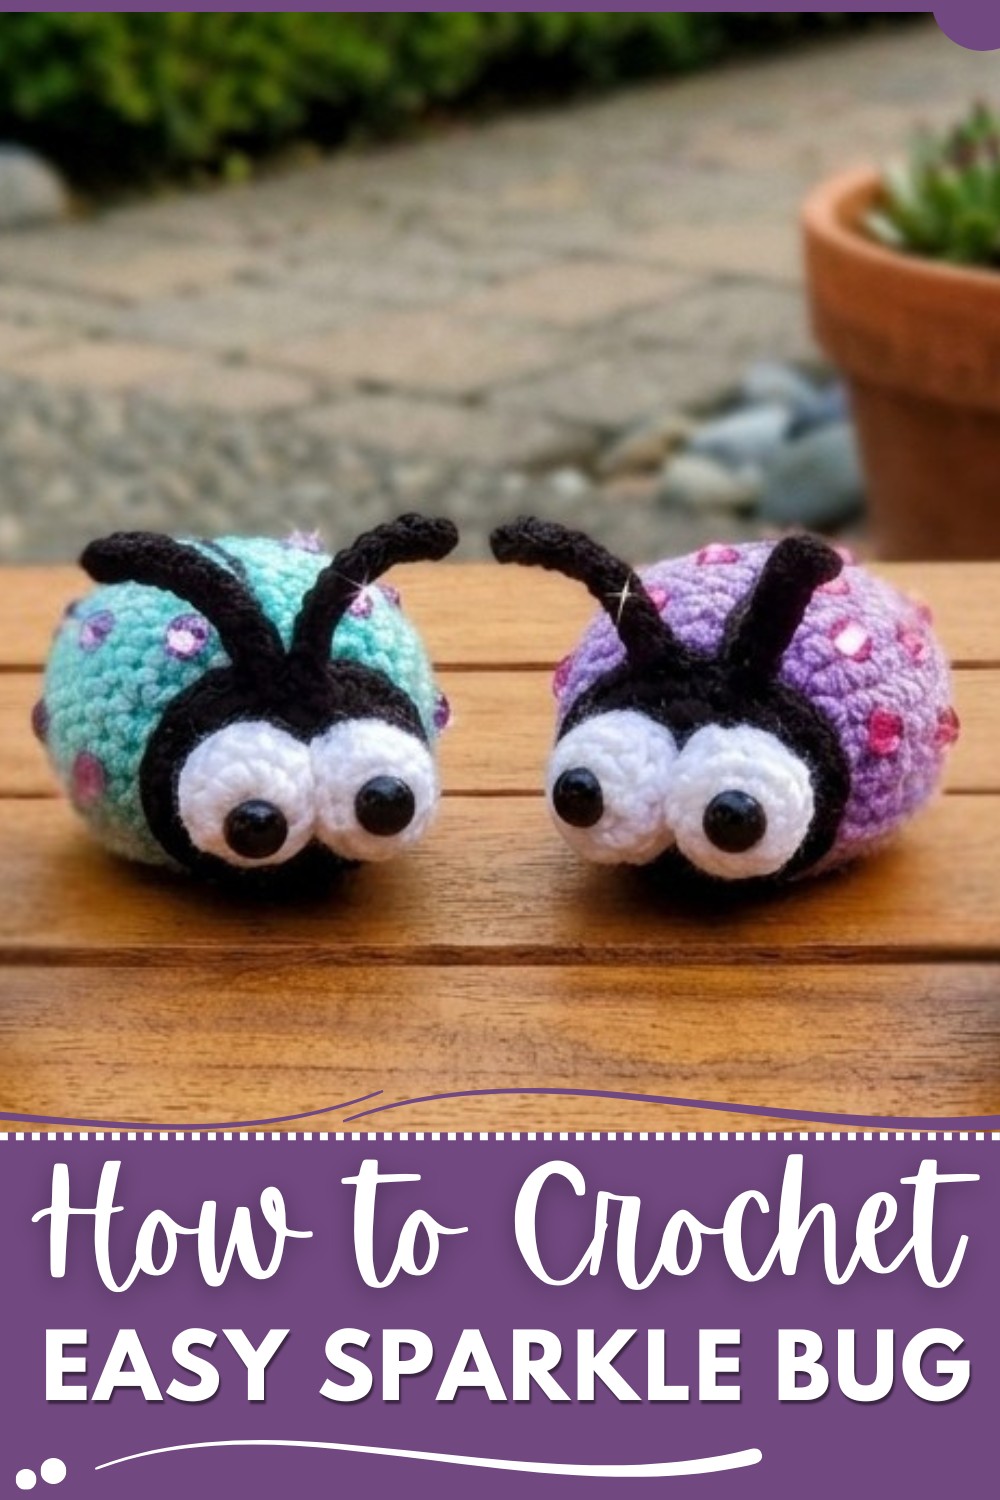
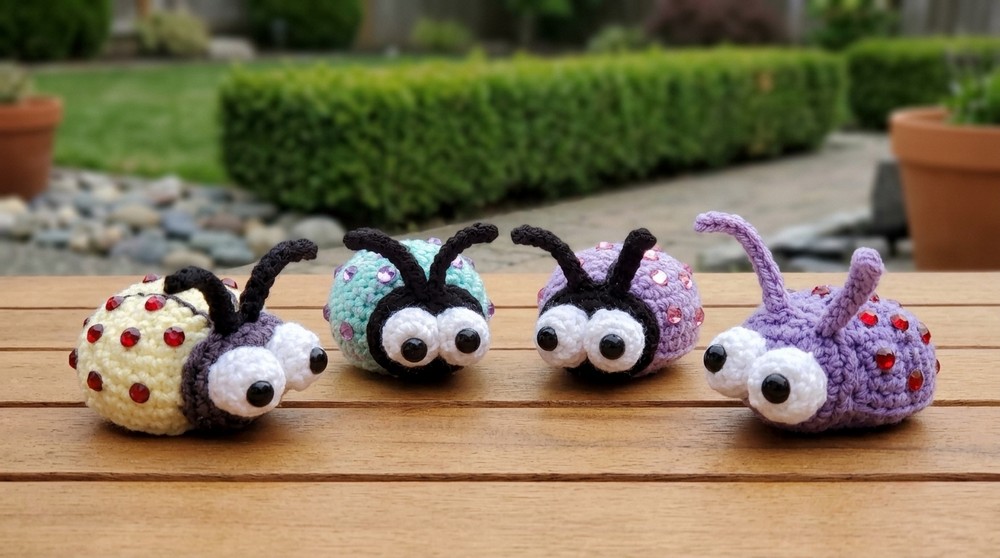
Create something magical with the free crochet Sparkle Bug pattern, adding a touch of shimmer and charm to your handmade designs.
Sometimes the simplest crochet projects become the most enjoyable ones to make. The Free Crochet Sparkle Bug Pattern is a perfect example of this. It lets you create a tiny, shining bug that looks both cute and magical. This little sparkle bug is a fun and fast project for crocheters of all levels, including beginners who want to try something special.
Crochet Sparkle Bug Amigurumi – Magical Plushie Pattern
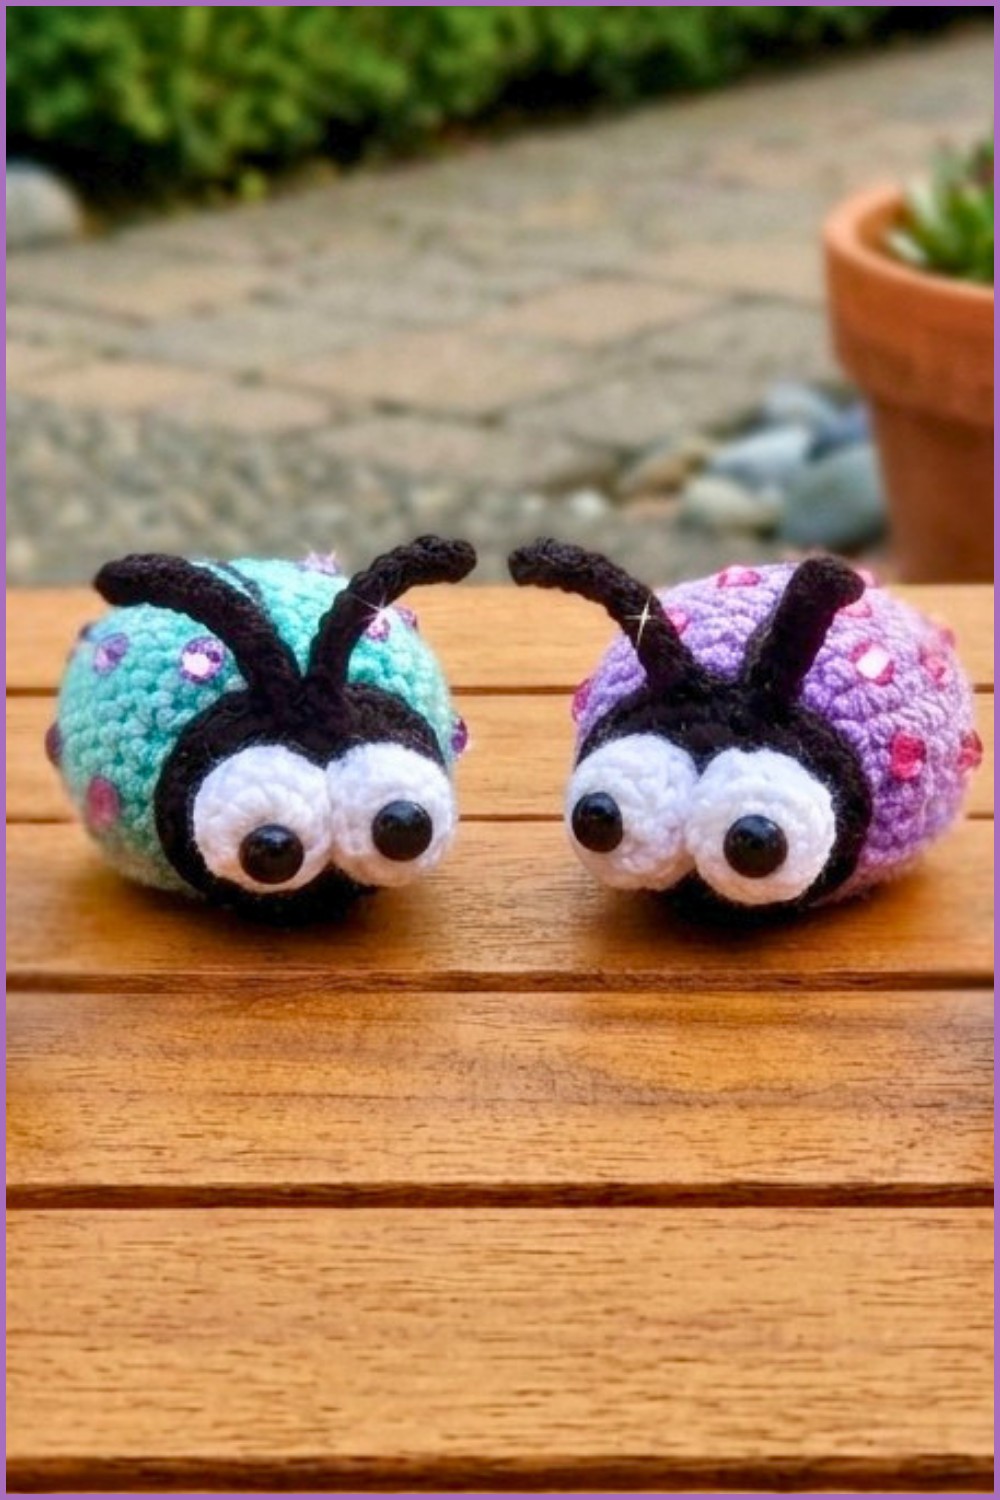
What makes this sparkle bug so beautiful is its shiny and colorful appearance. It often uses yarn that glimmers just a bit, giving the bug a sparkling effect that catches the light in a delightful way. The texture is soft but firm enough to hold its round little body and delicate wings. Its shape is nicely rounded, with tiny legs and antennae that add to its charm. Overall, the sparkle bug looks like a friendly little creature from a fairytale garden.
You can use this sparkle bug in many creative ways. It makes an adorable keychain, a pretty decoration for your backpack, or even a sweet gift for friends and family. Children will especially love making and playing with these sparkly critters. Because it’s small and light, you can attach it to bags, hats, or even turn it into a fun necklace charm.
The Free Crochet Sparkle Bug Pattern is great for anyone who enjoys making cute and easy projects. Whether you are a beginner or someone who loves crafting quick gifts, this pattern is fun to work on. It brings a little sparkle and joy to your day, creating something simple but truly special. If you like bright, cheerful crafts that are easy to carry around, this sparkle bug is sure to make you smile.
Sparkle Bug Crochet Pattern
Before You Start
- Read through the entire pattern before crocheting.
- Gather all required yarn colors, notions, and embellishments.
- Familiarize yourself with the magic ring and invisible decrease techniques.
- Use a stitch marker to keep track of rounds.
- Safety eyes and rhinestones are optional; embroidery or felt can also be used.
Pattern Notes
- The bug is worked in joined rounds unless otherwise noted.
- Stitches are tight to prevent stuffing from puffing out.
- The pattern is modular — you’ll make and sew on separate parts (body, head, eyes, antennas).
- Embellishments are attached after the main crochet assembly.
- Eyes are worked as small rounds and can house safety eyes or be finished with embroidery.
- Antennas are worked with foundation chains using the back bump for structure.
How I Made the Crochet Pattern
- Created a simple oval body shape with increases and decreases.
- Used a separate face/head piece for a cute, dimensional look.
- Selected bold color changes for playful effect.
- Added a back-stitched line for wing separation.
- Incorporated small gems for a “sparkle” effect.
Skill Level
Beginner to Advanced Beginner
Finished Size
Approx. 7–8 cm (3") long when made with worsted yarn and 3.25 mm hook.
Materials
- Worsted weight yarn in three colors:
- Body color (e.g., light purple)
- Accent/head color (e.g., black)
- White (eyes)
- 3.25 mm crochet hook
- Small safety eyes (optional, for bug eyes)
- Scissors
- Yarn needle
- Stitch marker
- Polyfill stuffing
- Gemstones/plastic rhinestones or beads
- Strong glue (e.g., E6000) and toothpick for application
Measurements / Sizing
- Body length: approx. 5.5–6.5 cm
- Width: approx. 3–3.5 cm
- Head diameter: approx. 2.5–3 cm
- Eye diameter: approx. 1.5 cm
- Antennae length: approx. 4–4.5 cm
Gauge
Gauge is not critical for this amigurumi; just keep your stitches tight for minimal gaps.
Stitch Abbreviations
- ch = chain
- sc = single crochet
- inc = increase (2 sc in same stitch)
- dec = decrease (see Special Stitches)
- sl st = slip stitch
- st(s) = stitch(es)
- MR = magic ring
Special Stitches
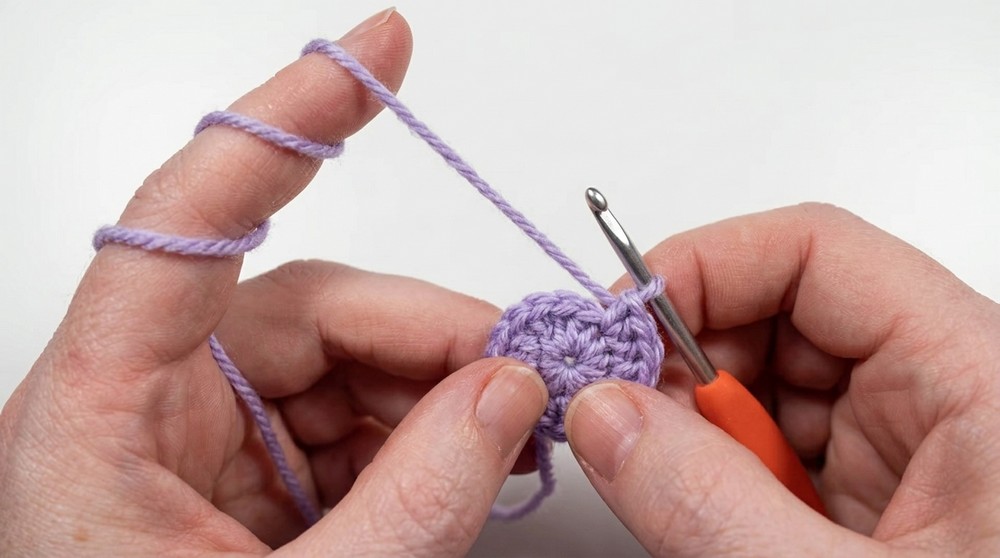
- Magic Ring (MR): Loop yarn into a ring, work stitches into center, and pull tight.
- Invisible Decrease (dec): Insert hook into front loop only of next 2 stitches, yarn over, pull through (2 loops on hook), yarn over, pull through both.
The Pattern!
Bug Body
With main body color:
Round 1: MR, 6 sc in ring (6)
Round 2: 2 sc in each st around (12)
Round 3: [Inc, sc] around (18)
Round 4: [Inc, sc, sc] around (24)
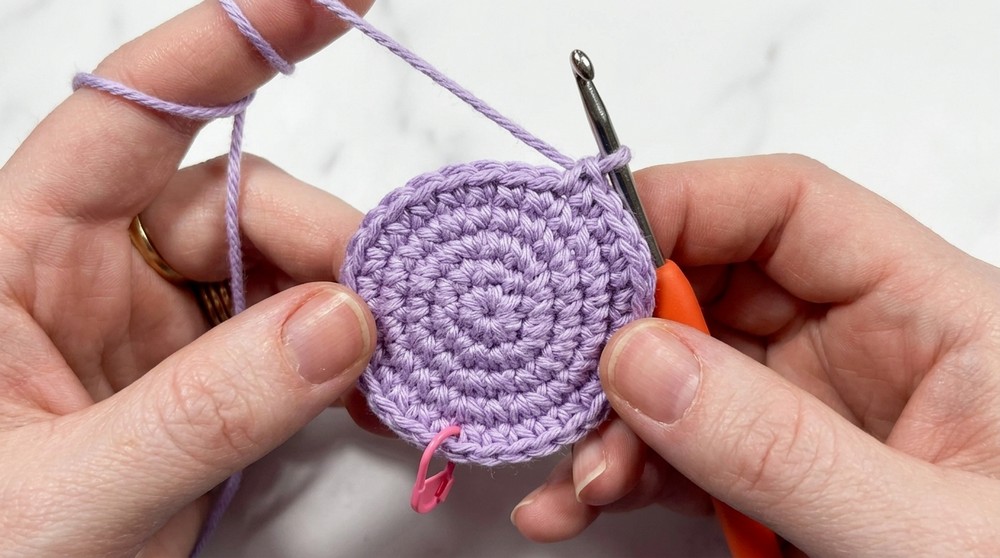
Round 5: [Inc, sc, sc, sc] around (30)
Rounds 6–9: Sc in each st (30).
On round 9, STOP 5 stitches before the round ends for the color change.
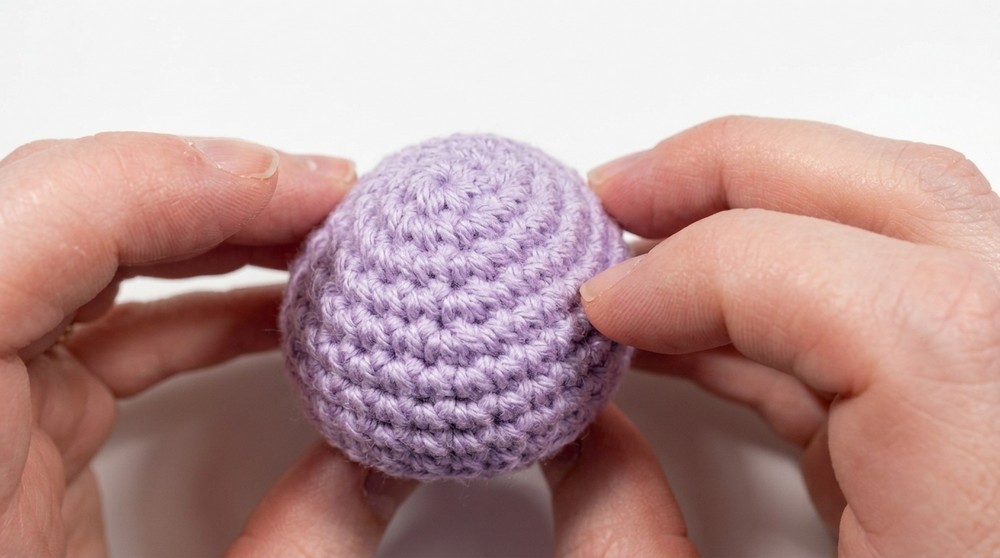
On the last 5 stitches, lay the accent/head color yarn (e.g., black) across the work and sc over it for 4 stitches. On the 5th stitch, complete the stitch with the new color.
Round 10: With accent/head color, working in back loops only, sc in each st (30). Cut off body color, crochet over the remaining tail for neatness.
Round 11: [Invisible dec, sc 3] around (24)
Round 12: [Invisible dec, sc 2] around (18)
Round 13: [Invisible dec, sc 1] around (12)
Stuff the bug body, keeping the bottom flatter and the top smoothly rounded.
Round 14: [Invisible dec] around (6)
Fasten off, leaving a long tail. Using a yarn needle, weave through front loops of the last 6 stitches and pull tight to close. Weave in or bury the yarn tail.
The bug body is now complete, with a color-change bottom and a flat finish so your bug sits well.
Bug Head (Accent/Head Color)
Round 1: MR, 6 sc in ring (6)
Round 2: 2 sc in each st (12)
Round 3: [Inc, sc] around (18)
Rounds 4–5: Sc in each st (18)
Finish with a sl st, cut a long tail for sewing.
Do not stuff the head—it should lay flush against the body. You now have a cute half-dome to sew onto the rounded end of the bug.
Wings’ Center Line/Separator
Cut a long piece of the accent color.
Use a yarn needle to backstitch from under the head and straight down the center back to the base, creating a clear “wing” divide.
You can simply whipstitch if backstitch is difficult.
Eyes (Make 2, White Yarn)
Round 1: MR, 6 sc in ring (6)
Round 2: [Inc, sc] around (9)
Round 3: Sc in each st (9), then sc 2 more stitches, and finish with a sl st.
Cut a long tail. Place a small safety eye in the center or embroider a black “pupil.” If desired, push in a little yarn tail as stuffing.
Repeat for the second eye.
You now have two small discs for eyes. Attach pupils before sewing onto the head.
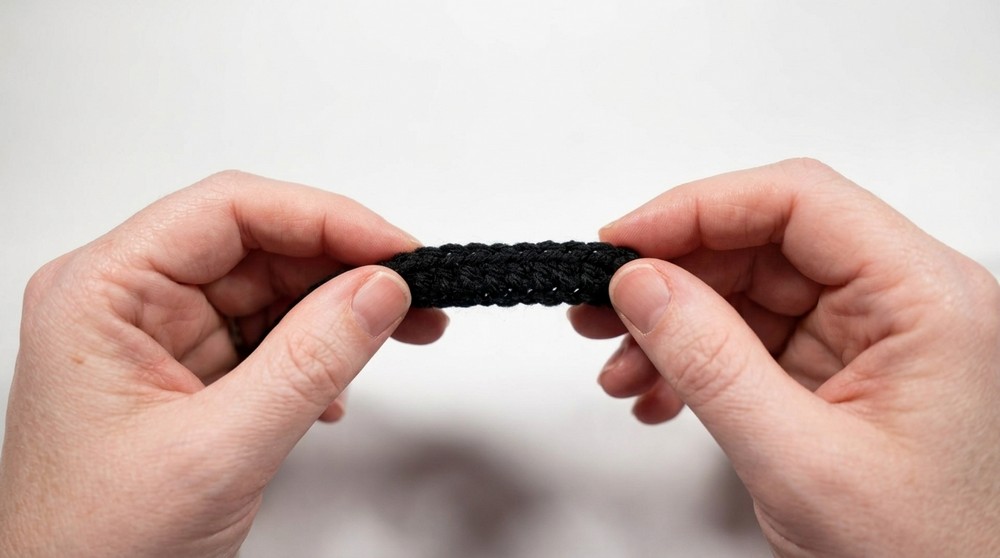
Antennae (Make 2, Accent/Head Color)
Ch 11 (not too tight), turn.
Sc in 2nd ch from hook and in each back bump across (10).
Fasten off with a tail for sewing.
Repeat for the second antenna. You now have two slightly flexible “antennas” to attach above the eyes.
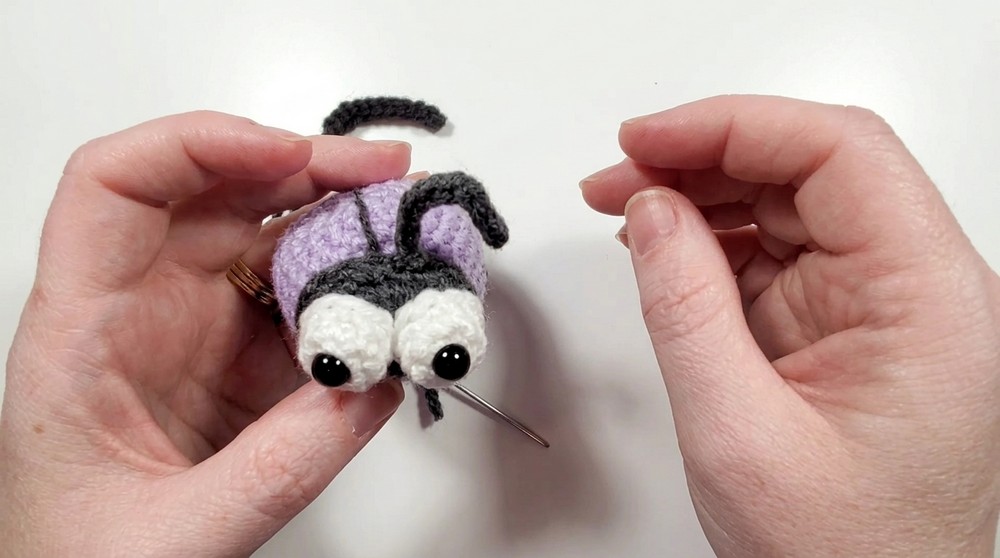
After Crocheting Each Part
You should have a finished bug body, an unstuffed head piece, the line for the wings, two eyes (with safety eyes or embroidered pupils added), and two antennas.
Assembly & Finishing
- Center the head across the color change edge and whip stitch neatly to the front of the body.
- Sew or embroider the wing divider line (“spine”) straight down the center back.
- Place and sew on the eyes, close together near the upper part of the face.
- Securely sew antennae on either side of the head, just above the eyes. Use the texture/“spine” as a guide for their placement.
- Embellish: Using strong glue (E6000 recommended and applied with a toothpick), attach rhinestones or gems in any pattern desired—dots, hearts, rainbows, etc.
- Let glue dry fully before handling.
- Weave in or trim all ends.
What you can make by using these stitches
- Ladybugs with red and black
- Bumblebees and butterflies by adjusting color placement
- Mini magnets, backpack charms, keychains, or party favors
- Tiny animal heads (head/eye/antenna techniques) for other projects
Solution of Potential Problems
Stuffing shows through:
Work with smaller hook/tighter stitches.
Line/stitch looks wonky:
Use backstitch and maintain even tension, or leave line off for a plain look.
Antennae flop overly:
Work into back bump for more structure, or use pipe cleaners for extra firmness.
Congratulations! Your sparkle bug is finished. Each part works up quickly, and you can endlessly customize with yarn and embellishment combinations. Try different colors, add big or small gemstones, or adapt for festive decor, toy gifts, or even cheerful magnets.