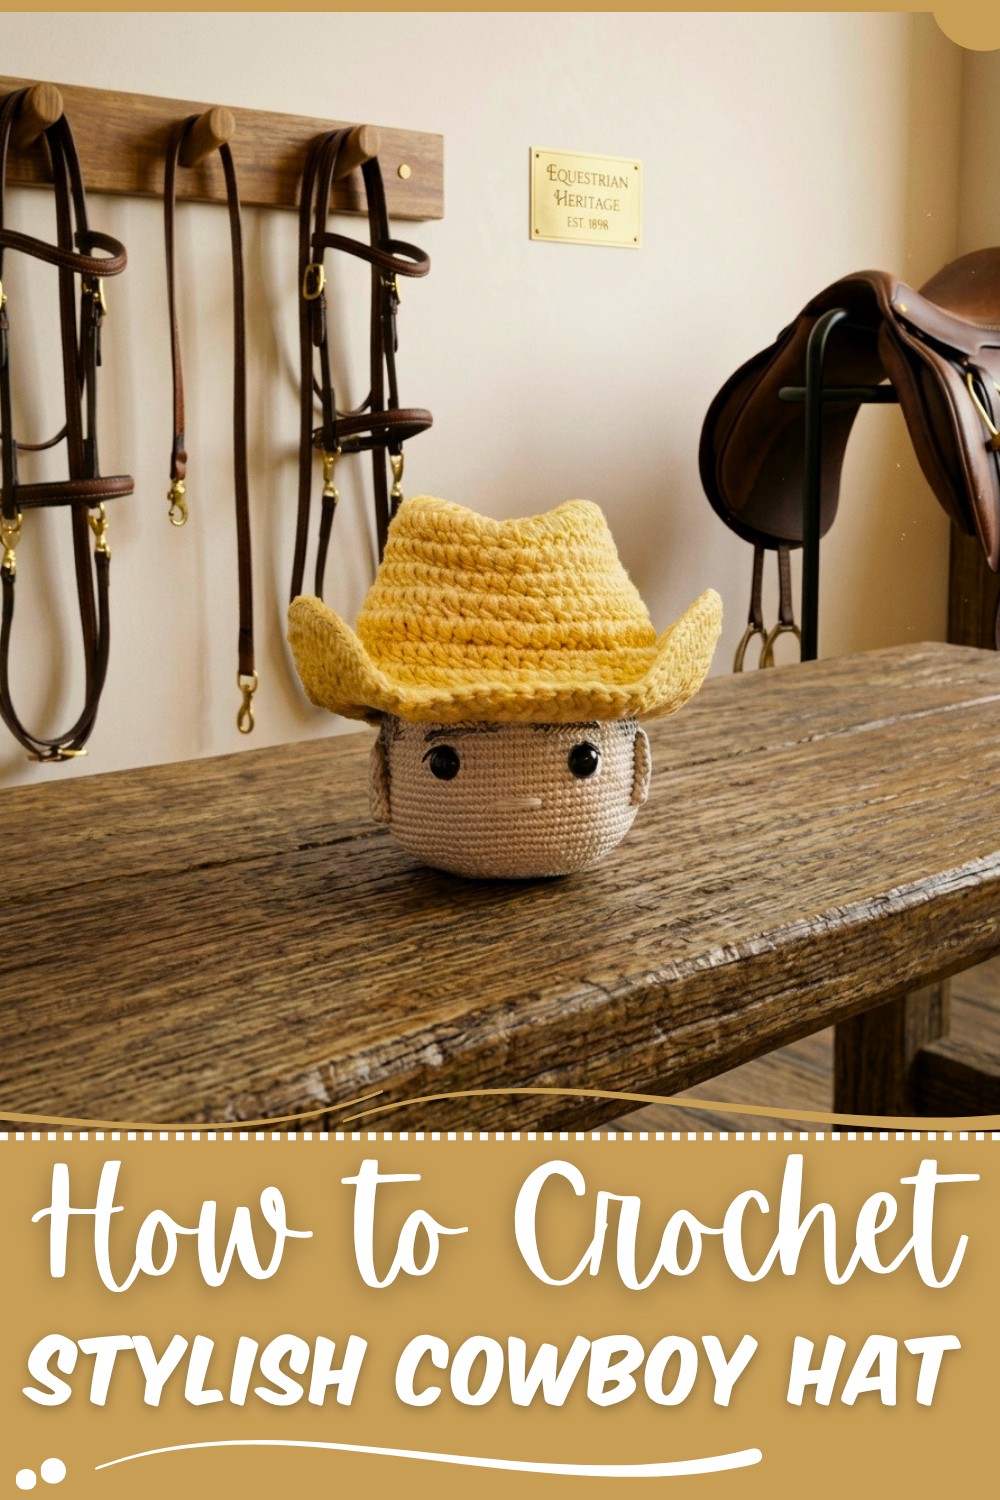
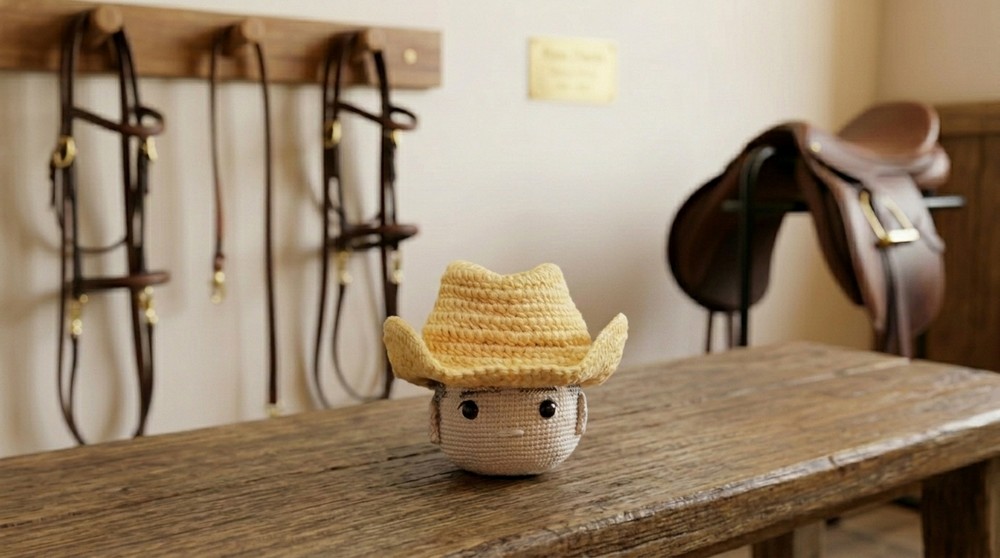
Looking for a fun new project This Free Crochet Cowboy Hat Pattern makes it easy to create a cute western hat that you will love to wear.
I remember the first time I tried a Free Crochet Cowboy Hat Pattern and how exciting it felt to see a simple yarn slowly turn into a real hat with a western look. It is one of those projects that feels fun from the very first stitch and keeps you interested until the end. The shape grows step by step, and before you know it, you are holding a stylish hat that looks handmade with love.
Quick Crochet Cowboy Hat Pattern That Turns Heads
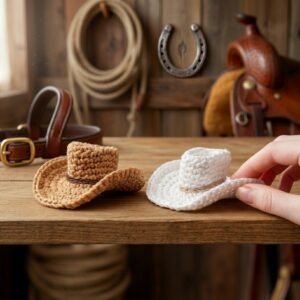
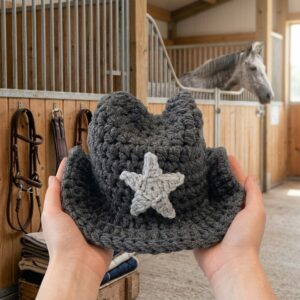
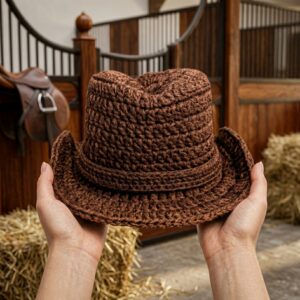
This pattern is great for making many creative things like cowboy hats, cowgirl hats, baby cowboy hats, festival hats, and even fun costume pieces. It has a classic western charm with a curved brim and a strong crown that gives it a bold and beautiful style. You can make it soft and cute or strong and structured depending on how you crochet it.
One of the best parts is color choice. You can use bright colors for a playful look or go with earthy tones like brown, cream, tan, or black for a traditional western feel. Many people also add ribbons, beads, or flowers to make each hat special and different.
This pattern is usually made with Worsted Weight Yarn using a 5.0 mm (H-8) Crochet Hook. The main stitch used is the Half Double Crochet (HDC) Stitch, which is simple and perfect for beginners. It helps the hat hold its shape while still staying soft and comfortable.
You can easily change the size by adding or removing rounds. It works for babies, kids, and adults without changing the design. After finishing, the Adult Size Hat measures around 22 to 24 inches around the head with a brim of 3 to 4 inches, depending on your tension and style. This makes it a flexible and enjoyable project for everyone who loves crochet.

Crochet Cowboy Hat for Amigurumi & Centerpieces
Before You Start
- This pattern creates a sturdy, decorative cowboy hat perfect for amigurumi, centerpieces, or themed party decor.
- The hat is crocheted in a spiral, starting at the crown and working outward.
- Galvanized wire is added for shape and stiffness.
- The pattern is easily adjustable for different head sizes.
- Practice hiding the wire as you crochet for a professional finish.
- This hat is designed as a decorative accessory rather than a wearable item.
Pattern Notes
- Written in US crochet terms.
- The hat is worked in continuous rounds; use a stitch marker to track the first stitch of each round.
- Increases determine the diameter of the hat crown and brim; stop increasing sooner for smaller hats.
- Always crochet over and hide the wire in your stitches for best results.
- Use only the front loop when creating the brim for crisp shaping.
How I Made the Crochet Pattern? (Summary)
- Started with a magic ring, incorporating wire for structure.
- Increased to desired crown size.
- Worked straight rounds for hat height.
- Continued with increased rounds in front loop only to form the brim.
- Shaped wire and stitched, then customized hat shape to fit amigurumi or centerpiece.
- Added finishing details and centerpiece assembly.
Skill Level
Advanced Beginner / Intermediate
Requires working in continuous rounds, invisible increase, and using/hiding wire.
Finished Size
- Hat Diameter: Approx. 8–12 cm, adjustable
- Hat Height: ~4–7 cm
- Brim Width: ~2–4 cm
Materials
- Worsted weight yarn, color of your choice (~30g)
- 3 mm crochet hook (or size to match yarn)
- Galvanized craft wire (~1 meter)
- Wire cutters/pliers
- Scissors
- Yarn needle
- Stitch marker
- Optional for centerpiece: Wooden slices, artificial plants, glue gun, sawdust, rope/twine for decoration
Measurements / Sizing (Optional Schematic)
- Increase to match desired finished diameter of your amigurumi’s head or centerpiece.
(E.g. 6 rounds for a 7–10 cm diameter, 4-5 rounds for smaller hats.) - Hat height is customizable (6 rounds typically).
Gauge
- Exact gauge is not critical for this project—test as you go by fitting the crown piece to your amigurumi or base.
Stitch Abbreviations
| Abbreviation | Meaning |
|---|---|
| ch | chain |
| sc | single crochet |
| hdc | half double crochet |
| inc | increase (2 stitches in same st) |
| FLO | front loop only |
| Rnd | round |
| st(s) | stitch(es) |
| sl st | slip stitch |
Special Stitches
- Increase (inc): Work two stitches in the same space.
- Front Loop Only (FLO): Crochet the stitch in the front loop only of the indicated stitch.
- Magic Ring: Wrap yarn into a ring, secure, and work stitches into the loop.
- Crocheting Over Wire: Hold wire behind stitches and crochet over both the wire and the yarn to encase the wire.
THE PATTERN!
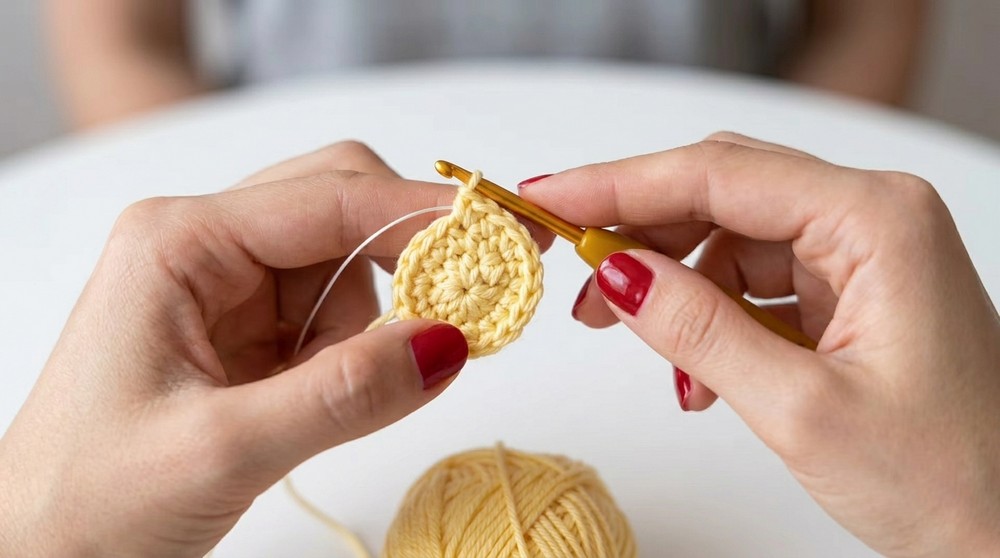
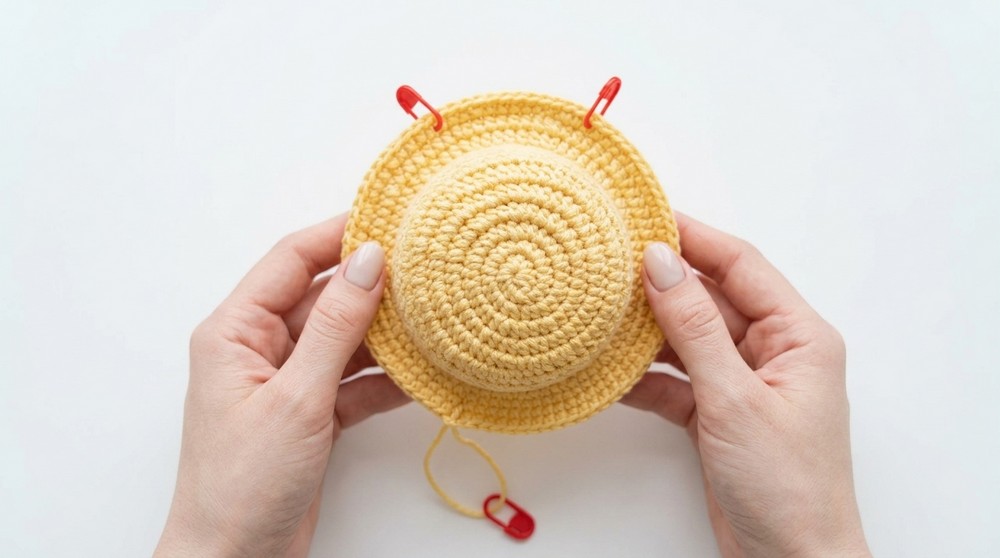
1. Crown (Top of Hat)
- Start: Make a magic ring. Encircle ~1 meter of galvanized wire as you close the ring.
- Rnd 1: 10 hdc in ring, join with sl st. (10 sts)
- Rnd 2: inc in each st around (20 hdc)
- Rnd 3: (hdc, inc) around (30 hdc)
- Rnd 4: (2 hdc, inc) around (40 hdc)
- Rnd 5: (3 hdc, inc) around (50 hdc)
- Rnd 6: (4 hdc, inc) around (60 hdc)
After these rounds, check the diameter—place on the intended amigurumi’s head or centerpiece. For smaller hats, stop at Rnd 4 or 5.
For those not fluent in reading patterns: Begin with a tight circle, increase regularly each round (adding more stitches evenly spaced), making your circle larger and flatter after each round. Fit it as you go.
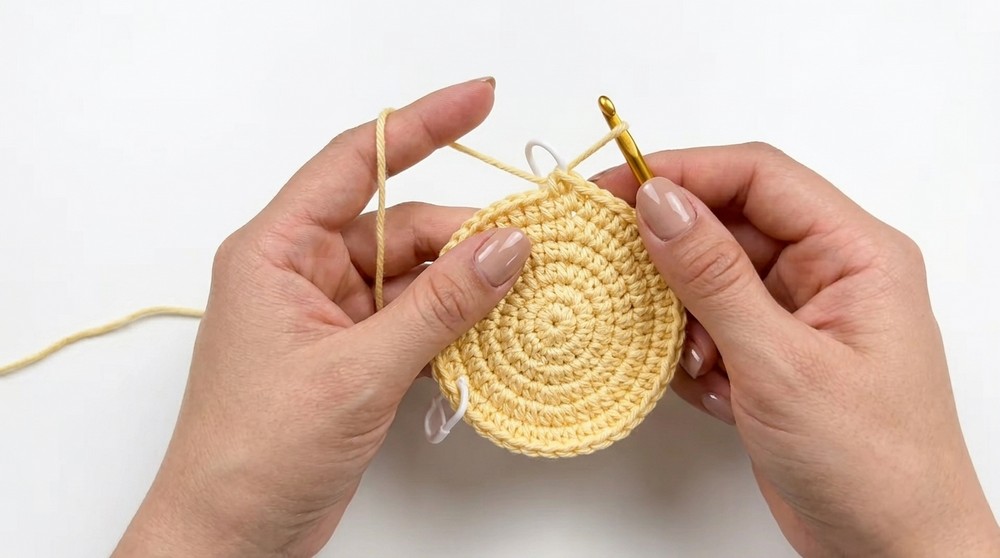
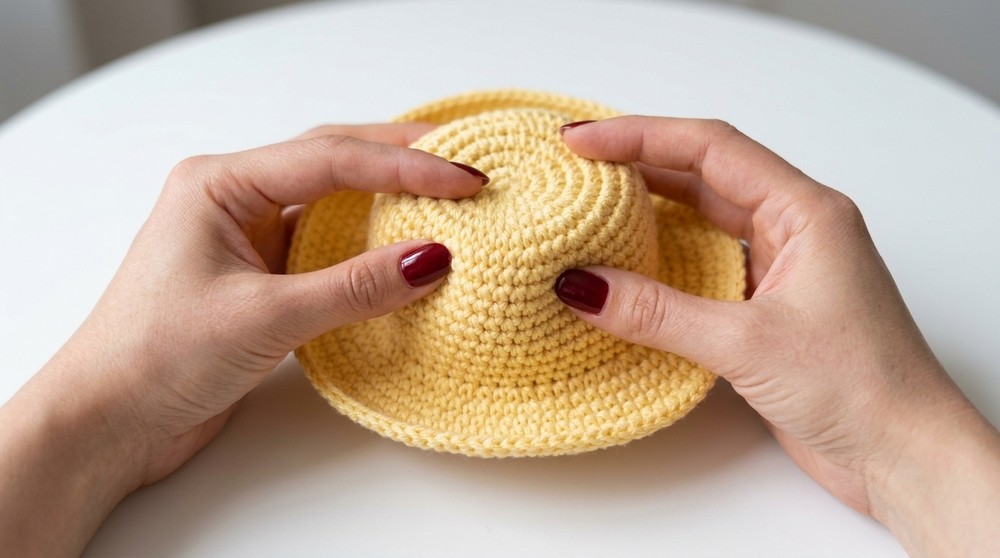
2. Hat Height (Body)
- Rnd 7–12: hdc in each st around (60 hdc per round, or the number from your last increase round).
Work 6 rounds even.
This builds the height of your hat. For smaller hats, work fewer rounds; for taller hats, work more.
3. Brim
- Rnd 13 (Brim setup): Working in FLO, (5 hdc, inc in next st) around (70 hdc)
- Rnd 14: Working in FLO, (6 hdc, inc) around (80 hdc)
- Rnd 15: Working in FLO, (7 hdc, inc) around (90 hdc)
If a broader brim is desired, continue the same sequence increasing the number of single hdc stitches between increases by one for each new round.
Shaping the Brim and Final Rounds
- Rnd 16 (Brim shaping): Place 4 stitch markers to mark the front and sides for shaping.
From the back marker to the first side marker: hdc in each st;
Between side markers (front of hat): (hdc, inc) repeat across;
From second side marker to back: hdc in each st. - Rnd 17: Work one final round of sc evenly around. Join with a sl st. Fasten off, leaving tail for weaving.
End of written pattern. The first part focuses on increases for width, the second on height (straight rounds, no increases), and the last on the brim (front loop, frequent increases, and careful shaping using markers for the “wings” or brim roll).
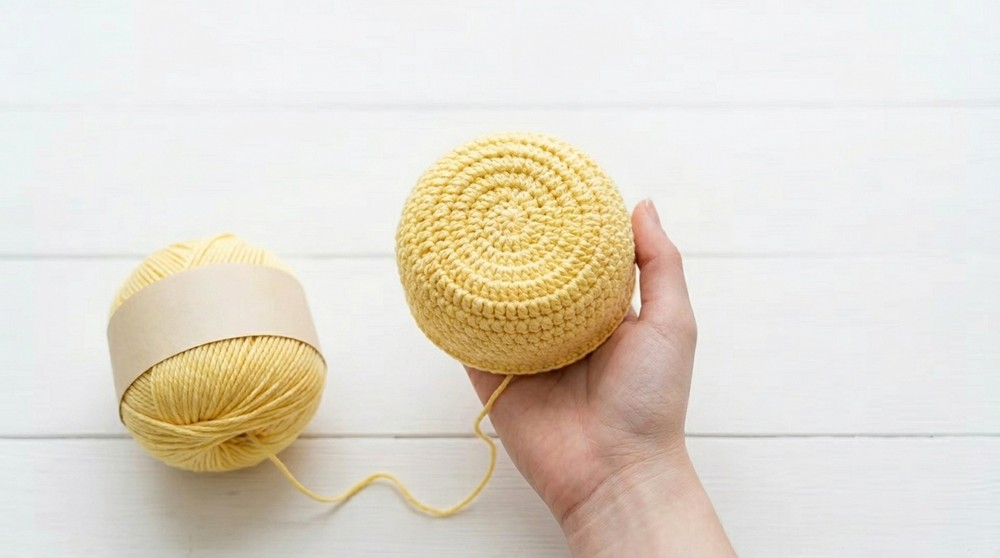
4. Assembly & Finishing
- Gently shape the hat by pressing up the back and curving the sides to form the classic “cowboy hat” silhouette.
- Fold downward at desired brim points, using your hands to shape along the wire.
- Weave in all yarn ends securely.
- If the hat deforms, gently re-bend the wire and reshape the brim; it’s flexible and forgiving!
- For centerpiece use, glue hat in place on base, and decorate with miniature plants, bottles, rope, and “bales” as desired.
Solution of Problem
Problem: Wire shows through or hat won’t stay flat.
Solution: Stretch fabric gently as you go and pull stitches snug around the wire; keep pulling the work out flat after each round, covering the wire completely.
What You Can Make by Using These Stitches
- Amigurumi cowboy hats for dolls or plushies
- Table centerpiece hats for parties
- Western-style ornaments or brooches
- Mini hats for headbands or costume accessories
- Decorative plant pot toppers or bottle covers
Conclusion
This clever little cowboy hat blends classic crochet with hidden wire for shape and fun use in decorating centerpieces or your favorite amigurumi’s wardrobe. The hat’s body and brim are easy to size up or down—just adjust the number of increase rounds according to your project. The wire makes shaping effortless and ensures your hat holds its character. Enjoy adding your own embellishments, and let your imagination run wild with party, gift, and decor possibilities.