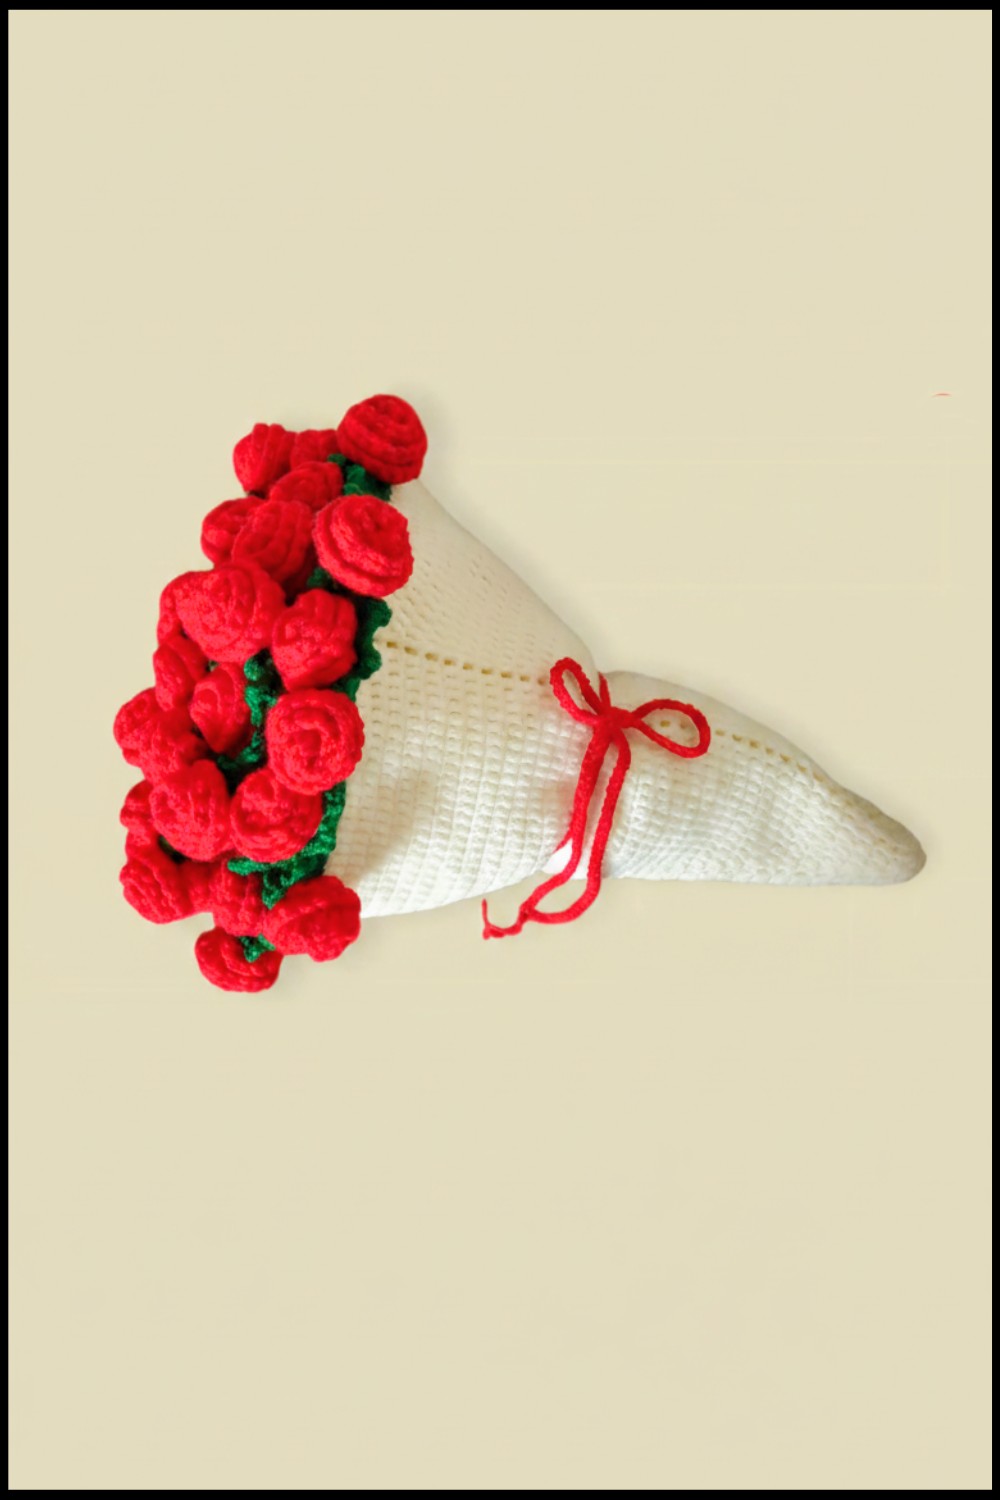
Fill your home with everlasting color and warmth by following a free crochet flower bouquet pattern that anyone can enjoy and easily create.
Have you ever wanted to fill your space with a flower that never wilts and stays fresh forever? When you try the Crochet Flower Bouquet pattern, you can make a soft, colorful blossom that is always in bloom and ready to cheer up any room. Each flower has its own charm and feels gentle, bringing a bit of nature’s beauty inside without needing water or sunlight.
Free Crochet Pattern for Vibrant Flower Bouquets
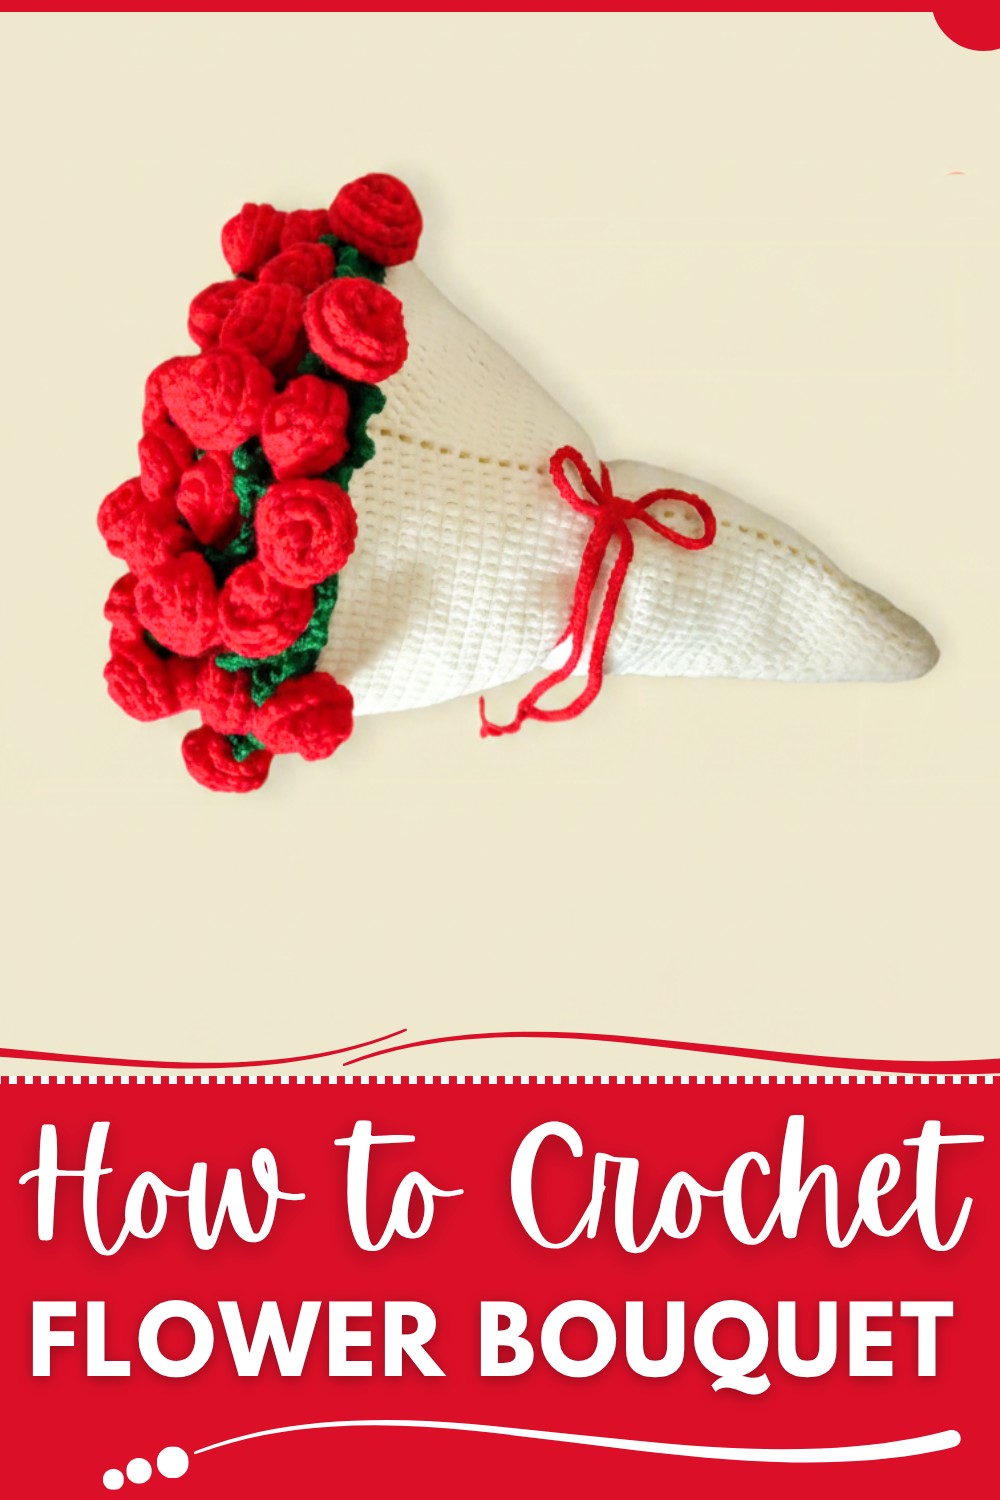
You can place this handmade bouquet on a table, in a vase, or even give it as a thoughtful gift to a friend or family member, showing care in a sweet and lasting way. Every detail in the pattern is simple, so anyone can enjoy making this beautiful piece, even with no experience. The bright shades and lifelike petals make your finished bouquet stand out as a lovely decoration for your home, a party, or a special event. With this creative project, you get to enjoy the warmth and color of a flower every single day.
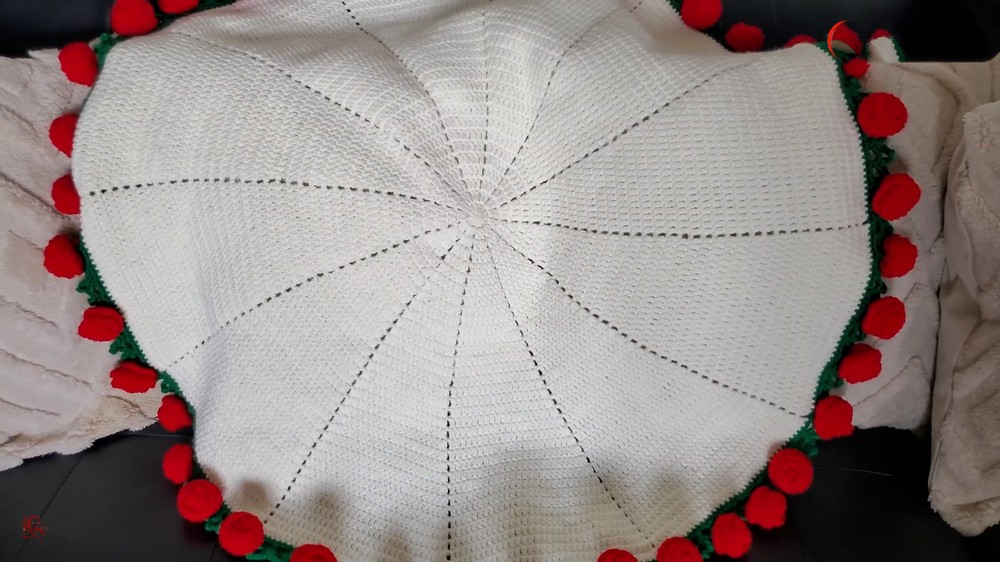
Flower Blanket Crochet Pattern
Materials List
- Yarn: Size 4 (Worsted weight) acrylic yarn in at least two colors (one for blanket base, one for flowers)
- Total Amount: Blanket base: approx. 3–5 skeins (varies by size); flowers: small amounts per rose
- Hook: 4.0 mm crochet hook (or as recommended for yarn)
- Notions:
- Scissors
- Yarn needle or darning needle
- Stitch marker (optional)
- Measuring Tape (optional)
Key Abbreviations (US Terms)
- ch: chain
- sl st: slip stitch
- sc: single crochet
- dc: double crochet
- st: stitch
- rep: repeat
Special Notes
- Pattern is worked in rounds from the center out.
- Always join each round with a slip stitch to the top of the beginning ch-2 (unless instructed otherwise).
- Number of rows or finished size is fully adjustable.
- Petal stems and roses are optional—skip flower steps for a plain blanket.
Instructions
1. Blanket Base (Circular Center Out)
Foundation
- Begin with a magic ring.
Round 1
- Ch 2 (counts as dc); then work 12 dc into the ring.
- Sl st to top of beginning ch-2 to close the ring. (12 dc)
Round 2
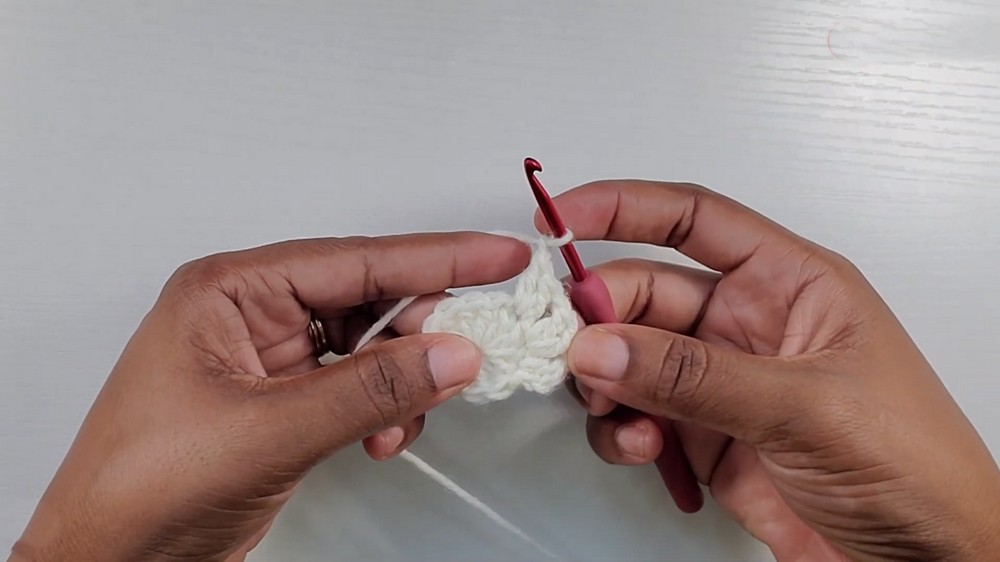
- Ch 2 (counts as first dc; all ch-2 at start of rounds counts as dc).
- In the same st as joining, dc 1 (2 dc in same st).
- Ch 1, then 2 dc in next st, ch 1, repeat around.
- After last ch 1, sl st to top of beginning ch-2. (Twelve 2-dc clusters, separated by ch-1)
Round 3
- Ch 2 (counts as dc), dc 1 in same st.
- Dc 1 in next st, ch 1.
- For each 2-dc cluster from prior round:
- [dc 1 in first st, dc 2 in second st, ch 1]
- Repeat around, sl st to beginning ch-2.
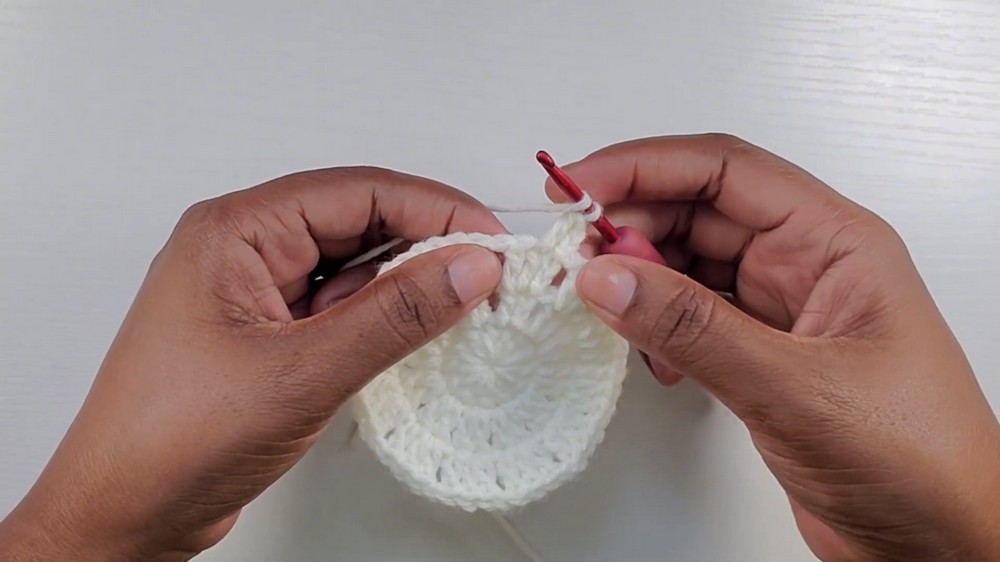
Round 4
- Ch 2, dc 1 in next st(s) as established, increase (2 dc) in last st of cluster, ch 1.
- Continue: [dc 1 in each st to last st of cluster, 2 dc in last st, ch 1].
- Repeat as established, sl st to beginning ch-2.
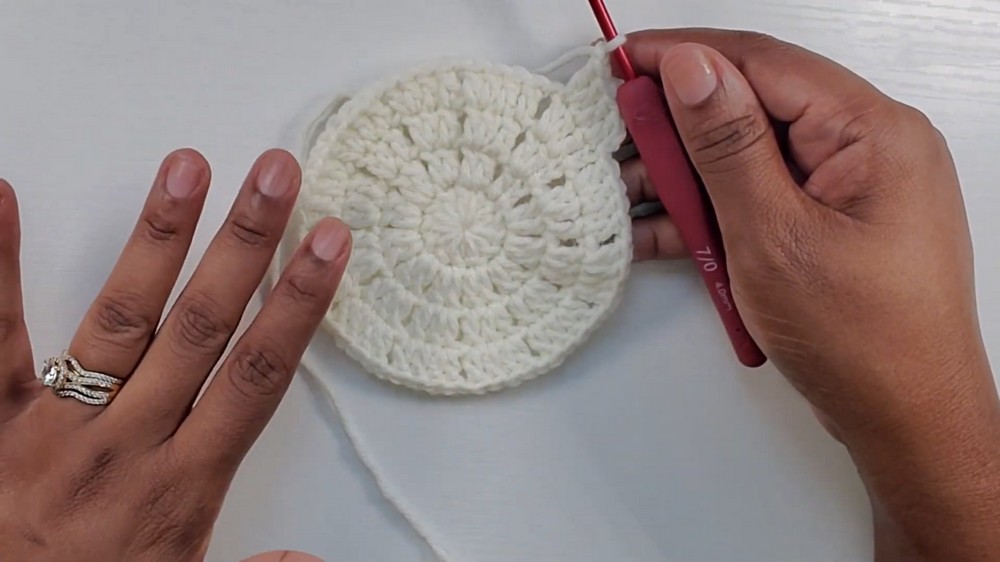
Subsequent Rounds (5 and beyond)
- Ch 2 (counts as dc),
- Dc in each st across cluster,
- 2 dc in last st of cluster,
- Ch 1,
- Repeat for each cluster around.
- Join to ch-2 to finish round.
- Tip: Each round grows your clusters by 1 dc.
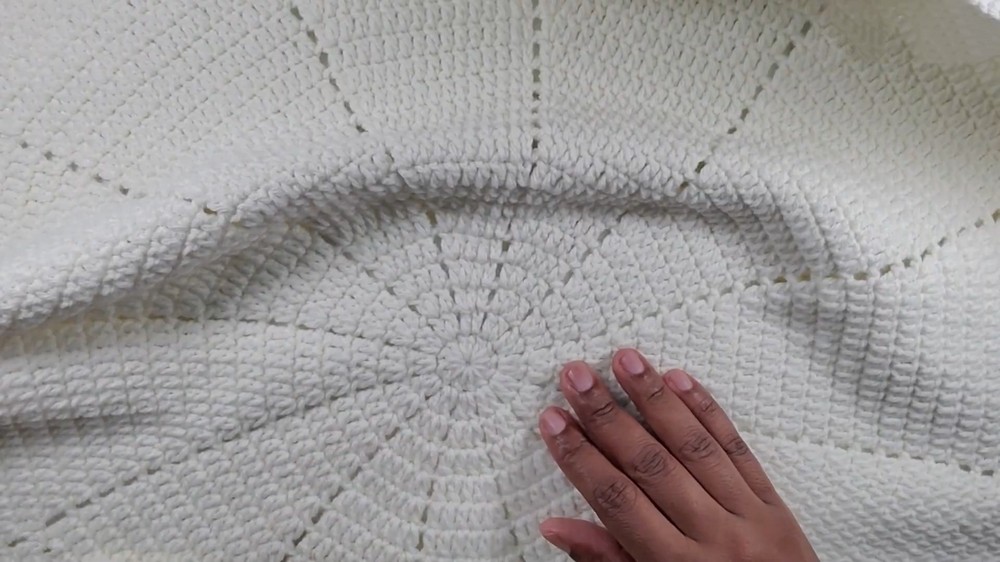
Row 2: 2 dc per cluster; Row 3: 3 dc per cluster; Row 4: 4 dc per cluster; etc. - Continue this pattern until blanket is desired size (sample: 36 rounds).
- At end of last round, ch 1, fasten off, and weave in end.
2. Flower Stem Round
Joining Flower Base Color
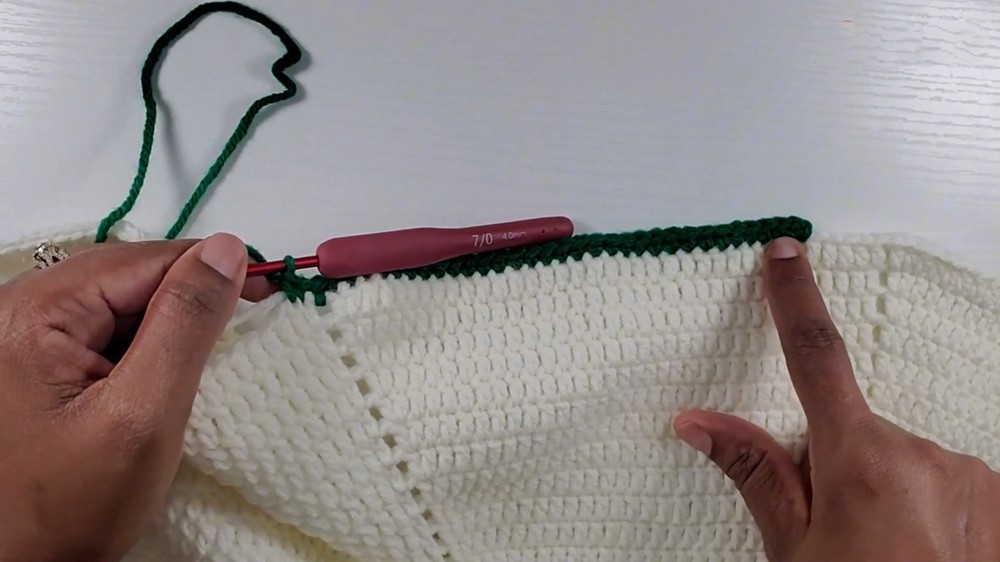
- Join new color in any stitch along blanket edge with a slip knot (personal preference).
- Sc in same st, and in each st around.
- Work single crochets into every stitch and ch-1 space around, including into ch-1 gaps.
- Work over tail if desired to minimize weaving.
- Sl st to 1st sc to join round.
3. Petal Loops (Preparation for Flowers)
- Ch 4,
- Skip 2 sts, sc in next st (the third st).
- Repeat: ch 4, skip 2 sts, sc in next st, around the blanket edge.
- At end of round, join with sl st to starting point.
4. Flower Stem/Petal Creation
For each ch-4 loop:
- Ch 4.
- Slip st into the 2nd ch from hook (creates a small loop at the top of the stem).
- Ch 3.
- Sc in the same loop (the ch-4 space, not into the chains).
- Sc in next ch-4 loop, and repeat each step around.
- Note: Each ch-4 loop becomes a stem/petal for a rose.
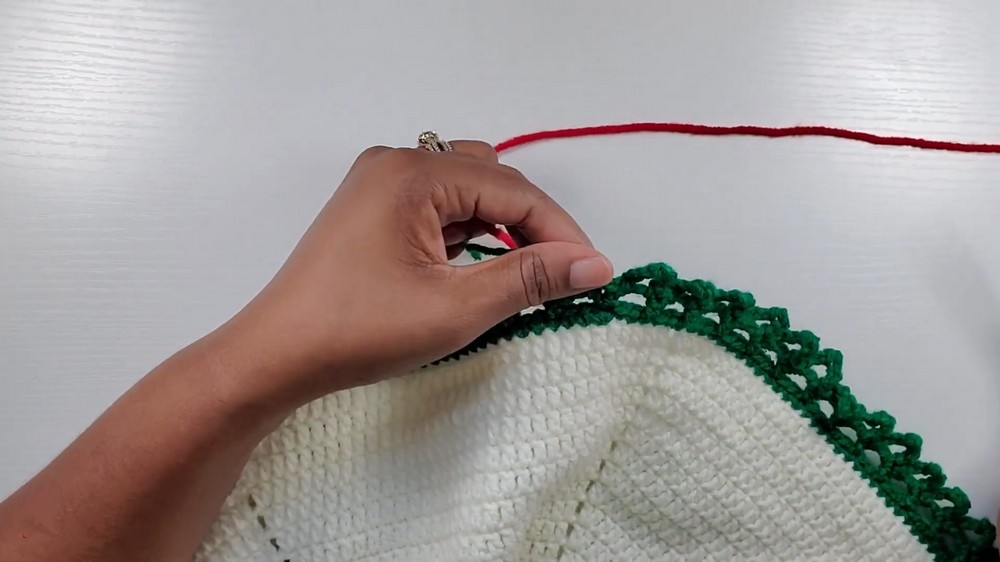
- At the end of round, sc or sl st to first stem/petal as desired.
- Fasten off and weave in end.
5. Making the Roses
For each stem/petal base:
Rose Foundation
- Join flower color in the 2 "loops" (the stem base created previously).
- Ch 20.
- For smaller flowers, ch 16 or 18.
Rose Body
- Skip 3 ch from hook, in 4th ch, work 3 dc.
- In each remaining ch, work 3 dc in same ch (this curls naturally).
- Continue to end of chain.
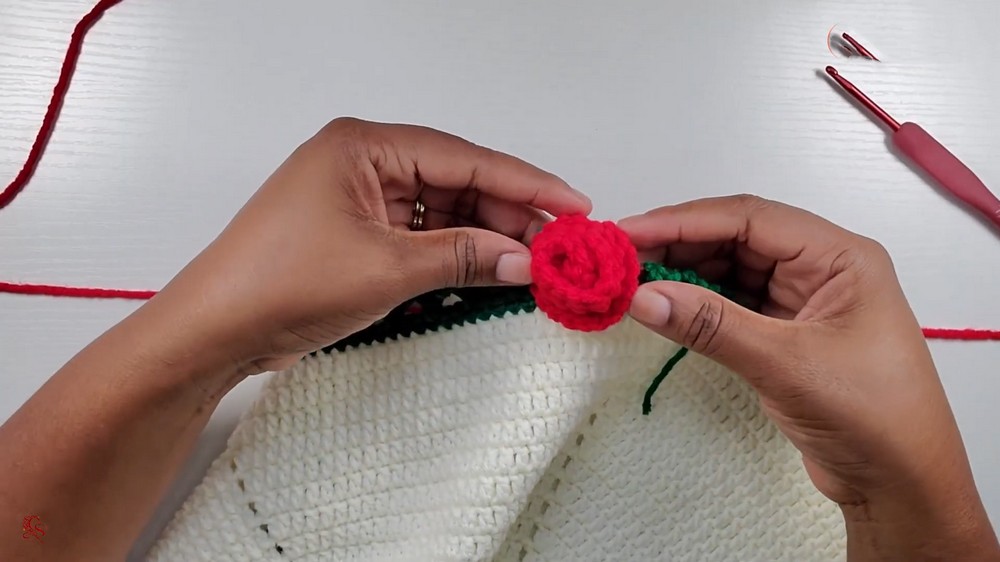
Forming & Attaching Rose
- Roll “ruffle” up into a spiral to form a rose shape.
- Use the working yarn tail and your hook (or a yarn needle), stitch through the base of the petals a few times to secure the rose.
- Attach base of rose to stem by slip stitching or sewing through the petal base or sc at petal base.
- Ch 1, fasten off, weave in ends securely.
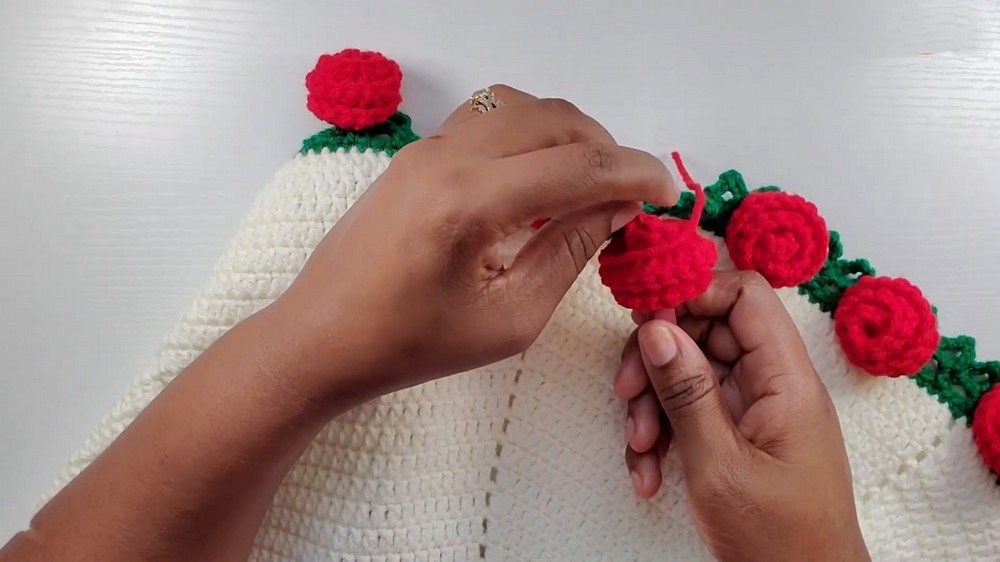
- Placement:
- Skip 2–3 sc between each new rose for balanced spacing.
- Repeat around blanket, making as many roses as you like.
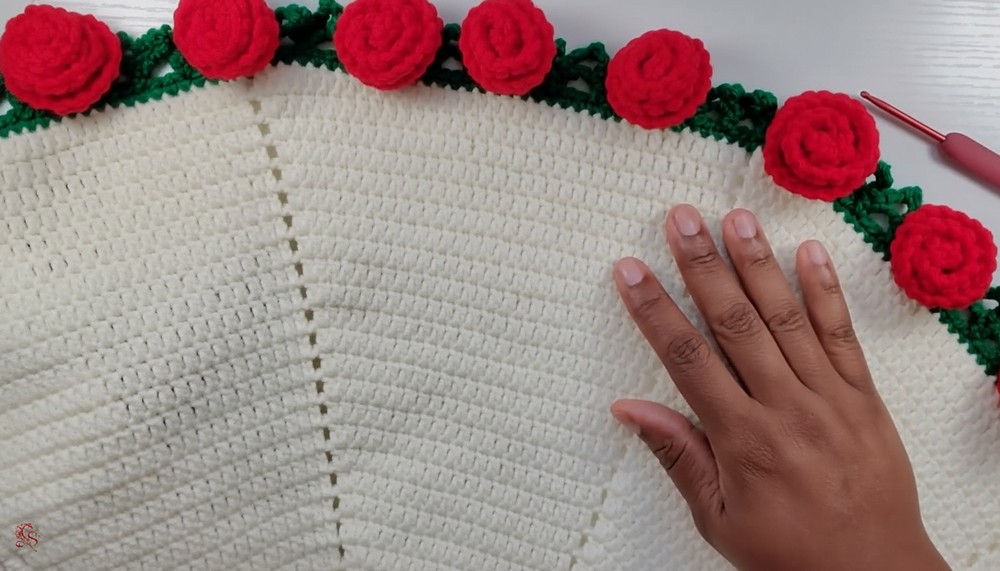
Conclusion
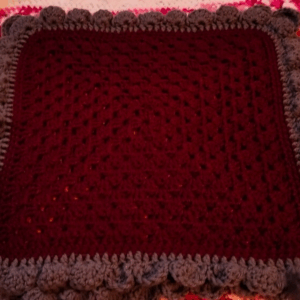
You have now created a vibrant flower blanket with 3D roses all around the edge. You can fully customize the size (by number of main rounds) and add as many or as few flowers as you like for your own one-of-a-kind blanket.
Pattern Corrections & Tips
- Cluster Consistency: Always work 2 dc in last st of each cluster before ch-1 for even growth.
- Petals/Roses: Base and roses can be made in any color combination desired.
- Rose Size: Adjust starting chain for longer/bigger or shorter/smaller roses.
- Sturdier Flowers: Use a yarn needle to securely tack down roses through all layers on the stem base.
- Finishing: Weave in all ends for a tidy finish. Gently block blanket if desired for flatness.
- Blanket Sizing: For a larger blanket, either use a larger hook or continue rounds before flower edge.