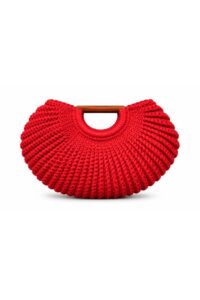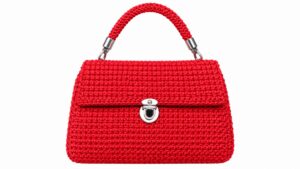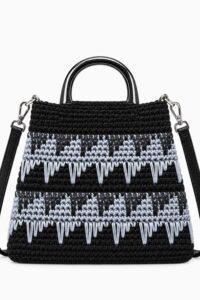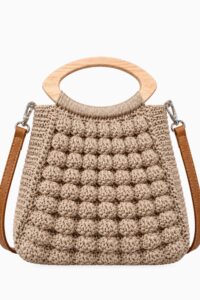
Create your ideal summer accessory with a free crochet beach bag pattern that’s stylish practical and perfect for carrying your essentials by the shore.
Adding a practical yet stylish accessory to your summer collection is always a great idea. On Yanet pupo crochet channel, you can find a wonderfully detailed tutorial to create a Free crochet Beach Bag Pattern. This project turns simple yarn and fabric into a spacious, durable beach bag that’s perfect for sunny days by the water or casual outings.
Free Summer Crochet Pattern | Beach Bag for All Skill Levels
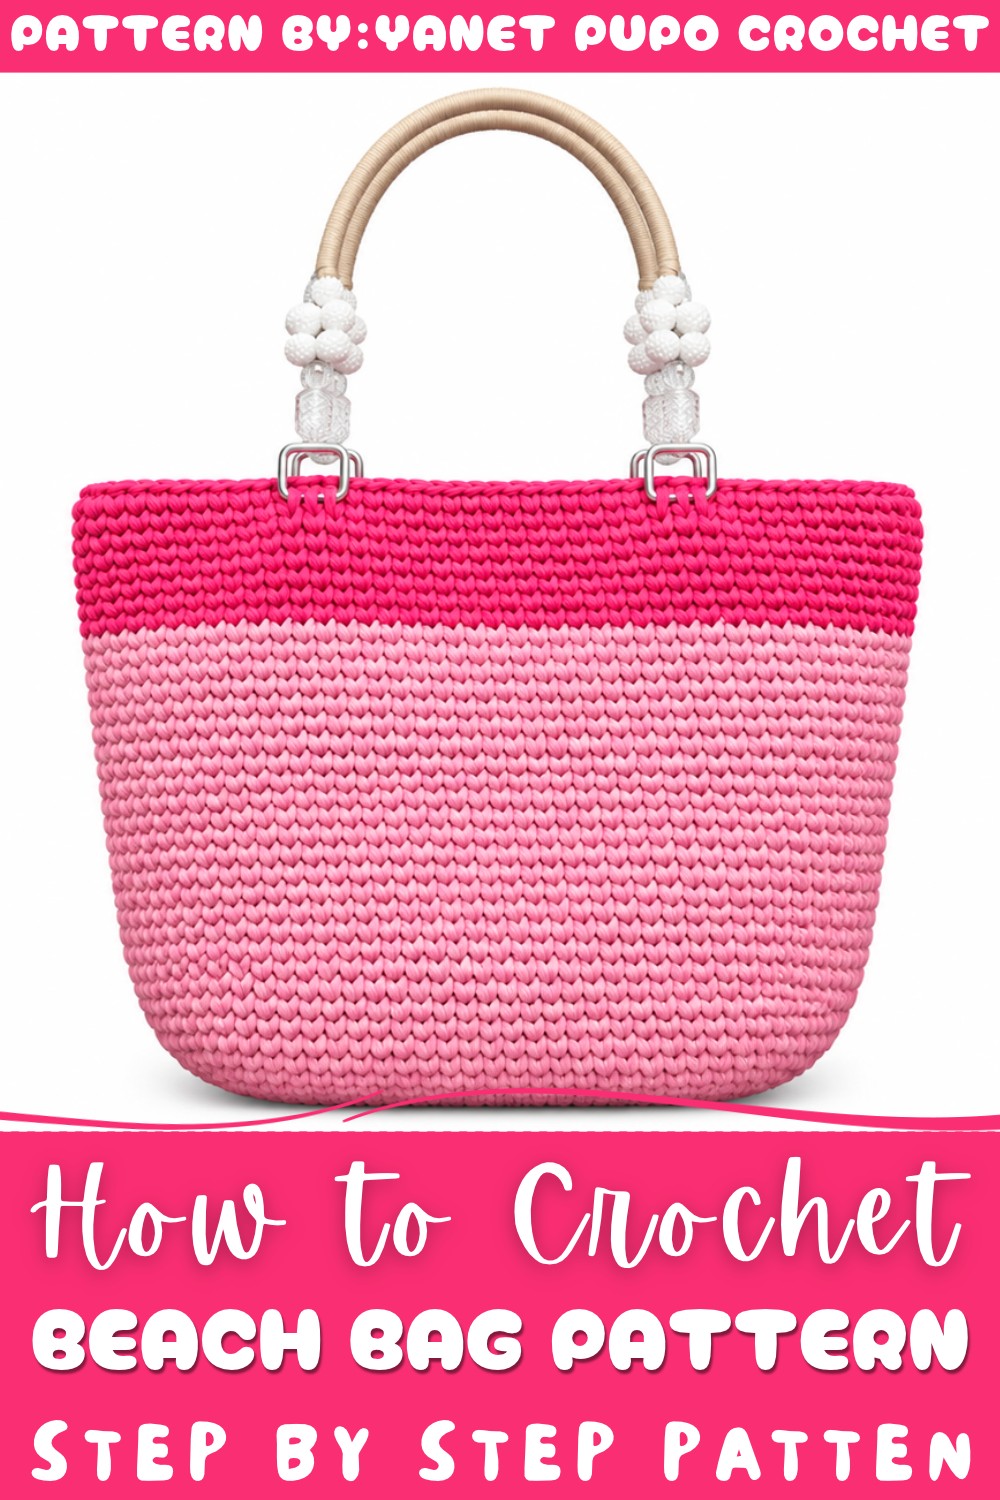
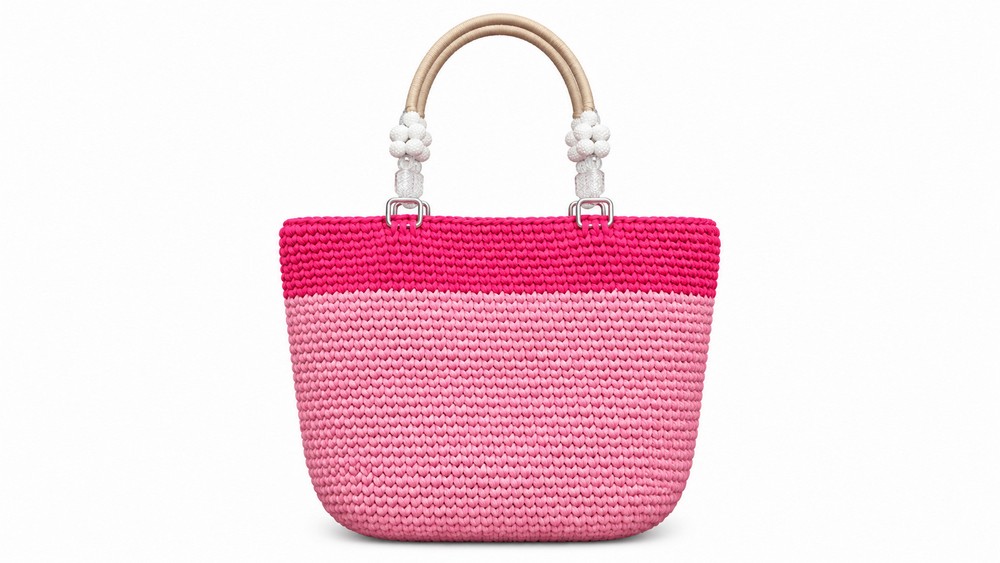
This beach bag boasts a sturdy rectangular shape with a flat leather bottom, measuring about 43 cm wide and 30 cm high, offering plenty of room for towels, sunscreen, and more. The texture stands out with neat, consistent stitches made from a combination of cloth strips and crochet yarn, giving the bag a slightly firm yet flexible feel. Its stylish two-tone design, often featuring soft pastel hues like pink, adds a gentle pop of color that makes it both trendy and easy to pair with beachwear.
The pattern includes unique corner increases, which help the bag maintain its shape without losing functionality. Using aluminum crochet hooks of varying sizes ensures the stitches are tight where necessary and loose enough elsewhere for flexibility. This thoughtful design makes the bag easy to carry and manage, while ready-made handles add a professional touch.
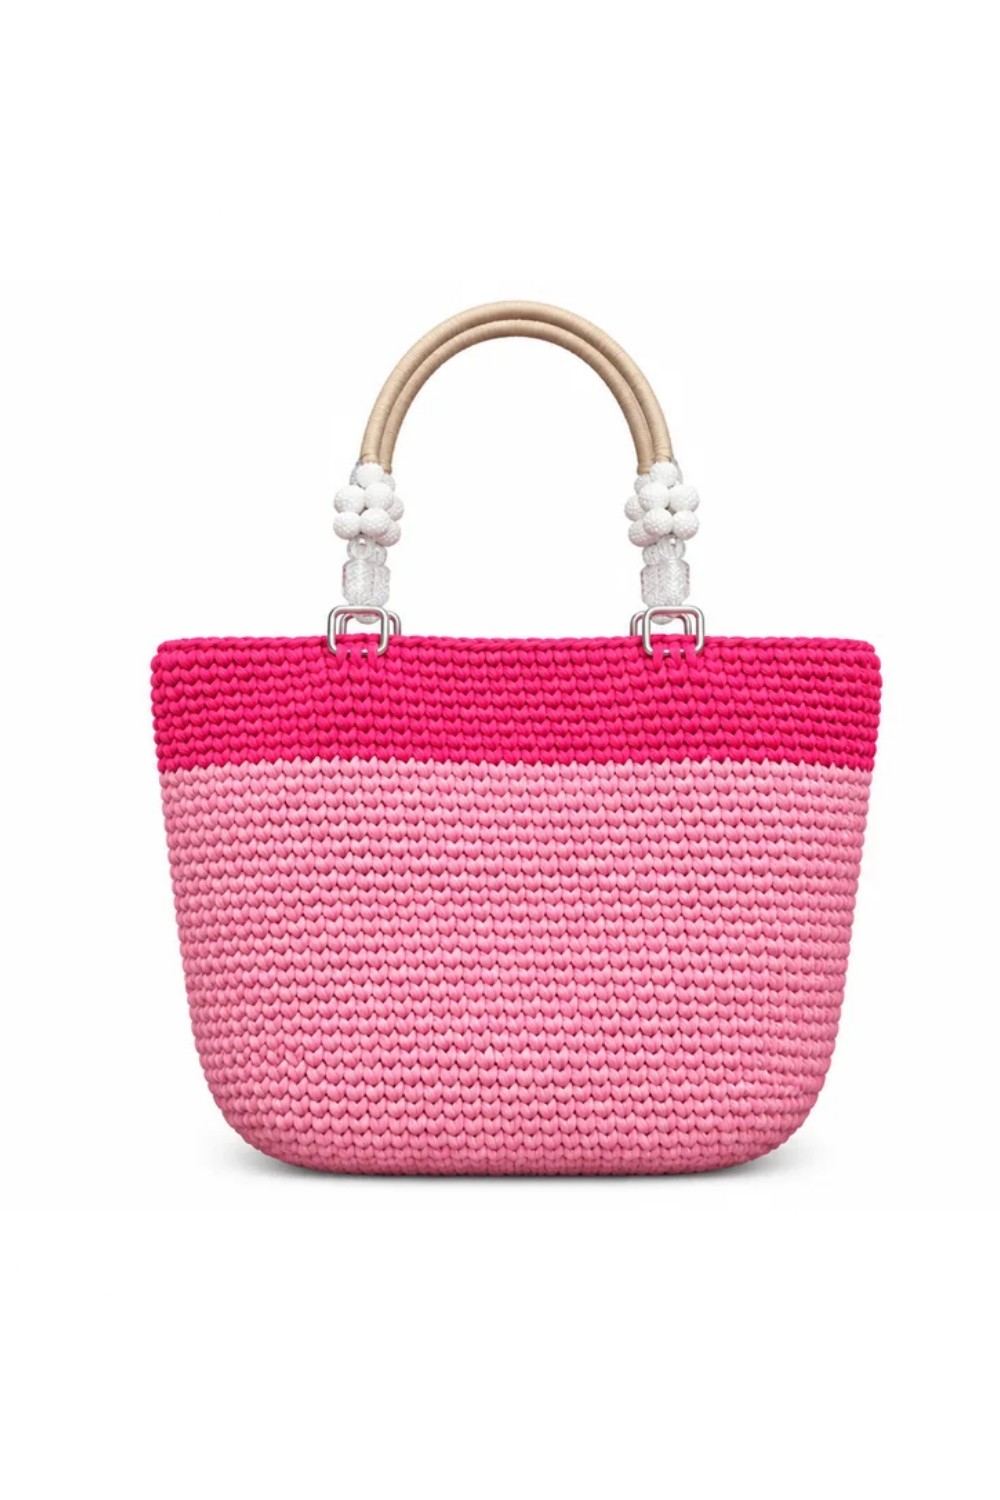
Large Crochet Beach Bag Pattern
This crochet pattern guides you through creating a large and elegant beach bag with a sturdy leather base and vibrant cloth yarn. Featuring structured edges, optional handles, and ample storage space, this project is perfect for sunny outings. It combines simple, repetitive stitches with neat construction techniques.
Skill Level
Intermediate
This pattern is ideal for crocheters familiar with working single crochet and handling tight spaces, as well as assembling handles and closures.
Materials Needed
- Yarn:
- Approximately 700g cloth yarn (used here: pink, chosen to match the leather base).
- Hooks:
- 4mm hook: To work through leather base holes smoothly.
- 5.5mm aluminum crochet hook: For crocheting the bag itself.
- Base:
- A leather bottom pre-punched with holes for bag knitting. Size: 22cm x 10cm.
- Accessories:
- Handles, either pre-made or handmade (see assembly instructions).
- Optional closures: Magnetic brooches or zipper-style closures.
- Miscellaneous Tools:
- Scissors for trimming yarn ends.
- Sewing needle and thread for attaching handles and closures.
Special Stitches Used
- Single Crochet (Sc):
- Insert the hook into a stitch, yarn over, and pull up a loop (2 loops on hook). Yarn over again, pull through both loops.
- Triple Increase:
- Work 3 single crochet stitches into the same space or stitch to create an increase.
- Slip Stitch (Sl St):
- Insert the hook into a stitch, yarn over, pull through the stitch and the loop already on the hook.
Stitch Abbreviations
- Ch: Chain
- Sc: Single Crochet
- Sl St: Slip Stitch
Useful Tips
- Handle Placement: Center the handles and sew them securely with strong thread for proper weight distribution and durability.
- Foundation Stitches: Work foundation stitches gently to avoid uneven tension.
- Base Orientation: Ensure the leather base is properly aligned, with the flat screws inside the bag for a seamless appearance.
- Increase Balance: Maintain symmetrical increases at corners to keep a balanced oval shape for the bag. Use stitch markers to pinpoint corners during increases.
- Optional Bag Width: If you prefer a wider bag, add more rounds of increases according to the instructions provided.
Pattern Instructions
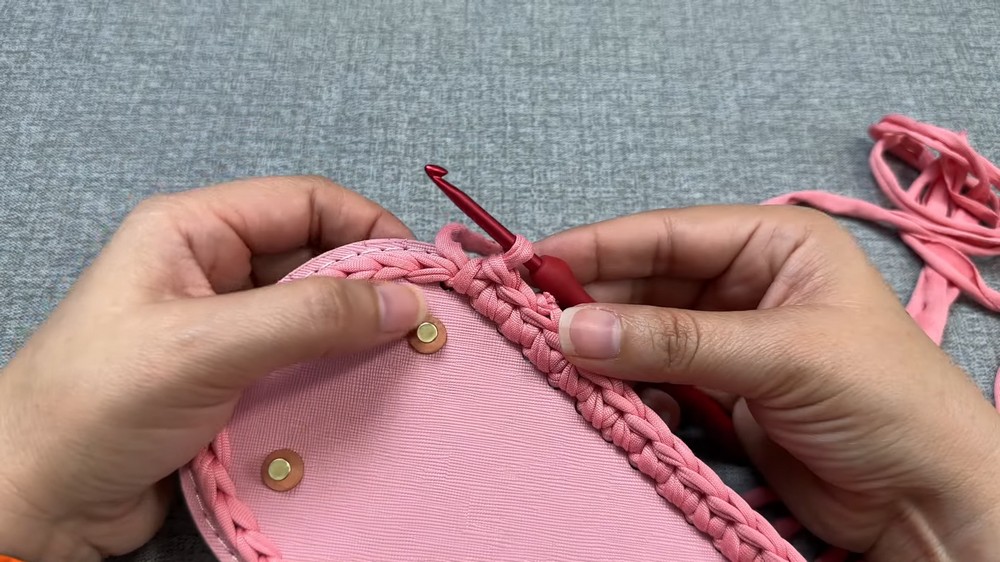
Phase 1: Attaching Yarn to Leather Base
- Begin with the flat screw side of the leather base facing inward (inside the bag).
- Using the 4mm hook:
- Insert the hook through the first pre-punched hole.
- Pull the yarn through and make a slip knot to secure the yarn.
- Work a single crochet (Sc) into the hole by pulling the yarn through and sliding it inside.
- Move to the next hole, repeat the process, and create single crochet stitches along the entire edge.
- Ensure that each space contains one Sc stitch to create a neat foundation.
- After completing the full round:
- Tie a secure knot with the yarn ends to avoid loosening.
- Cut the yarn and hide the loose ends inside the bag.
Phase 2: Building the Bag Base
Round 1:
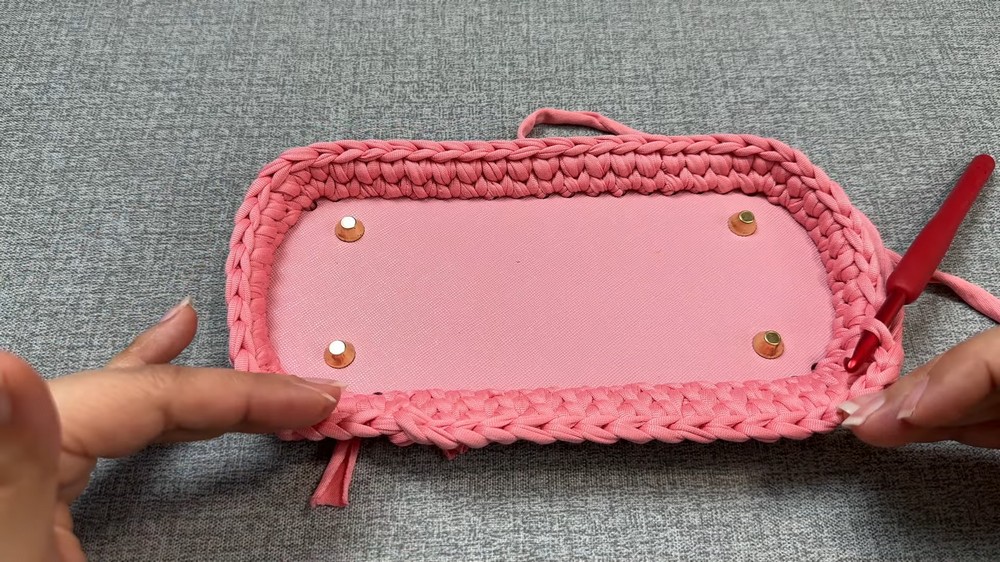
- Using the small hook (4mm), work a round of single crochet stitches into the chain base from the previous step.
- Add triple increases (3 single crochet stitches in the same space) at each corner to maintain an oval shape.Pattern logic:
- Work one Sc stitch per space between corner pins.
- At designated corner pins, insert 3 Sc stitches into the same base stitch for an increase.
Round 2:
- Switch to the larger hook (5.5mm) to make the stitches looser and easier to manage.
- Repeat the single crochet logic from Round 1, ensuring no increases in the flat sections between corners.
- Continue the corner increases (triple increases) only in the designated spaces from the previous round.
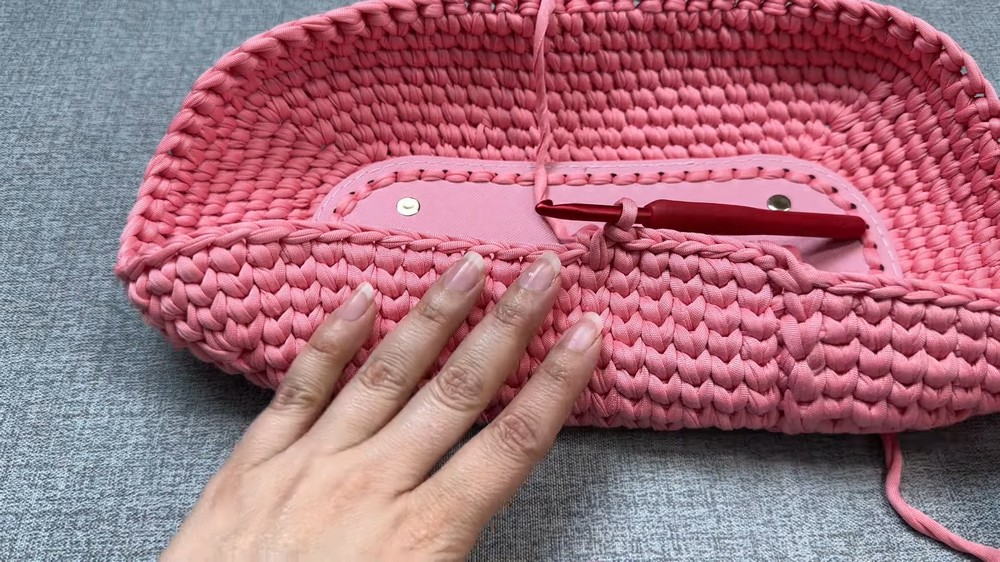
Round 3:
- Repeat the same pattern as Round 2:
- Single crochet stitches for the base edges.
- Triple increases at corners to maintain the oval shape.
Rounds 4–8:
- Alternate rounds with and without increases:
- Odd-numbered rounds: Include triple increases at corners every time.
- Even-numbered rounds: Work plain single crochet stitches without increases.
This creates the necessary depth and curvature for the bag as it starts to take shape.
Phase 3: Continuing Bag Height
Rounds 9–38:
- Work single crochet stitches stitch by stitch around the entire bag, avoiding increases in the corners.
- Optional: Add increases during Rounds 31–33 if you prefer a wider bag.Final Measurements:
- Stop crocheting once the bag reaches 43cm wide x 30cm high.
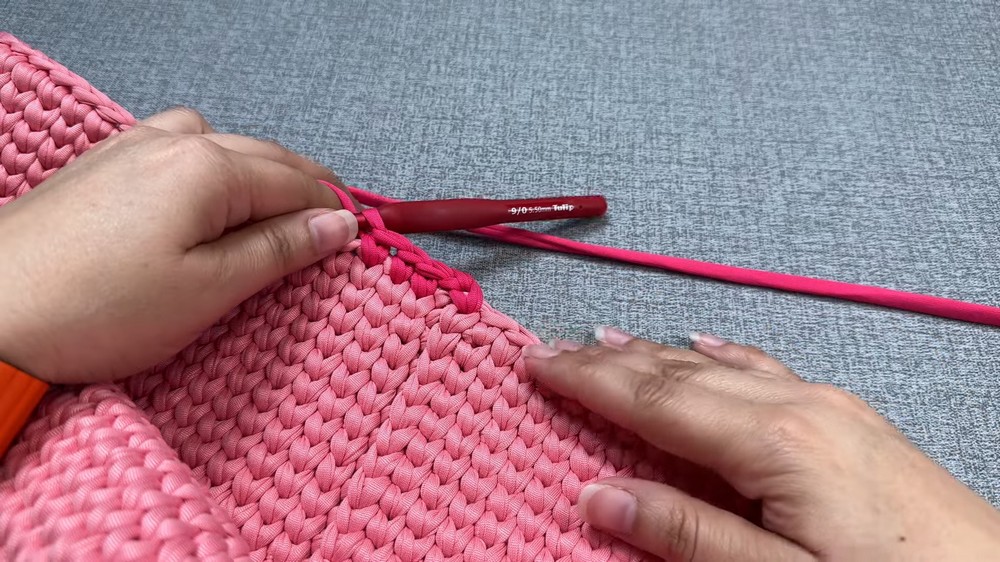
Phase 4: Adding Handles and Closures
Handle Placement:
- Fold the bag evenly in half to locate the positioning for the handles.
- Handles can be purchased pre-made or crafted using matching yarn (check related tutorials).
- Attach the handles securely to the top edges with a strong thread. Ensure they are evenly placed for balance.
Closure Options:
- Magnetic Brooches:
- Attach brooches by sewing one part to the top edge (inside the bag) and the other part below, ensuring perfect alignment.
- Join both pieces together to secure the closure.
- Zipper:
- Sew a matching zipper along the top edge for a sleek finish.
Optional Customization
- Wider Bag: Add more increasing rounds at corners if desired during Phase 3. Follow the same logic for each corner increase.
- Color Variation: You can change colors after completing 30 rounds for a two-tone effect.
- Lining Fabric: Add an inner lining for enhanced structure and durability.
Conclusion
This large crochet beach bag is both stylish and practical, featuring a structured leather base, a roomy interior, and optional handles and closures for a polished finish. By following the detailed steps and utilizing alternate increases, you can customize the bag’s size and width to suit your own preferences. The project combines durability with creativity, making it an ideal choice for functional yet fashionable handmade accessories.