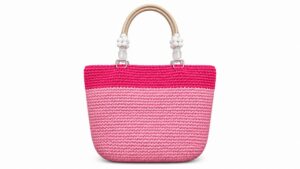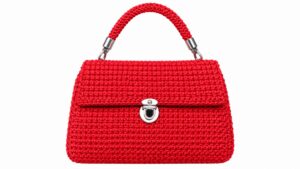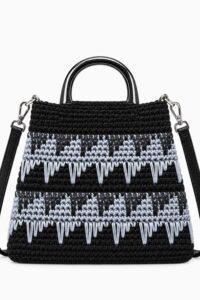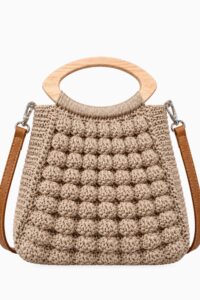
Make a fashion statement with a free crochet herringbone handle bag pattern that features eye-catching stitchwork and practical handles for everyday use.
Bringing style and function together, this beautiful bag design is both practical and eye-catching. Thanks to Yanet pupo crochet detailed video tutorial, you can create your own Free crochet Herringbone Handle Bag Pattern that makes a perfect everyday accessory. This bag stands out as a versatile piece, ideal for gifting or as a chic addition to your personal collection.
Easy and Free Crochet Herringbone Handle Bag Pattern | Step-by-Step
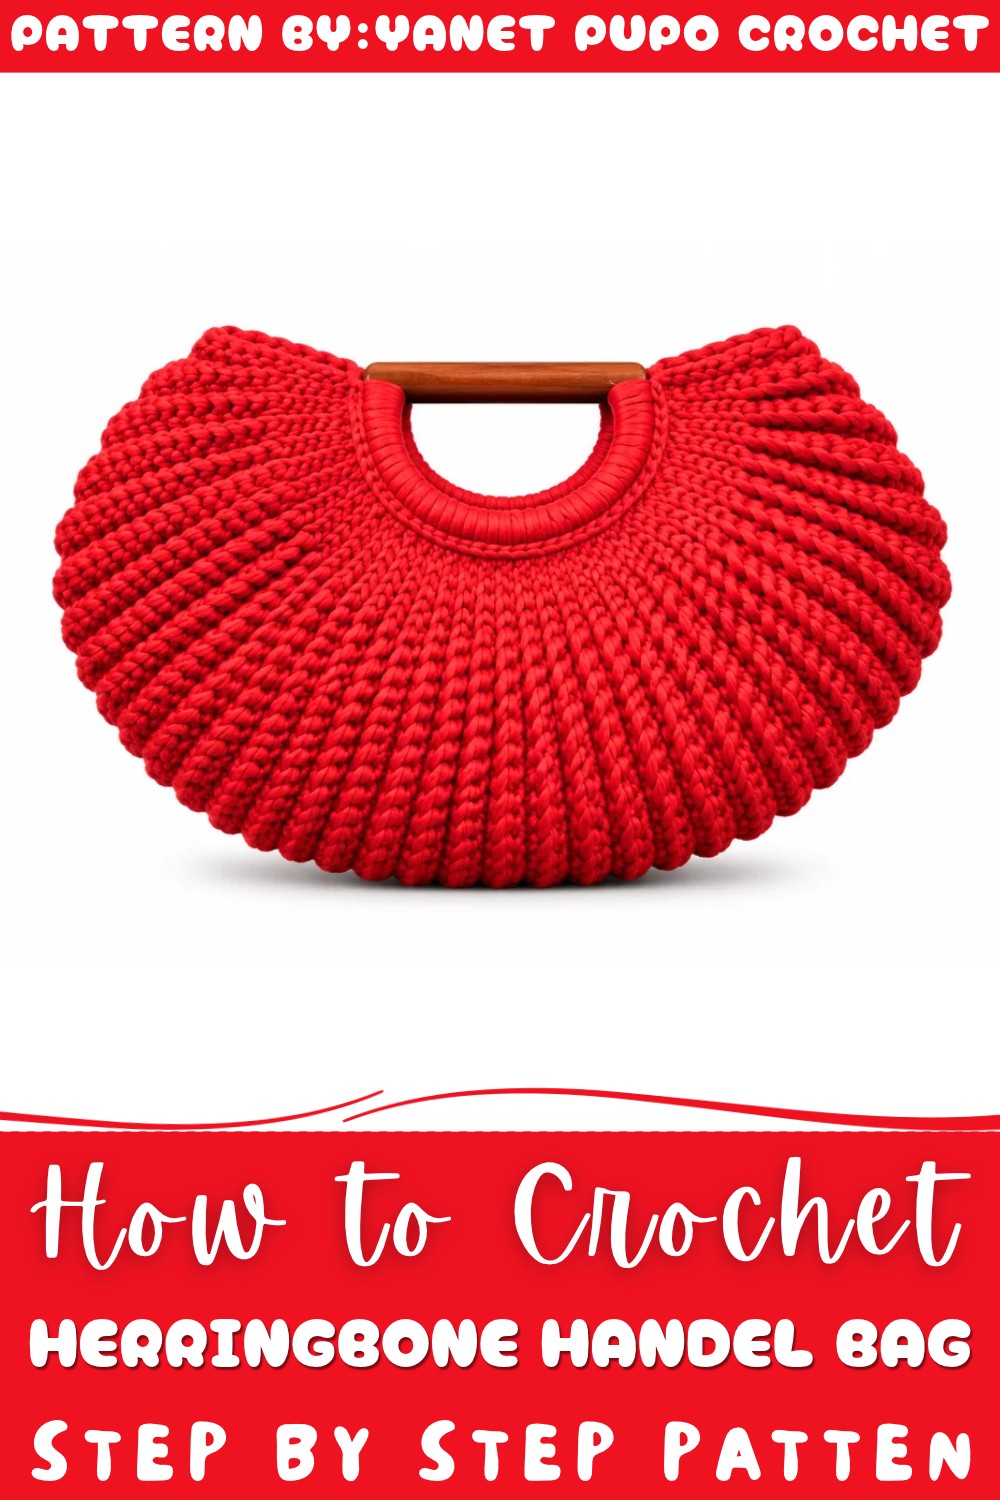
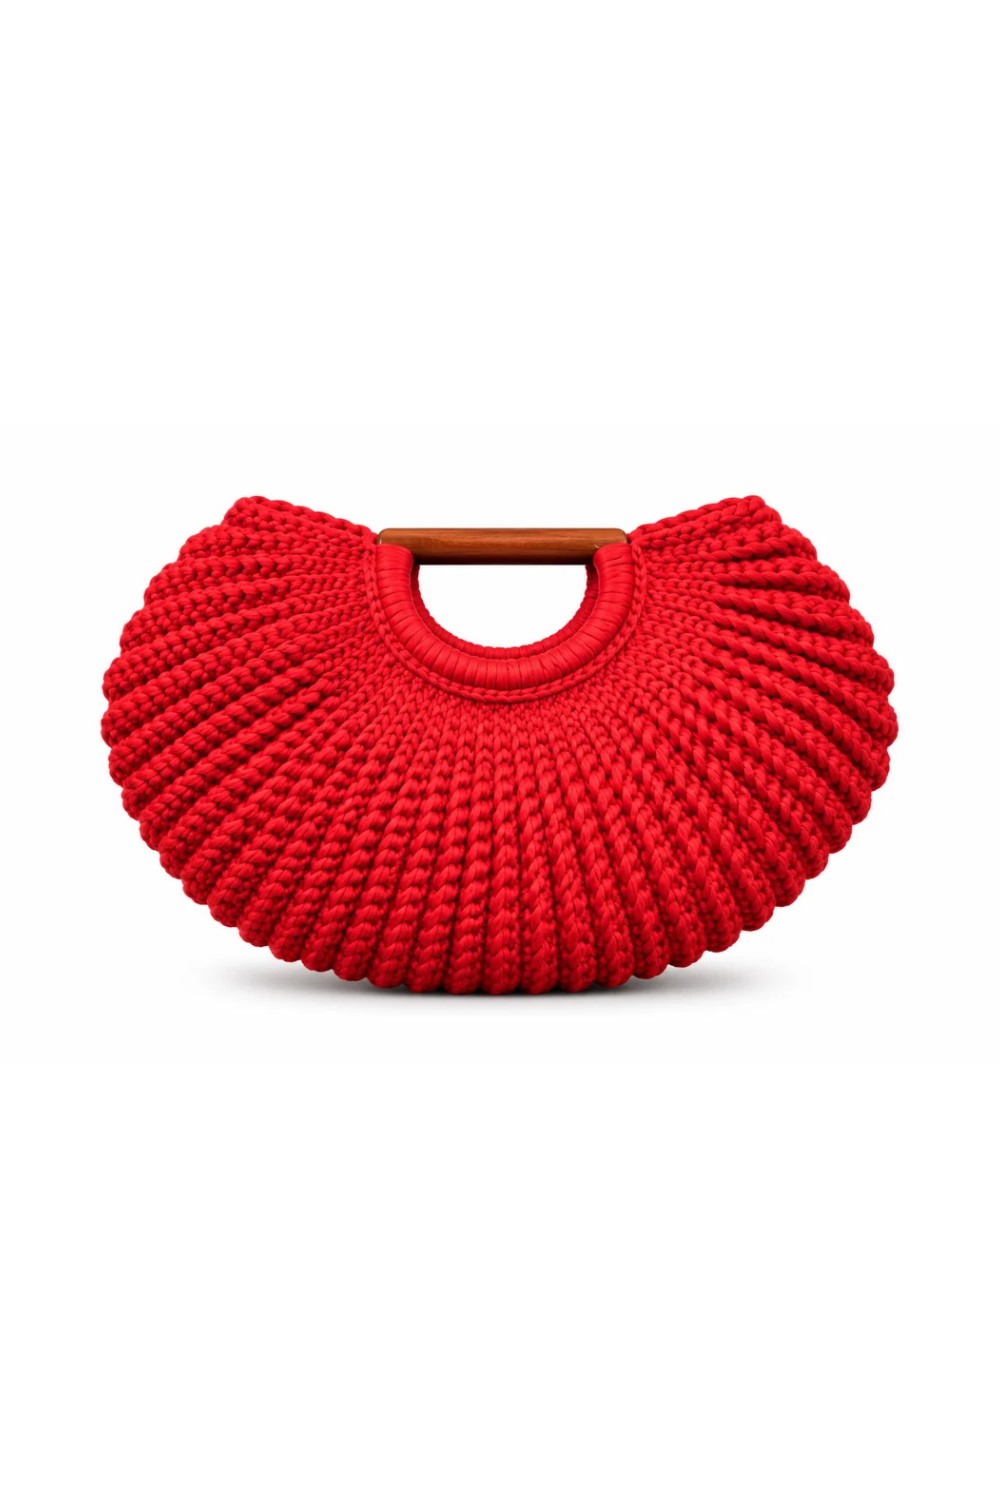
The bag features a firm rectangular shape measuring about 44 cm wide and 25 cm high, with a unique herringbone stitch texture that adds depth and durability. Made with cloth strips and a 5.5 mm crochet hook, the tight yet flexible stitches create a sturdy fabric, balanced with a soft feel that holds shape beautifully. The bold stitch pattern combined with five slipped stitches on the edges gives the bag its signature style and elegant structure.
Designed with two plastic handles already attached, this bag is both comfortable to carry and easy to make. The joining technique conceals loose ends neatly, resulting in a clean, professional look. A charming edge finishing around the top adds extra firmness and enhances its decorative appeal.
Beyond its stylish appeal, this bag is practical for everyday use—perfect for carrying essentials while offering a standout design. Its adaptable size and solid construction make it a thoughtful gift choice or a fashionable personal accessory.
Crochet Cloth Bag With Handles Pattern
This crochet pattern creates a durable and stylish bag using cloth yarn, complete with sturdy plastic or wooden handles and a decorative chain edge finish. Its functionality and aesthetic appeal make it an excellent accessory for everyday use or as a unique gift.
Skill Level
Intermediate
This project is suitable for those who are familiar with single crochet (sc), slip stitches (sl st), and working decreases. It is also suitable for those who are comfortable working with thicker yarns like cloth yarn.
Materials Needed
- Yarn:
- Cloth yarn: Approximately 550g (used here: pink, but any color or patterned cloth yarn will work).
- Hooks:
- 5.5mm aluminum crochet hook: For the majority of the bag.
- Handles:
- Two plastic or wooden handles (pre-made).
- Miscellaneous Supplies:
- Scissors for trimming yarn.
- A tapestry needle to weave in ends or attach any optional decorative elements (e.g., tags or brads).
Special Stitches Used
- Single Crochet (Sc):
- Insert the hook into the stitch, yarn over, and pull up a loop (2 loops on the hook). Yarn over again and pull through both loops.
- Slip Stitch (Sl St):
- Insert the hook into the stitch, yarn over, pull through the stitch, and then pull through the loop on your hook.
- Decreased Single Crochet (Sc2tog):
- Insert the hook into the stitch, yarn over, and pull up a loop. Insert the hook into the next stitch, yarn over, and pull up another loop (3 loops on the hook). Yarn over and pull through all 3 loops to decrease.
- Triple Increase:
- Work 3 single crochet stitches into the same stitch to add width.
Stitch Abbreviations
- Ch: Chain
- Sc: Single Crochet
- Sl St: Slip Stitch
- Sc2tog: Single Crochet 2 Together (decrease)
Useful Tips
- Counting Stitches: Ensure every row has the correct number of stitches to maintain symmetry and prevent inadvertent errors.
- Markers for Precision: Use stitch markers to designate important points, such as corners or the center of increases.
- Consistent Tension: While working with cloth yarn, avoid pulling too tightly to maintain the bag’s soft but sturdy texture.
- Handle Placement: Carefully align handle attachments to avoid distortion when the bag is held or loaded.
- Edging: A well-executed edging enhances both the durability and aesthetics of the bag.
Pattern Instructions
Phase 1: Attaching Yarn to Handles
- Take one plastic or wooden handle. Attach the cloth yarn to any corner of the handle.
- Using the 5.5mm crochet hook, work a single crochet (Sc) into the corner and pull through to form a secure first stitch.
- Work single crochet stitches across the entire length of the handle.
- Distribute stitches evenly for a clean and proportional look.
- For this bag, ensure there are 38 stitches in total for each handle. Once complete, fasten off and secure with a knot.
- Prepare both handles in this manner. Once the stitches on each handle are complete, ensure the same stitch count for both handles.
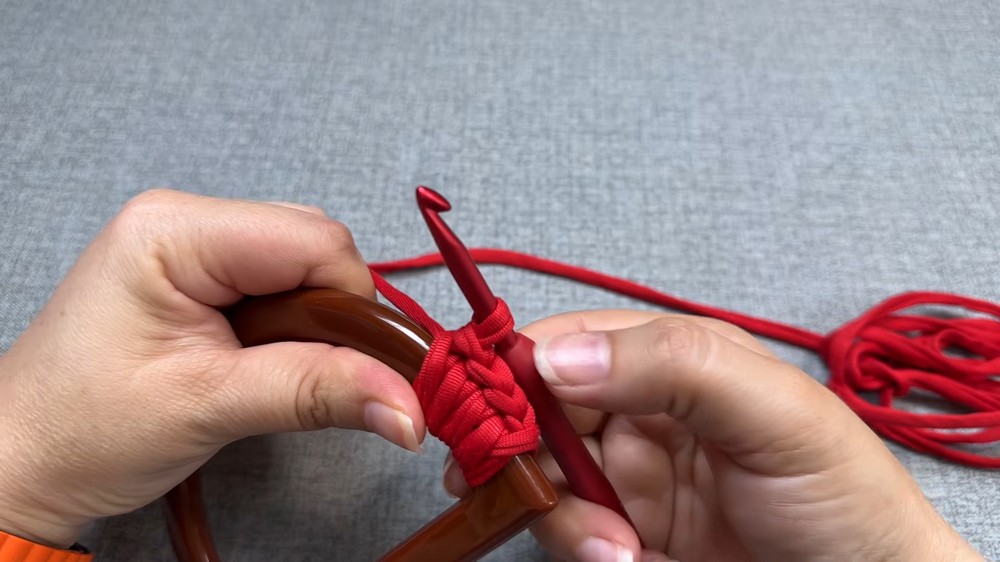
Phase 2: Joining Handles and Beginning the Body of the Bag
Round 1:
- Select either handle to start. Tie the yarn securely to the first stitch of the handle.
- Work 19 Sc stitches across the handle.
- Align the handles so they both face the right side, ensuring symmetry.
- Join the handles together by inserting the hook into the first stitch of the second handle and pulling the yarn through.
- Work 5 slip stitches (Sl St) to begin connecting the two handles.
- Now, work 4 single crochet stitches (Sc).
- At the corners of the handle, make a triple increase by working 3 Sc stitches into the same stitch.
- Use a marker to designate the center point of the triple increase for reference in future rounds.
- Continue working 4 Sc followed by 5 slip stitches.
- Join back to the starting stitch of the handle with a slip stitch.
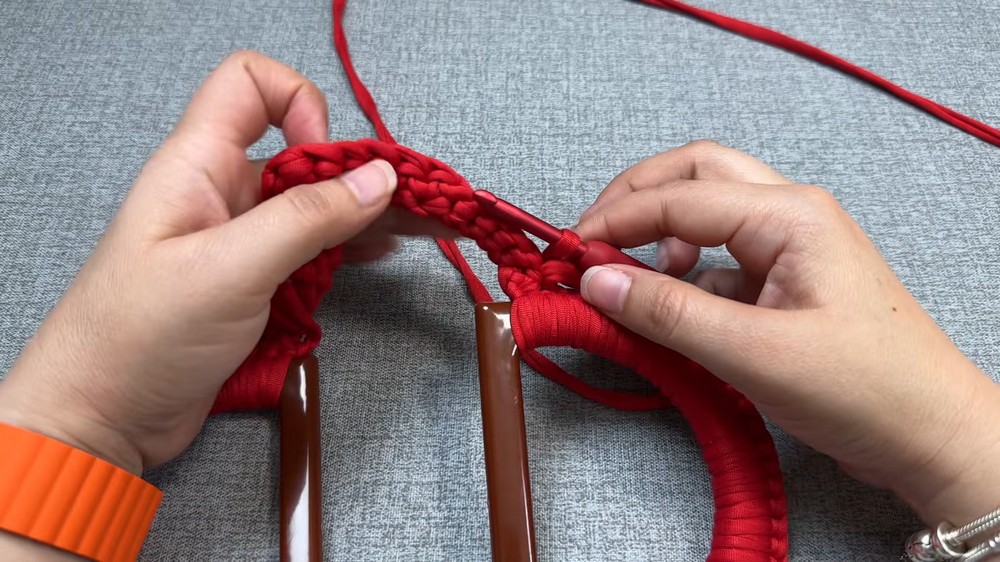
Phase 3: Building the Bag Body with Increases
- Turn the work and start on the next row, which will be the wrong side.
- Work 5 Sl St to begin this row.
- Follow with 5 single crochet stitches (Sc) (1 more stitch than in the first round).
- Identify the center stitch of the previous triple increase (marked with a stitch marker). Work a triple increase into that stitch.
- Follow with 5 single crochet stitches (Sc) and 5 slip stitches (Sl St) to complete the round.
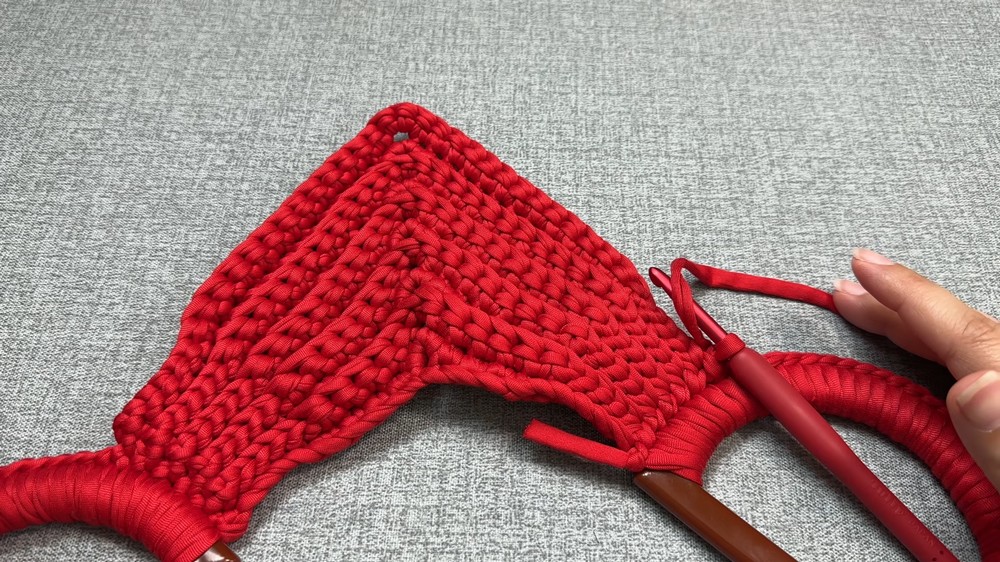
Note:
Each subsequent round will see an increment of 1 single crochet stitch on each side of the increase portion.
Phase 4: Increasing the Bag’s Size
- Continue working rows with the same pattern:
- Work 5 slip stitches at the beginning and end of each row.
- Add 1 extra single crochet stitch per row before and after the triple increase.
- Repeat this pattern, alternating the right and wrong sides, until you have completed 10 total rows.Example of Row Stitch Counts:
- Row 1: 4 Sc
- Row 2: 5 Sc
- Row 3: 6 Sc
- Row 4: 7 Sc
- Continue this pattern of adding one Sc per side until Row 10.
Phase 5: Stopping Increases and Expanding the Bag
- After completing the 10 increase rounds, stop making triple increases at corners. Instead, simply crochet stitch by stitch:
- 5 Sl St at the beginning and end.
- Work Sc into each stitch in between.
- Continue this pattern for additional rows, repeating the same stitch structure and ensuring consistent tension.
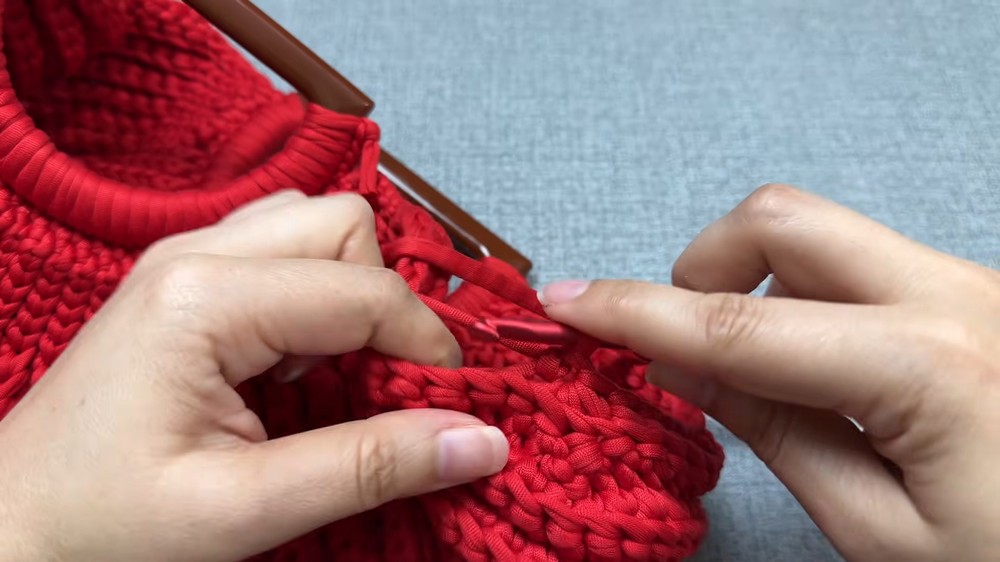
Phase 6: Reducing for Handle Openings
- When the bag reaches the desired height, begin the decrease rounds as follows:
- Continue with 5 slip stitches at the beginning and end.
- Work fewer single crochet stitches in each round until you reach the desired handle opening size.
- For decreases (Sc2tog):
- In place of the triple increase (3 Sc in the same space), work a single crochet decrease over 3 stitches to taper the ends.
- Repeat this decrease pattern for 5 rows (or as needed) to create a polished handle opening of about 8 cm wide.
Phase 7: Finishing with an Edge
- After completing the body decreases, finish the bag with a chain edging for added durability and aesthetic appeal:
- Starting from the base, work slip stitches into each stitch around, forming a continuous chain-like effect.
- Continue around the top edge, handles, and sides for a seamless look.
- Once complete, fasten off and use a tapestry needle to weave in any loose ends for a clean finish.
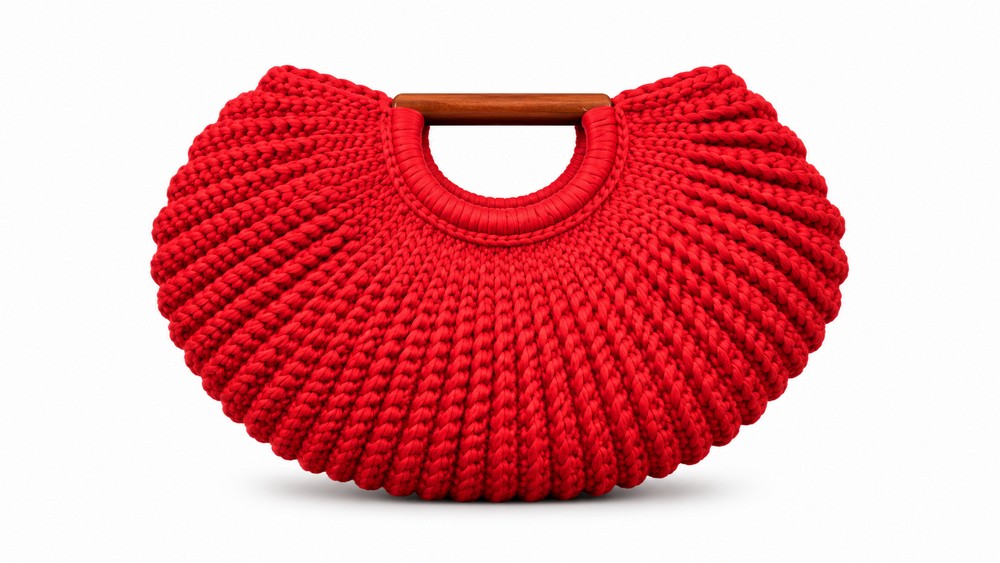
Final Measurements
- Width: Approx. 44 cm.
- Height: Approx. 25 cm.
- Handle Opening: 8 cm. If you prefer smaller or larger bags, the width and height can be adjusted by increasing or decreasing the number of stitching rounds in earlier steps.
Conclusion
This cloth bag with handles is an excellent project for those seeking to combine functionality with artisanal charm. The symmetrical construction, customizable size, and options for decorative handles or closures allow you to personalize the design to your liking. Its sturdy structure and stylish design make this bag suitable for everyday use while showcasing your crochet skills.