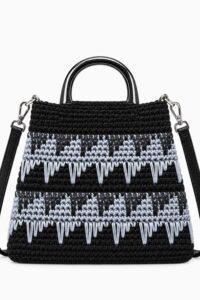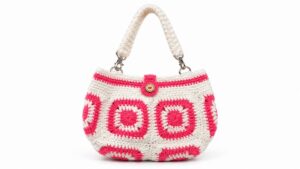
Stay fashionable on the go with this Free Crochet Handbag Pattern that's offering the perfect mix of convenience and personal style for every outing.
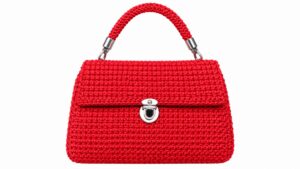
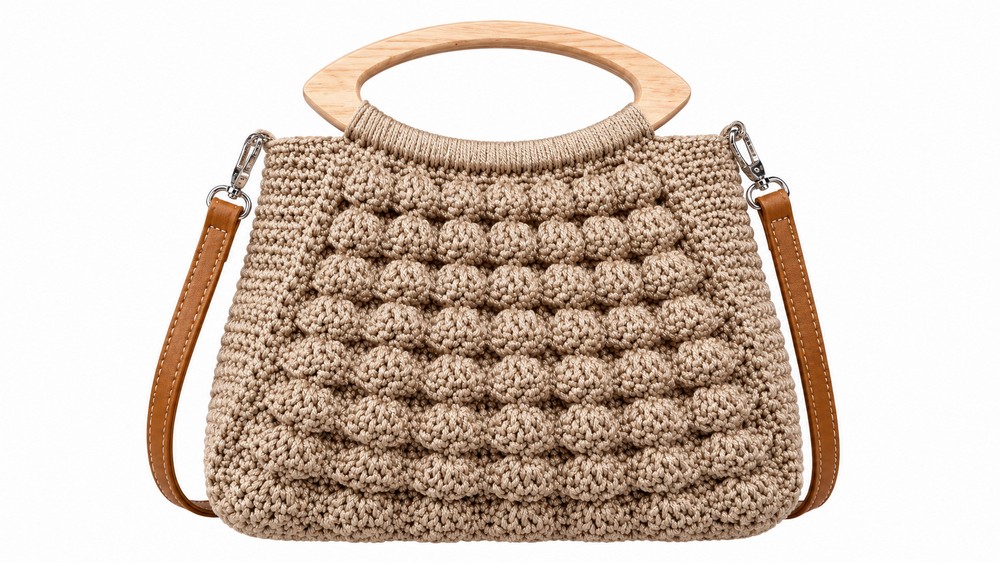
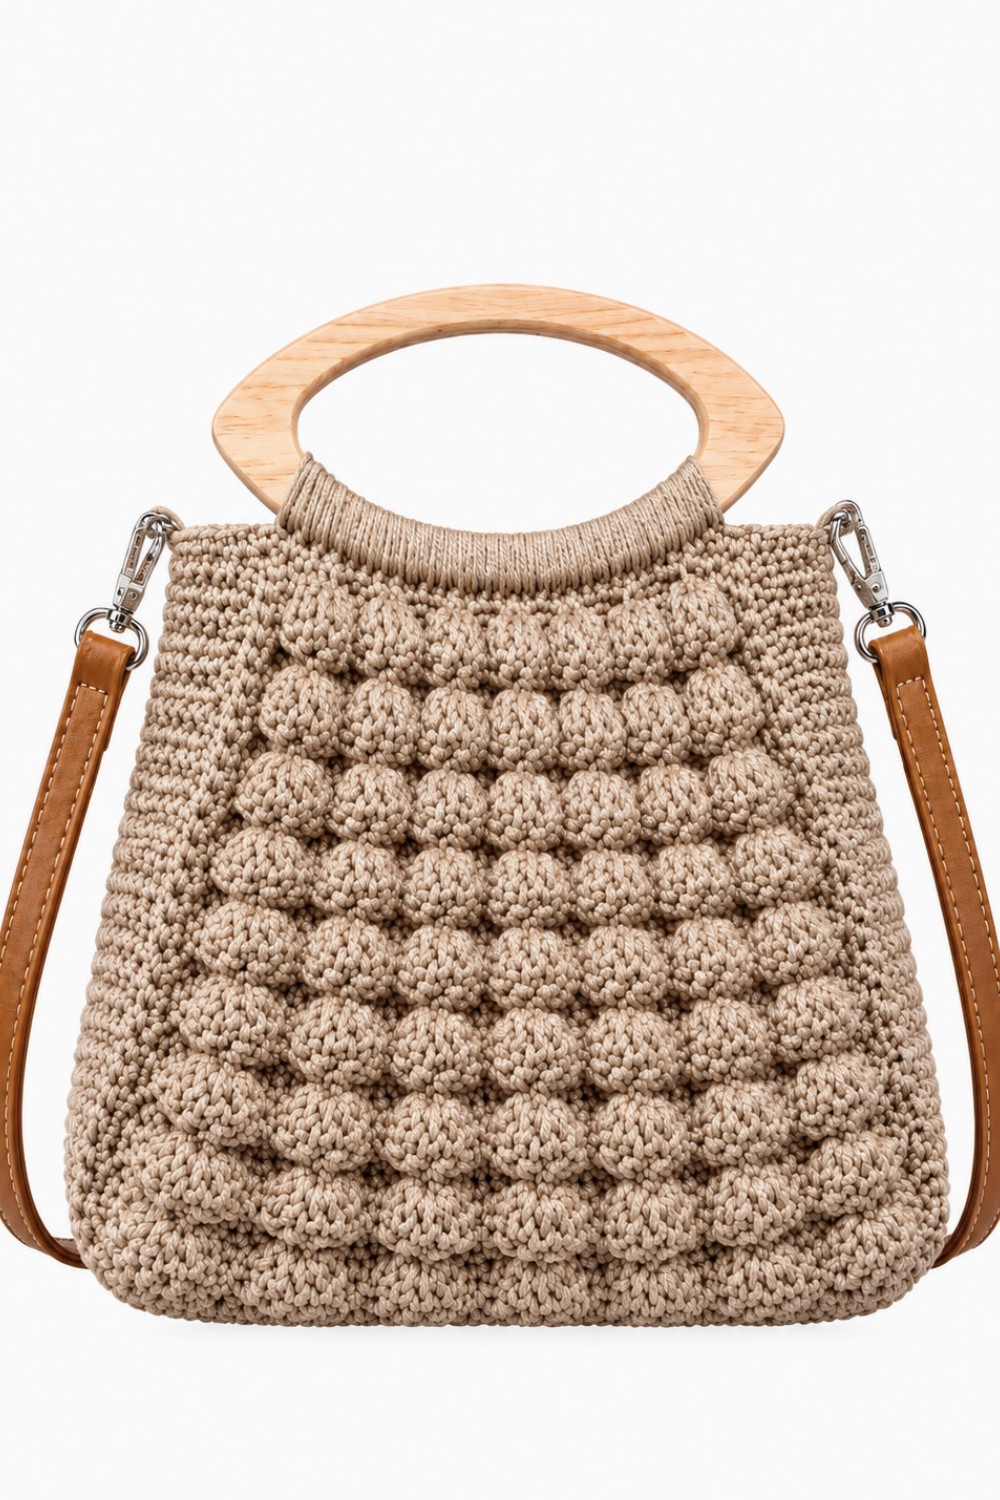
A beautiful crochet handbag can make a unique statement. On Yanet Pupo Crochet’s YouTube channel, you can find a Free Crochet Handbag Pattern that’s stylish, easy to follow, and perfect for any skill level. The finished bag features a neat rectangular shape with a firm structure and a soft, woven texture. It’s complemented by a polished metal clasp that adds a professional and elegant touch.
This handbag is both fashionable and functional. It’s big enough to hold essentials like keys, a phone, and a small wallet while remaining compact and lightweight. The design makes it versatile, ideal for casual days, special events, or even as a thoughtful, handmade gift. You can choose bright colors for a cheerful look or neutral tones for something classic and timeless.
Sturdy Handbag Free Crochet Pattern For Shopping
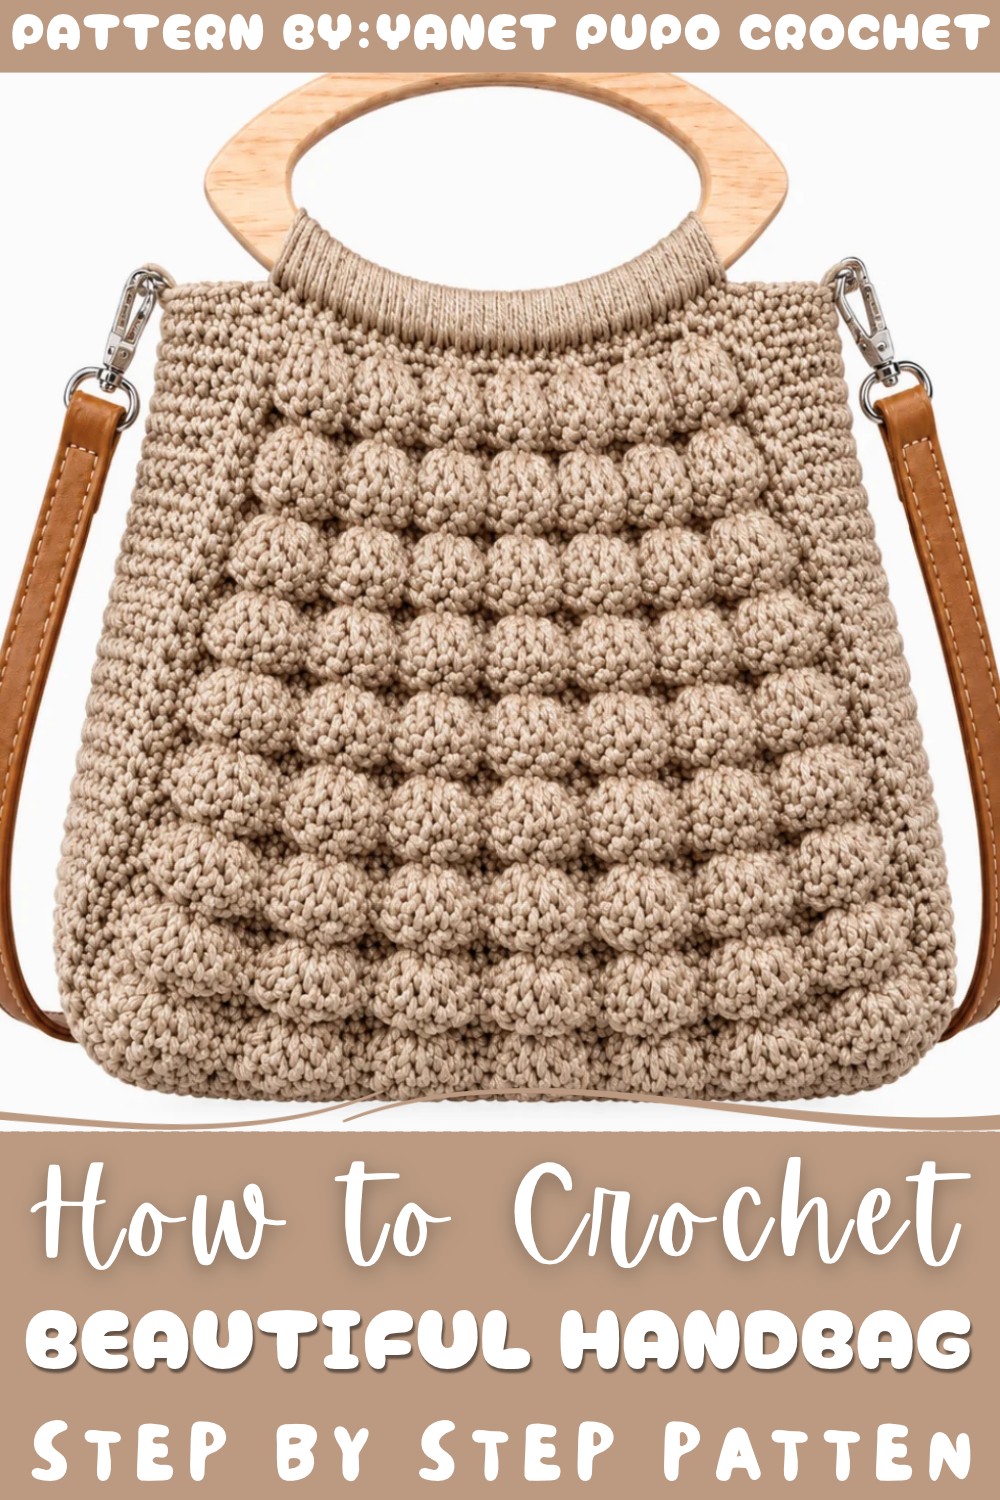
The tutorial explains each step in detail, from crocheting the sturdy base to shaping the sides and attaching the handle. Even beginners will feel confident creating this lovely accessory. For added flair, you can personalize it with lining fabric or a decorative strap, making the handbag uniquely yours.
The charm of this design lies in its simplicity and elegance. It’s one of those pieces that quickly becomes a favorite because it works with almost everything and fits so many occasions. Whether for yourself or a loved one, this handbag is a project worth making!
Easy Step-by-Step Crochet Wallet Pattern for Beginners
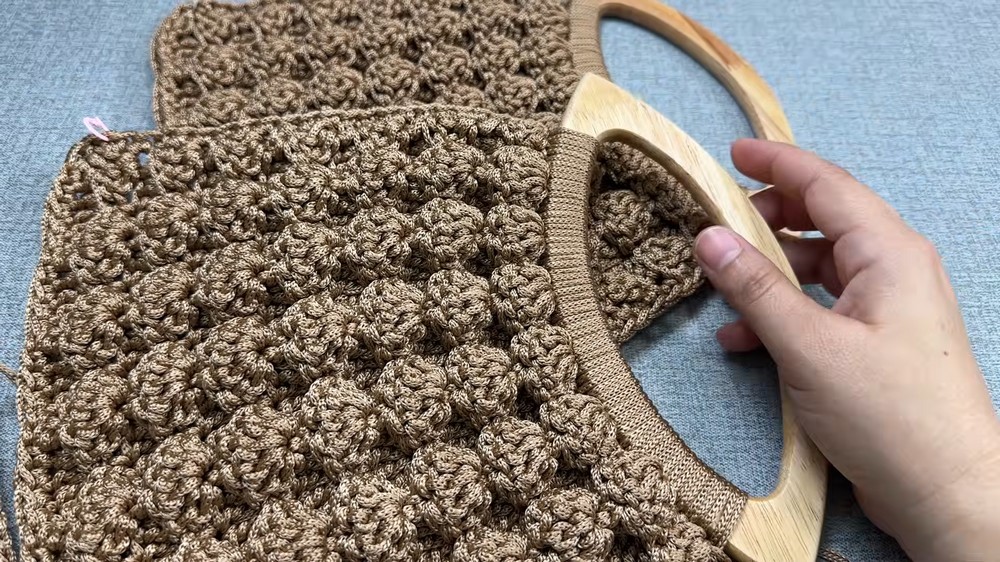
This pattern guides you through making a beautiful, sturdy crochet wallet with a zipper and lining using polyester cord and a 3.75mm crochet hook. The wallet uses simple stitches and a fan stitch pattern for an elegant look. It has wooden handles but you can use any handle shape. The project includes clear instructions on stitching, sewing the lining, and adding a zipper for a complete finished purse.
What You Will Learn
- How to start crochet around a handle
- How to crochet a fan stitch pattern using double crochet (dc) and single crochet (sc)
- How to count stitches carefully for neatness
- How to sew matching pieces together
- How to add a lining with invisible stitching
- How to make simple crochet strips to attach a zipper
- How to finish with handles and optional rings
Important Tips Before You Start
- Always count your stitches to avoid mistakes in size and shape.
- Crochet firmly but don’t pull so tight that your hook doesn’t fit under stitches.
- Mark your starting points or rows if you get lost while counting.
- Use transparent thread to sew the lining and zipper for a neat, invisible finish.
- Burn the ends of polyester cord carefully to stop it from unraveling.
- Be patient during sewing and finishing to make your wallet look neat and professional.
Materials You Will Need
- About 500g of polyester cord yarn
- 3.75mm crochet hook
- Wooden handles (almond-shaped here, but can be any shape)
- Scissors
- Yarn needle for sewing
- Transparent thread or clear fishing line for sewing lining and zipper
- Fabric for lining (cotton or any light fabric)
- Zipper (length should match wallet opening)
- Optional metal rings and extra straps
Stitch Abbreviations
| Abbreviation | Name | How to crochet |
|---|---|---|
| ch | Chain | Yarn over, pull yarn through loop |
| dc | Double crochet | Yarn over, insert hook, yarn over, pull through two loops twice |
| sc | Single crochet | Insert hook, yarn over, pull through both loops |
Step-by-Step Instructions
Step 1: Starting Around The Handle
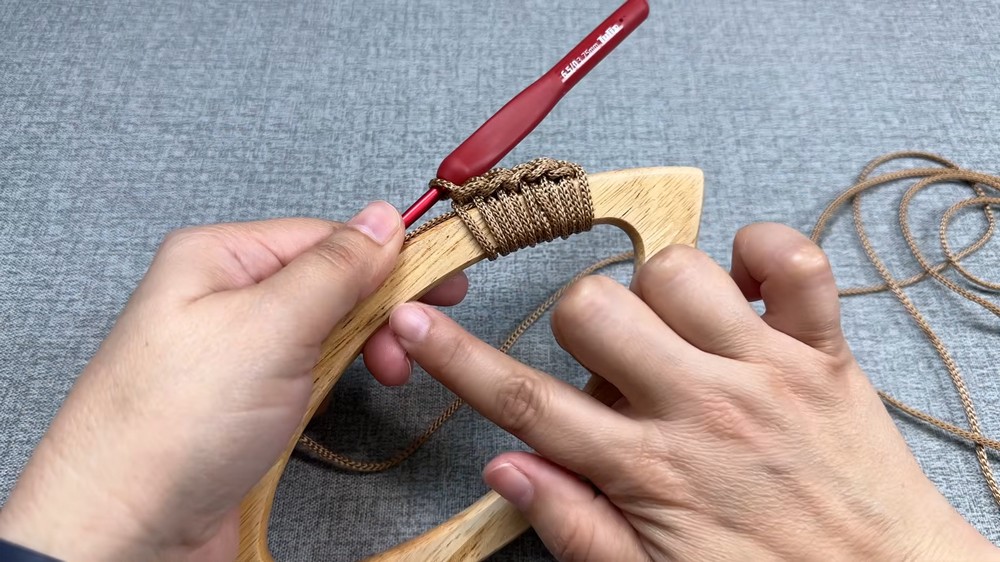
- Attach your yarn near the handle by tying a knot (this knot doesn’t count as a stitch).
- Hide loose yarn ends inside the handle by threading under loops.
Step 2: Chain Foundation
- Chain 29 stitches to start your first row. Count carefully to get exactly 29.
- Turn your work to prepare for the next row.
Step 3: First Row — Fan Stitches
- Chain 3 (counts as the first dc).
- In the same chain, work two more dc on the back loop only (3 dc total).
- Skip 1 chain, then in the next chain, work a single crochet (sc) through both loops.
- Skip 1 chain, then in the next chain work five dc fan (all on back loops).
- Repeat skip 1 chain, sc, skip 1 chain, fan (5 dc) across.
- Finish the row with 3 dc in the last chain (just like the beginning). You should have about 6 fans total.
Step 4: Second Row — Single Crochet
- Chain 1, turn.
- Crochet 1 sc in the first stitch.
- Make 5 dc fan clusters in the middle single crochet space of each fan from previous row (working on back loops).
- Between fans, make 1 sc on back loops.
- End with 1 sc to balance the row.
Step 5: Repeat Rows
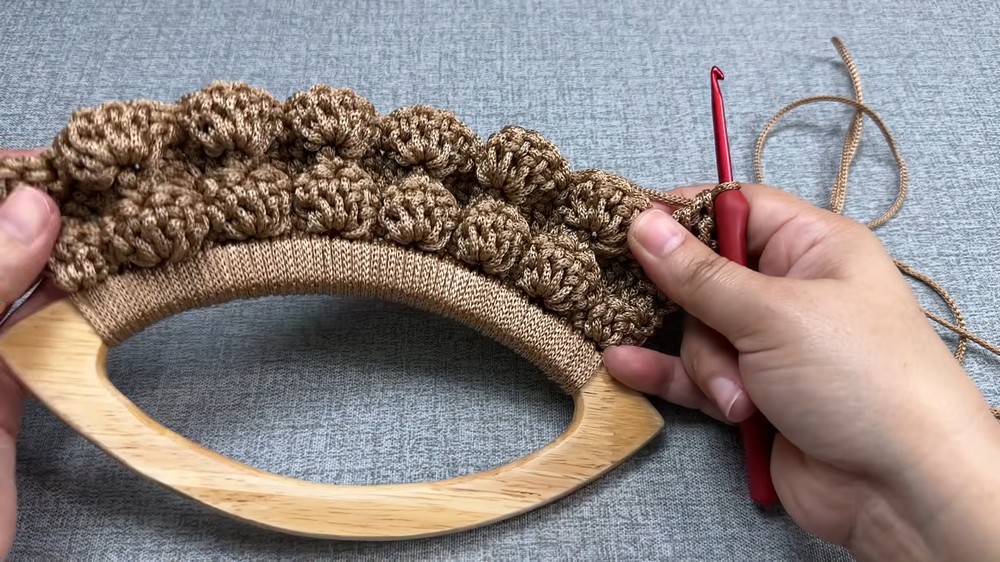
- Alternate fan rows (five dc fans) and single crochet rows for about eight rows total.
- Be sure to count stitches and fans to keep the pattern balanced.
- Always work back loops only for textured effect.
Step 6: Finishing Side Pieces
- Cut yarn leaving a tail.
- Burn tail end carefully to prevent unraveling.
- Make two identical pieces (front and back).
Step 7: Make Side Joining Strip
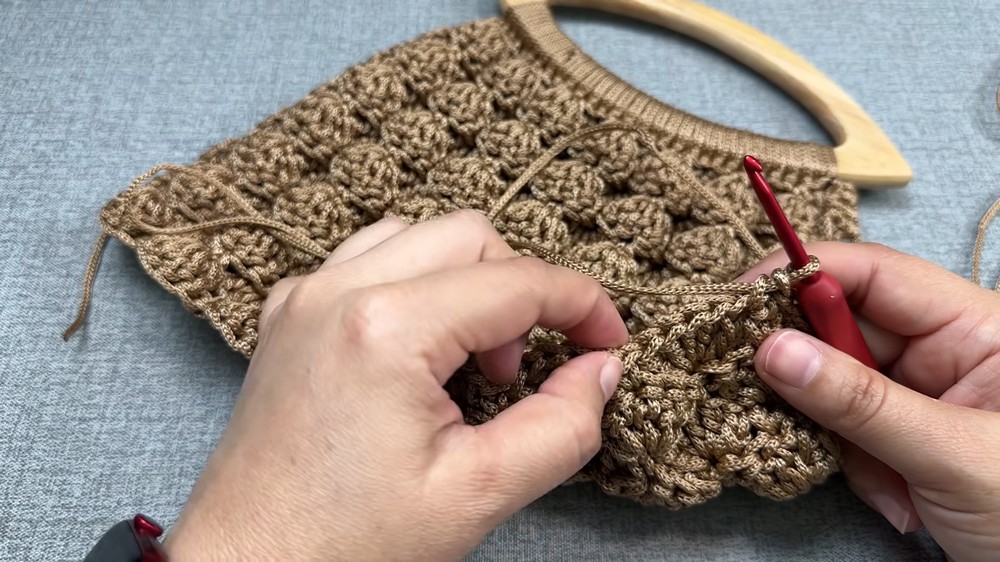
- Chain 15 stitches or width matching your side measurement.
- Work single crochet rows for 85 rows, keeping stitch count consistent.
- This strip joins your front and back pieces.
Step 8: Sew Pieces Together
- Use a yarn needle and matching yarn thread.
- Mark sections to align properly (23 stitches per side).
- Sew each side of the front and back pieces to the side strip patiently.
- Weave in ends.
Step 9: Add The Lining
- Cut lining fabric to fit inside the purse.
- Pin lining inside purse.
- Sew with transparent thread/fishing line close to edges, using small stitches.
- This adds structure and neatness.
Step 10: Make Crochet Zipper Strips
- Chain 30 stitches or match your zipper length.
- Work 3 rows of tight single crochet on the back loop.
- Make two identical strips.
Step 11: Attach Strips to Zipper
- With transparent thread, sew strips closely onto zipper fabric.
- Then sew zipper with strips to the purse opening seam.
- Use small, hidden stitches for a clean look.
Step 12: Final Assembly
- Add metal rings on both sides of the purse if you like.
- Attach handles or your chosen straps to the rings or directly to purse.
- Your wallet is ready to use with the secure zipper and sturdy handles.
Finished Size
- Width about as long as your foundation chain (around 29 chains).
- Height approximately matching 85 rows of single crochet strip.
- Size can be customized by adjusting chains or row counts.
Conclusion
This beginner-friendly crochet wallet pattern combines easy-to-learn stitches like double crochet and single crochet with a decorative fan stitch to make a durable, attractive purse. Sewing the lining and zipper adds professionalism and functionality, while sturdy handles make it versatile for everyday use. Take your time following each step, count stitches often to avoid mistakes, and customize as you like.