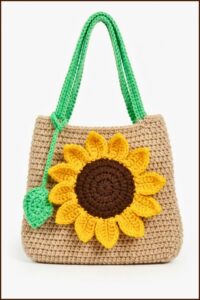
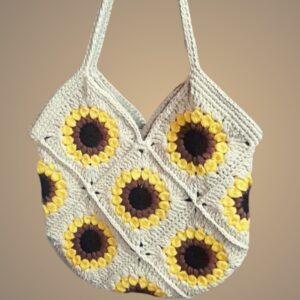
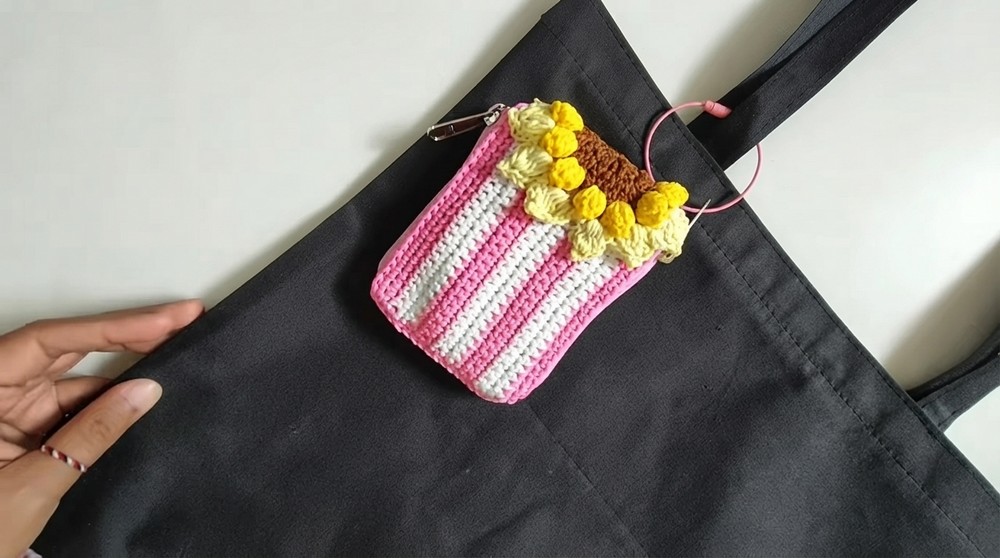
Brighten your day with the Free Crochet Sunflower Wallet pattern is bright and cheerful with roomy spaces to keep your important things neat and easy to find every day.
There’s something truly uplifting about accessories that add a touch of sunshine to everyday life. A Free Crochet Sunflower Wallet pattern offers a lovely balance between practicality and charm, creating a small but useful wallet adorned with a bright floral motif. It’s a delightful way to carry essentials while showcasing a handmade piece full of personality.
Free Crochet Sunflower Wallet Pattern Made for Floral Lovers
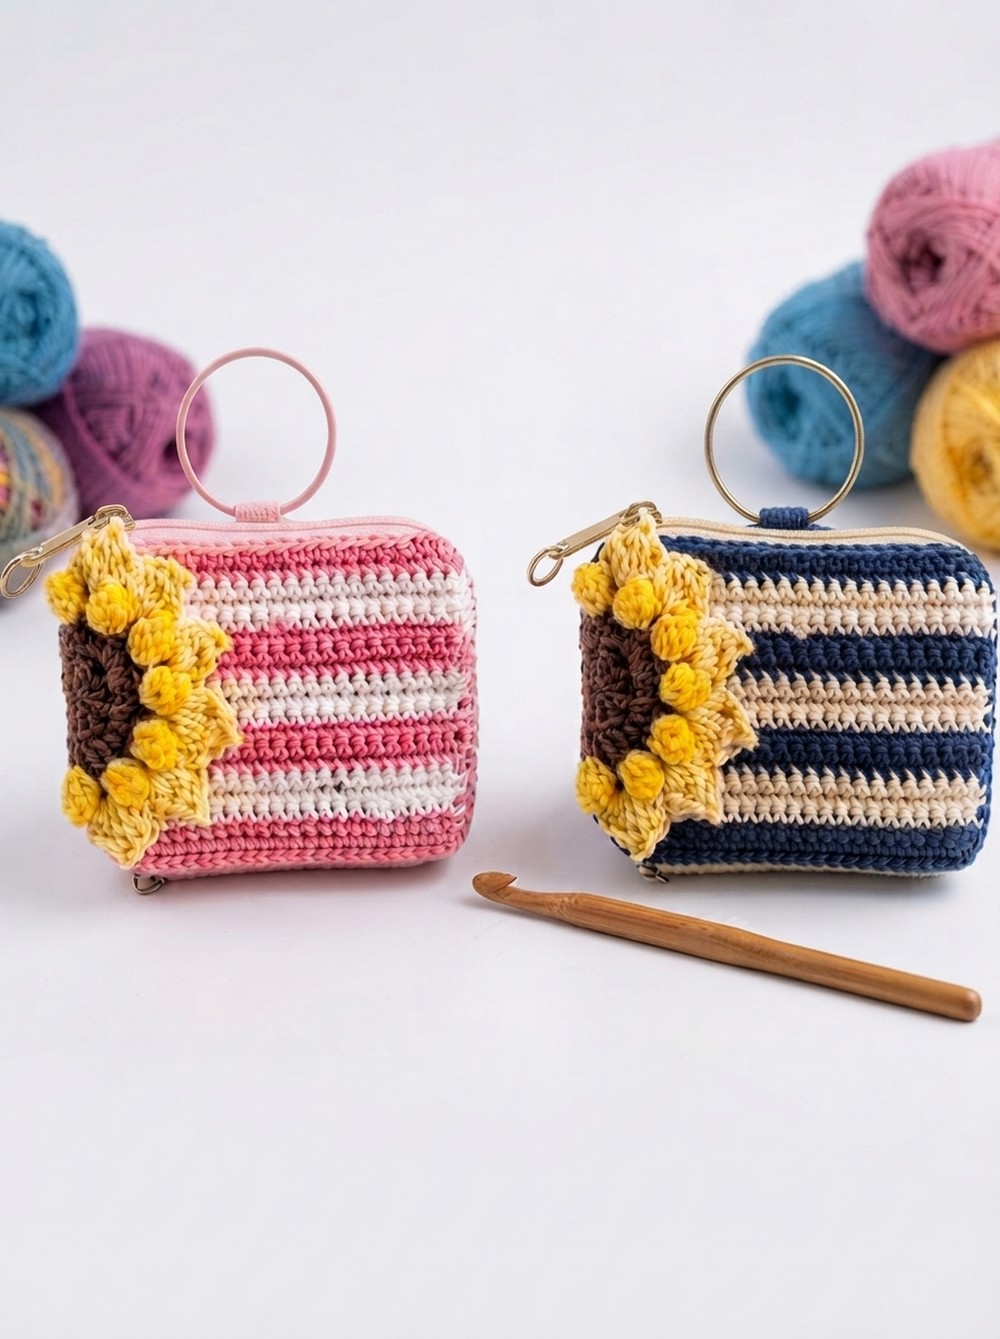
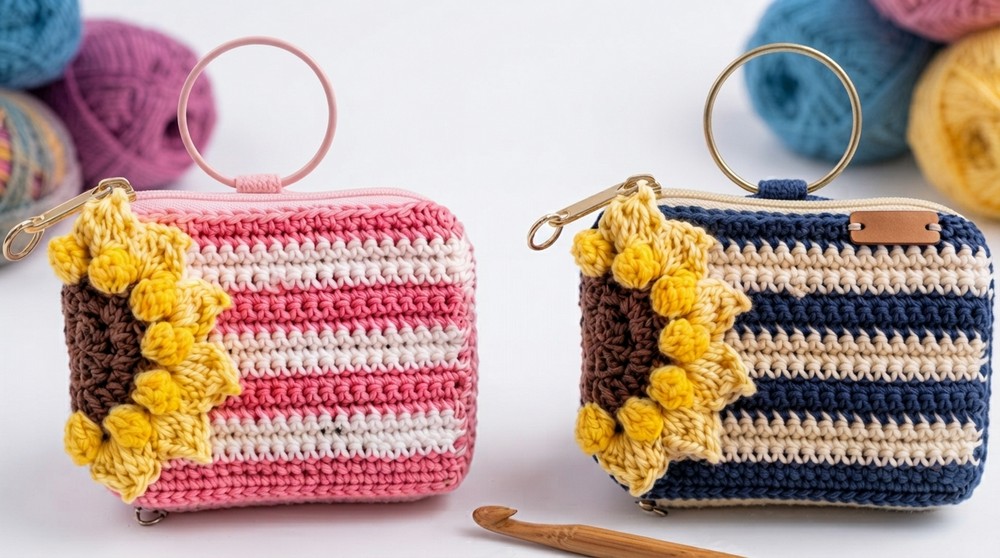
This project results in a compact wallet designed to hold cards, cash, and a few small items. The style is casual and cheerful, featuring a vividly textured sunflower motif as the focal point. The surface feels soft yet firm, thanks to close, consistent stitches that provide both durability and flexibility. Usually rectangular in shape, the size can be adjusted easily by using different yarn thickness or hook dimensions to suit your needs.
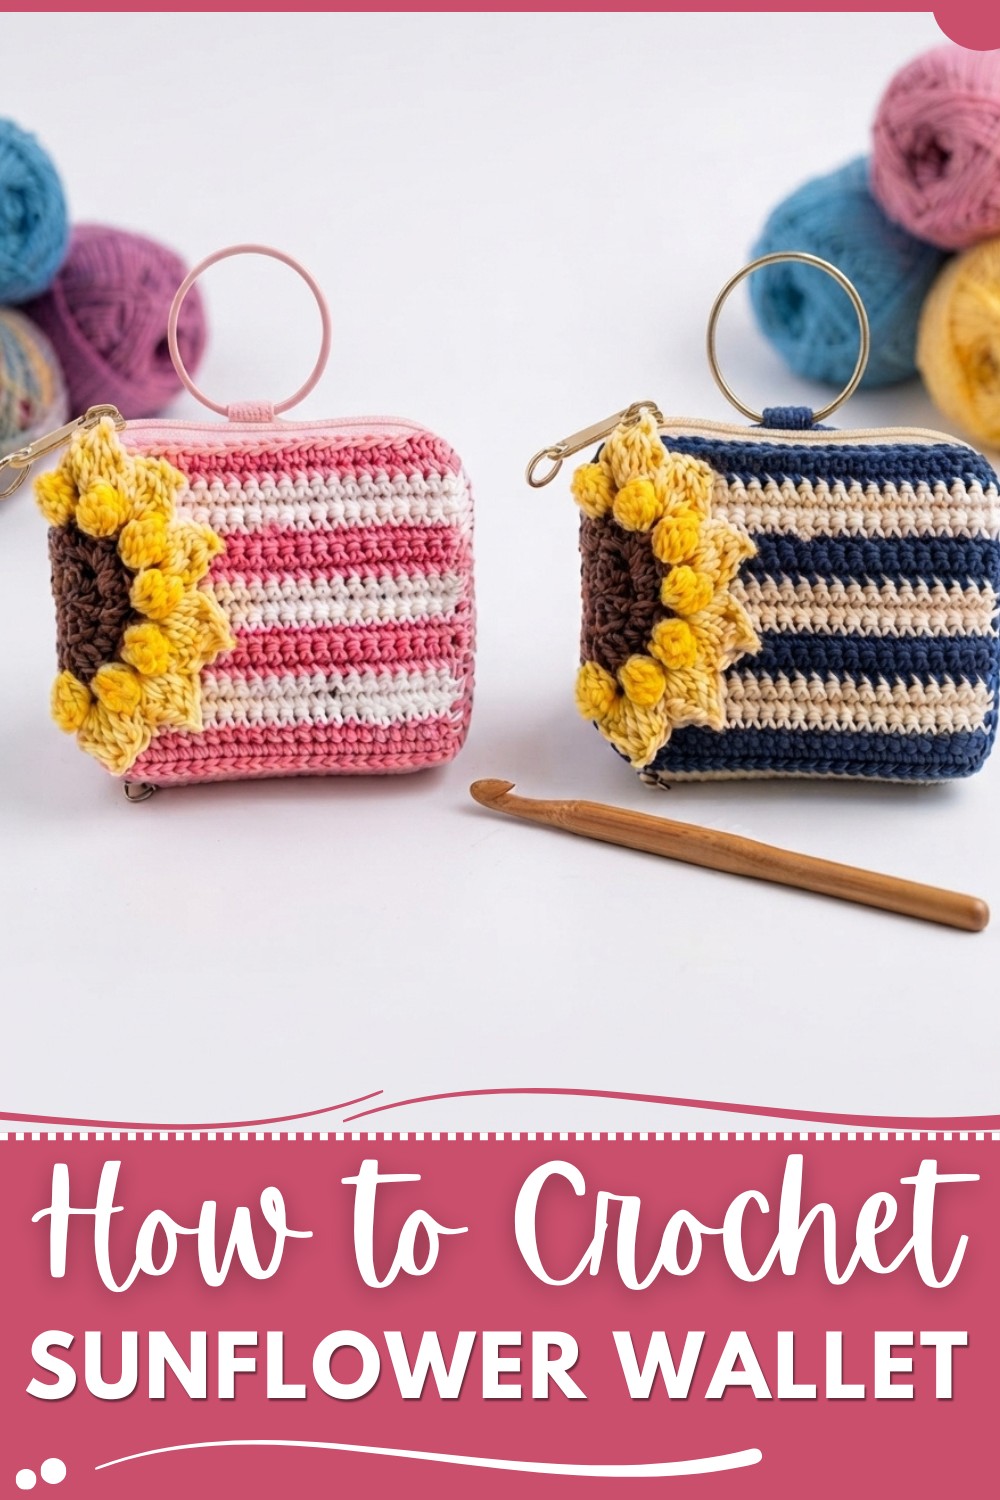
The wallet begins with crocheting the sunflower centerpiece in rounds, followed by building the body with rows of basic stitches. Maintaining a tighter stitch tension helps the piece keep its shape, ideal for everyday use. Adding a zipper or snap closure ensures security, and simplifies carrying. I suggest cotton or cotton-blend yarn; their smooth texture really brings out the stitch detail while offering lasting wear.
Inspired by the warm and joyful appearance of sunflowers, this design makes a thoughtful gift for special occasions like birthdays or Mother’s Day, or a cheerful treat for yourself. It’s fun to modify colors, sizes, or closures to match your personal style—whether you prefer a small coin purse or a slightly larger clutch. This pattern encourages experimenting and personal touches, making each finished wallet a unique burst of sunshine.
Crocheted Wallet with Two Zippers – Detailed Pattern
Pattern Notes
- This wallet is crocheted flat in panels, then assembled by sewing the layers together with zippers in between.
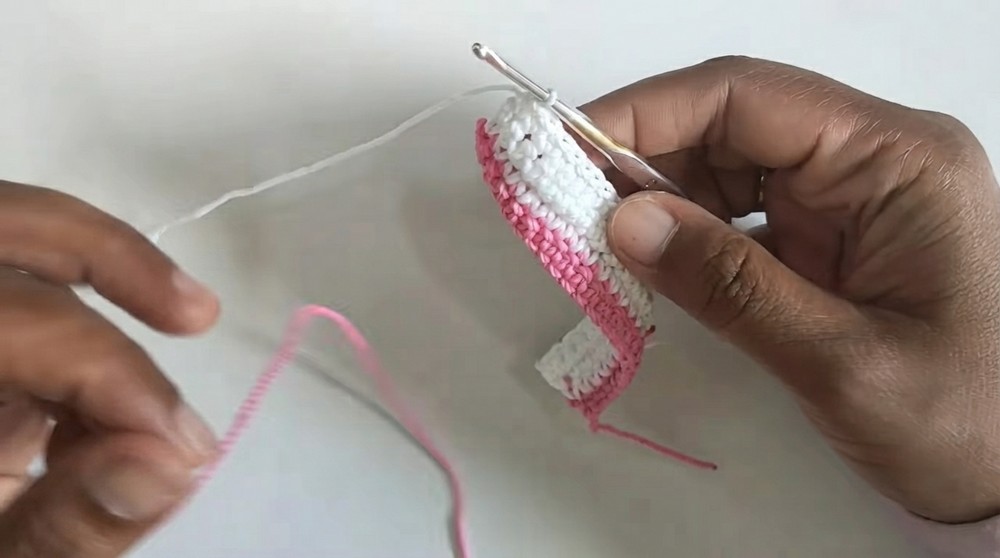
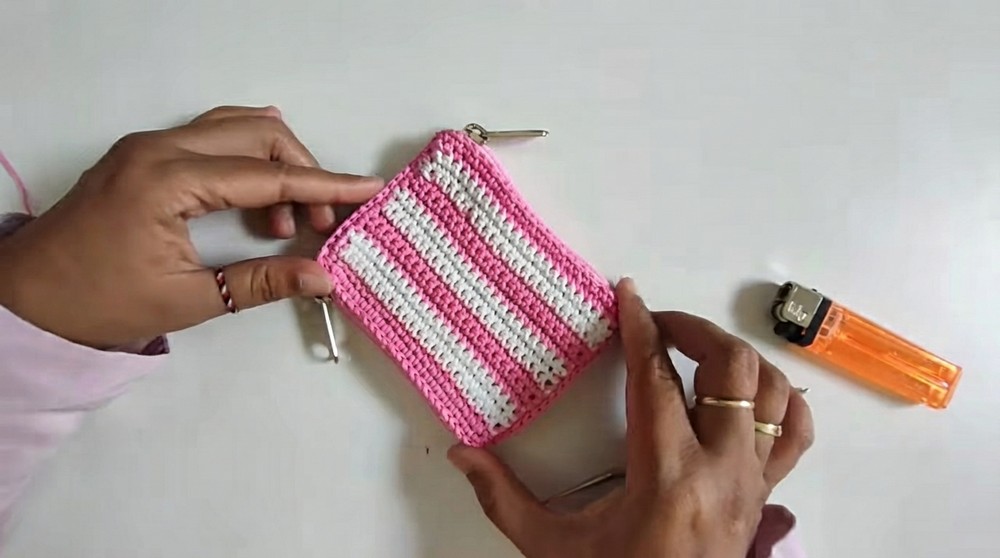
- Color changes between pink and white yarn create a striped pattern, using single crochet stitches throughout.
- The flower and leaf decoration are crocheted separately and sewn onto the finished wallet.
- Lighters are used to carefully break yarn ends to prevent fraying.
- The pattern uses standard US crochet terms.
Skill Level
Intermediate — requires familiarity with single crochet (sc), double crochet (dc), increases, chains, slip stitches (sl st), and joining techniques. Experience in changing yarn colors and sewing crochet pieces with zippers is needed.
Materials
- Polycherry yarn in Pink, White, and Yellow colors
- Crocheting hook size 4/0 (2.5 mm) – Tulip brand recommended
- Two zippers (length compatible with wallet panels)
- Needle and sewing thread for assembly
- Scissors and lighter for trimming yarn ends
- Tapestry needle for weaving in ends and sewing embellishments
Measurements / Sizing
- Completed wallet size approximately the size of a small clutch or large coin purse
- Fits most wallets or small personal items comfortably
- Zipper length corresponds roughly to panel width (about 24 single crochet stitches wide)
Gauge
- Gauge is not critical, but the fabric should be tight enough to hold shape yet flexible.
- Approximate gauge: 23 single crochet stitches × 17 rows = a rectangular panel that fits zipper widths.
Stitch Abbreviations
- ch = chain
- sc = single crochet
- dc = double crochet
- sl st = slip stitch
- inc = increase (two sc in same stitch)
- st(s) = stitch(es)
- tog = together
Special Stitches
- Picot: chain 3, slip stitch in first chain of the 3-ch to form a small bump.
- Cluster: multiple double crochets worked in the same stitch but closed together at the top as one stitch. Details specified in flower and leaf instructions.
The Crochet Pattern
Creating the Panels
- Foundation
- Make a slip knot with pink yarn.
- Chain 24 stitches.
- Row 1
- Skip 1 chain at the end.
- Work 23 single crochet (sc) stitches into the next 23 chains.
- Row 2 (Change to White Yarn)
- Attach white yarn. Chain 1.
- Turn work.
- Work 23 sc across the row.
- Row 3
- Chain 1, turn.
- Work 23 sc with white yarn.
- Row 4Note: Rows 2, 3, and 4 are all in white yarn, totaling three rows.
- Work 23 sc with white yarn.
- Chain 1, turn.
- Rows 5 to 7 (Switch white to Pink Yarn)
- Work 23 sc across each row for three rows.
- Stripe Pattern
- Continue this striping pattern: 3 rows white, 3 rows pink; repeat until the total panel height reaches 17 rows.
- When switching yarn colors (pink yarn), carefully break the yarn using a lighter to prevent fraying.
Panel Border and Shaping
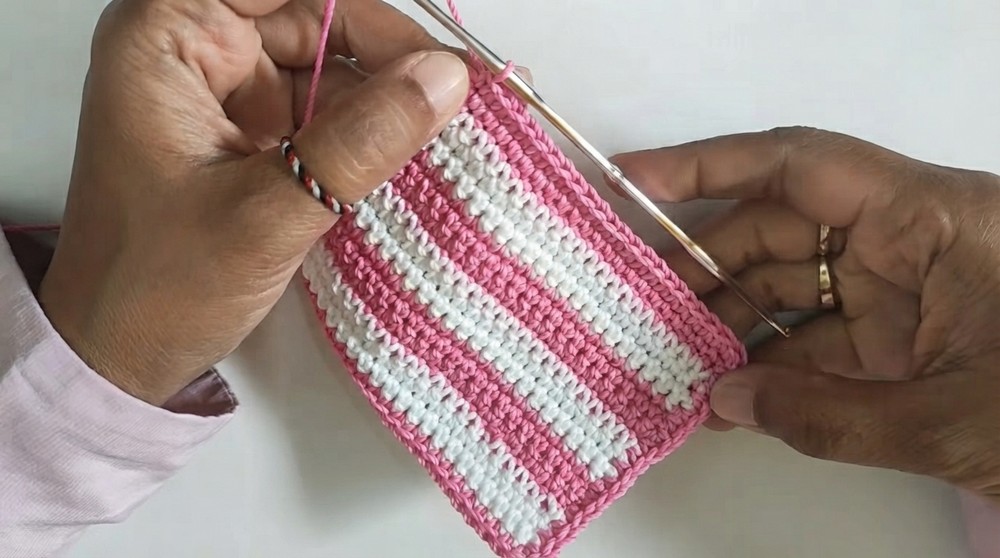
- Single Crochet Around Panel Edge
- Single crochet around the outer edges of the panel.
- Work 16 sc on the longer side edges (starting from the holes).
- At the right-angle corners, increase by working 2 sc in one stitch.
- Around the Panel Subsequent Edges
- Work 21 sc on the next edge.
- Increase by 2 sc in one stitch (16 times).
- Work 21 sc along the opposite edge.
- Finish the round by joining with a slip stitch to the first sc.
- Finish Off
- Break the yarn using a lighter and tidy the ends neatly.
Repeat these steps to make two more identical panels, so there are three panels in total.
Adding Zippers and Assembly
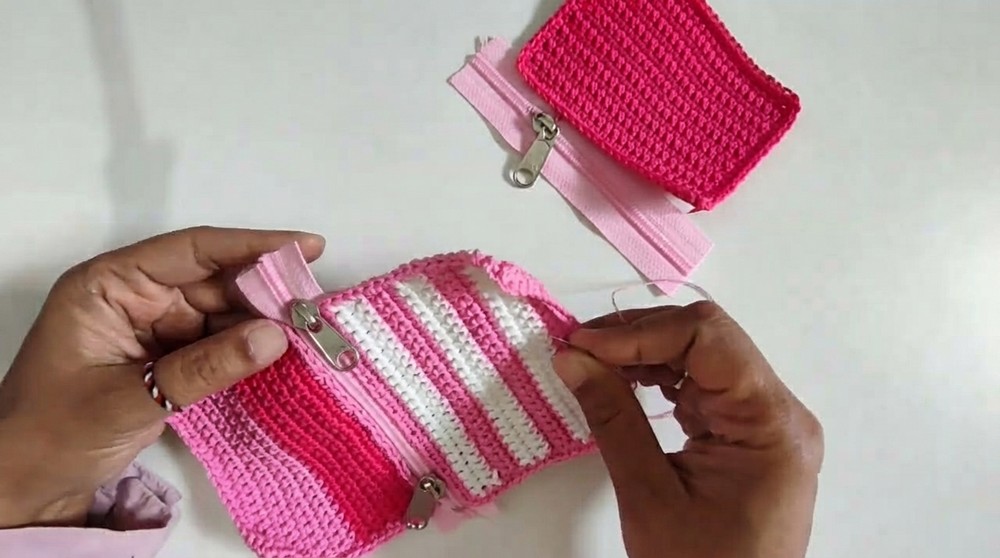
- Attach Zippers Between Panels
- Place one zipper between every two panels (total of two zippers):
- , arrange two panels together and insert the zipper between them.
- Pin the layers and zipper carefully.
- Sew along the edges using needle and thread.
- Add Third Panel
- After joining the first two panels with zipper attached, attach the third panel similarly with the second zipper.
- Pin and sew as before.
- Join Panels on Sides
- Starting at the second increase single crochet, attach yarn with a slip knot.
- Join the three layers on one side using 17 slip stitches (sl st).
- Bottom Assembly
- Open the bottom zipper and join only two layers using 23 slip stitches.
- Rejoin the three layers on the remaining sides with 17 slip stitches each.
- Back Assembly
- Join the back edges using 23 slip stitches.
- Final Joining
- Connect back to the first slip stitch and work one additional slip stitch for neatness.
- Break yarn with lighter and tidy ends with a tapestry needle.
Flower Decoration
- Magic Ring and Base Row
- Make a magic ring.Chain 2.
- Work 12 double crochets (dc) into the magic ring.
- Pull tight to close the ring.
- Join with a slip stitch to the first dc.
- Second Row – Double Crochet Increase
- Chain 2.
- Work 2 dc in each stitch around (24 dc total).
- Join with slip stitch.
- Chain 1.
- Break yarn.
- Third Row – Flower Petals in Yellow
- Change to yellow yarn, attach with slip knot at the slip stitch location.Chain 2.
- In the same stitch, make 5 double crochet clusters (each cluster is 5 dc worked together).
- Return to the base stitch, slip stitch, chain 3.
- Petal Repeat Pattern
- Skip 1 stitch, enter next stitch.
- Make 5 dc cluster, chain 3.Repeat petal pattern around until you create 12 petals.
- Join with slip stitch to first petal.
- Chain 1, break yarn, finish.
Leaf Decoration
- Leaf Base
- Attach yellow yarn with slip knot at the slip stitch point.
- ChaInto the next cavity, work 5 double crochets together (as a cluster, not finished separately).
- Leaf Shaping
- Chain 3, slip stitch into the first chain to form a picot.
- Chain 3 again in the same cavity, slip stitch.
- Repeat Leaf Petals
- Repeat this leaf petal pattern 11 more times around:
- Chain 3, 5 dc cluster, chain 3, picot stitch, chain 3, slip stitch in same cavity.
- Finish Leaf
- Chain 1, leave a long yarn tail (30-40 cm).
- Break yarn and weave in the end using tapestry needle.
- Sew leaf to the flower if desired or directly onto wallet.
Assembly & Finished Size
- Wallet size approx. fits standard small wallets and personal items.
- Closure via two zippers – top and bottom for secure compartments.
- Panels measure about 24 stitches wide by 17 rows tall.
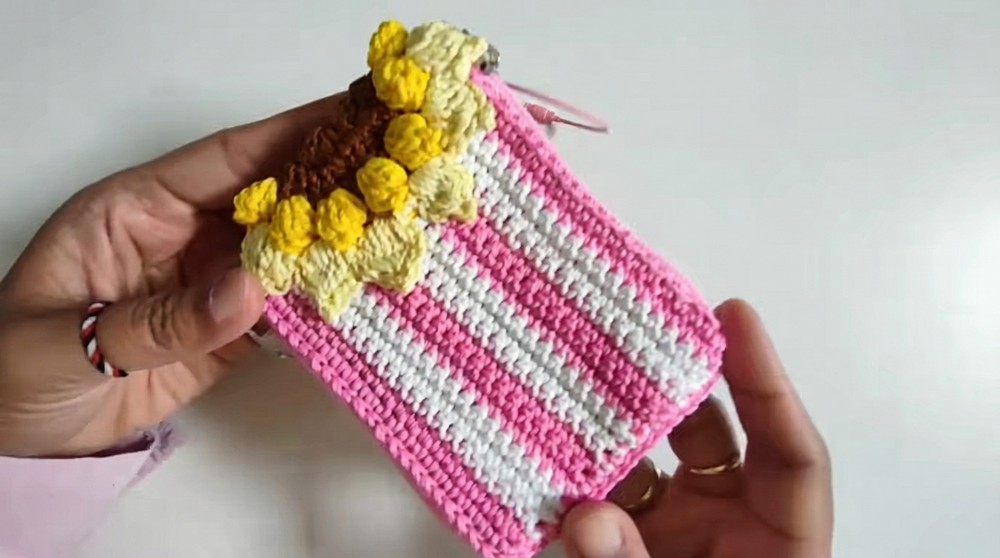
- Flower and leaf decoration sewn on front for aesthetic appeal.
- Entire project lightweight and durable due to acrylic yarn and tight stitch work.
Summary
This pattern guides you through making a stylish and functional crocheted wallet featuring two zippers—one at the top and one at the bottom. The wallet is worked flat in alternating stripes of pink and white single crochet stitches, then sewn together with zippers attached between the layers. A charming flower and leaf embellishment completes the design. This project is perfect for those who enjoy crochet accessories that combine practicality with decorative touches.