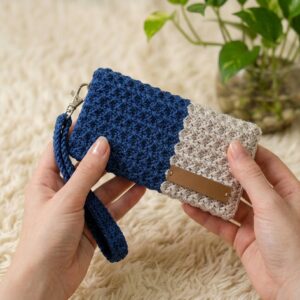
Create a stylish and handy crochet folding wallet with this free pattern that's a fun project featuring a magnetic clasp and perfect for keeping your essentials organized.
Crocheting small, useful accessories is a joy, and recently I made a folding wallet that quickly became one of my go-to projects. This compact and practical item is perfect for keeping your essentials organized with a handmade touch. The Free Crochet Folding Wallet Pattern offers a fun and creative way to crochet a stylish wallet that’s easy to carry and makes a lovely addition to your accessory collection.
Easy Free Crochet Folding Wallet Pattern for Beginners
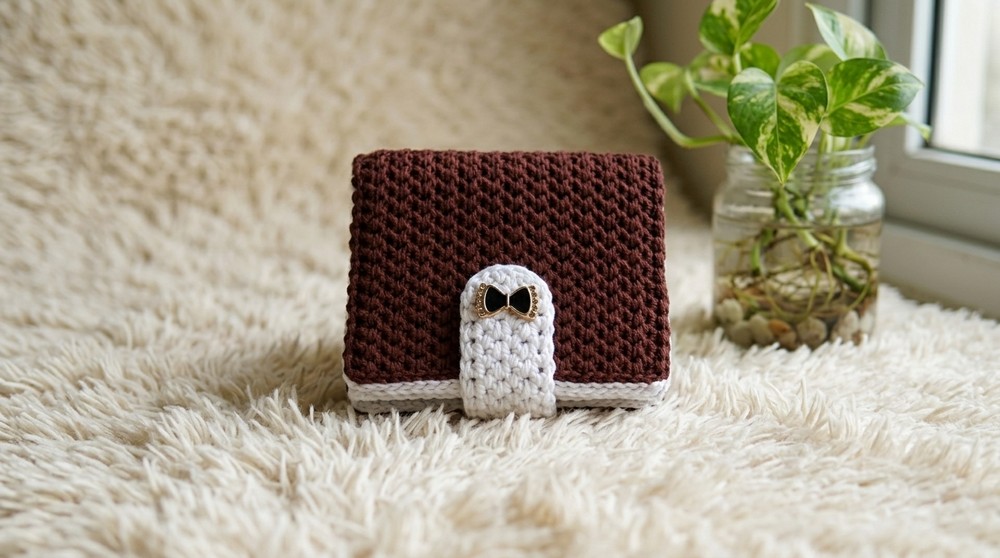
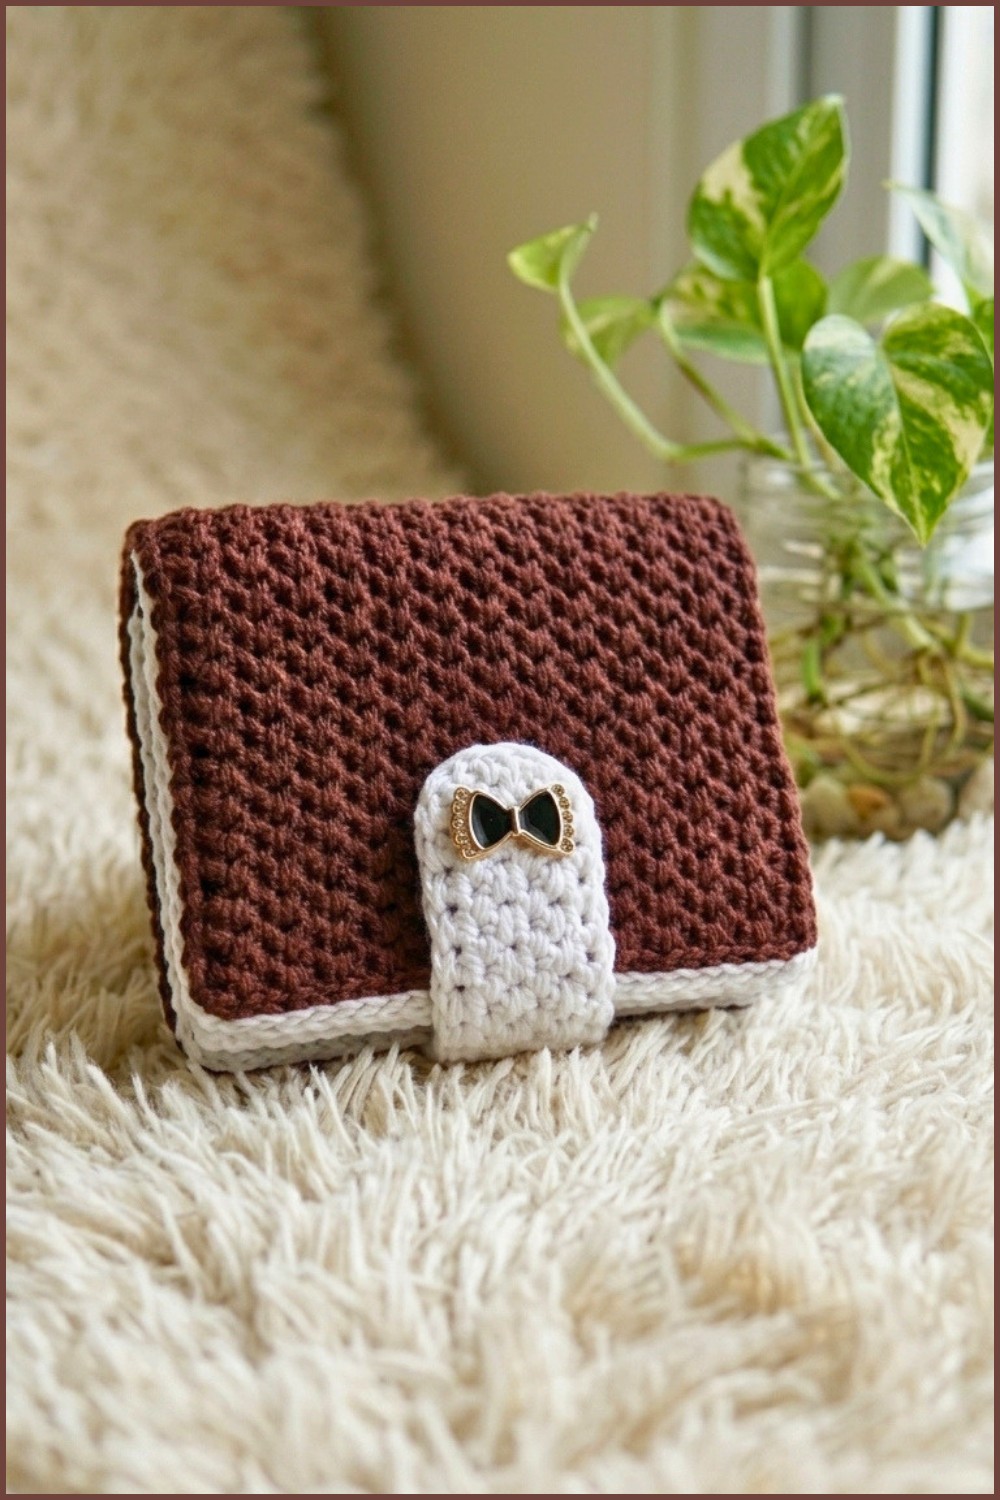
The folding wallet features a clean, structured look with neat edges and a convenient folding design. It measures approximately 17 cm in length and 9 cm in width, making it compact enough to fit in your bag or pocket. The texture is firm and durable due to the combination of single crochet, half double crochet, and double crochet stitches, which create a subtle, eye-catching pattern.

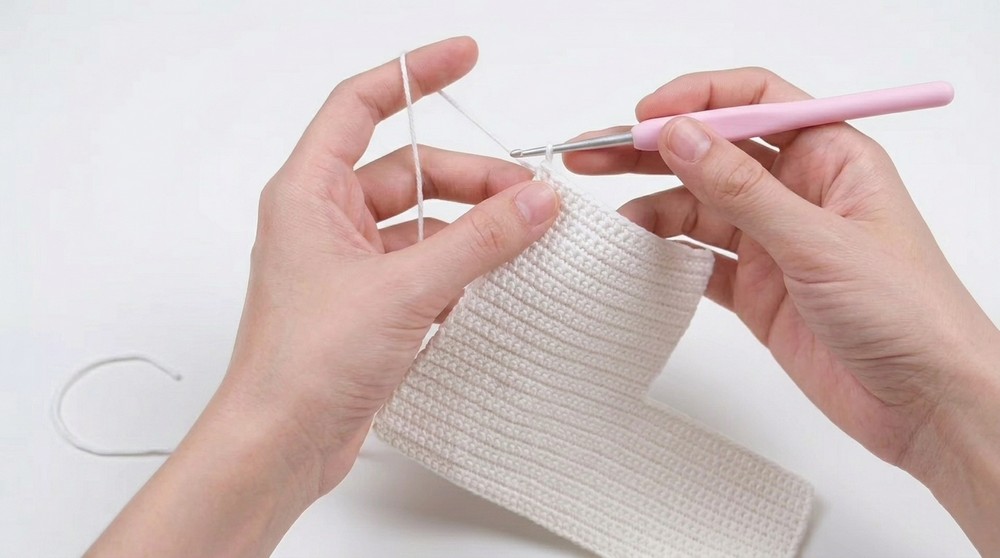
The choice of colors adds an elegant contrast, enhancing the wallet’s overall style and making it suitable for any occasion. A standout feature is the magnetic clasp that secures the wallet closed, combining practicality with a polished finish. This project is worked row by row, starting with a foundation chain followed by repeating sequences of single crochet, half double crochet, and double crochet stitches.
Multiple rows build up the main body, which is then folded and carefully sewn to create compartments. The addition of a strap with a D-ring and installing the magnetic closure completes the wallet. This pattern is accessible to beginner to intermediate crocheters, offering opportunities to practice stitch variations and finishing skills. Minor adjustments in yarn choice or stitch count allow customizing the wallet’s size or making matching accessories such as coin purses or cardholders.
The crochet folding wallet is not only practical and stylish but also makes a heartfelt gift for friends or family. Its durable texture and compact size make it perfect for everyday use, adding personality to your daily essentials. If you’re looking for an enjoyable project that is both creative and useful, this pattern is a fantastic fit to enhance your crochet skills while crocheting something beautiful and functional.
Simple Mini Impact Crochet Wallet Pattern (with Seed Stitch Motif)
Before You Start
- Prepare a clean, well-lit workspace.
- Have a notepad or your mobile phone ready to keep count of stitches and rows.
- Read through the entire pattern to familiarize yourself with each construction stage.
- Watch the referenced video if you need visual guidance for tricky steps.
- Gather all materials before beginning.
- Practice the seed stitch and working into chain spaces if these are new to you.
Pattern Notes
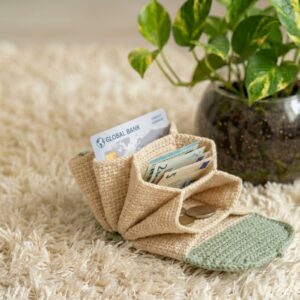
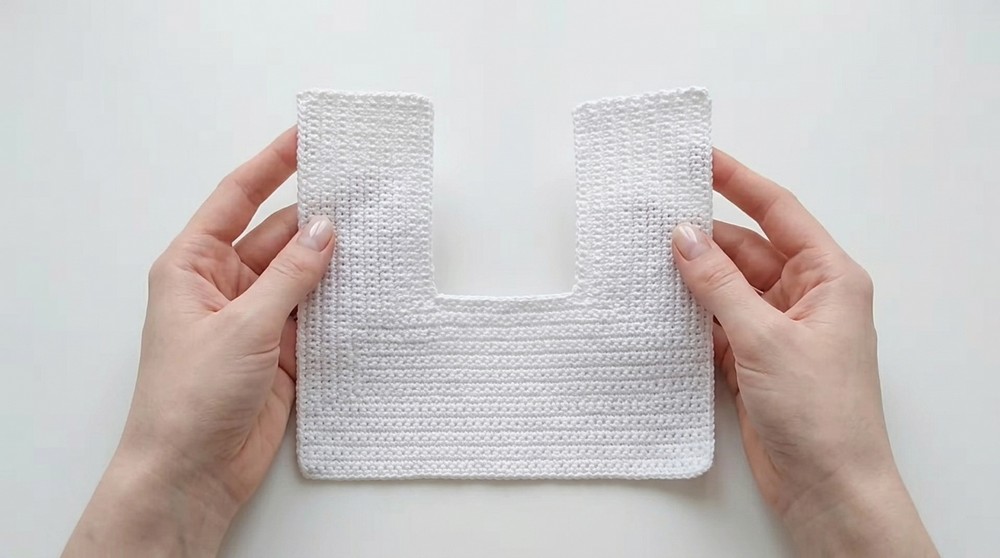
- The wallet is constructed in three rectangular sections: center (body), bottom, and top, all worked in single crochet.
- The piece is folded and sewn for a compact, layered mini wallet with a seed-stitch decorative flap.
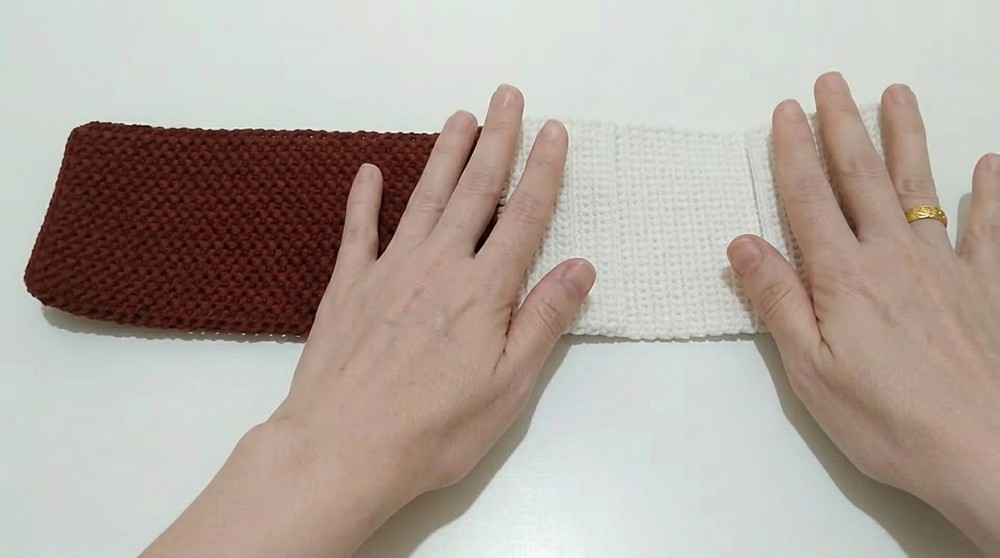
- The top flap, in a contrasting color, is worked in a drop seed stitch pattern for interest.
- Simple seaming forms the pocket structure.
- All increases are made by chaining and crocheting into the foundation chain.
- All decreases and shaping are handled by folding and sewing; no shaping is required in the crochet.
- Work all rows in back loops only if defined by yarn and video for texture.
- Use stitch markers at each new section for accuracy.
How I made the Crochet Pattern
- Transcribed visual instructions into progressive logical steps in line with standard written crochet patterns.
- Used video time stamps and narration to confirm stitch counts and color changes.
- Broke down each panel as a distinct section for clarity.
- Added written reminders at assembly transitions to confirm measurements.
- Compared color, stitch, and assembly instructions to ensure accuracy for a written pattern.
Skill Level
- Advanced Beginner
- You should know how to: make chains, single crochet, stitch into chains, change colors, and sew seams.
Finished Size
- When completed and assembled:
Length: approx. 17 cm
Width: approx. 6 cm
Top & Bottom overlay sections: 6 cm tall
Materials
- Polyester or cotton yarn, two colors (e.g., main color/light for body, accent color for flap)
- Crochet hook (size recommended for your yarn, e.g., 2.5mm–3.0mm, video references “kok nomor”)
- Magnetic clasp (button-type is recommended)
- Darning/sewing needle
- Crystal thread (or sturdy sewing thread for assembly)
- Scissors
- Ruler or tape measure
- Lighter (for sealing polyester thread ends, optional, use with caution)
Measurements / Sizing (Schematic)
Flat piece before assembly:
+------------17 cm-------------+
| |
| BODY PANEL (18 rows) | 6 cm
+-----------------------------+
| BOTTOM EXTENSION (18 rows)| 6 cm
+-----------------------------+
| TOP/FLAP (seed stitch) | 6 cm
+-----------------------------+
After folding and assembly, finished wallet is
approx. 17 cm x 6 cm x 2 cm thick (when filled)
Gauge
- 26 stitches (sc) x 18 rows = approx. 6 cm x 6 cm square
Stitch Abbreviations
- ch: chain
- sc: single crochet
- sl st: slip stitch
Special Stitches
- Seed Stitch (for flap):
Work one sc into the top row, then alternate (sc in TOP, sc in BOTTOM of piece, as demonstrated in the video’s color/row change section for the flap), creating an offset and textured look.
The Pattern!
Body Panel (Main Color)
Row 1 (Foundation chain):
- Ch 52.
- Ch 1 extra (for turning).
- Turn, skip the first chain, and sc in each chain across (total 52 sc).
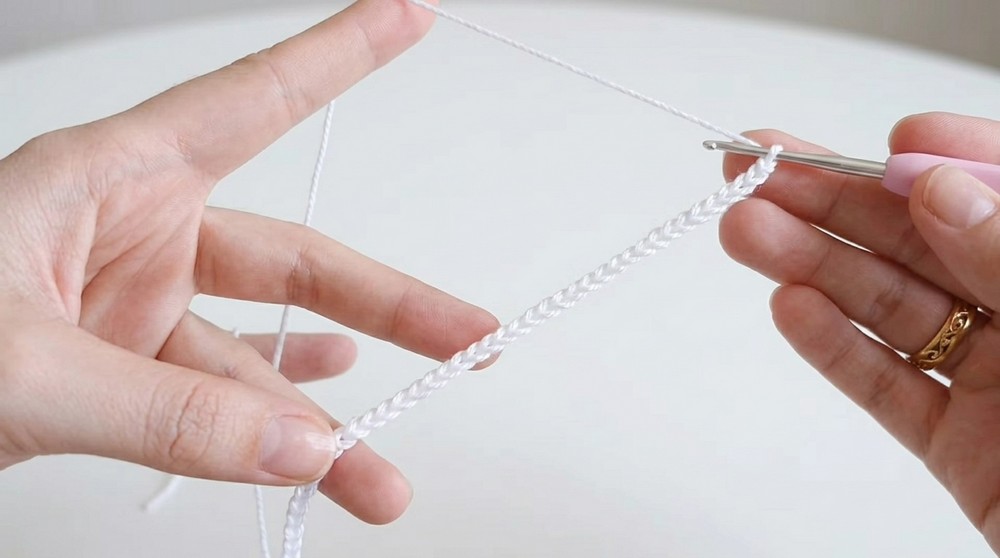
If you’re not yet familiar with flat crochet, simply create a chain, turn, and stitch into every space, making a neat rectangle.
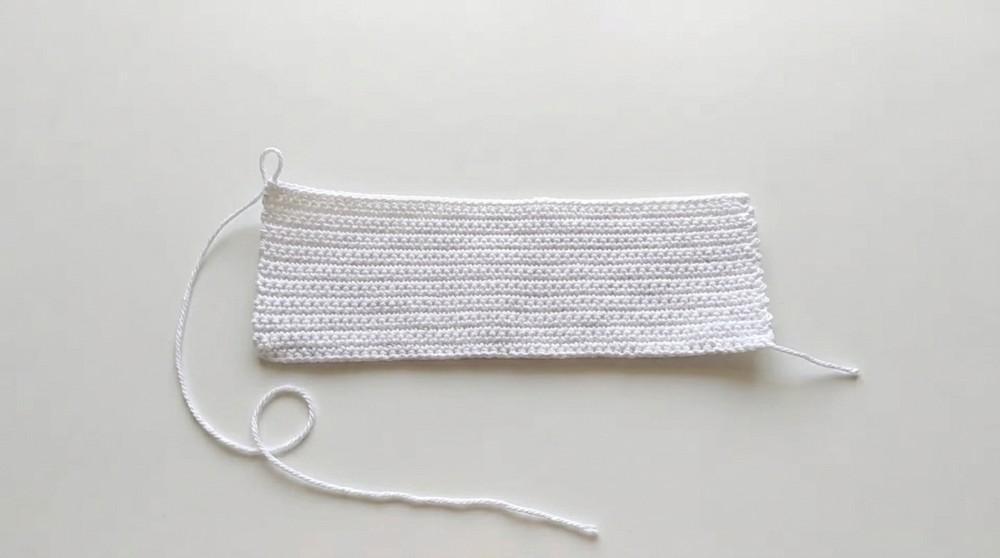
Rows 2-18:
- Ch 1, turn, sc across every st. (52 sc each row)
This makes a neat, sturdy base. Continue until you have 18 rows (approx. 6 cm tall).
Bottom Panel (Main Color, Direct Extension)
Row 19:
- Ch 26 (for the bottom extension).
- Ch 1 extra, turn, and sc in each ch across (26 sc).
Rows 20–37 (Bottom Section):
- Ch 1, turn, sc across all 26 sts.
You are now crocheting straight off the main rectangle’s edge. This forms the bottom which will fold up for the inside pocket.
Top Panel/Flap (Contrasting Color & Drop Seed Stitch)
Row 38 (Change to accent color):
- Attach new color to the top edge of your original body panel, opposite side of the bottom.
- Ch 26.
- Ch 1, sc in each ch across (26 sc).
Rows 39–56 (Seed Stitch Flap):
- Ch 1, turn.
- For each row:
- In first st, work sc (this is “top”).
- In next st, work sc in the base row underneath (“bottom”).
- Alternate sc in top and sc in bottom row across (seed/dip stitch).
- On even rows, start in top; on odd rows, start in base.
- Continue for 18 rows or until flap measures 6 cm.
This creates the decorative, textured flap. For ease, always check you are matching stitch count row to row and that your color change is neat.
If You’re Not a Pattern Reader:
You’ll make one rectangle (6 cm tall, 17 cm long), then from one side you chain out and make a second rectangle (6x6 cm) for the bottom lining, and finally, from the opposite top, you switch color and add a third rectangle (6x6 cm) in a bumpy seed stitch.
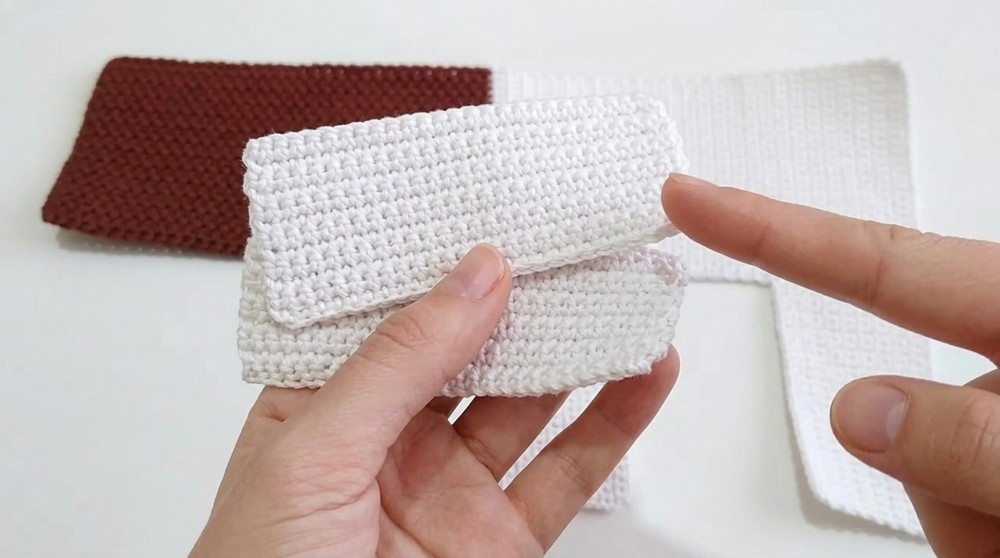
Assembly & Finishing
- Fold the bottom panel up behind the body and sew both sides using darning needle and strong thread.
- Fold top (seed stitch) panel over as the closing flap.
- Neatly sew along all sides where panels meet for a clean edge.
- Attach magnetic closure to the inside of flap and closest point of the body for secure closure.
- If desired, whipstitch around edge for durability.
- Use lighter to gently seal any polyester thread ends (with care).
- Weave in all other yarn/thread ends.
Solution of Common Problems
- Problem: My edges curl or wave.
Solution: Block your work flat before sewing; keep tension even. - Problem: Flap too floppy or uneven.
Solution: Check stitch count every row; adjust hook size or tension for firmer seed stitch. - Problem: Magnetic clasp pulls free.
Solution: Use a double layer of fabric or back your clasp with a circle of crochet or felt for strength.
What Can You Make with These Stitches?
- Mini wallets and card holders
- Coin purses
- Keychain pouches
- Small gift bags
- Lined phone cases
- Textured borders and trims