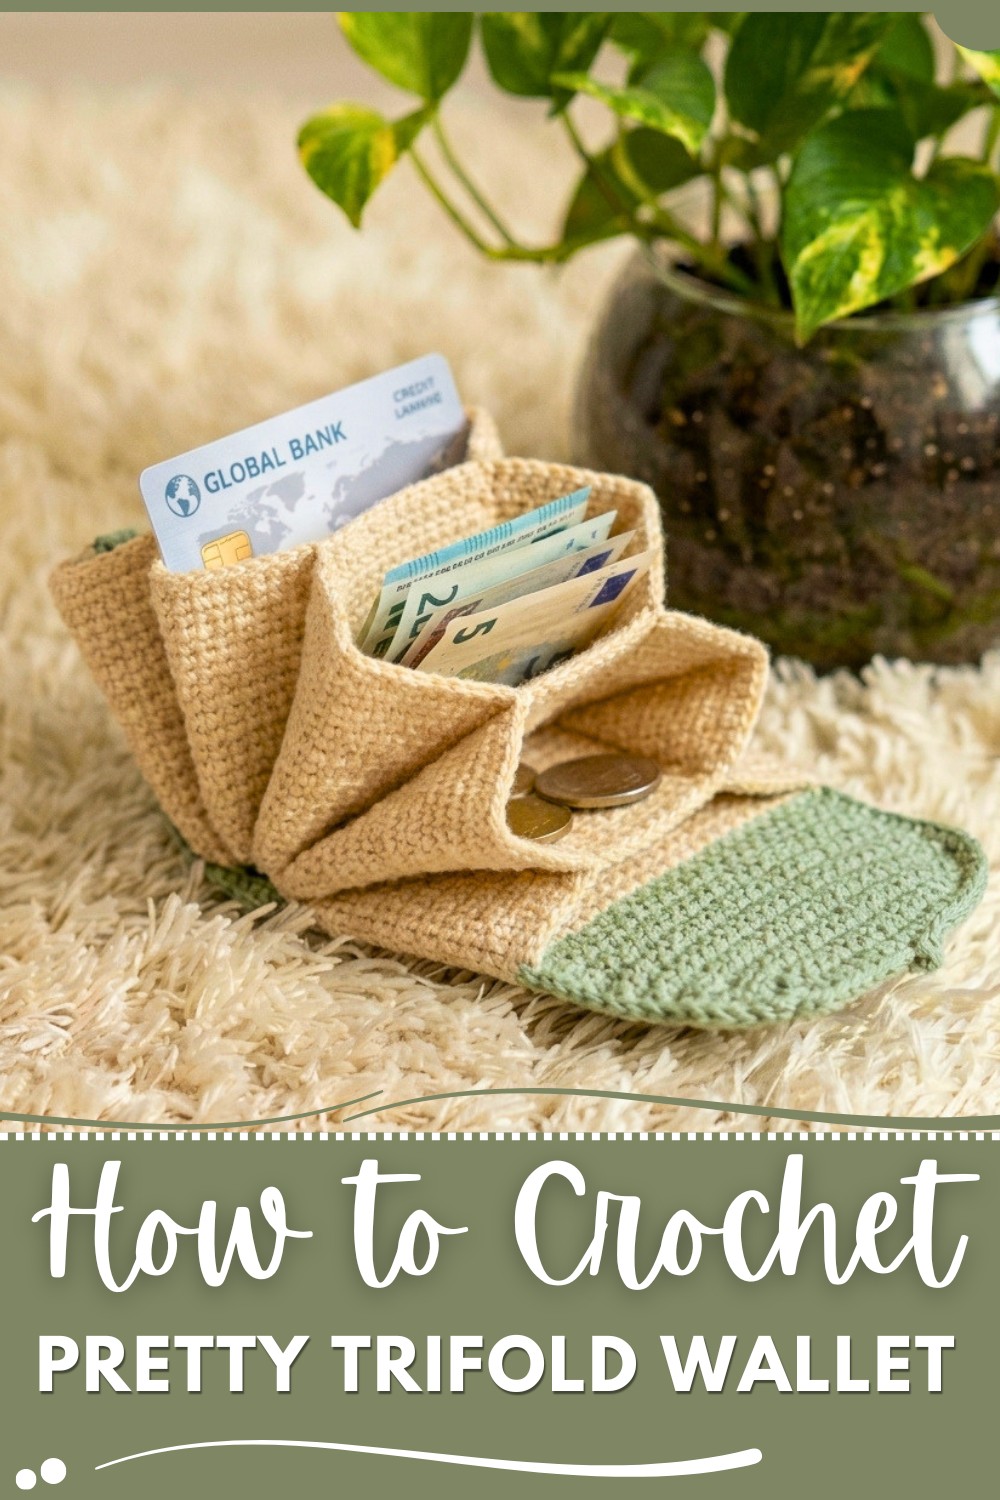
Keep your essentials organized with this free crochet trifold wallet pattern, featuring secure pockets, durable stitches, and an elegant design you’ll love to make.
Creating practical and stylish accessories with crochet is always rewarding, and I made a trifold wallet that quickly became a favorite project of mine. This handy item offers a great way to keep your essentials organized with a personal handmade touch. Using the Free Crochet Trifold Wallet Pattern, you can crochet a compact and secure wallet featuring multiple sections that neatly fold together, perfect for everyday use or gifting.
Easy-to-Follow Free Crochet Trifold Wallet Pattern
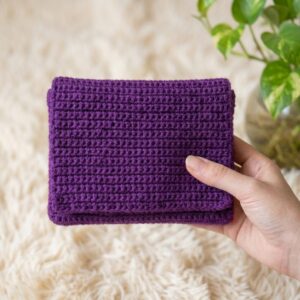
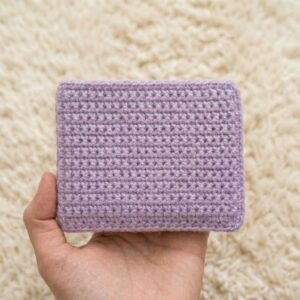
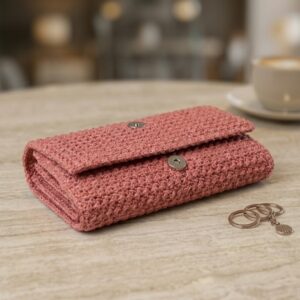
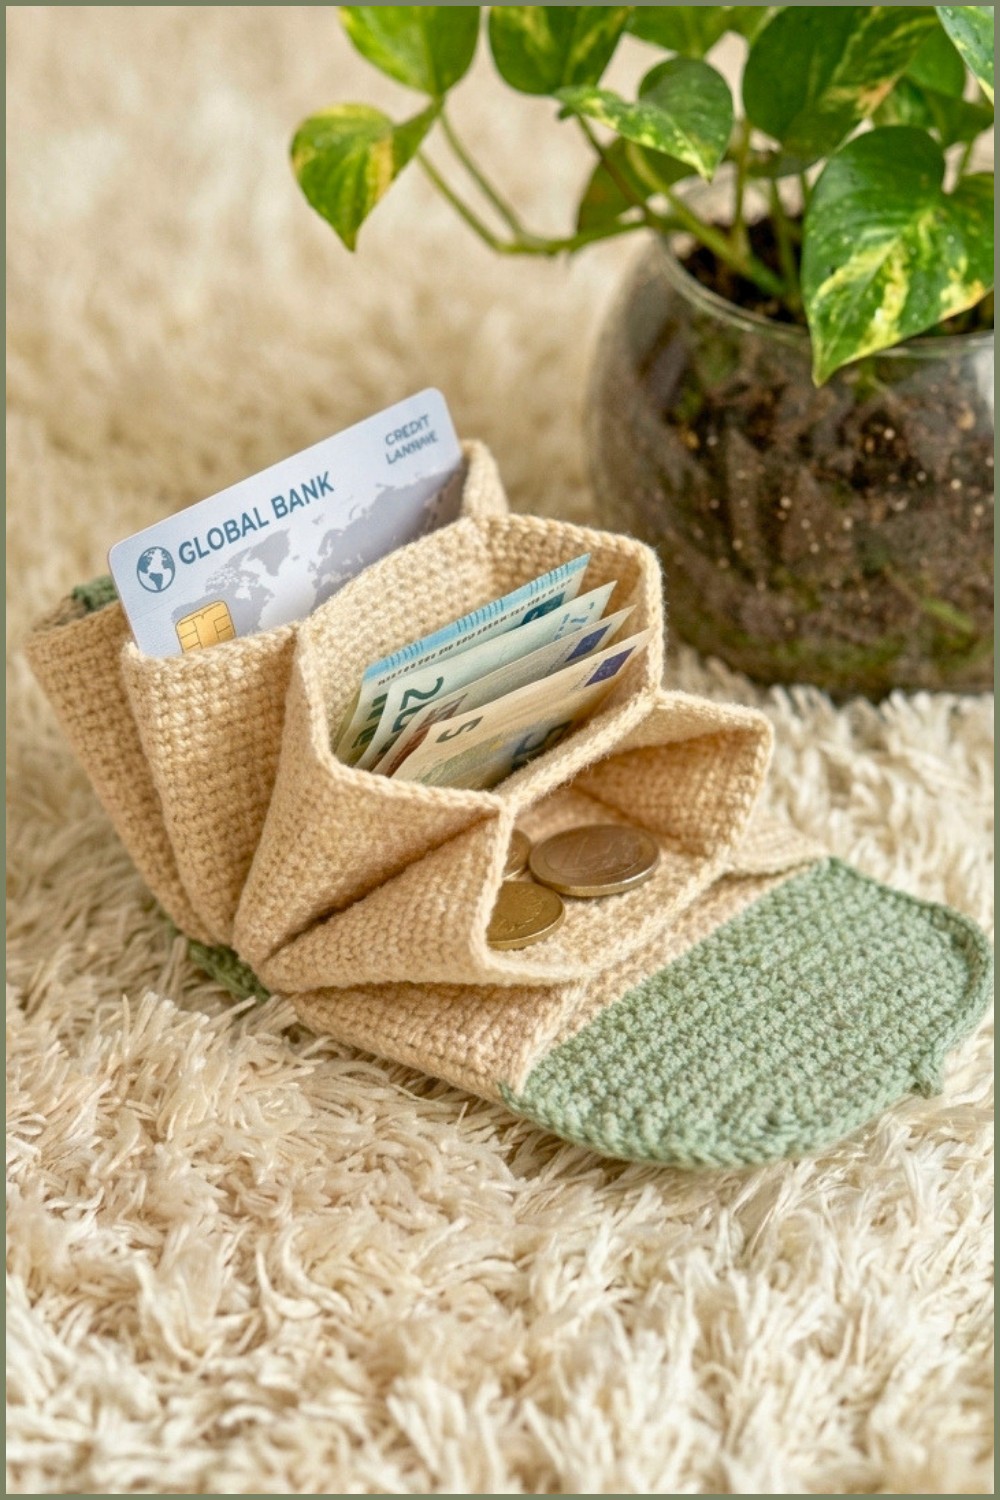
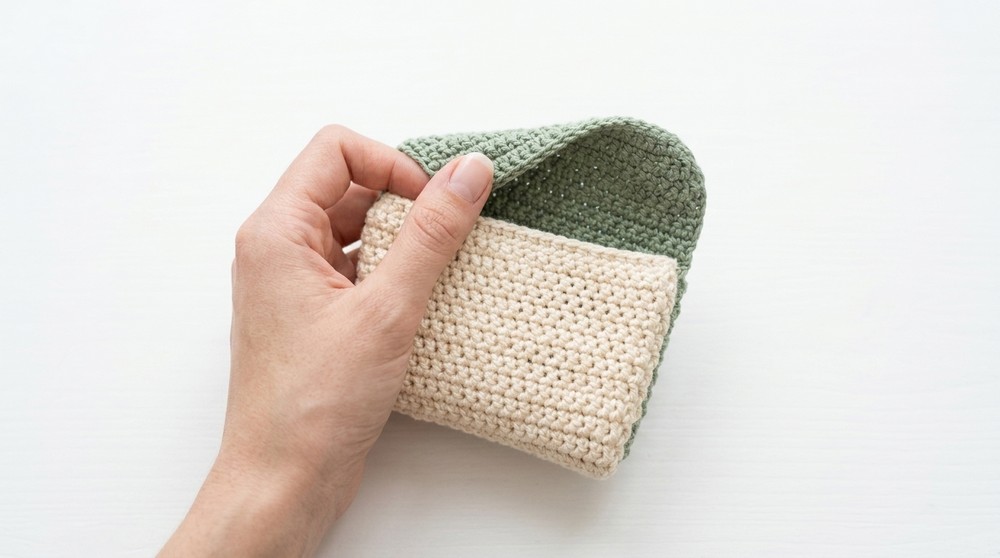
This trifold wallet has a clean, rectangular shape divided into three equal parts, each designed to hold cards, cash, or small items. The texture is smooth and sturdy thanks to consistent single crochet stitches, giving it firm structure while allowing it to fold easily. Its simple yet smart style makes it a versatile accessory suitable for various tastes. The standout feature is the distinct three-part fold design that unfolds to reveal ample storage, secured by neat stitching to ensure nothing slips inside.
The wallet is made by crocheting a large rectangular piece using single crochet stitches throughout, creating a dense, durable fabric. This piece is measured and divided evenly into three folds. After working straight rows, the edges are carefully sewn to form pockets and compartments. The assembly includes joining pieces securely with needle and thread for a polished finish. This pattern is beginner-friendly, focusing mainly on single crochet and basic sewing techniques, making it accessible even if you’re new to crochet. Minor adjustments, such as changing the size or adding decorative stitches, allow you to customize the wallet or create matching accessories like cardholders or coin purses.
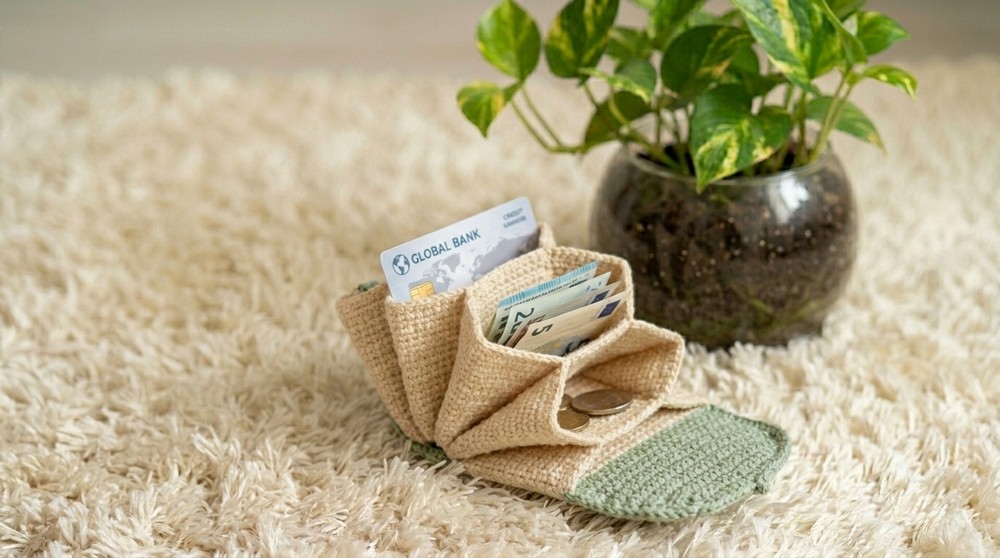
This crochet trifold wallet is both practical and stylish, making a thoughtful handmade gift or a unique addition to your accessories. It offers a charming way to organize essentials in a compact design. If you enjoy creating useful projects with simple techniques and rewarding outcomes, this wallet pattern is a perfect choice to develop your skills while making something beautiful and functional. Give it a try and enjoy crocheting a useful accessory.
Three-Pocket Folder Wallet Crochet Pattern
Before You Start
- Read the entire pattern before beginning.
- Ensure you understand how to work single crochet, chain, and single crochet decreases.
- Prepare all materials, including your yarn and sewing notions.
- Check your gauge using sample swatches if you want a specific size.
- Set up a flat, clutter-free workspace for assembly.
- It’s helpful to use stitch markers to keep track of portions and sections.
Pattern Notes
- The wallet is made with basic single crochet stitches and simple decreases.
- The initial chain is a multiple of 3 to create three equal pockets.
- You create one long rectangle, then work additional rows for the central pocket.
- Pocket shaping is achieved by decreasing the sides.
- Assembly requires folding the crocheted piece into three parts and sewing to create pockets.
- The pattern is easily customizable in size by adjusting the starting chains and row counts.
- Button or magnetic clasp can be added for secure closure.
- Suitable for beginners with knowledge of simple shaping.
How I made the Crochet Pattern?
- Transcribed step-by-step instructions from video narration.
- Decoded chain counts and row numbers based on measurements given.
- Broke down row progressions and shaping techniques for each wallet section.
- Paraphrased sewing and joining instructions into clear sequential steps.
- Added explanations between steps for clarity.
- Ensured assembly instructions matched the construction shown.
Skill Level
- Advanced Beginner:
Requires basic single crochet skills, ability to decrease stitches, familiarity with sewing crochet seams.
Finished Size
- Length: 30 cm
- Height: 15 cm
- Center Pocket Height: 4 cm (before decrease shaping)
- Each Pocket: 25 stitches wide (adjustable)
Materials
- Worsted or DK weight yarn (main color)
- Crochet hook (recommended size for your yarn, usually 3–4 mm)
- Scissors
- Yarn needle (for sewing seams)
- Button or magnetic clasp (optional)
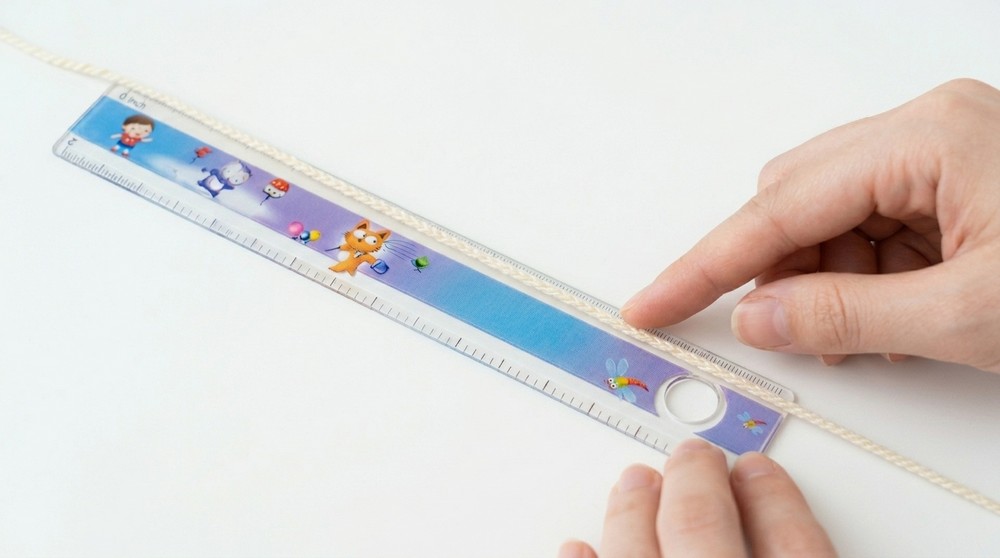
- Ruler or tape measure
- Stitch markers (optional)
Gauge
- 1 cm ≈ 5 stitches (single crochet)
- 1 cm ≈ 3 rows (single crochet)
- 5 stitches x 3 rows = approx. 1 cm x 1 cm
Stitch Abbreviations
- ch = chain
- sc = single crochet
- sc2tog = single crochet decrease (work two stitches together)
- st(s) = stitch(es)
- RS = Right Side
Special Stitches
- Single Crochet Decrease (sc2tog):
Insert hook into first st, yarn over and pull up a loop, insert into next st, yarn over and pull up a loop, yarn over and pull through all three loops.
The Pattern!
Base Panel
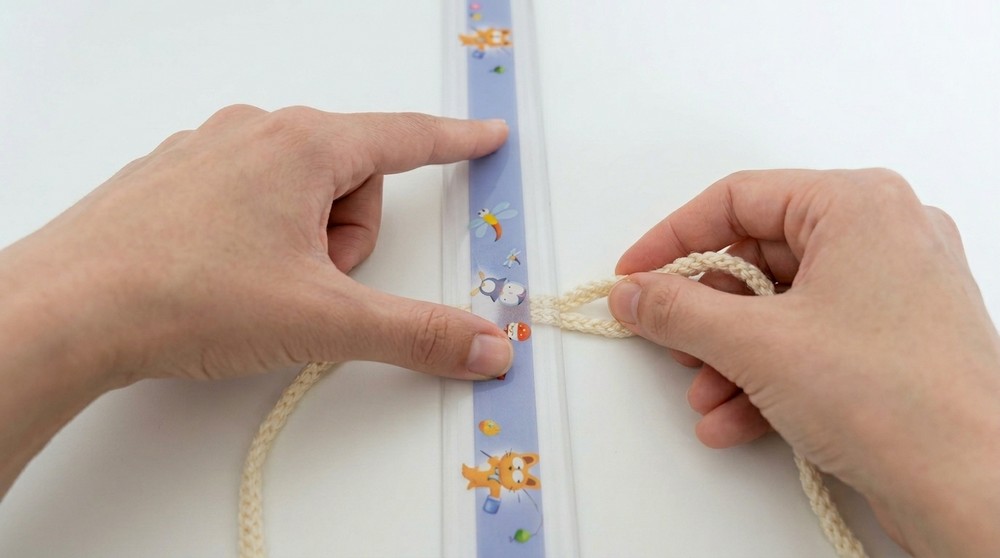
Foundation Chain & Rectangle
- Ch 76 (75 + 1 for turning).
- Turn, sc in second ch from hook and across (75 sc).
Rows 2–40+
- Ch 1, turn.
- Sc in each st across (75 sc).
- Repeat for a total of around 40–50 rows, until height reaches 15 cm.
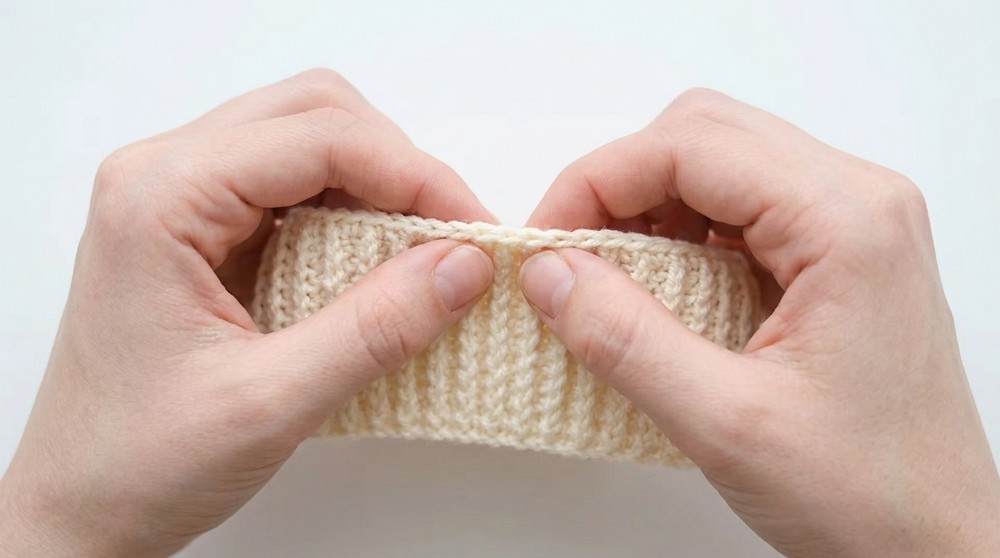
You’re creating a sturdy, rectangular base. Continue single crochet rows until your piece measures 15 cm in height. Use a ruler for accuracy.
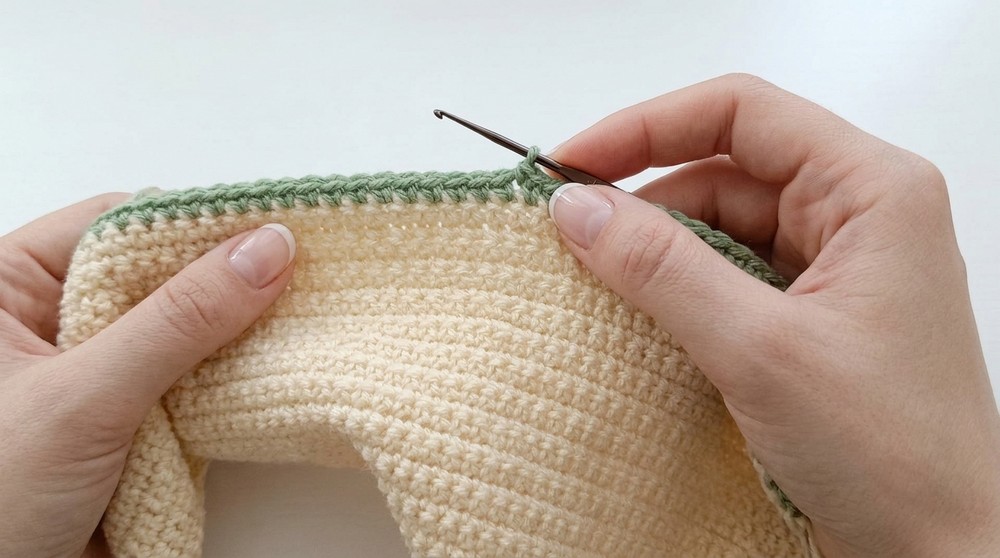
Center Pocket
Starting Center Portion
- Count 25 stitches from the left edge (or right, as preferred).
- Join yarn at the 26th stitch.
- Ch 1, sc in next 25 sts (center section only).
Rows 2–13 (Center Pocket Height)
- Ch 1, turn.
- Sc in each st across (25 sc).
- Repeat for 12 more rows for a total of 13 rows (4 cm center pocket height).
You have crocheted a small panel in the middle of your base piece. This section forms the central pocket. Stop when it measures approx. 4 cm high.
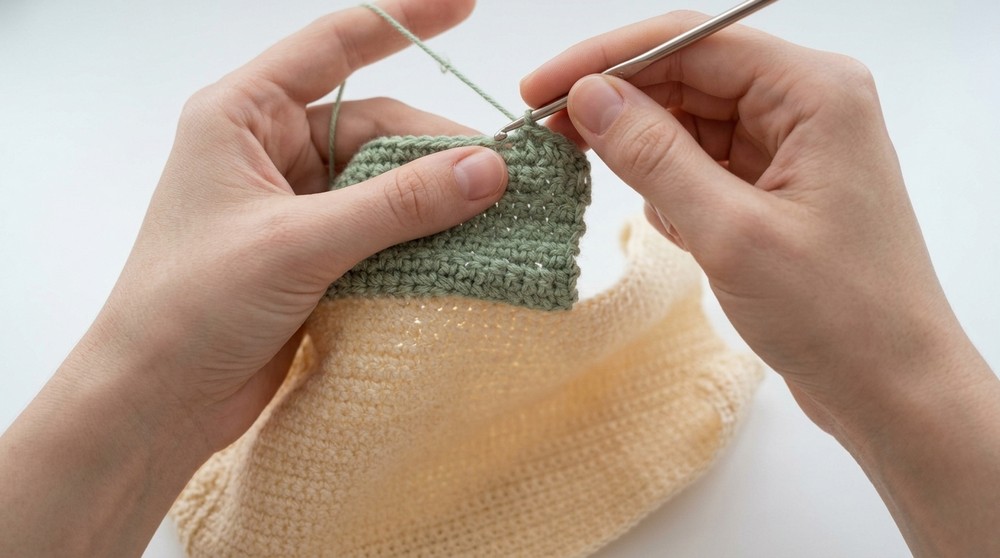
Center Pocket Decreases
Decreasing Rows (Shaping Flap)
- Row 1: Ch 1, turn. Sc2tog over first two sts, sc in next 21 sts, sc2tog over next two sts (total: 23 sc).
- Row 2: Ch 1, turn. Sc2tog, sc across to last two sts, sc2tog (21 sc).
- Continue this for 5 rows, each time decreasing 2 stitches (one at each end).
- End with approximately 15 sts remaining on the last row.
This shaping creates the flap for the central pocket. Always decrease at the start and end of each row for a tapered look.
For Pattern-Explainers:
You make a big flat rectangle, then add a small rectangle in the middle that’s raised. After some rows, you start reducing the sides to make a central pocket. This gives your wallet three separate slots when folded.
Assembly & Finishing
- Fold the rectangle into three panels, aligning the central panel in the middle.
- Sew the sides of each pocket (using yarn needle and whip stitch or mattress stitch for sturdy seams).
- Attach the central pocket flap to the base, securing sides and bottom.
- Fold and sew sides of both remaining pockets to the main body.
- Attach a button or magnetic clasp on the flap for secure closure (optional).
- Weave in all loose ends and trim with scissors.
- Press or block the wallet gently for a flat, finished shape.
Solution of Common Problems
- Edges uneven or curling:
Block your pieces before joining for a neat finish. - Pocket not centered:
Count stitches carefully when starting the center section. - Difficulty with decreases:
Practice single crochet decreases on a swatch before working the flap. - Pockets too loose:
Adjust number of rows or use a tighter gauge.
What You Can Make With These Stitches
- Folder wallet with three pockets
- Card holders
- Pencil pouches
- Organizer inserts
- Passport wallets
- Ticket holders
- Small device covers
Pattern Completion Notes:
Once your wallet is assembled and button attached, you have a neatly organized folder wallet with three custom pockets. The construction is straightforward: a main rectangle, a central pocket, and simple sewing. Single crochet keeps your fabric dense and sturdy. The decreases make the center section compact for secure holding. Try different yarns or add extra pockets for customization.