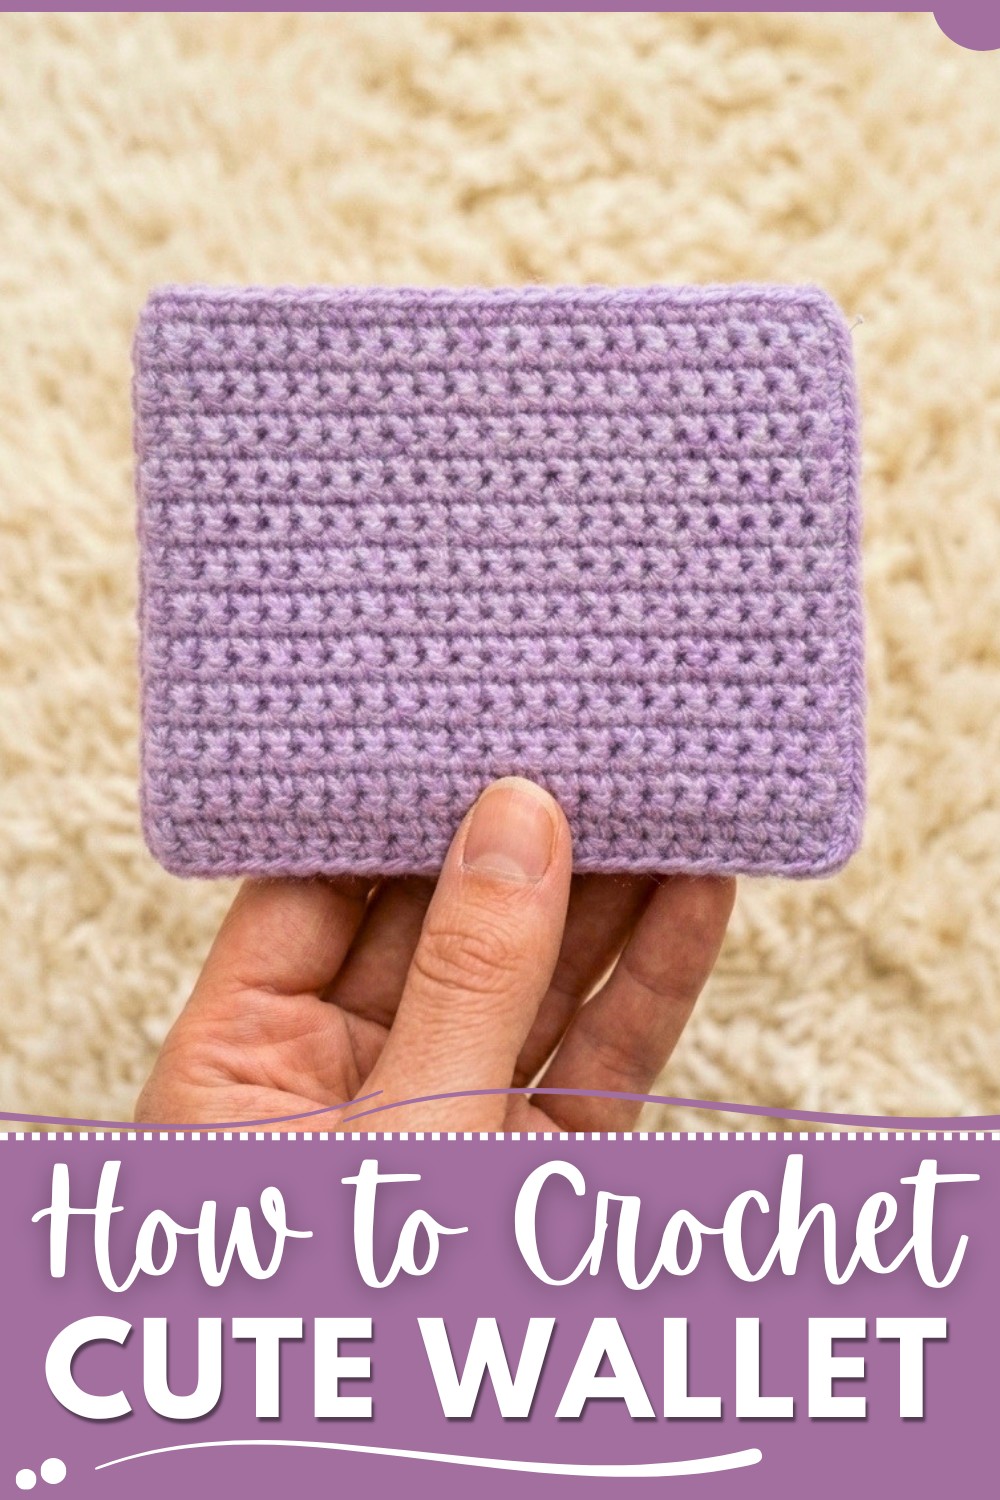
Make a stylish and functional accessory with this free crochet wallet pattern, perfect for organizing your essentials while showcasing your creativity.
When I first wanted to make something small and useful I discovered the Free Crochet Wallet Pattern. This pattern helps you create a simple wallet that holds your cards and money securely. By making a few small changes you can also turn it into a coin purse a clutch or even a phone case which makes this project very flexible and fun to try.
Simple Free Crochet Wallet Pattern with Step-by-Step Guide
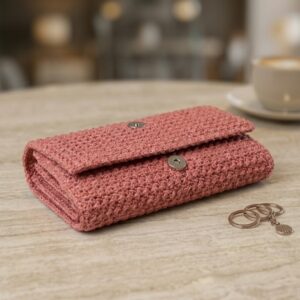
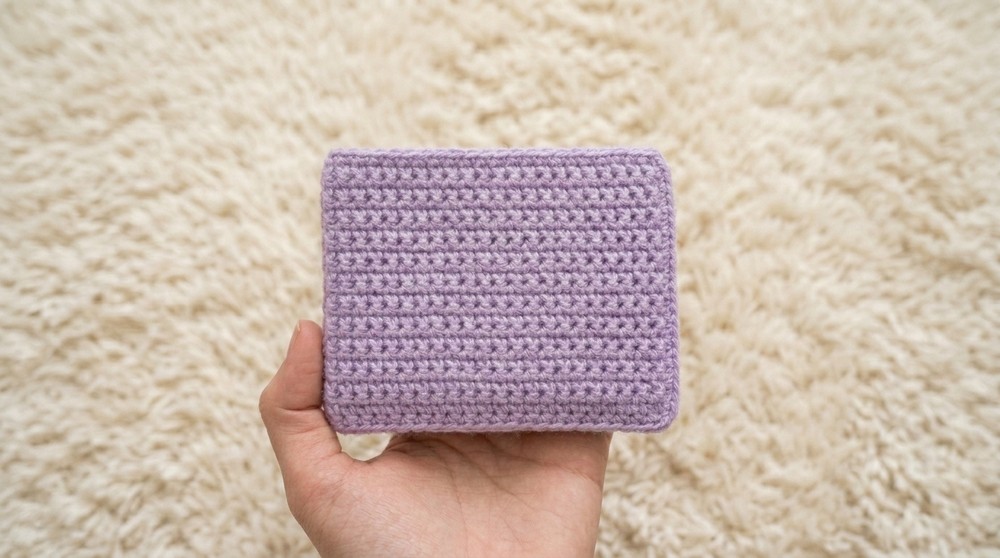
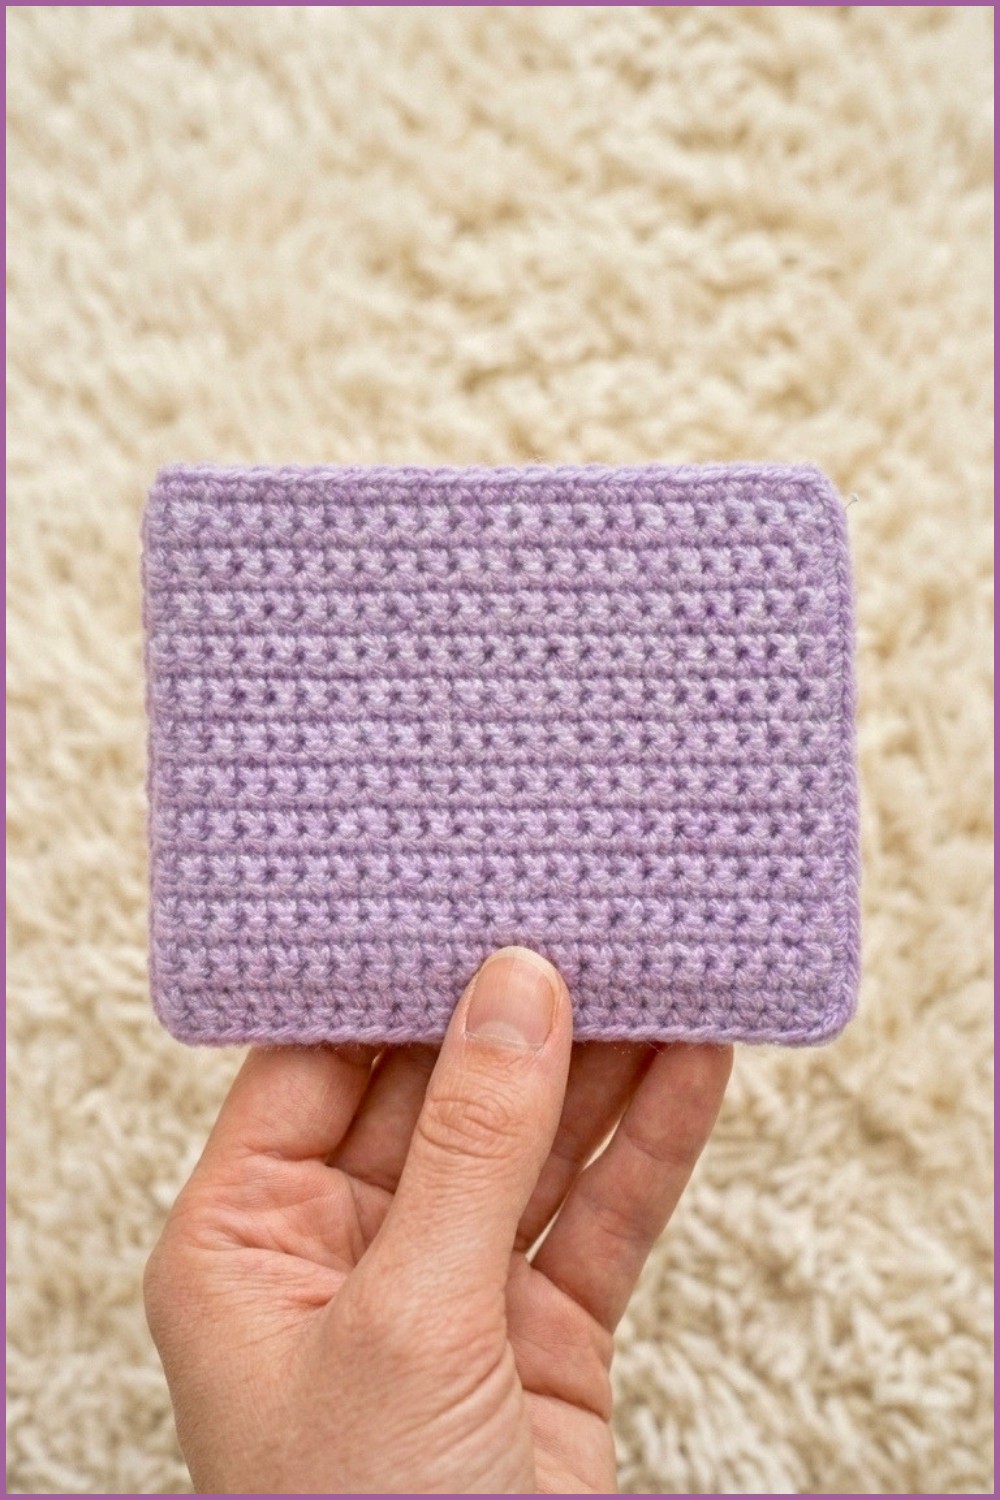
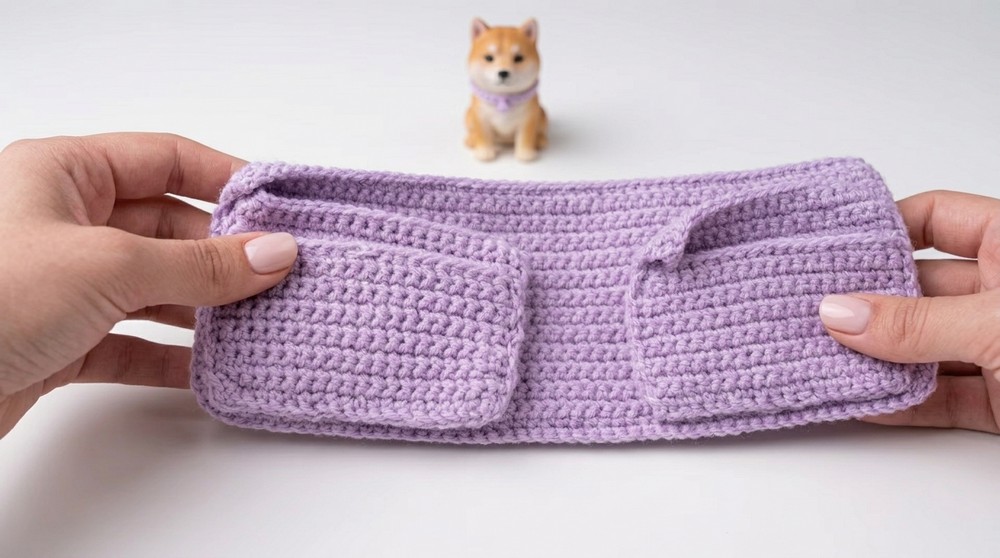
The wallet has a clean and modern look with a rectangular shape and a flap to close it. It feels soft yet strong enough to keep your things safe. Its neat stitches give it a smooth texture and you can add buttons or snaps that make it look special. The size is just right to fit in your hand or bag so it works well as a practical and stylish accessory.
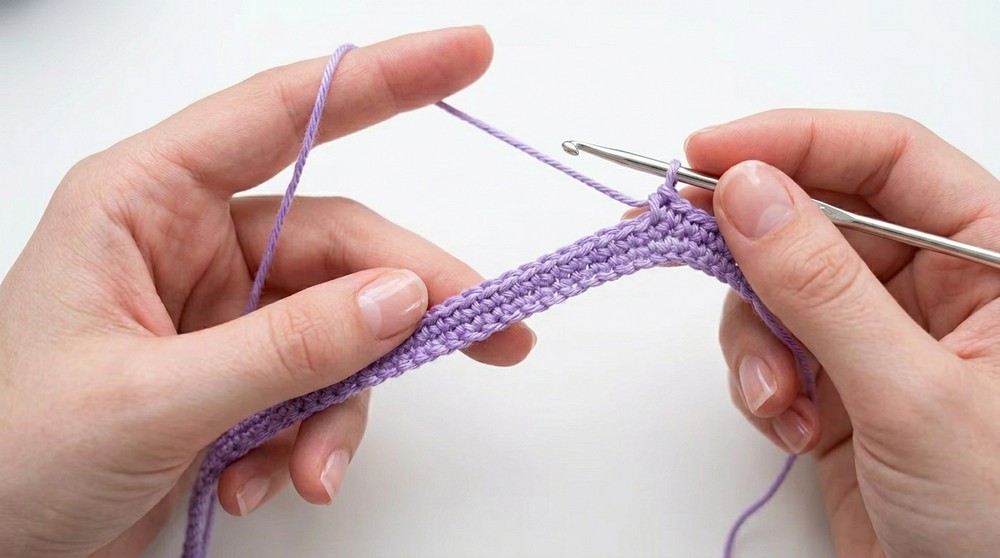
This project is made by crocheting rows or rounds mainly using single crochet stitches. These stitches create a dense fabric that holds together well. The wallet parts can be made separately or worked in one piece and then finished with a flap and closure. The pattern is great for beginners who know basic stitches and want to create something useful while practicing even stitching.
A handmade crochet wallet is a perfect gift that shows care and is also practical. It can also become a personal accessory or collectible you enjoy in different colors and styles. If you are new to crochet or want a quick project the Free Crochet Wallet Pattern is a great choice. Try it out and you might find it is just the right project to enjoy and share.
Step-by-Step Crochet Wallet Pattern
Before You Start
- This wallet is crocheted using single crochet (sc) throughout, making it beginner friendly.
- The main body and pockets are worked in flat rows before sewing them together.
- The modular design lets you add, remove, or resize pockets for maximum personalization.
- Perfect as a functional and pretty accessory or as a handmade gift.
Pattern Notes
- Uses US crochet terminology throughout.
- The project is made entirely with single crochet (sc).
- You will work long foundation chains for the body and smaller chains for pockets and closure tab.
- All pockets are made as separate flat rectangles and sewn to the base fabric after completion.
- Seam and secure with a yarn needle; opt for a neat mattress or whip stitch for best results.
- Adjust number of chains/rows for custom wallet dimensions.
How I made the Crochet Pattern? (Summary)
- Started with a long chain for the wallet’s base body and worked rows of single crochet until reaching the desired height.
- Created pockets as separate rectangles (small and large) using the same stitch method.
- Assembled by sewing pockets onto the base, being careful to leave openings as needed.
- Added a closure flap and final flowers/clips for decoration and function.
- Sewed the sides and base shut, then finished with a bag-clip attachment.
Skill Level
Beginner:
Only single crochet, basic shaping, and straight seaming required. No advanced shaping or stitch work involved.
Finished Size
- Body: ~20–22 cm (width) x 6–8 cm (height) when folded (can be customized)
- Pockets: Varied. Example: Large approx. 5 x 10 cm; small: ~3.5 x 5 cm
- Closure tab: ~2 x 8 cm
Materials
- Three-ply yarn, any color (approx. 50 g; adjust for bigger size)
- 3 mm crochet hook
- Yarn needle (for sewing & weaving ends)
- Stitch markers or safety pins
- Scissors
- Optional: decorative flower/crochet motif; old purse/bag clip, button, or snap for closure
Measurements / Sizing (Optional Schematic)
- Main Body: 104 chains (width), 26 rows (height; ~6–7 cm)
- Large Pockets: 22 chains wide, 25 rows high (~5 x 12cm)
- Small Pockets: 22 chains wide, 16 rows high (~5 x 8cm)
- Closure Tab: 27 chains, 9 rows (~2 x 8cm)
- Adjust number of rows or chains to match desired wallet size or card dimensions.
Gauge
- 10 sc x 10 rows ≈ 2.5 x 2.5 cm
- Gauge not critical but ensure your single crochet is not too tight or loose for sturdy sides.
Stitch Abbreviations
- ch = chain
- sc = single crochet
- sl st = slip stitch
- st(s) = stitch(es)
- RS/WS = right side/wrong side
Special Stitches
- Single Crochet (sc): Insert hook in stitch, yarn over, pull up loop, yarn over, pull through both loops.
- Invisible seam (optional): Mattress or whip stitch for joining pocket and base neatly.
- You may add embellishments like flowers using standard techniques or by attaching ready motifs.
THE PATTERN
Main Body (Wallet Outer)
Foundation:
- Make a slipknot, then ch 104 + 1 (105 total).
Row 1:
- Skip first ch from hook, sc in second ch and in each ch across [104 sc].
- Turn.
Row 2:
- Ch 1, sc in each st across (104 sc). Turn.
Rows 3–26:
- Repeat Row 2 until work measures approx. 6–7 cm or desired wallet height.

If you do not read typical pattern formats: Make a long chain, then work single crochet rows, turning at the end of each row, until your fabric rectangle reaches the height you want your wallet to be when folded.
Large Pocket (Make 2, for each inside side)
- Ch 22 + 1 (23 total).
- Skip first ch, sc in second ch and each ch across [22 sc]. Turn.
- Ch 1, sc in each st across. Turn.
- Repeat until pocket measures approx. 25 rows (adjust for desired height).
Small Pocket (Make 2, optional for cards/coins)
- Ch 22 + 1 (23 total).
- Skip first ch, sc in second ch and each ch across [22 sc]. Turn.
- Ch 1, sc in each st across. Turn.
- Repeat for 16 rows.
Closure Tab (Locking Flap)
- Ch 27 + 1 (28 total).
- Skip first ch, sc in second ch and each ch across [27 sc]. Turn.
- Ch 1, sc in each st across. Turn.
- Repeat for 9 rows (or as needed for desired width).
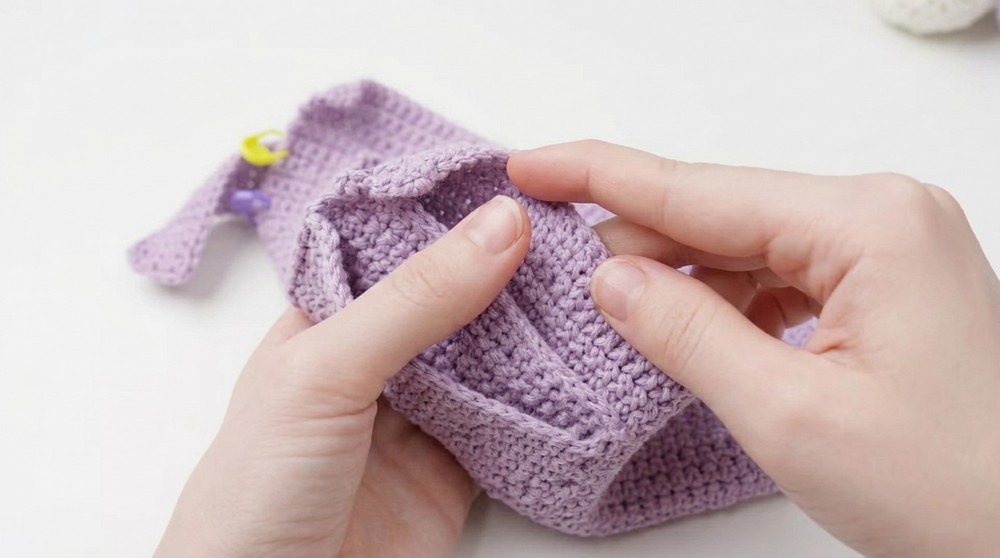
Assembly & Sewing Sequence
- Attach Pockets
- Place smaller pockets on top of the large pocket pieces, aligning edges.
- Sew three sides of the small pocket to the large pocket, leaving top edge open.
- Repeat for second set.
- Attach Pocket Units to Wallet Body
- Place large pocket (with attached small pocket) onto one end/side of wallet body.
- Attach only side and bottom edges of large pocket to main body, leaving the top edge open.
- Repeat for the opposite side, positioning as desired (can adjust for right-handed/left-handed use).
- Use markers to hold in place and sew with matching yarn using whip stitch for neat finish.
- Attach Closure Tab
- Place closure tab on the inside top or center back edge.
- Sew securely on one end only.
- Attach button, flower, or snap at the corresponding front location for closure.
- Final Assembly
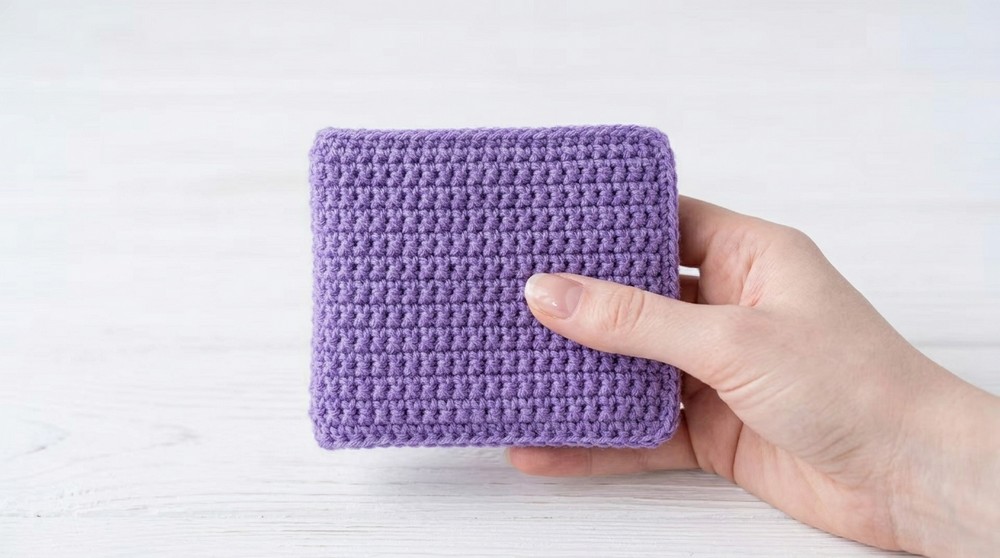
- Fold wallet along its width.
- Sew open side and bottom edges together, using a neat sturdy stitch to prevent stretching.
- Attach any additional embellishments (flower, label, snap, old bag clip) as desired.
- Finishing
- Weave in all yarn tails.
- Lightly block flat if desired.
If you do not follow formal instructions: Lay out your main rectangle, sew pockets on as described (leaving tops open), then fold wallet and seam remaining sides. Attach locks/snaps as closure.
Assembly & Finishing
- Use markers to ensure pocket placement is even and straight before sewing.
- Attach small pocket to large pocket before sewing large pocket to wallet for the cleanest edges.
- Keep pocket openings facing up and do not sew tops shut.
- Neatly weave in all ends so nothing catches on wallet contents.
- Add or replace closure hardware as desired; decorative elements (flowers, labels, etc.) can be sewn or glued on.
- Optional: Attach wristlet or bag clip through flap or side for portable use.
Solution of problem
Problem: Sides pull or bulge after stitching shut.
Solution: Make sure to sew edges evenly; if tension is an issue, lightly block the finished wallet damp (not wet) and shape it under a heavy book to flatten.
What you can make by using these stitches
- Crochet wallets and coin purses
- Pocket holders for bags or organizers
- Crocheted notebook or gadget covers
- Mini crochet clutch with button/zipper closure
- Functional cardholders for gifts or markets
Congratulations! You’ve completed a beautiful, highly customizable crochet wallet, learning both foundational crochet construction and finishing skills. Adjust the pattern’s dimensions and pocket layout to create the perfect wallet for your needs or to gift to friends and family. Enjoy your new handmade accessory!