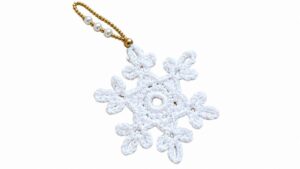
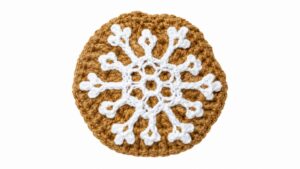
Add flair to your table with this free Crochet Bellflower coaster pattern, combining elegance and practicality to protect surfaces while enhancing your home decor.
Bright and pretty decorations can make any place feel warm and welcoming. One lovely way to add charm to your home is by creating small, colorful pieces that protect surfaces and look beautiful. The free crochet bellflower coaster pattern is perfect for making such charming accessories that bring a touch of nature indoors.
Unique Free Bellflower Coaster Pattern for Handmade Decor
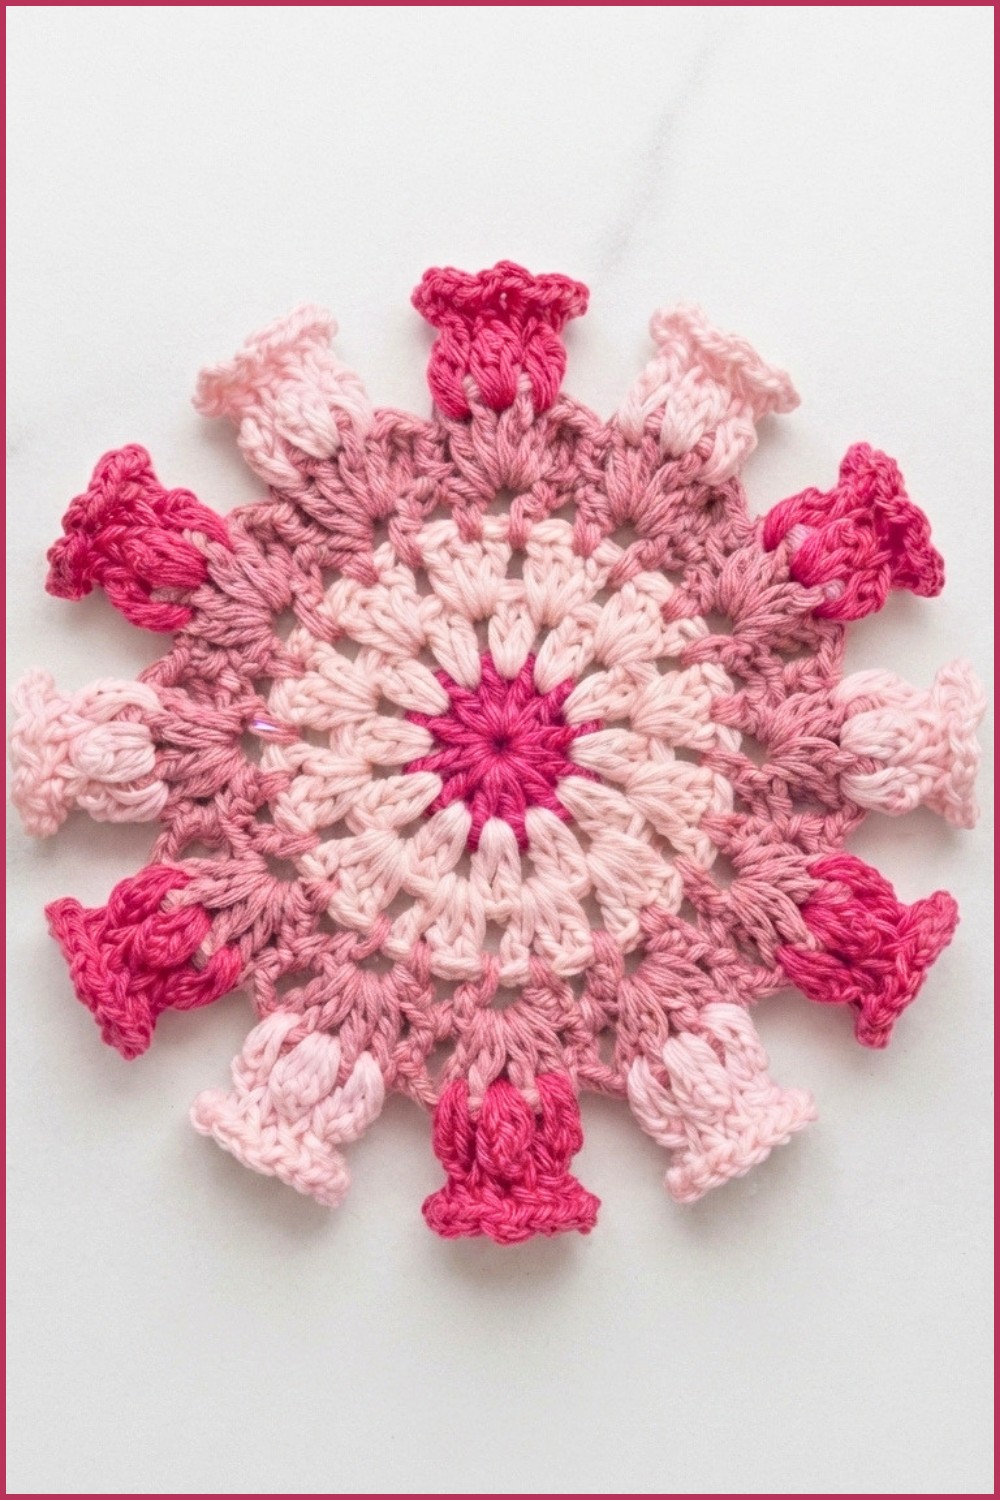
This pattern creates coasters shaped like bellflowers, delicate and elegant flowers with soft petals. The design is eye-catching because of its detailed petal shapes and gentle curves, which give the coaster a unique floral look. The texture is slightly raised and firm, so it not only looks good but also protects your furniture from hot or cold drinks by absorbing moisture and heat.
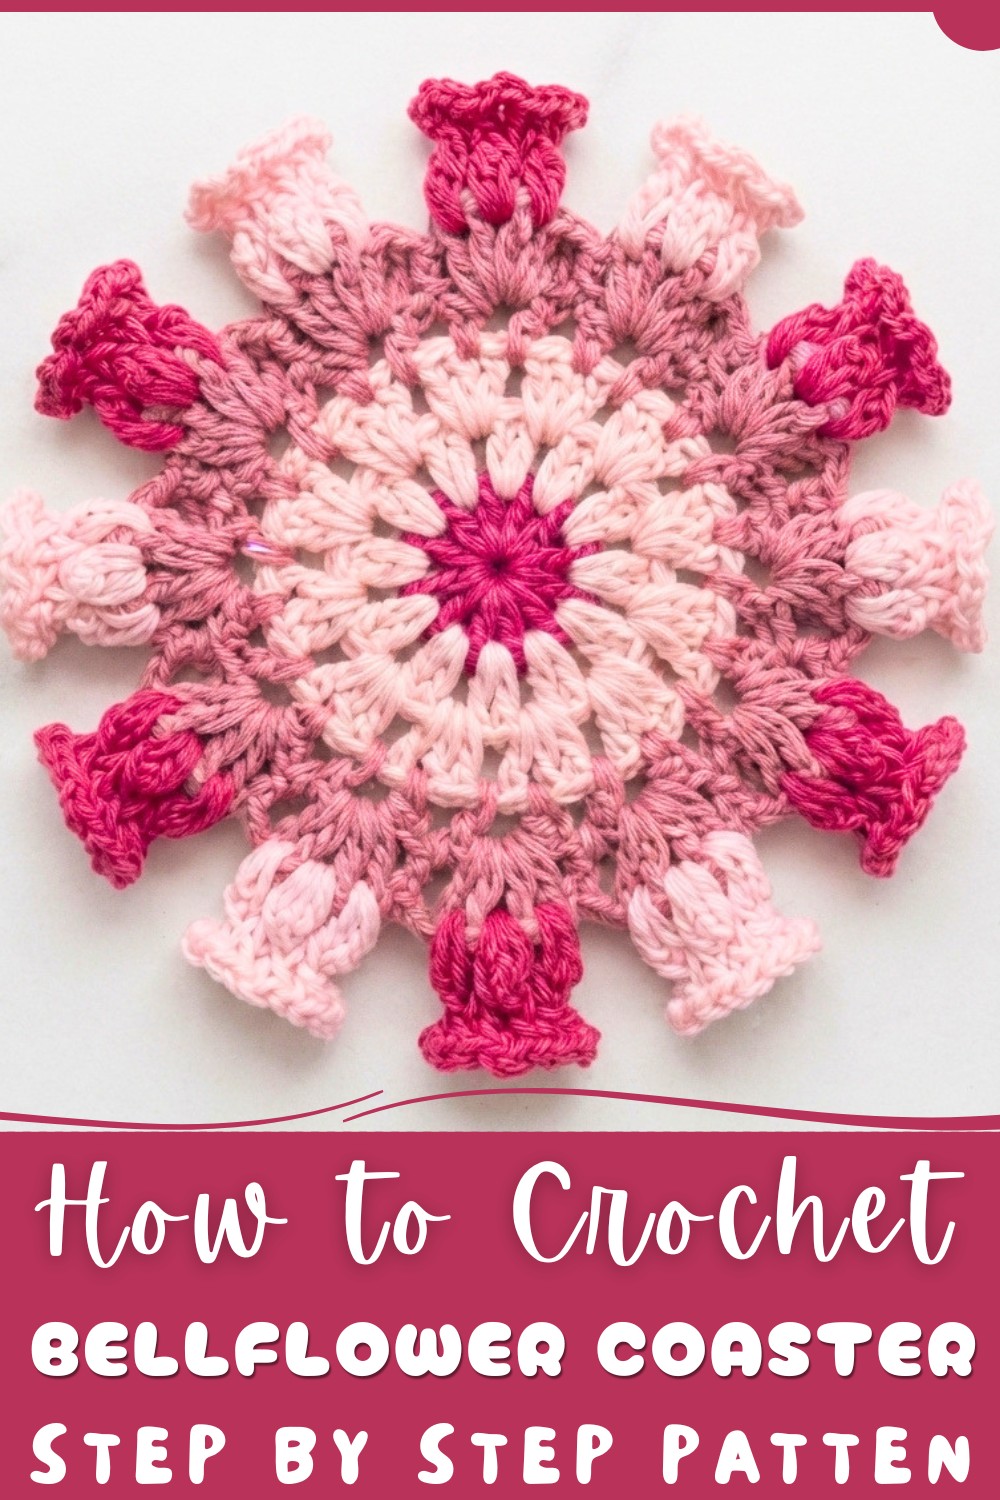
You can use these coasters in many places like your kitchen, dining table, or even in the living room when friends come over. They are great for everyday use and especially nice during spring and summer seasons when floral themes fit perfectly in home decor. These coasters also make wonderful handmade gifts that show care and creativity.
The bellflower coaster pattern is easy to follow, making it ideal for beginners looking to improve their crochet skills. More experienced crocheters can enjoy customizing coasters in different colors and yarn types to match any style or occasion. These small, decorative pieces are quick to make but bring a lot of joy and beauty wherever you place them.
In short, the free crochet bellflower coaster pattern is a delightful way to add color and charm to your home. It combines practical use with lovely design, making it a fun and rewarding project for crafters of all levels.
Lily of the Valley Crochet Coaster Pattern
This pattern is inspired by the elegant Lily of the Valley flower, and it’s perfect for making unique, multi-colored glass coasters or decorative mats. With its lovely petal motifs and alternating rows of color, this coaster is a wonderful way to practice color changes, cluster stitches, and decorative shaping. Whether you use it for your drinks, as a table centerpiece, or as a base for other crafts, this coaster will brighten your home with a personal, handcrafted touch. The detailed steps below ensure that both beginner and experienced crocheters can achieve a beautiful finish.
Pattern Basic Points
Construction Summary
- Worked in the Round: Begins with a magic ring as the coaster’s center, then expands outward in circular rounds.
- Cluster and Double Crochet Motifs: Features groups of double crochets and single crochets to create floral and petal textures.
- Colorwork: Alternating rounds and petals in various colors evoke the look and vibrancy of lilies.
- Petal/Cluster Formation: Specialized stitches build the “petal” and “flower” aesthetic around the mat’s edge, with careful slip stitches and chaining for joins.
- Finishing Touches: The project finishes with hiding yarn ends and shaping the coaster for display.
Special Notes
- Color Choices: The tutorial uses a mix of blues, creams, and two shades of green, but feel free to use any color combination that appeals to you.
- Yarn Management: Plan your color changes in advance for a neat appearance. Keep yarn tails long enough to weave in securely.
- Cluster/Petal Technique: For realism and texture, pay close attention to forming the clusters and petals as described.
- Skill Building: This pattern is excellent for practicing rounds, working in clusters, color changes, and slip stitches.
Skill Level
Confident Beginner to Intermediate
You should be comfortable with magic rings, working in the round, changing colors, and reading crochet instructions involving clusters and decorative stitches.
Materials
- Yarn:
- Cotton or acrylic yarn in at least five colors:
- Light pink, dark pink(center and main background)
- Cream/off-white (petals and some stripes)
- Light green, dark green (leaves, alternating stripes)
- Sport or DK weight suggested
- Cotton or acrylic yarn in at least five colors:
- Crochet Hook: 2.0mm (or size appropriate for your yarn)
- Tapestry Needle: For weaving in ends
- Scissors: For cutting yarn
Measurements / Sizing
- Finished Size:
- Approx. 12–15cm (4.5–6″) in diameter, depending on yarn and tension
Gauge (and Stitch Pattern if Applicable)
- Gauge: Not critical; aim for a flat, slightly stiff motif suitable for coasters.
- Stitch Pattern:
- Uses double crochet (dc), single crochet (sc), slip stitch (sl st), chain (ch), and clusters.
Stitch Abbreviations
| Abbreviation | Meaning |
|---|---|
| MR | Magic Ring |
| ch | Chain |
| sl st | Slip Stitch |
| sc | Single Crochet |
| dc | Double Crochet |
| st(s) | Stitch(es) |
| rep | Repeat |
Special Stitches
- Cluster:
- Several double crochets worked in the same stitch/space, closed with a single chain or slip stitch.
- Petal/Kernel:
- For the pointed petals and “corn kernel” motifs: groups of double crochets (dc) pulled together, often followed by chaining and slip stitch for shaping.
The Pattern
Center Rounds: (Glass/Mat Base)
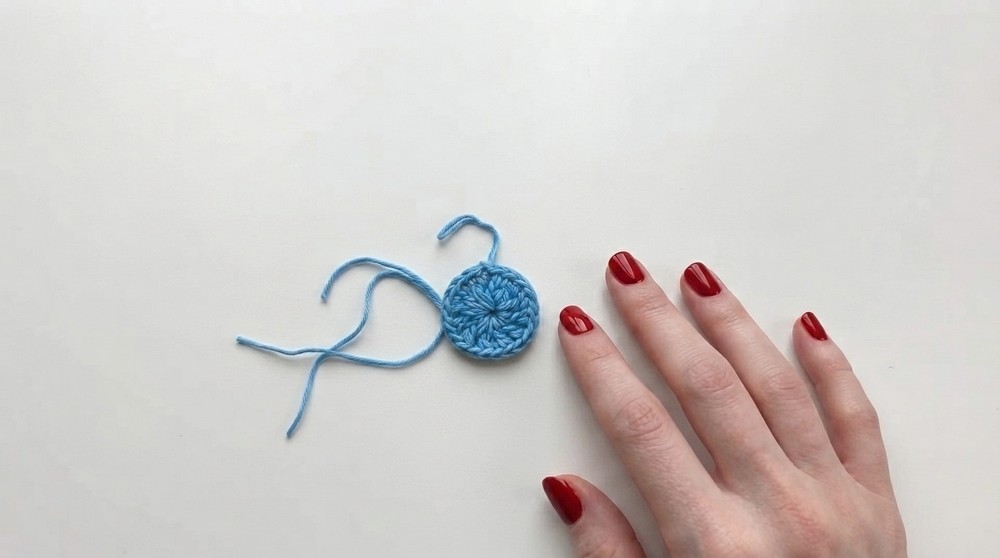
Round 1 – Magic Ring and First Round
- Using sky blue (or your chosen center color):
- Make a magic ring (MR).
- Ch 2 (counts as first dc).
- Work 12 dc into the ring. Join with sl st to the top of the starting chain. (12 sts)
- Fasten off blue and change to cream.
Round 2 – Expanding Circle
- Attach cream yarn to any dc.
- [1 dc in first st, 2 dc in next st] — rep around to total 12 increases.
- Each st is either a single or double — dc, dc, 2dc, dc, 2dc... to end, for a total of 24 dc.
- Join with sl st; ch 1 and fasten off.
Round 3 – Third Circle, Petal Prep
- Still in cream (or color of choice):
- Attach yarn, ch 2 (acts as the first dc).
- Into next st: 1 dc, then 2 sc in next st — Continue around.
- You will form clusters: dc, sc, sc, dc across the round.
- Repeat to end of round. Join with sl st.
Leaf/Outer Rounds (Motif and Colorwork):
Round 4 – First Leaf Motif and Border
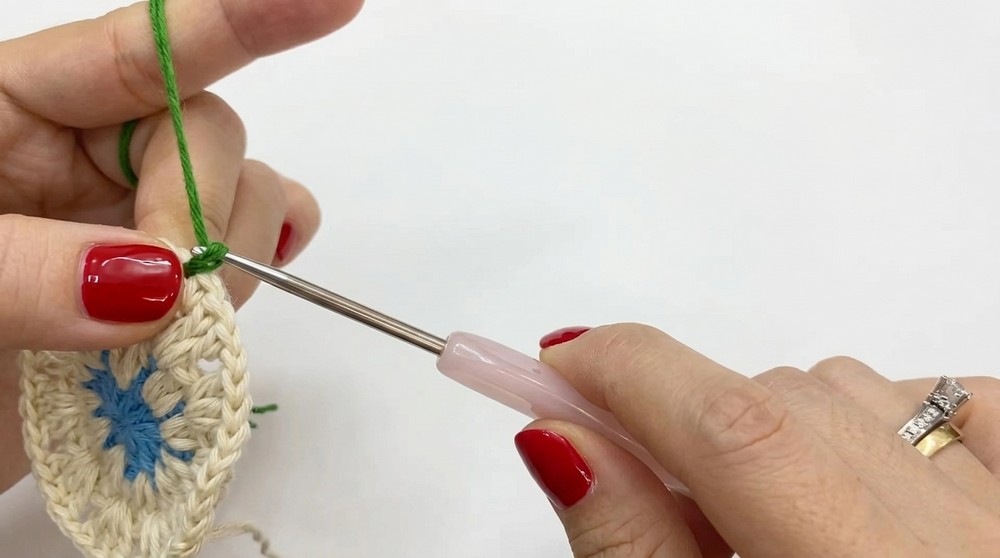
- Switch to light green.
- In each cluster/group of previous round:
- 4 dc in the first “leg” (st), then sl st into next st.
- Repeat: 4 dc in one st, sl st in next. Continue all the way around.
- You will have 12–24 mini leaf “bumps” (depending on increases), making a ruffled leaf border.
- In each cluster/group of previous round:
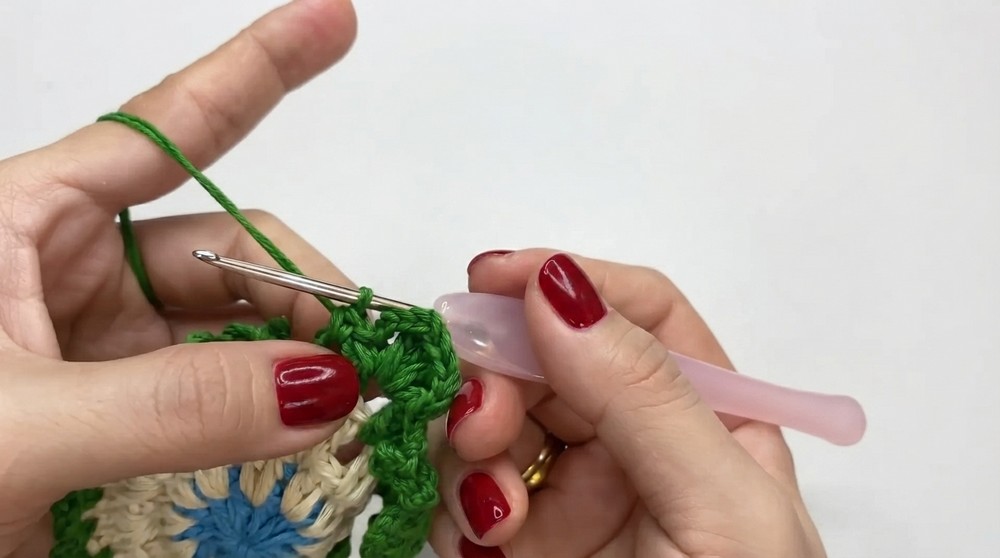
Round 5 – “Pointed” Petal Tips
- Continue in green, or alternate with dark green for stripes:
- Ch 3, then in the point between previous leaves, 1 dc, ch 1, 1 dc, ch 1, move to next leaf tip, repeat.
- Creates the “pointed leaf” look.
Outer Lily Petals
Petal/Kernels Motif
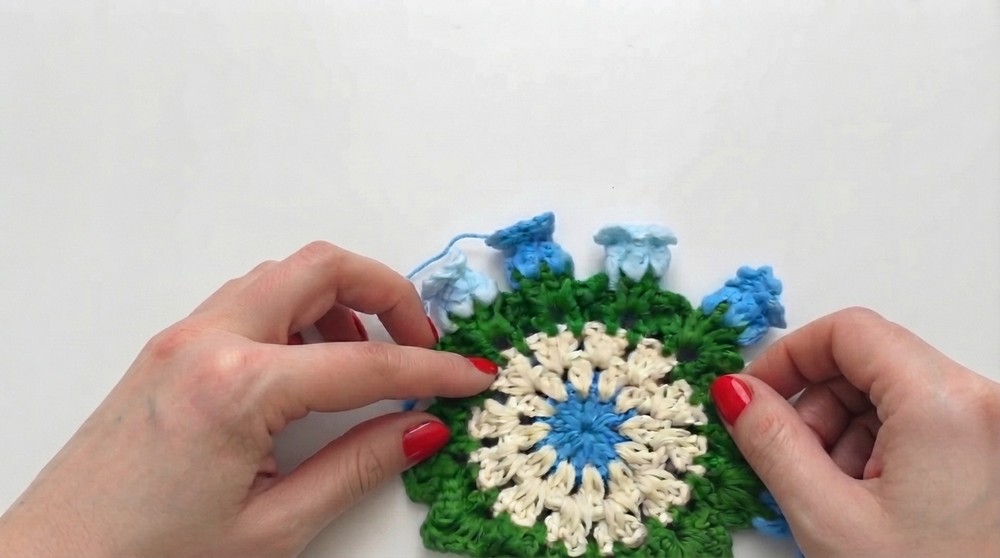
- Place petals evenly along the motifs:
- In each chosen space:
- Ch 2, 4 dc in same sp, sl st to base, repeat for all “petal positions” (suggest 8 evenly spaced).
- Make sure each petal is separated and not overlapping, combining your blue and cream shades as desired.
- In each chosen space:
Outer Edging/Spacing
- Between petals, place a group of sc or ch-3 arches for gentle separation.
- On the final round, work sc or sl st evenly around to even out the coaster’s circumference.
- If you wish, add a final round in cream or alternate color for definition.
Assembly & Finished Size
- When all petals and outer leaves are completed, fasten off your yarn.
- Use a tapestry needle to weave in all yarn ends on the back.
- Gently shape and block your coaster if desired.
Finished Size:
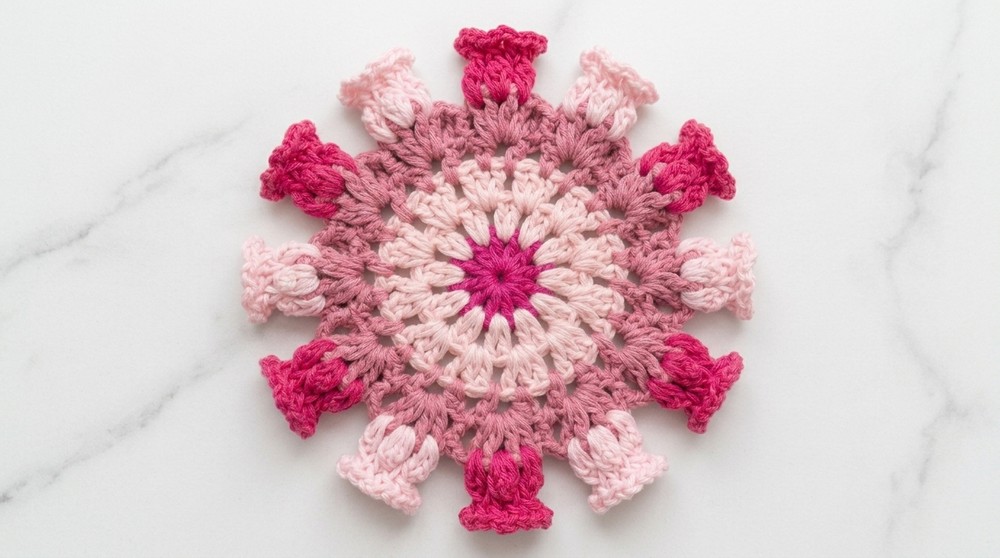
- Your Lily of the Valley Mat should measure approx. 12–15cm in diameter, adaptable by changing hook/yarn or adding more rounds.
Conclusion
This pattern’s versatility allows you to experiment with color placement, petal emphasis, and decorative edges for a unique accessory every time. Such coasters are fantastic as gifts, décor pieces, or even bases for other creative projects.