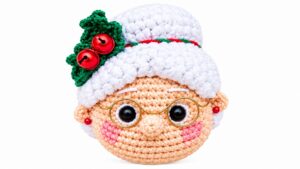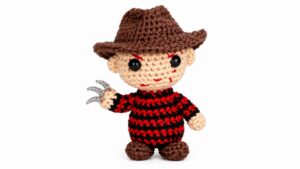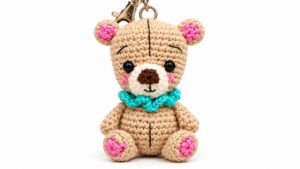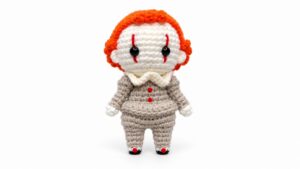
Wrap a little Christmas cheer with the Crochet Gingerbread Man Free Pattern, a playful handmade friend to tuck into holiday gift baskets.
Start with a simple and charming project that adds a festive touch to your holiday season. The Crochet Gingerbread Man is a small stuffed toy measuring about 6 to 8 inches tall. It has a soft, rounded shape resembling a classic gingerbread cookie with short arms and legs.
Easy Crochet Gingerbread Man Free Pattern For Beginners
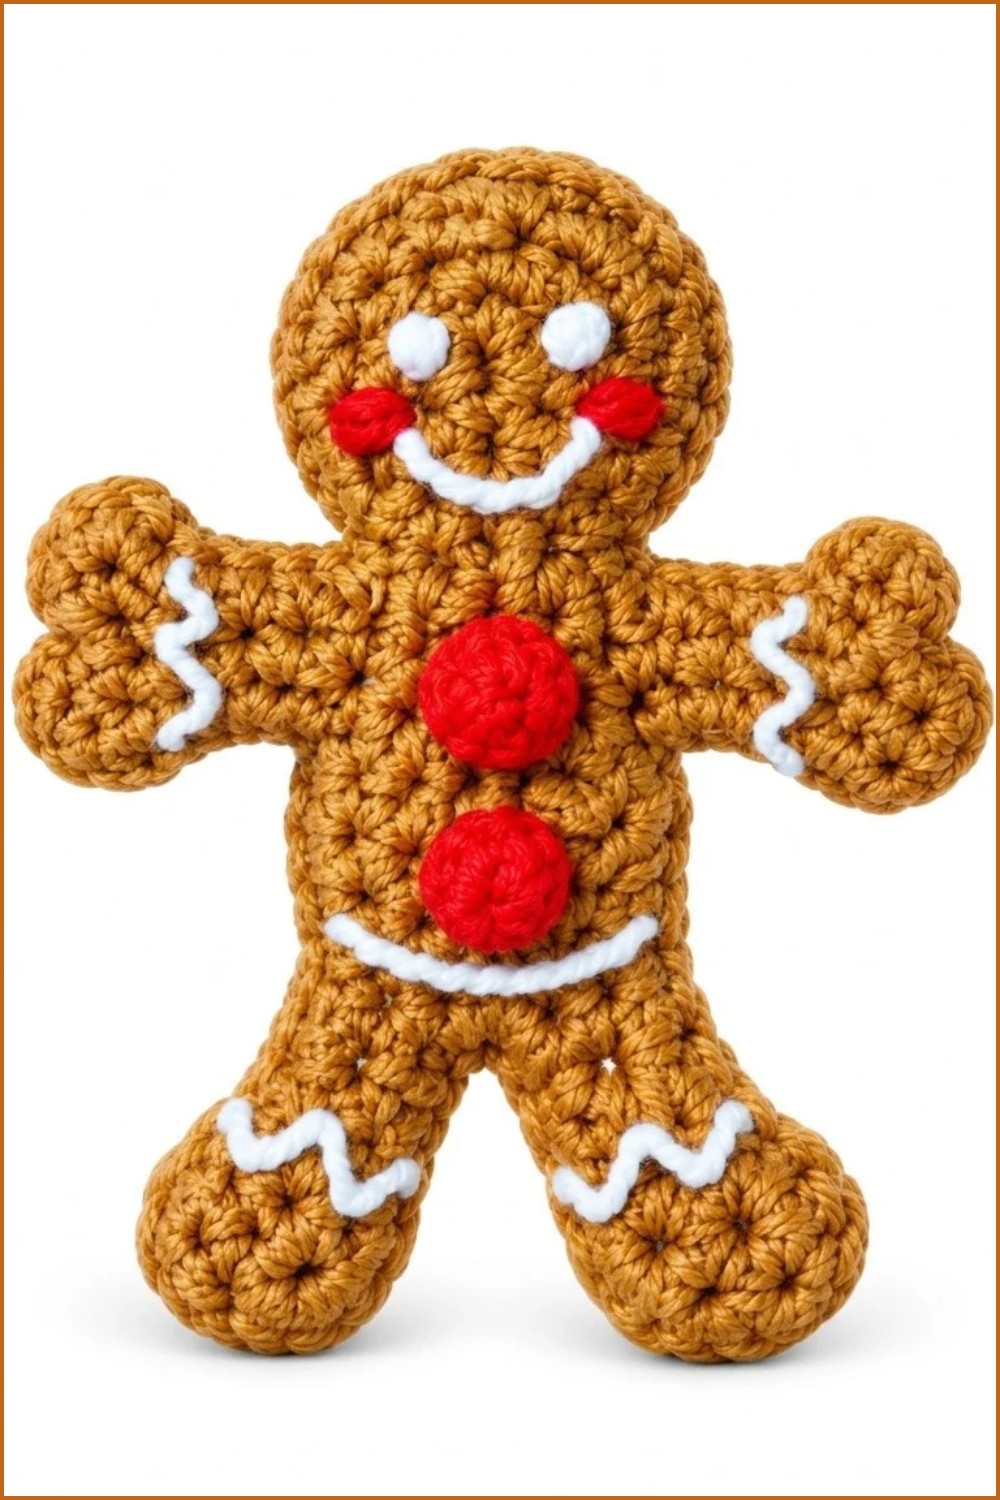
This little figure features friendly details that give it personality. It usually has small eyes, a smiling mouth, and decorative lines around the hands, feet, and neck that look like icing. Sometimes buttons or tiny bows are added for extra charm. These details give the toy a warm, friendly appearance that feels alive and approachable.
The skill level needed ranges from beginner to intermediate. The stitches used are mostly simple, and the pattern guides you through each step clearly. It is a great project for those new to crocheting or anyone wanting a quick but enjoyable project with lovely results.
Overall, the Crochet Gingerbread Man makes a cozy decoration or a cute gift for the holidays. Its size and cheerful features make it a delightful addition to any festive setting, and the process is straightforward enough to keep it fun for different skill levels.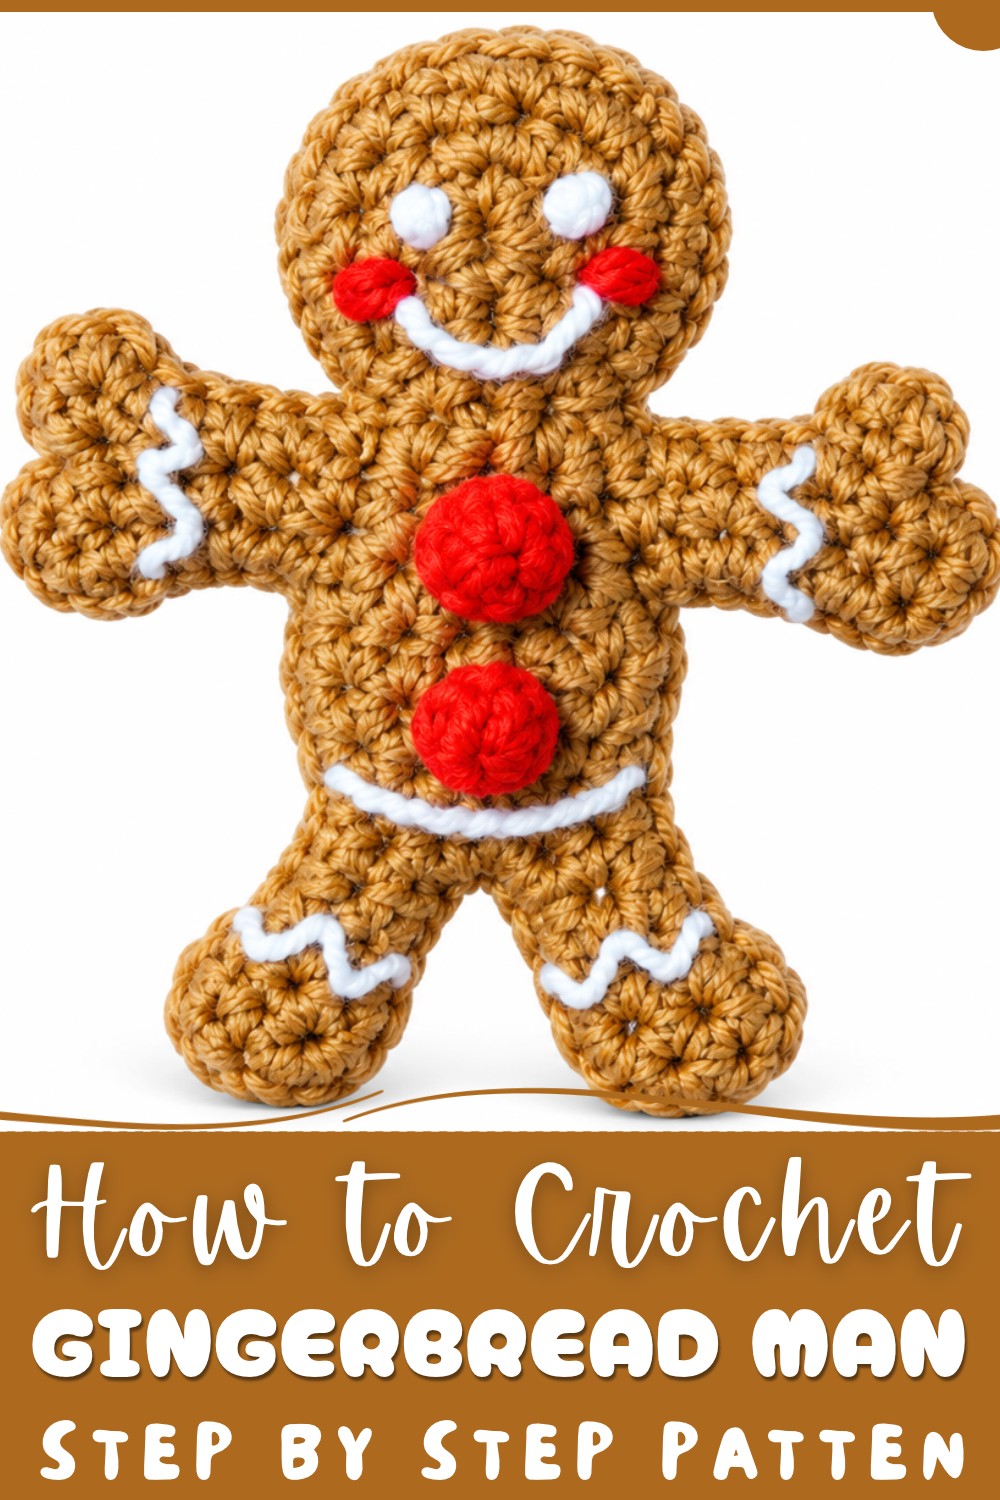
Crochet Gingerbread Man Cookie Pattern
About the Pattern
This crochet Gingerbread Man cookie creates a classic festive treat in plush, ornament, or toy form. Constructed in two flat pieces for a true cookie effect, it features worked-in arms and legs for a unified, seamless shape. The front is elegantly decorated with cheerful icing, gumdrop buttons, and rosy cheeks. A blanket stitch finish around the edge combines durability and charm, while optional stuffing inside lends a gentle three-dimensionality.
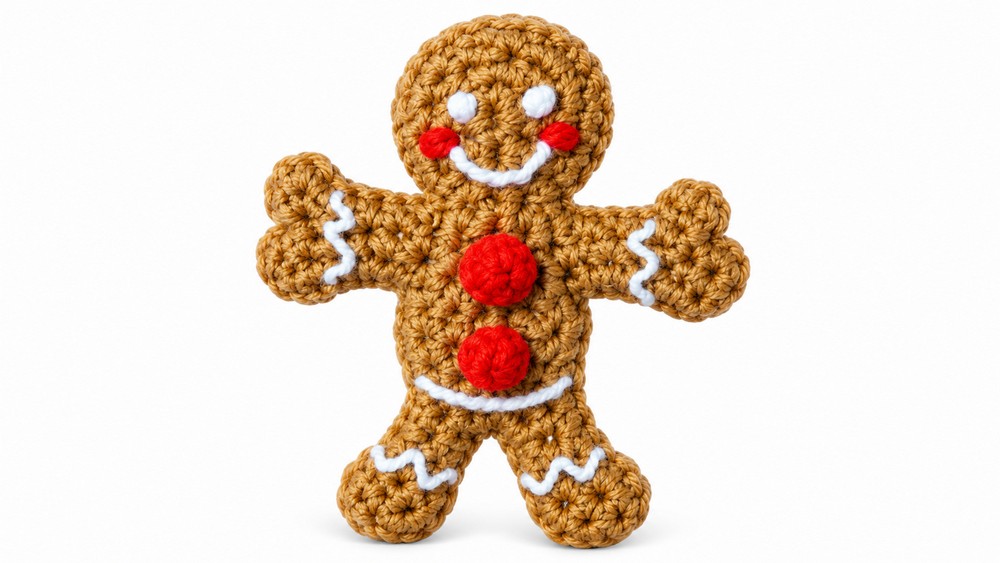
Pattern at a Glance
- Construction: Each gingerbread man is made by creating a front and a back body shape using a continuous series of chains, foundation stitches, and built-in arms and legs.
- Decoration: The front piece is embroidered and sewn with whimsical details, including gumdrop buttons and icing lines.
- Finishing: The two panels are joined and optionally stuffed for a soft, hand-held cookie effect.
Important Notes
- Consistent stitch tension is crucial to ensure that the two cookie panels align perfectly.
- Work increases, decreases, and stitch changes exactly as listed to keep the silhouette recognizable and proportions correct.
- Embroidery and sewn details should be completed before final assembly for easiest access to the cookie front.
- Use only a light amount of stuffing to maintain a “cookie-like” profile unless you prefer a chubbier, plush look.
Difficulty Level
- Advanced Beginner: The pattern introduces simple shaping with increases and decreases, colorwork for decoration, and basic surface embroidery, all suitable for a confident beginner with experience in working flat shapes and finishing techniques.
Supplies Needed
- Worsted weight yarn in gingerbread brown, white (icing), red (cheeks), assorted colors (button details)
- Crochet hook (size to match yarn, typically 3.5–4 mm)
- Yarn needle (blunt tapestry needle)
- Small amount of fiberfill or leftover yarn tails (for stuffing)
- Scissors
- Stitch marker (optional)
Size & Measurements
- Finished gingerbread man stands approximately 9–12 cm tall and 6–8 cm wide, depending on yarn and hook choice.
Gauge & Stitch Details
- Gauge: Not strictly required, but aim for stitches that are dense and even so stuffing will not show.
- Flat pieces should not curl at the edges; if they do, switch to a larger hook or loosen tension.
Crochet Abbreviations
- ch – chain
- sc – single crochet
- inc – increase (work 2 sc in one stitch)
- dec – decrease (single crochet two together)
- hdc – half-double crochet
- dc – double crochet
- sl st – slip stitch
- st(s) – stitch(es)
Special Stitch Guide
- Double Magic Circle: Make an adjustable ring by looping the yarn twice, then work stitches into the center and pull both yarn ends to close tightly. Use this to form very small, closed circles for gumdrop buttons.
- Blanket Stitch: Insert the needle through both cookie pieces near the edge, pull through, then pass through the loop created to form a decorative sewn border which also secures the two panels together.
- Decrease: For each dec, insert hook into the next stitch, yarn over, pull up loop, insert hook into following stitch, yarn over, pull through all loops on hook.
Complete Crochet Pattern
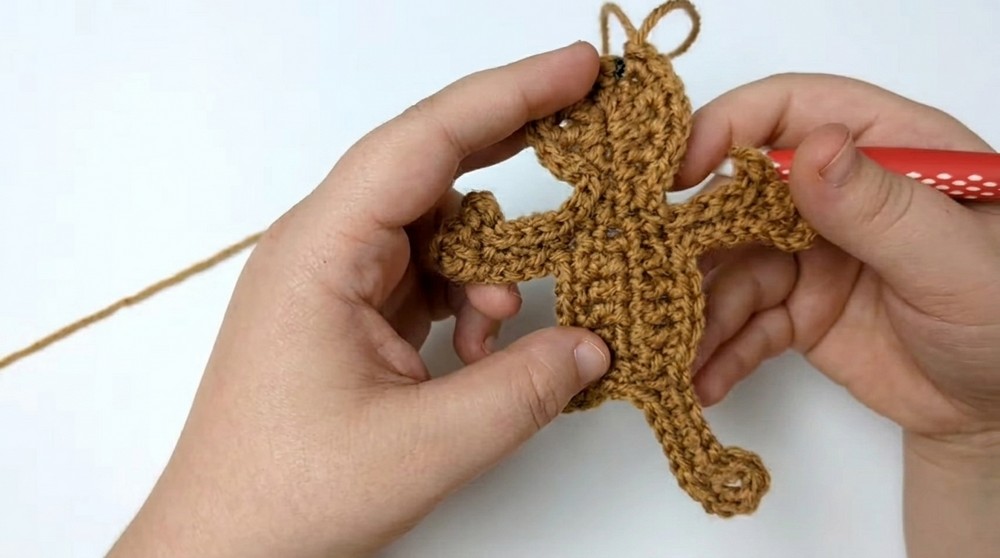
Phase 1: Creating the Body Shape (Make 2 - Front and Back)
Body Foundation
- Chain 10, chain 2 more (these extra chains count as the first stitch).
Row 1
- Starting in the third chain from the hook, work 1 inc (2 sc in ch), 7 hdc, 1 inc (2 sc in last ch) to round the bottom edge of the torso.
First Arm
- Ch 6 for the first arm foundation.
- Ch 1 to turn.
- On the way back, work 5 sc, then 1 dec at the arm base to connect arm back to torso.
- Continue along torso with hdc, following the shape in original foundation row.
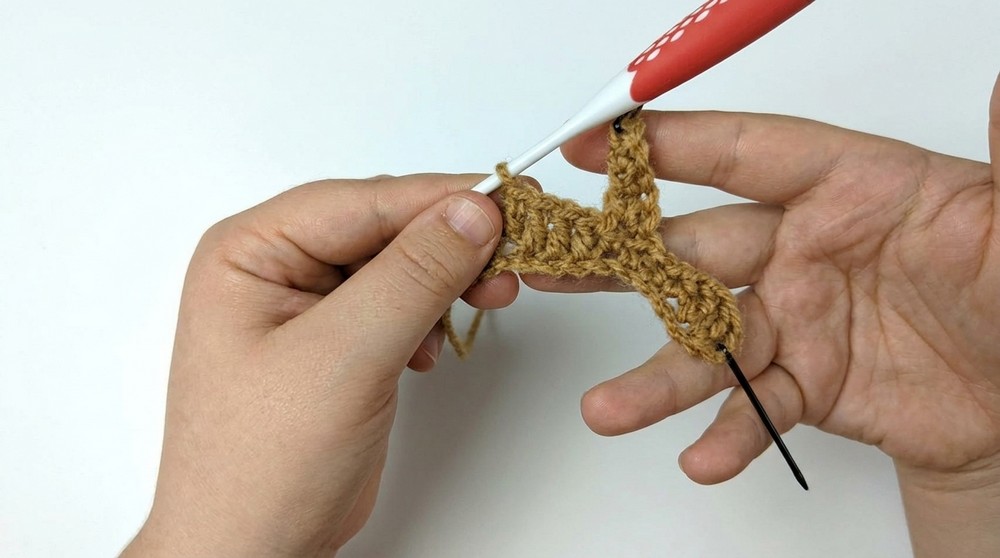
First Leg
- Dc across the torso for shaping.
- Ch 7 for the leg foundation, ch 1 to turn.
- On the way back, 6 sc along chain, then 1 dec at the base for leg shaping, connecting to the torso.
Mirroring the Body
- Repeat as above, working back down the opposite side of the original chain:
- Work the second leg: ch 7, 6 sc, dec.
- Continue up the torso, mimicking mirror image.
- Form the second arm in the same way: ch 6, 5 sc, dec.
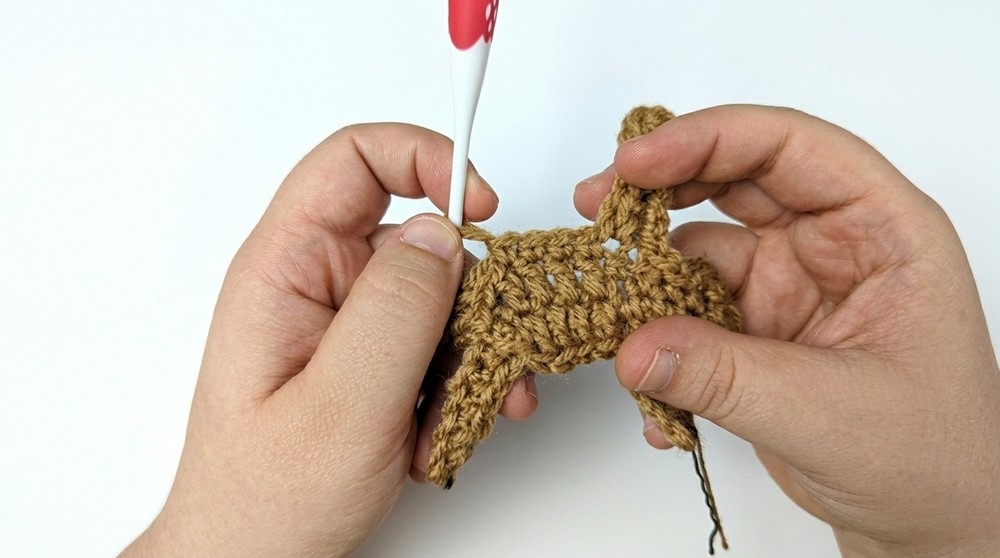
Top and Finishing
- At the top, add increases on shoulder corners for a rounded look.
- Form the mittens by chaining, working dc, and sc back to the arm (as in the video for shaping).
- Form boots at the bases of legs with sl st and a few additional chained stitches to define foot curves.
- FO, weave in or leave long tail if sewing.
Phase 2: Assembly and Decoration
Gumdrop Buttons
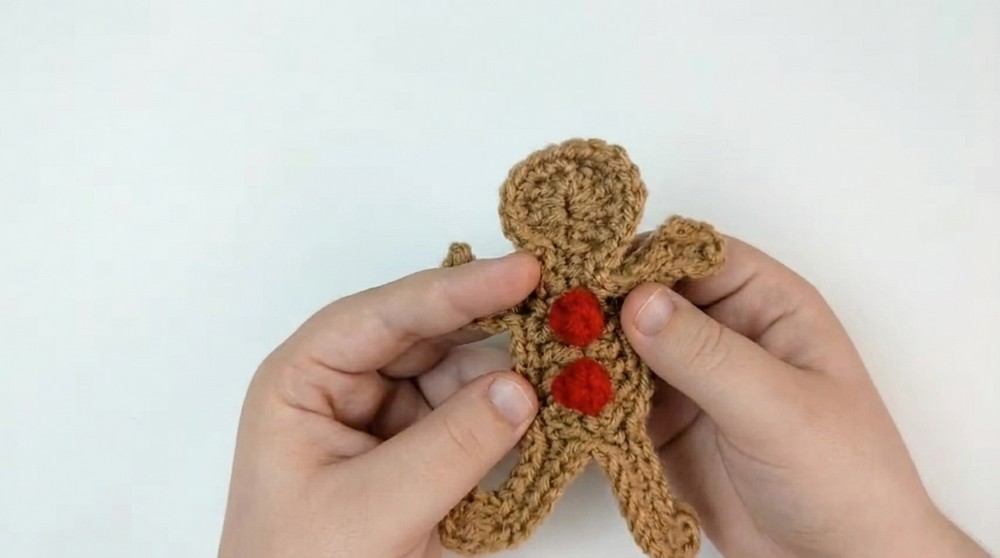
- With contrasting color yarn, create double magic circle, working 5 sc into the ring. Pull both yarn ends to close firmly and form a neat button. Make 2 buttons.
- Sew buttons securely onto the center front of the torso.
Icing Details
- Using a yarn needle and white yarn/embroidery floss, embroider two eyes (above buttons), a smile (curved or stitched line), and add wavy icing lines along the wrists/mittens, boots, and waistline.
Cheeks
- With red yarn, embroider or sew a few stitches as small round patches on either side of the mouth to give a hint of blush.
Joining and Stuffing
- Place the completed back and front pieces together, wrong sides facing in.
- Use any leftover yarn tails as minimal stuffing within (or small ball of fiberfill if a puffier look is desired).
- With matching brown yarn and a yarn needle, work blanket stitch evenly around the edge to fully seal and finish the cookie. This seam is both decorative and functional, preventing stuffing from escaping and providing a neat border.
Assembly & Finished Size
- Each gingerbread man will have defined limbs and a symmetrical profile, measuring approximately 9–12 cm tall.
- Details are added securely so the finished cookie will maintain its decorative charm even with gentle handling.
Conclusion
This gingerbread man pattern artfully combines classic shaping, whimsical embroidery, and festive character for an instantly-recognizable holiday treat. With detailed stitchwork forming the silhouette, and creative finishing touches, every cookie can be given personality through unique icing, expressions, and button colors. Ideal for ornaments, displays, and heartfelt gifts, this pattern offers a warming, hand-crafted addition to seasonal celebrations.