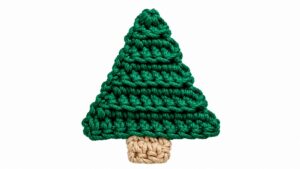
Hang a little festive cheer with the Crochet Christmas Tree Free Pattern, a sweet yarn decoration for holiday windows and family celebrations.
A little holiday cheer can start with something as simple as a green yarn decoration. The Crochet Christmas Tree is a wonderful way to add a Christmas feeling to your home without buying expensive ornaments. Its lovely shape and simple details give it a traditional holiday appearance that people of all ages can appreciate.
Quick Crochet Christmas Tree Free Pattern For Holiday Decor
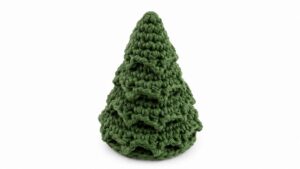
The tree has a cone-shaped body with a narrow top and a broad bottom. Its layered green sections can look like real evergreen branches, giving the tree a fuller appearance. Small colorful decorations can sit between the branches, while a bright topper adds a festive detail. You can choose dark green for a natural look or use lighter shades for a softer Christmas style.
This tree can be worked with basic crochet stitches, gradually changing the stitch count to form its shape. The branches can be added in layers to give the surface more depth. A little stuffing can support the inside, while a flat bottom helps the finished tree stand on its own.
You can use this tree to decorate a bedroom dresser, place it on a mantel, or add it to a Christmas dinner setting. It can also be a lovely gift for a teacher, a small decoration for a holiday gift hamper, or part of a Christmas display in your home.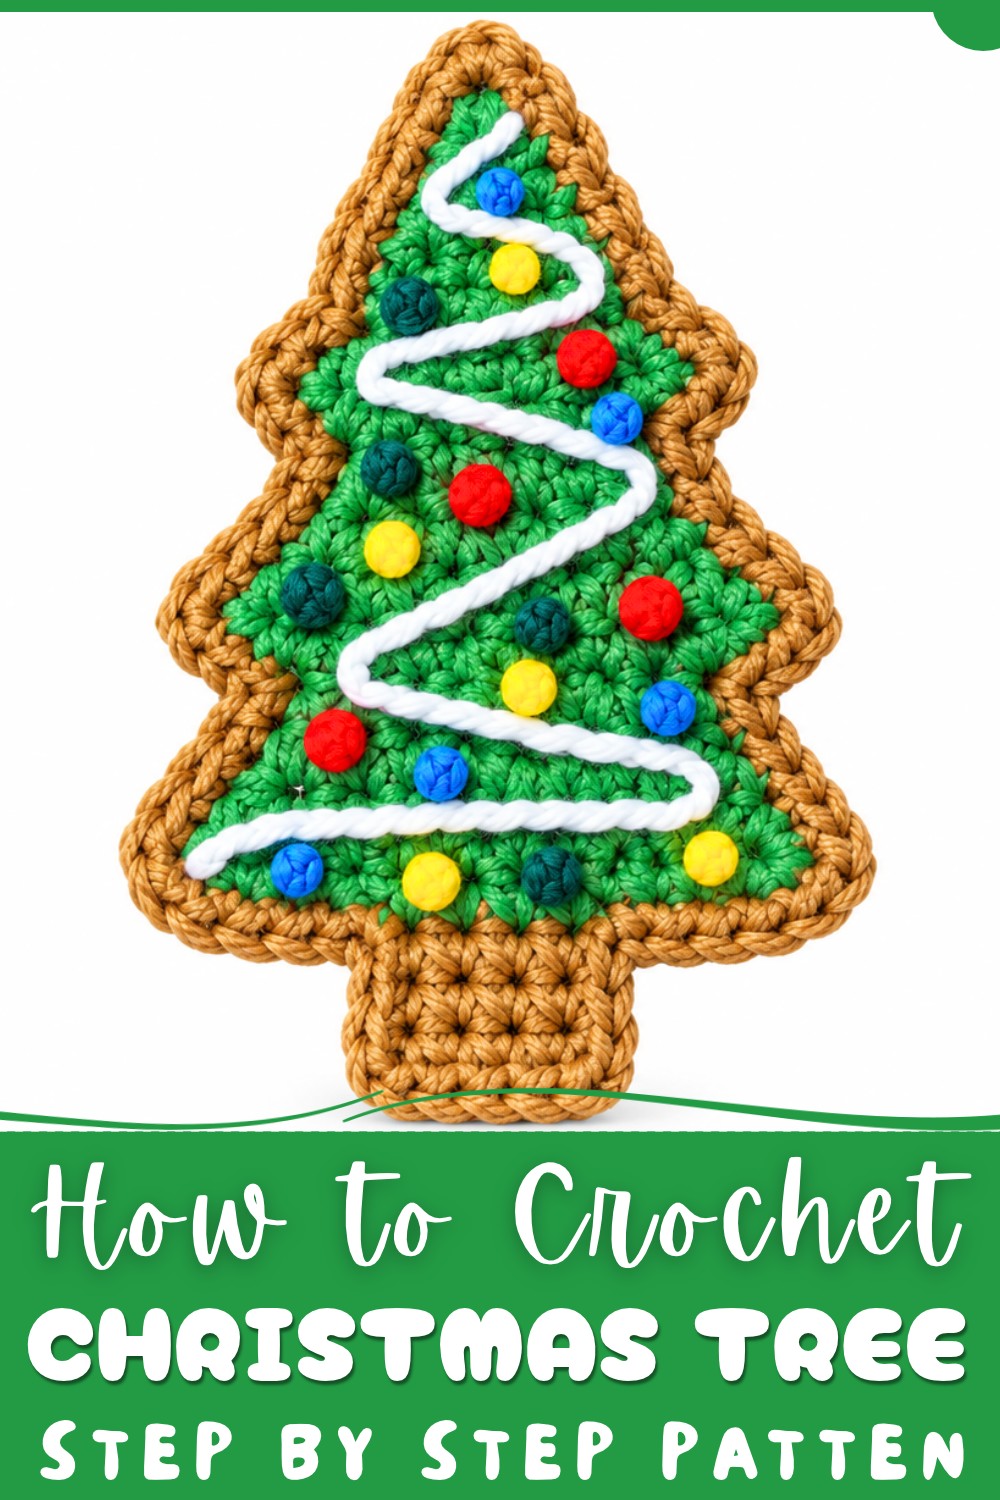
One lovely thing about this tree is how easily it can fit into different Christmas settings. Its green branches and colorful details give it a festive look, helping you add a little holiday happiness wherever you place it.
Crochet Christmas Tree Cookie Pattern
About the Pattern
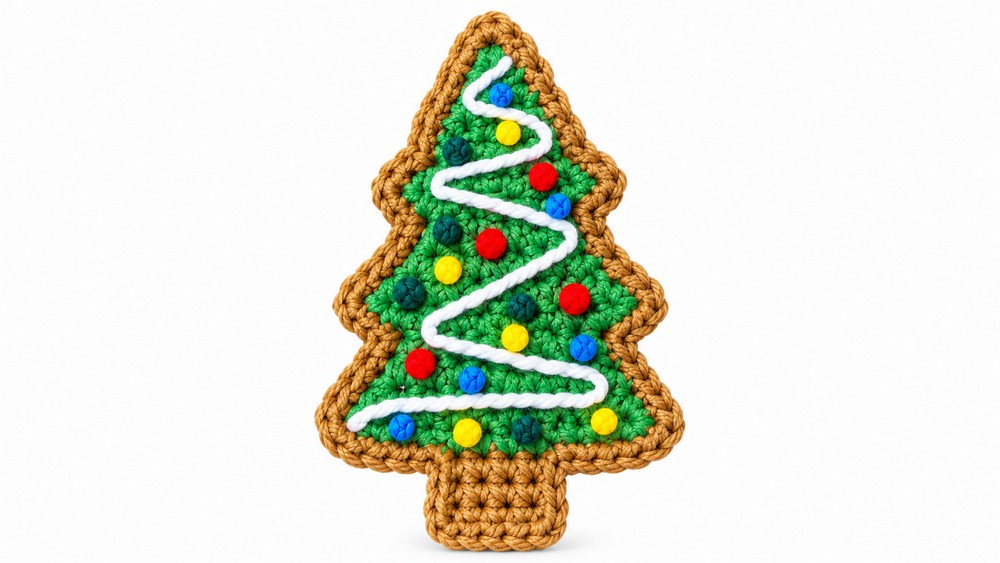
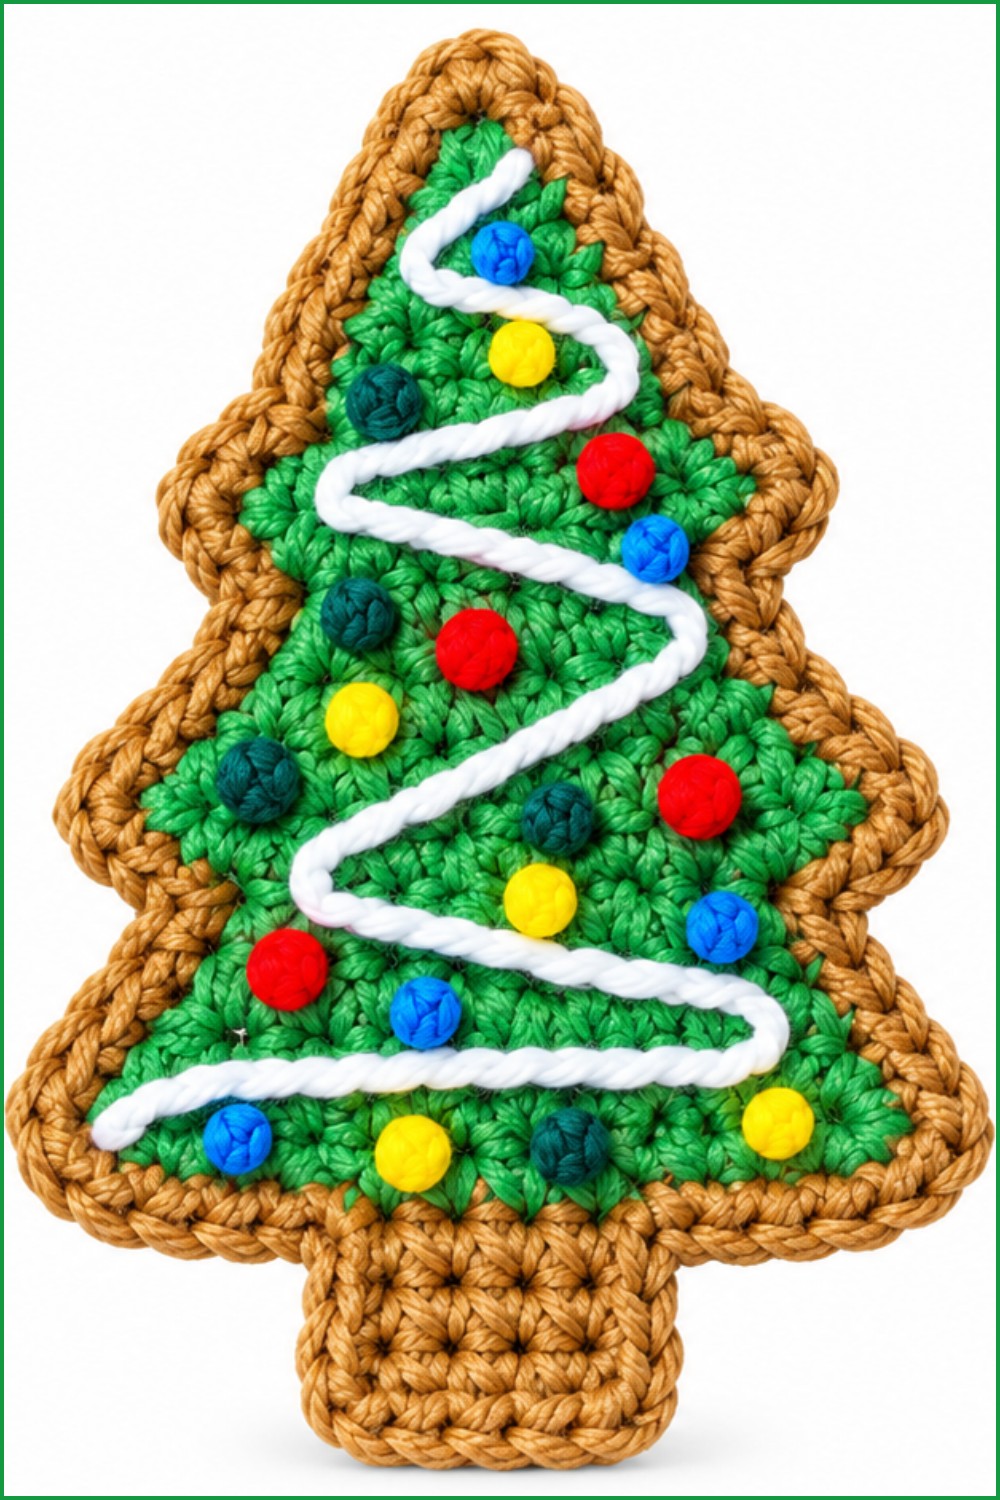
The Christmas Tree Cookie pattern is worked flat and features a layered tree silhouette with decorative picots, ornamental embroidery, and a stitched trunk. Two identical panels form the cookie’s padded, slightly plush shape when joined together. Surface stitching is used to emphasize the festive details, incorporating icing lines and tiny “ornament” knots. The entire edge is finished with a crisp, chain-stitched border, capturing the irresistible charm of a hand-decorated holiday treat.
Pattern at a Glance
- Tree Shape: Worked in rows from tree tip to base, with branches created through increases and decorative picots placed at regular intervals.
- Trunk: Incorporated directly after completing the tree body, seamlessly transitioning from green to brown yarn.
- Finishing Touches: Icing and ornaments are applied after the crocheting for a festive look.
- Assembly: Both panels are joined with decorative stitching, resulting in a lightly stuffed, display-ready tree.
Important Notes
- The pattern uses basic crochet stitches but requires attention to turning chains, increases, and keeping edges aligned.
- Picots signal the “branch tips,” offering both structure and visual detail.
- Embroidery is best worked before final assembly for the neatest appearance.
- Finishing with a chain border stabilizes the tree’s edge and prevents stretching or distortion.
Difficulty Level
- Advanced Beginner: Anyone familiar with double crochet, increases, slip stitch, basic embroidery, and working flat shapes will find this an enjoyable, accessible project.
Supplies Needed
- Worsted weight yarn in green (tree), brown (trunk), white (icing), various brights (ornaments)
- 3.5–4 mm crochet hook
- Yarn needle (for embroidery and joining)
- Scissors
- Small amount of fiberfill/yarn scraps (optional, for slight padding)
- Stitch markers (optional, for keeping track of rows)
Size & Measurements
- Finished cookie measures approximately 10–12 cm (4–5 inches) tall and 7–9 cm (3–3.5 inches) wide, depending on yarn and hook.
Gauge & Stitch Details
- Gauge is not essential, but stitches should be worked tightly enough so embroidery doesn’t distort the fabric and stuffing (if used) does not show.
- Tree panels should be symmetrical; block gently if needed before assembling for best alignment.
Crochet Abbreviations
- ch – chain
- sc – single crochet
- dc – double crochet
- sl st – slip stitch
- inc – increase (2 dc in same stitch)
Special Stitch Guide
- Picot: ch 2, sl st in 3rd chain from hook. Used at branch tips for decorative effect.
- Increase (inc): Work 2 dc in the same stitch to widen tree branches at intervals.
- French Knot (ornament): With a tapestry needle, wrap yarn twice around the needle, then insert back into fabric; pull through to form a small raised “bauble."
- Blanket Stitch: Thread needle, go through both panels at edge, pull through but before tightening, pass needle through its own loop to begin decorative border.
Complete Crochet Pattern
Crocheting the Tree Shape (Make 2 Identical Pieces)
Row 1:
- Make a slip knot and ch 1, then ch 2 more (total 3).
- Dc 2 times into the 3rd ch from the hook. (You will have a small triangle: 3 total stitches.)
Row 2:
- Ch 2, turn.
- Inc (dc twice) in same stitch, then dc into the next two stitches (total 4 stitches).
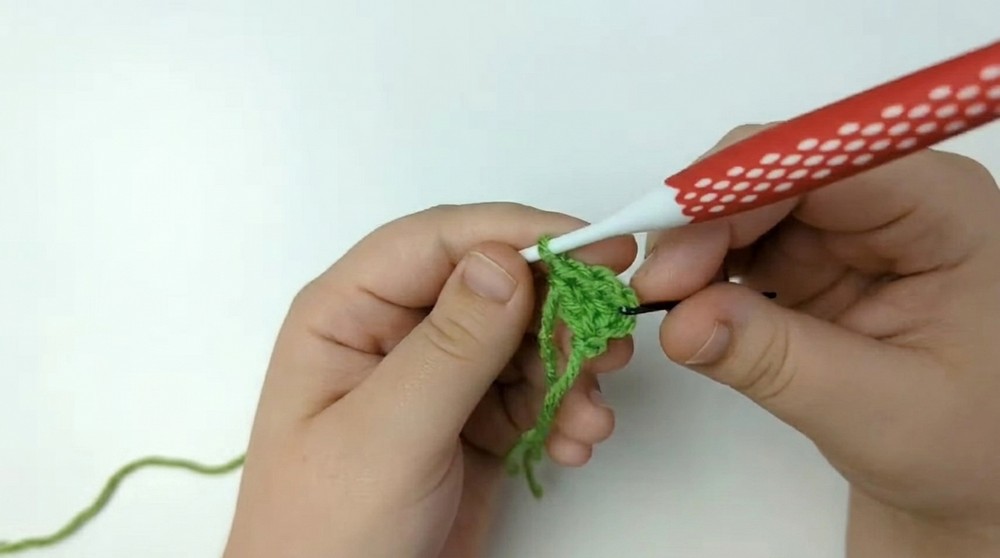
Row 3 (Picot Row):
- Ch 4, turn.
- Sl st into the 3rd ch from the hook to form a picot at tip.
- Dc twice (inc) in same st.
- Dc into next 3 sts.
- When you reach the final st, create another picot (ch 2, turn, sl st into 3rd ch).
Row 4:
- Ch 2, turn.
- Inc (dc twice) in same st, dc in next 4 sts. (5 total stitches on row after increases.)
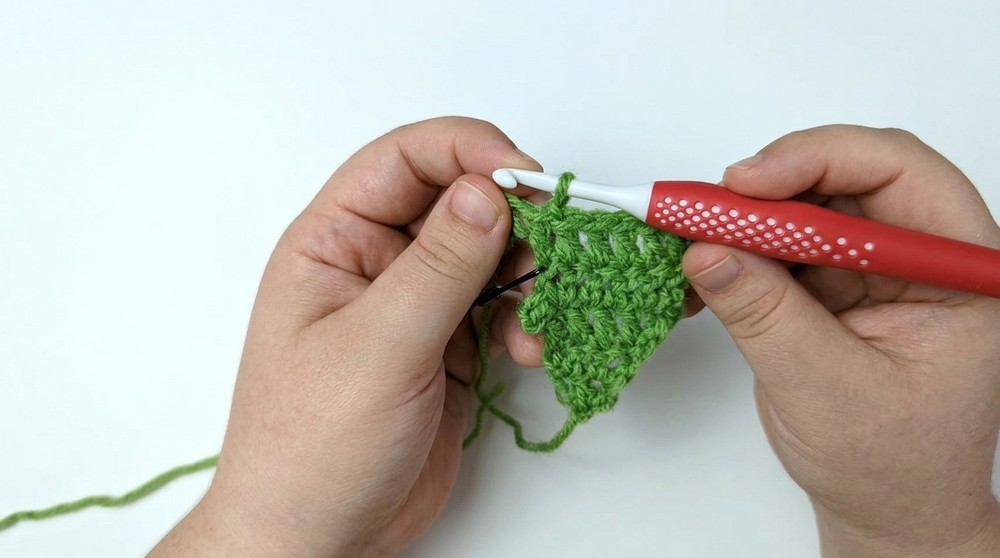
Row 5 (Picot Row):
- Ch 4, sl st into 3rd ch (picot), turn.
- Inc (dc twice) in same st, dc into next 5 stitches.
- At end, create picot as for previous picot rows.
Row 6:
- Ch 2, turn.
- Inc (dc twice) in same st, dc into next 6 sts.
Row 7 (Picot Row):
- Ch 4, sl st into 3rd ch, turn.
- Inc (dc twice) in same st.
- Dc into next 7 sts, create picot at end.
Trunk:
- Sl st into next two sts, on second sl st, switch to brown yarn.
- Ch 2, dc into next 3 sts. (Trunk is now formed.)
- Ch 1, sc into 3rd ch and next two sts to create a rounded trunk end.
Fasten off. Block pieces gently for symmetry as needed.
Assembly and Decoration
Edge Embroidery
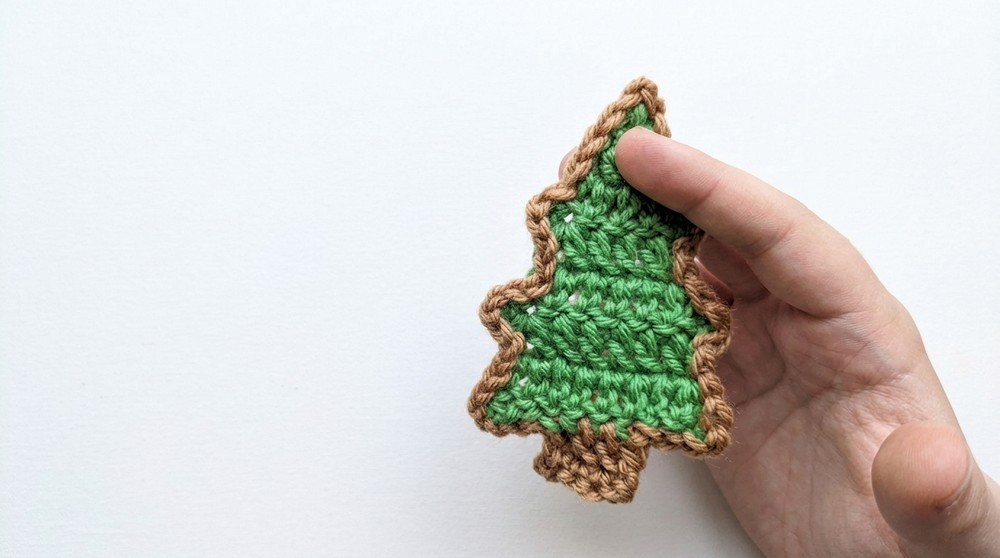
- Thread a yarn needle with green yarn (or the cookie's main color). Work a row of chain stitches (or lazy daisy stitches) right along the outermost edge of the tree for a crisp, piped-cookie look. This can be worked into the stitches or between post stitches around the tree.
Icing Line
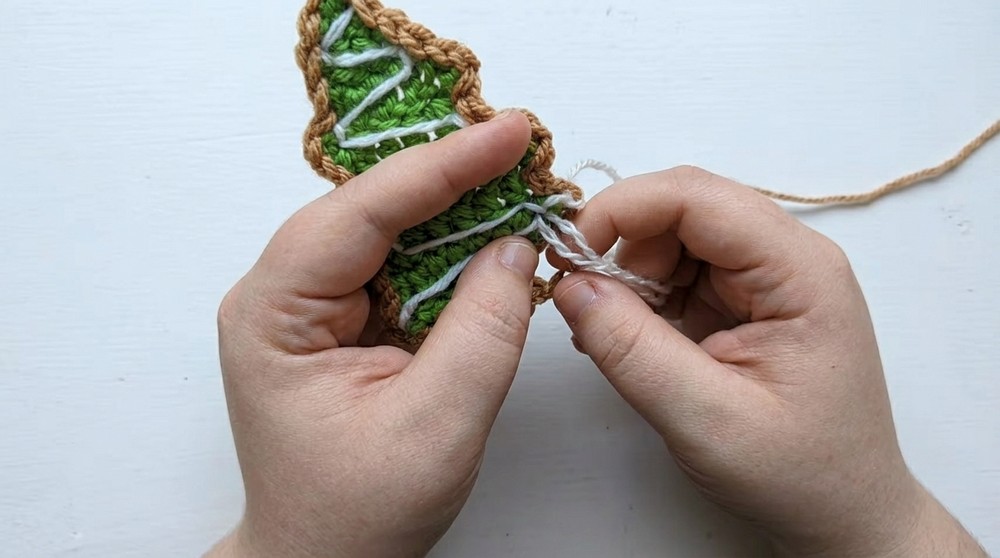
- With white yarn or embroidery floss, embroider a zigzag line down the center/front of the tree for a classic icing look. For more dimension, wrap the working yarn around the embroidered line a second time to thicken.
Ornaments
- Using scraps of brightly colored yarn, work French knots randomly across the tree surface to mimic baubles/ornaments. Vary the colors for a festive finish.
Joining the Panels
- Place the two tree pieces together, matching their edges perfectly.
- Using green yarn and the blanket stitch, sew around the shape’s edge. For a stuffed look, add a small amount of fiberfill or yarn scraps between the panels as you go, especially in the central part of the tree and the trunk.
- When completely joined, weave in and trim ends.
Assembly & Finished Size
The completed Christmas Tree Cookie stands upright with slight dimensionality and playful surface details. The edge stays firm, the ornaments and icing are securely attached, and the tree is equally attractive from both sides. Approximate size is 10–12 cm tall by 7–9 cm wide, making it well-suited for ornaments, gift embellishments, or decorative garlands.
Conclusion
This Christmas Tree Cookie design makes use of layered crochet shaping, decorative picot branches, and lively embroidery to produce a delightful and festive holiday project. The combination of a solid, flat base, color-contrasting trims, and individually crafted ornaments offers both durability and charm, resulting in a keepsake that brings the spirit of the season to life with every stitch.