Keep a little feline friend on your desk with the Crochet Cats Free Pattern, featuring sweet faces and small bodies in your favorite colors.
A small handmade animal can add personality to a space without taking up much room. The Crochet Cats is an appealing choice for anyone who prefers cute, simple figures with a neat finish. The idea is shared by @CrochetToysIryna, giving cat lovers another lovely yarn project to try. Its charming shape and delicate details give it a lifelike touch while keeping the overall appearance friendly and fun.
Adorable Crochet Cat Free Pattern To Decorate Your Room
One interesting feature of this cat is how its posture can affect its appearance. A slightly tilted head gives it an alert expression, while a gently curved back adds a natural touch. Narrow ears, a small chin, and carefully placed eyes help define its face. The body can be kept smooth with close stitches, allowing the outline to remain clear from every angle.
For a different appearance, you can use soft blue, warm ginger, or dusty purple yarn. Subtle color changes around the paws or chest can add contrast without making the figure too busy. Using the same stitch tension throughout helps the surface stay even, especially around the smaller sections.
This cat can be placed inside a decorative basket, displayed alongside miniature furniture, or given as a farewell present to a friend who loves animals. Its compact form also suits a small keepsake collection.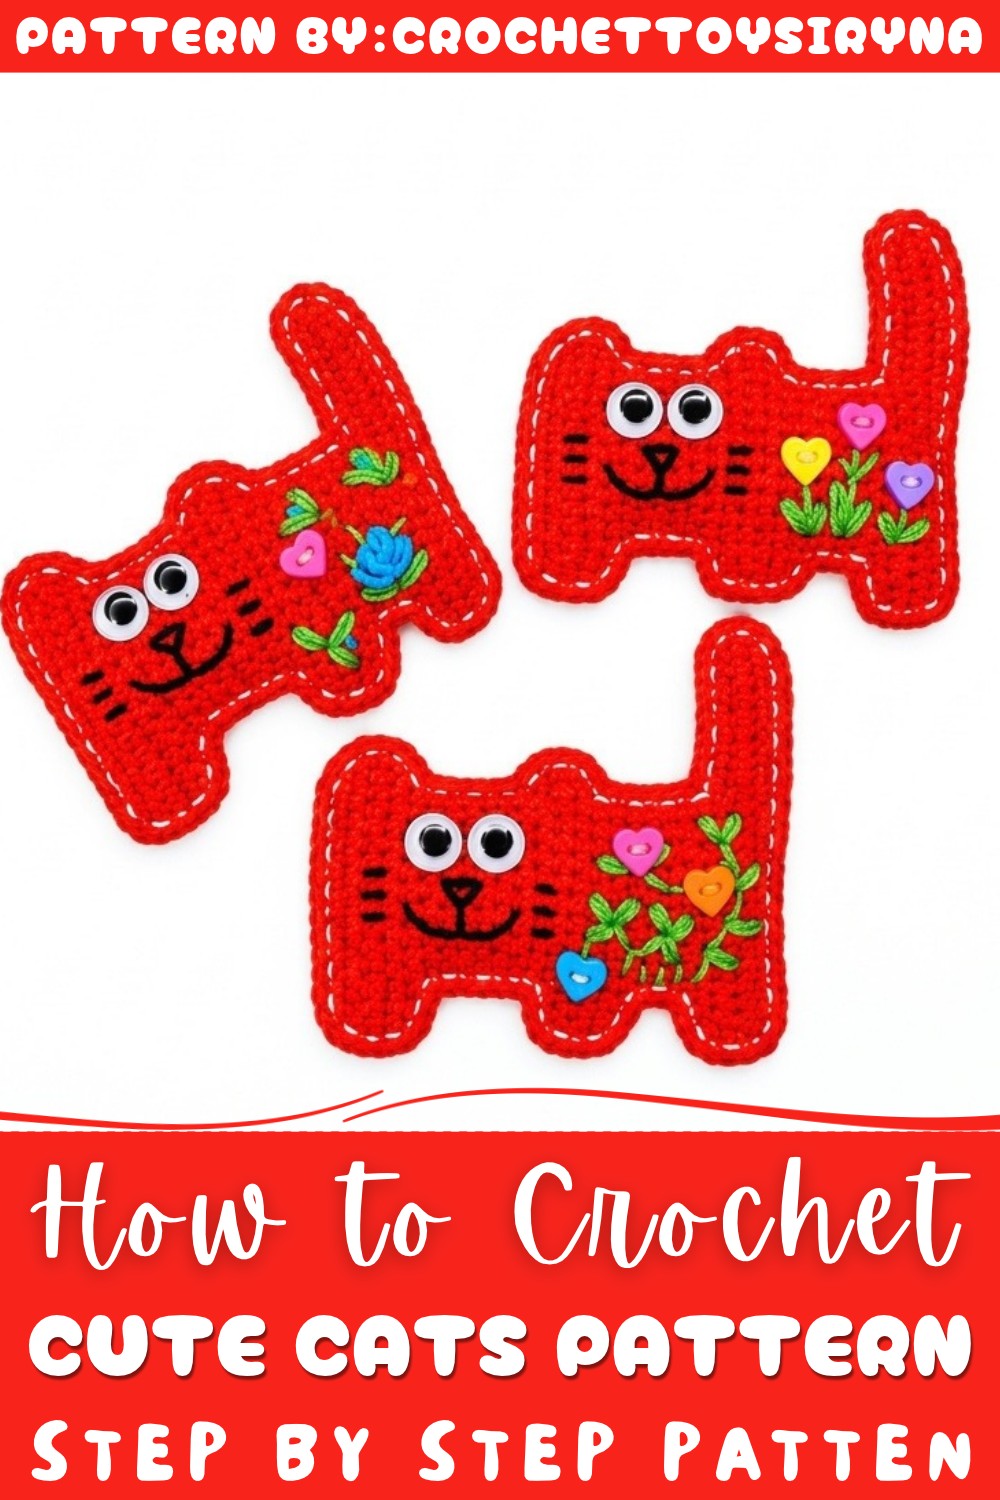
What gives this project its appeal is the balance between its uncomplicated shape and expressive details. Even a slight change in the ears, eyes, or posture can give the finished cat a distinct mood, turning an ordinary yarn figure into something memorable.
About the Pattern
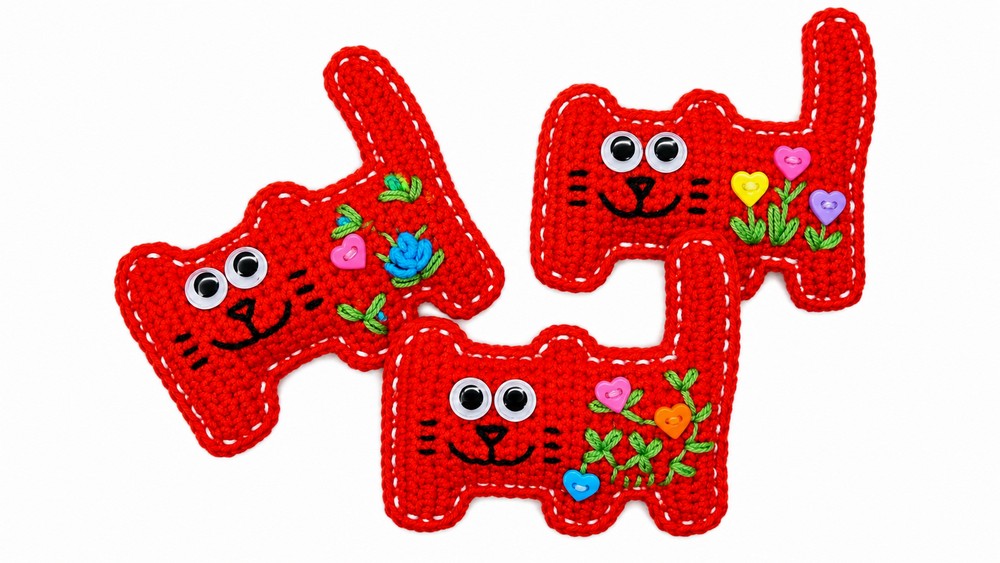
The flat-style cat toy is crocheted by joining two identical crocheted panels, carefully shaped to resemble a whimsical feline with distinct legs, ears, and a tail. This toy is firmly assembled and decorated, resulting in a playful yet robust companion suitable for children or as a lighthearted piece of décor. The project explores increases and decreases for shaping, basic embroidery, and seamless joining techniques. Its accessible construction and expressive finishing make the flat cat an engaging addition to any handmade collection.
Pattern at a Glance
- Structure: Two identical panels are crocheted and shaped, joined with single crochet, and partially stuffed for a soft but flat effect. Edge embroidery and expressive facial stitching bring personality.
- Techniques Emphasized: Chain foundation, working rows of single crochet, strategic increasing/decreasing for limbs and ears, panel joining, stuffing, embroidery, and securing decorative eyes.
Important Notes
- All shaping steps are incorporated into the body rows rather than worked separately. Follow the shaping phase details precisely for clean lines.
- When joining panels, stuff extremities as you go. This prevents gaps and ensures defined features.
- Use child-safe, strong glue for attaching plastic eyes; allow ample time to set.
- Embroidery uses contrasting yarn for decorative edge and facial details.
- Weave ends inside before joining for a neat finish.
Difficulty Level
Advanced Beginner to Intermediate – Requires flat crochet, shaping via increases/decreases, basic embroidery, panel joining, and stuffing.
Supplies Needed
- Worsted weight yarn in main cat color
- Contrasting light-colored yarn for decorative edge and facial embroidery
- 3.5 mm crochet hook
- Fiberfill or polyester stuffing
- Small amount of black and pink yarn/thread for face
- Moving plastic eyes (or alternatives)
- Strong craft glue
- Yarn needle for sewing and embroidery
- Scissors
Size & Measurements
- Finished flat cat: ~22 cm (8.5 inches) long (including tail)
- Body width: ~14 cm (5.5 inches)
- Flat thickness: ~3 cm (1 inch) at stuffed parts
Gauge & Stitch Details
- Row gauge: 26 SC in 10 cm (4 inches), 12 rows in 10 cm (4 inches)
- Maintain even tension; loose stitches result in larger, floppier toy, tighter stitches yield firmer shape
Crochet Abbreviations
- ch: Chain
- SC: Single Crochet
- inc: Increase (2 SC in one stitch)
- dec: Decrease (sc 2 together)
- st(s): Stitch(es)
- turn: Turn work
- RS/WS: Right Side / Wrong Side
Special Stitch Guide
- SC: Insert hook, yarn over, pull through, yarn over, pull through both loops.
- inc: Work two SC in same st.
- dec: Insert hook in next st, yarn over, pull up loop, insert hook in following st, yarn over, pull up loop, yarn over, pull through all loops.
Complete Crochet Pattern
Main Body Panel (Repeat for 2)
Starting Chain:
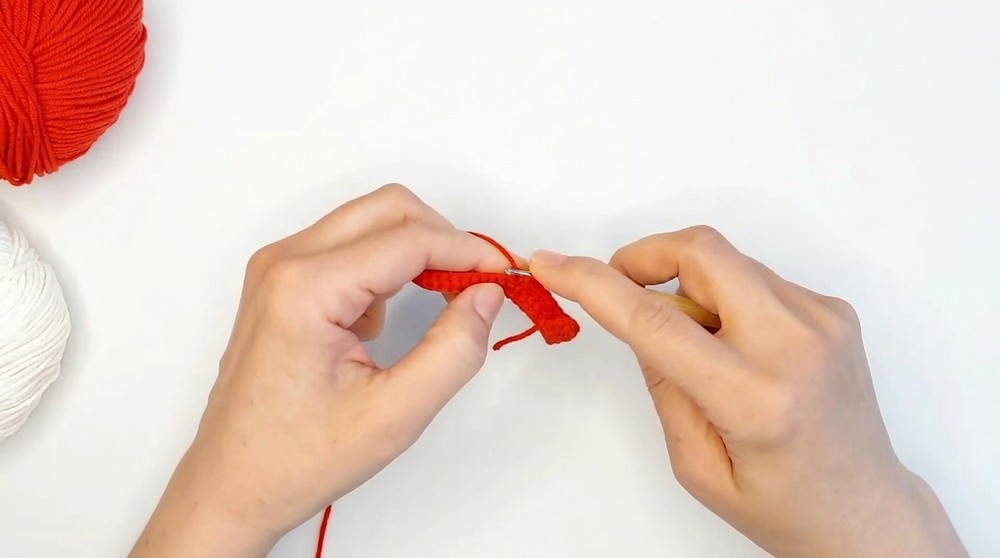
- ch 27.
Foundation Row:
- Beginning in second chain from hook, work 26 SC across. Turn.
Row 2:
- ch 1, work 26 SC across, turn.
Shaping Phase
Work shaping for tail, legs, body, head, and ears as follows:
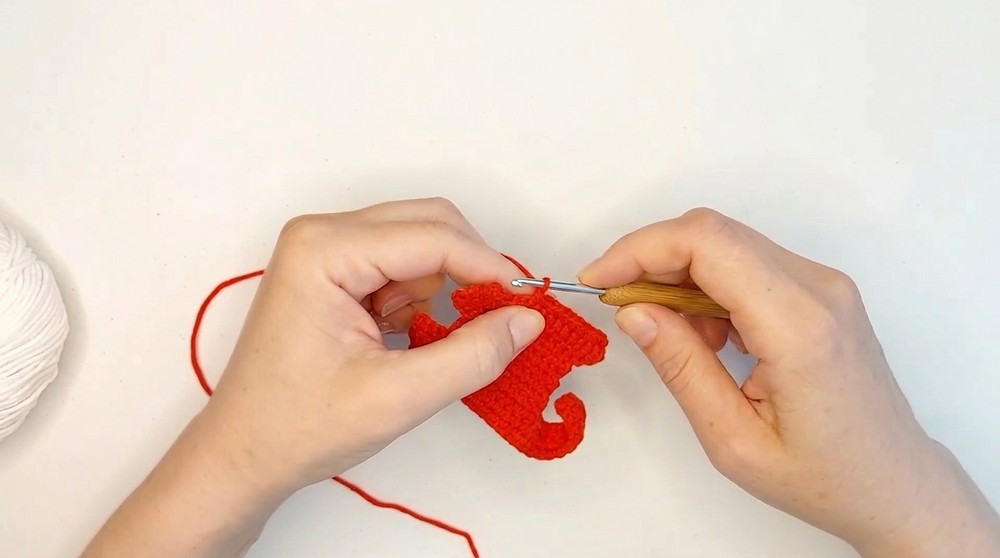
Tail and Lower Body Shaping (Rows 3–9):
- For tail: On one end of work, begin with inc over first 2 sts, SC across, at opposite end, inc in last 2 sts.
- Over several rows, continue increasing tail length by working SC or inc at the curve end.
- For legs: From center out, within a few rows begin decreasing (using dec) strategically at leg positions to define paws; alternate with SC as per shaping guidance and maintain overall stitch count for symmetry.
Upper Body and Head Shaping (Rows 10–18):
- Shape head by working regular SC in center, increase at head corners (inc), decrease at neck positions (dec).
- For ears: In last series of rows, work inc at ear tips, dec near ear bases to create triangular projections.
- Refer to shaping sequence: Tail and lower body (Rows 3–9); upper body and head (Rows 10–18).
Final Rows:
- Even out stitch count if needed. Fasten off, leaving ends for weaving.
Assembly and Finishing
Preparation:
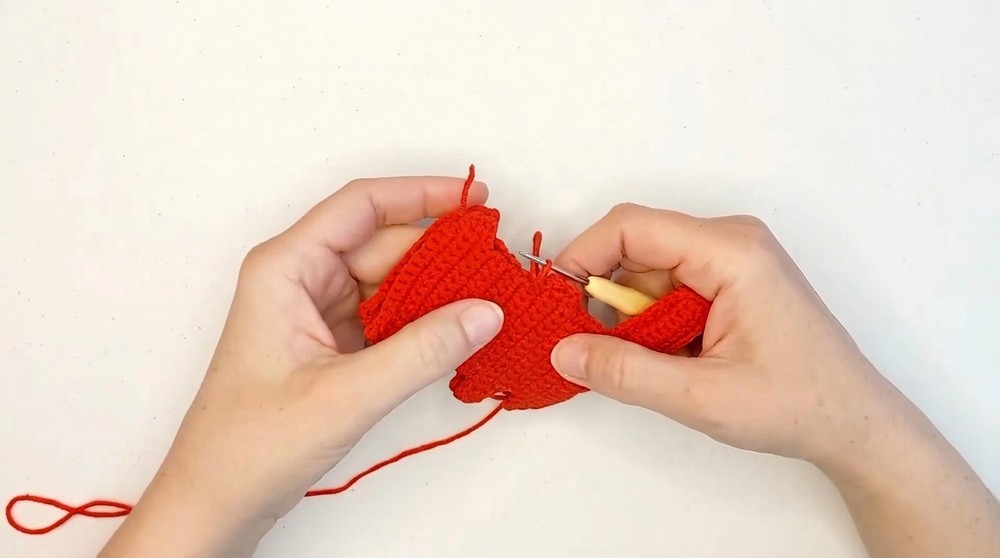
- Weave in all yarn ends so they are hidden inside the panels before joining.
Joining:
- Align two panels RS out, matching shape precisely.
- With main yarn color, attach hook at base of tail.
- SC around entire perimeter, inserting hook through both panels to join.
- Pause at each extremity (tail, ears, legs) and stuff lightly with fiberfill before closing further (do not overstuff; keep flat effect).
- At main body, stuff gently before final closing.
Edge Detail:
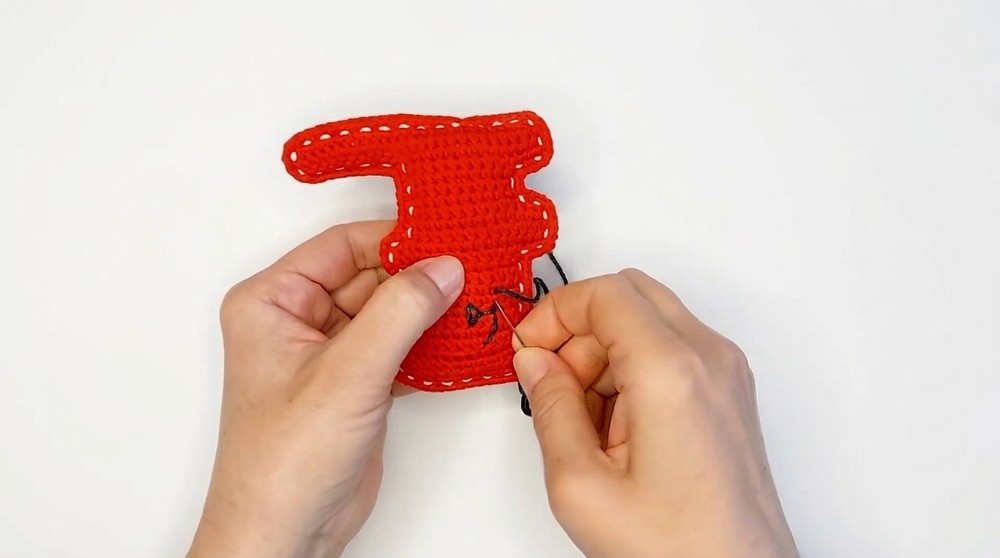
- With contrasting light-colored yarn, embroider a decorative border along the SC-joined edge using simple running or blanket stitch for accent.
Facial Features:
- With contrasting yarn or thread, embroider nose (pink), mouth (black), and whiskers near the center of the head.
- Use tight, well-anchored stitches for durability.
Decoration & Eyes:
- Add optional decorative embroidery as desired for cheeks or patterns.
- Apply strong glue to moving plastic eyes and position just above embroidered nose.
- Place a gentle weight on eyes while glue dries to ensure they set firmly and securely.
Assembly & Finished Size
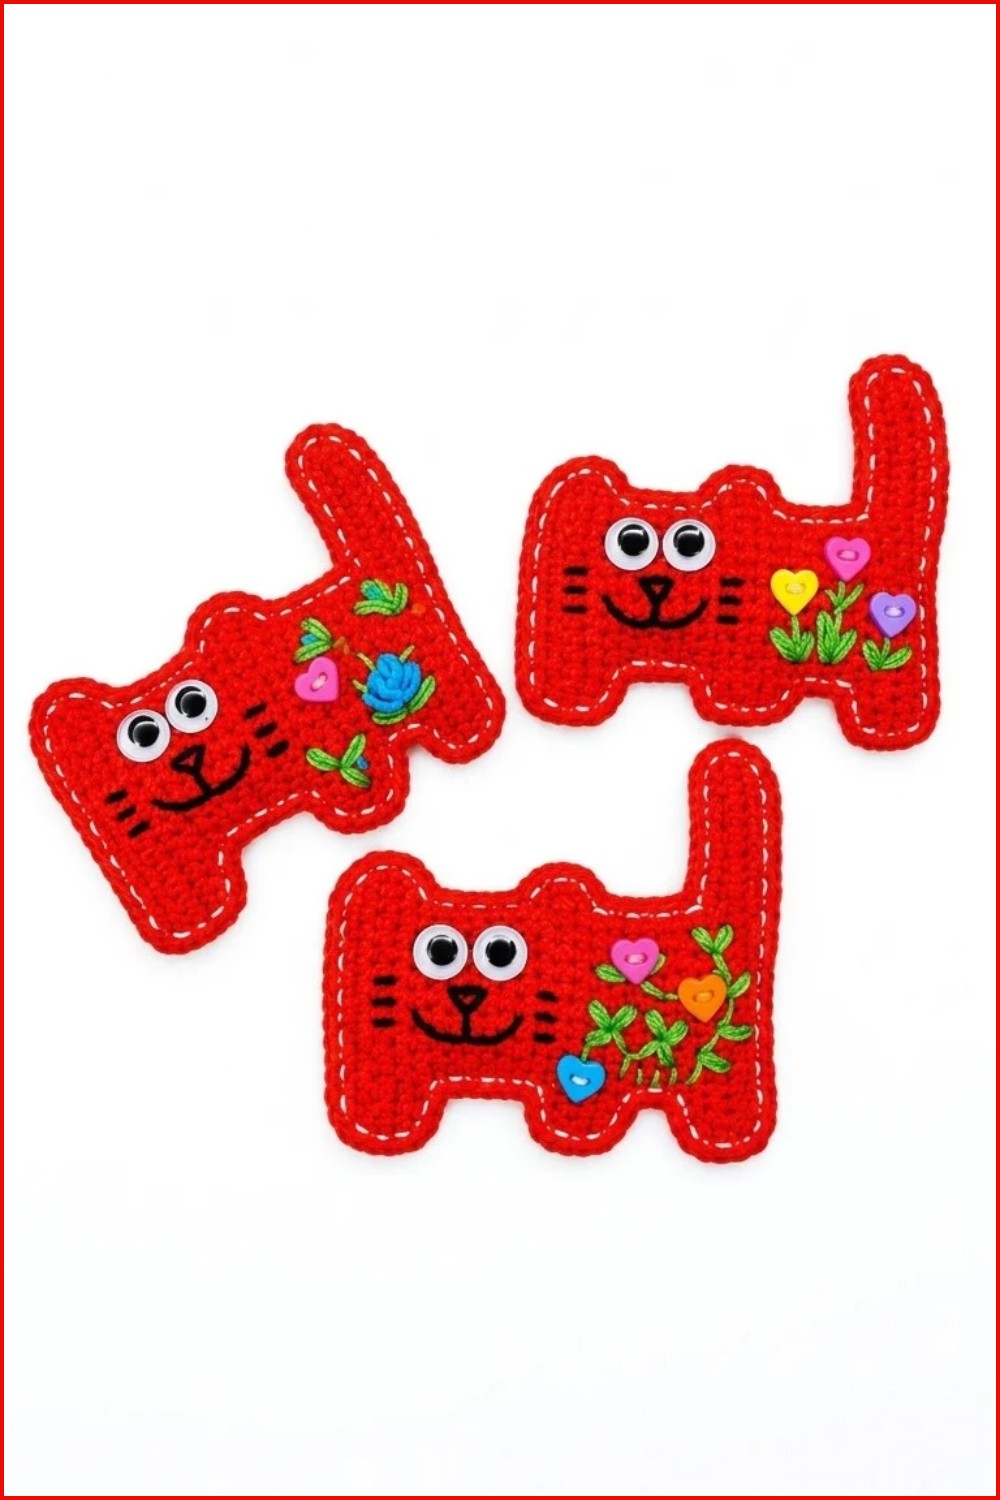
Both panels should align with no visible gaps. The stuffing provides gentle volume at the extremities and center, while the border and facial features create a cheerful, expressive look. Eyes should be firmly attached and safe for play.
Conclusion and Ending Words
The flat-style cat toy pattern combines straightforward crochet techniques with creative shaping and decorative detailing. Its assembly method yields a clean, durable toy, made lively through expressive embroidery and safe eyes. This project offers satisfaction in both the process and the result, serving as a gift, playmate, or whimsical décor. Adapt yarn colors or facial features as desired to impart unique personality to each finished cat toy.