Refresh your bag collection while using this free crochet puffy flower bag pattern that's designed to showcase lovely floral accents with puffy dimension.
Want to add a touch of handmade charm to your accessories? The Free crochet Puffy Flower Bag Pattern is a delightful project that lets you create a stylish and practical bag. Shared by the inventive channel WOWSUPRAVA, this pattern offers simple steps to make a bag full of floral beauty and texture.
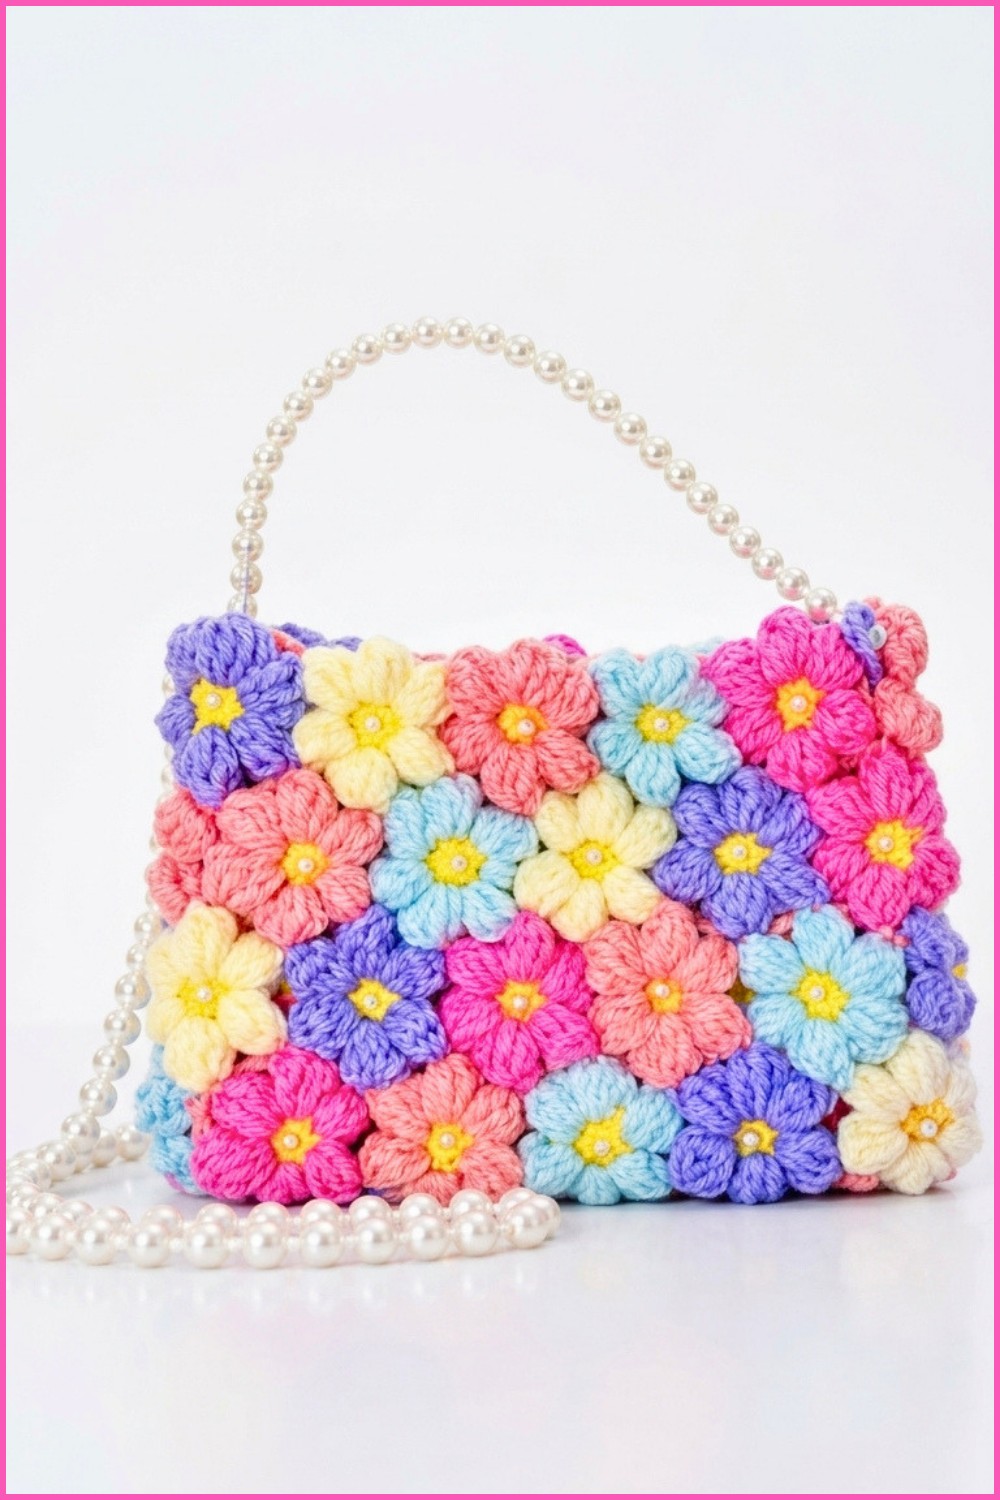
The bag features soft, puffy flowers that give it a unique 3D effect. Its rounded shape holds your essentials comfortably, making it perfect for everyday use or casual outings. The vibrant flowers and cozy texture add a playful yet elegant style, ensuring your bag stands out in any crowd.
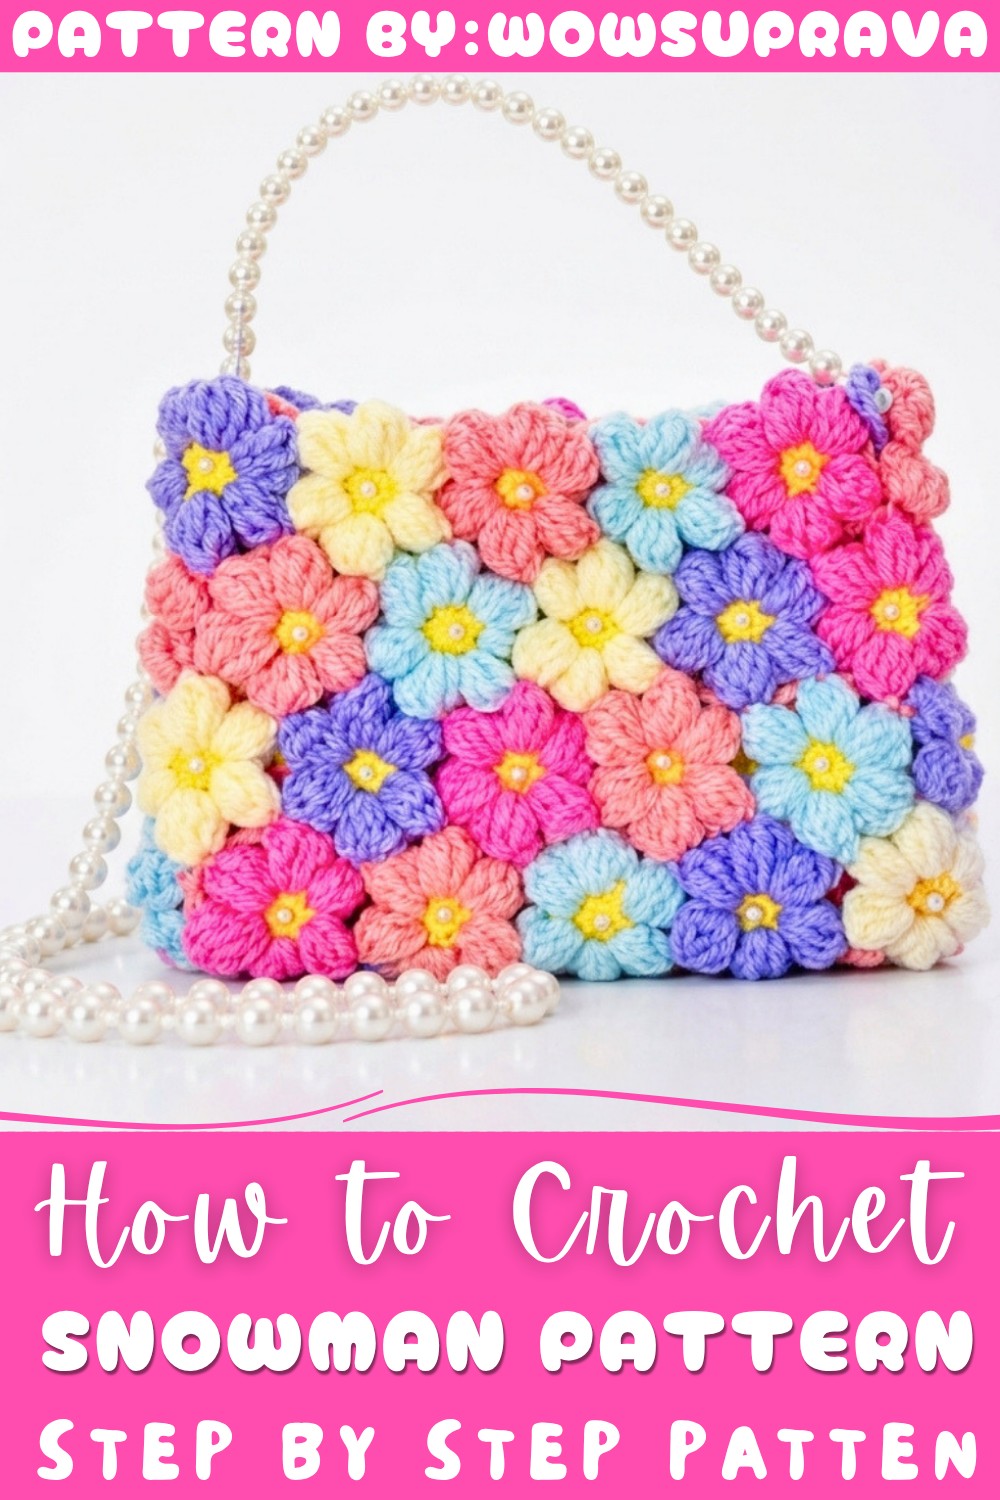
How to Crochet Puffy Flower Bag - Step by Step Free Pattern
With its decorative appeal and thoughtful design, this crochet bag also makes a wonderful gift. The handmade flowers bring charm and warmth, turning a simple accessory into a cherished keepsake. It’s a practical way to carry your belongings while showing off your creativity.
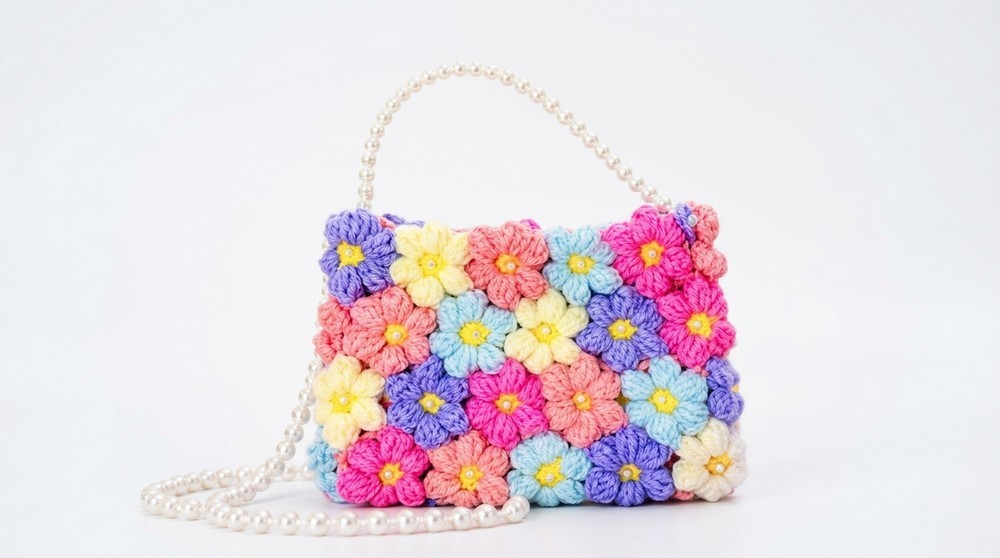
Creating the Free crochet Puffy Flower Bag Pattern from WOWSUPRAVA is an enjoyable journey toward a lovely, functional accessory. The standout floral texture and comfy style make this bag a perfect blend of beauty and usability that’s sure to brighten your day or delight someone special.
Viral Puffy Flower Bag Crochet Pattern for Beginners
This beginner-friendly pattern will guide you to create a beautiful Viral Puffy Flower Bag decorated with raised puff flowers and elegant pearl embellishments. The bag is made of multiple crochet flower motifs joined together. Each flower features a small circular base with soft puffy petals. The motifs are connected to form the bag’s body, finished with a pearl-adorned strap.
Materials Needed
- Yarn: 100% acrylic yarn in multiple colors (for flower petals and base).
- Crochet Hook: 3.5 mm.
- Pearls: Two sizes of beads (small for strap, large for flower centers).
- Tools: Scissors, sewing needle, craft glue.
- Optional: Thin wire for threading pearls on the strap.
Skill Level
- Basic understanding of these stitches:
- Chain (ch)
- Single Crochet (sc)
- Slip Stitch (sl st)
- Incomplete Double Crochet (inc dc) (used in puffy petals; instructions provided)
- Familiarity with working in rounds and joining motifs.
- Basic skills in sewing and attaching embellishments.
Stitch Abbreviations
| Abbreviation | Meaning |
|---|---|
| ch | Chain |
| sc | Single Crochet |
| sl st | Slip Stitch |
| inc dc | Incomplete Double Crochet (puff stitch) |
| MR | Magic Ring |
Special Stitches
Magic Ring (MR)
Create a loop and work stitches inside it, then pull tight to form a closed center ring. This method creates a neat starting point for circular motifs.
Incomplete Double Crochet (inc dc) — Puffy Stitch
- Yarn over and insert hook into the stitch or chain space.
- Yarn over again and pull through only partially (two loops remain on hook).
- Repeat this step multiple times (5 times in this pattern) into the same stitch or space, leaving multiple loops on the hook.
- Yarn over and pull through all loops on the hook at once to finish the puffy cluster stitch.
Step-by-Step Crochet Pattern
Step 1: Creating the Flower Base
- Start with a magic ring (MR).
- Work 6 single crochet (sc) stitches inside the ring evenly spaced.
- Pull the ring tight to close the center.
- Join with a slip stitch (sl st) to the first single crochet to finish the round.
- Fasten off the yarn or prepare to continue with petals.
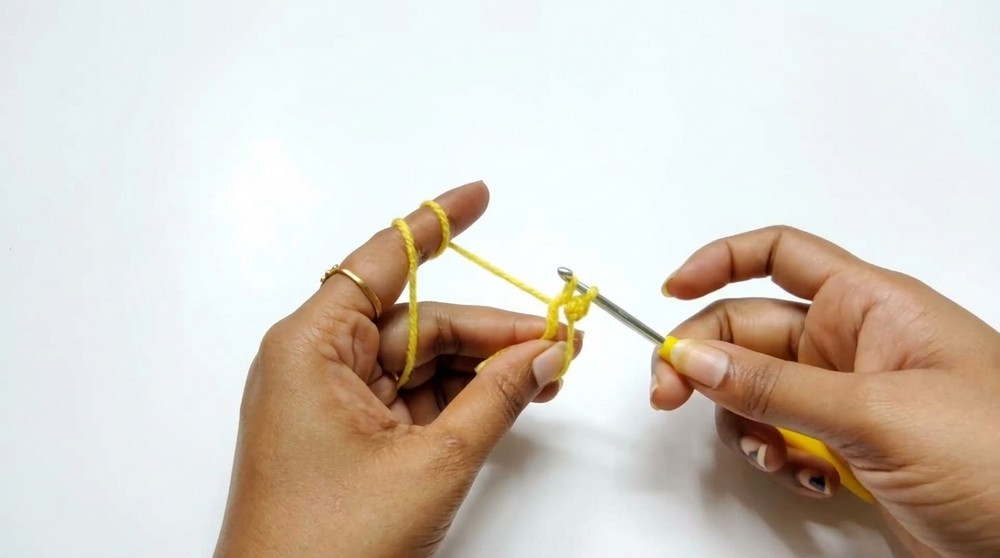
Step 2: Making the Puffy Flower Petals
- Attach new yarn color to any stitch on the flower base.
- For each petal (repeat 6 times):
- Chain 3 to form the height of the petal.
- Work 5 incomplete double crochet (inc dc) stitches into the same stitch or space to make a puffed cluster.
- Chain 3 again after the puff cluster.
- Make a slip stitch (sl st) into the same stitch or space to close and secure the petal.
- After completing 6 petals around the base, fasten off and hide yarn ends neatly.
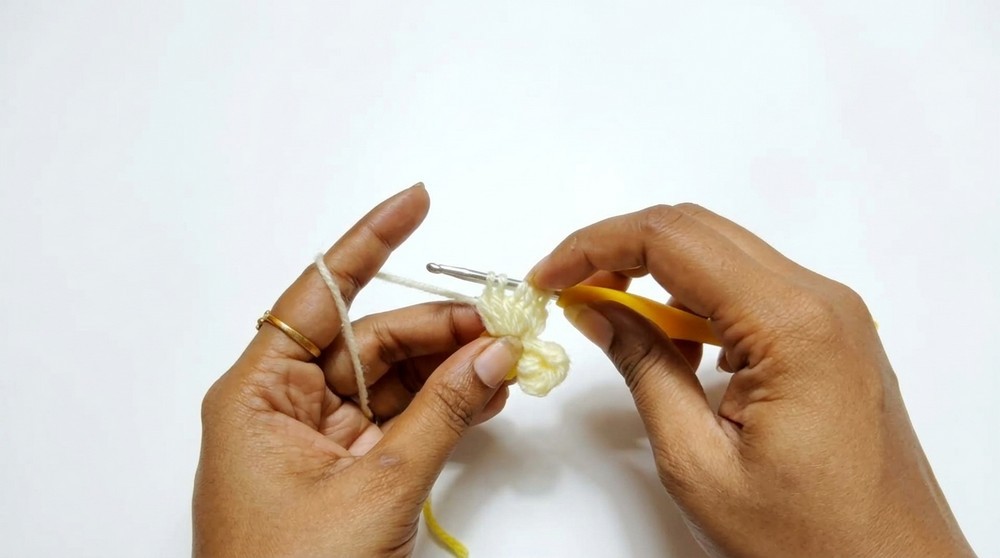
Step 3: Making 40 Flower Motifs
- Repeat Step 1 and Step 2 to make 40 flower motifs in your chosen color pattern.
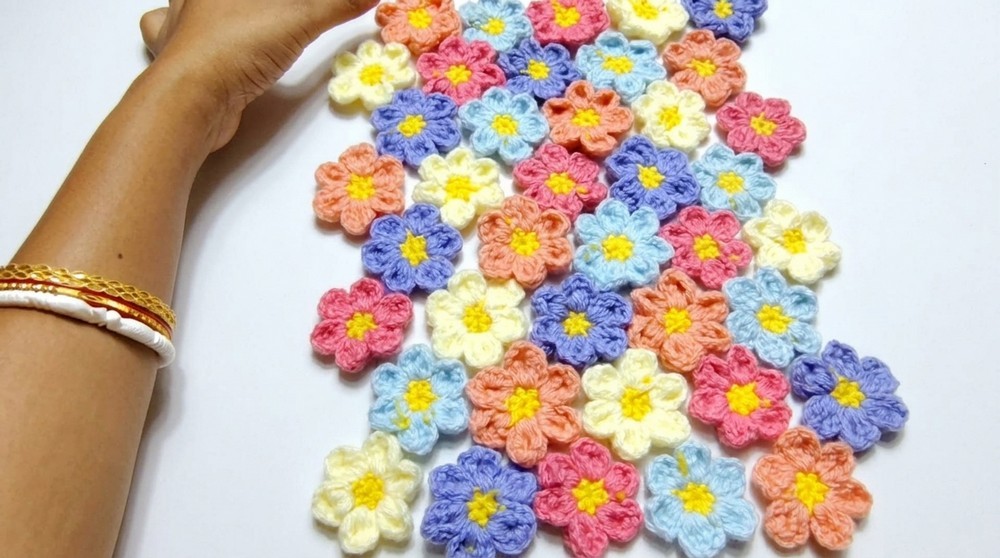
Step 4: Joining Flowers to Create Bag Body
- Arrange your flowers in an alternating color pattern for a vibrant look.
- Join flowers by connecting the middle chain of adjacent petals using slip stitches (sl st):
- Use 6 chains between joins in the first row to space flowers correctly.
- For following rows, use 5 chains spacing for consistency.
- Connect petals from 3 flowers together where they intersect to secure the structure.
- Repeat this joining process until you have 8 rows forming the bag’s body.
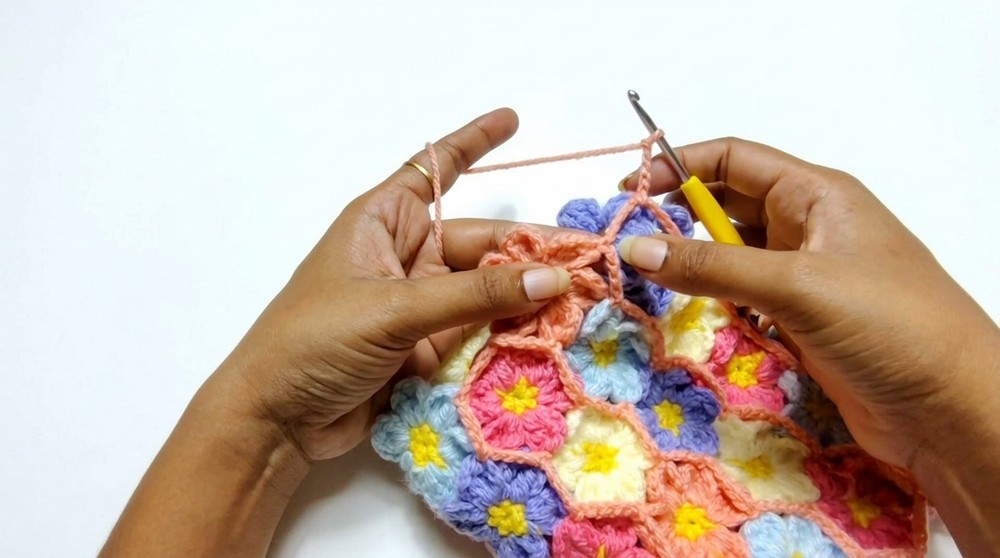
Step 5: Finishing the Edges
- Work a final border around the top edges by crocheting a slip stitch chain pattern to smooth and secure the edge.
Step 6: Creating the Strap
- Make a yarn strap by braiding or linking yarn, adjusting to desired length.
- Thread small pearls along the strap using thin wire or by threading onto yarn before braiding.
- Secure the strap ends with tight knots.
Step 7: Attaching Embellishments
- Use craft glue to stick large pearl beads into the center of each flower for decoration.
- Wait for the glue to dry completely before using the bag.
Assembly & Finished Size
- The finished bag measures roughly 30-35 cm wide and 25-30 cm tall (12–14 x 10–12 inches), depending on yarn and tension.
- The soft puff petals add volume and texture while the chain joins create an airy, lightweight structure.
- The pearl-adorned strap heightens the bag’s elegance and durability.
Conclusion
You’ve learned how to make a stylish Viral Puffy Flower Bag step by step with clear instructions tailored for beginners. The combination of magic rings, puff petals, and slip stitch joins creates a textured, vibrant bag full of personality. Adding pearls gives a classy finishing touch to your handmade accessory. This pattern offers a fun, creative project while sharpening essential crochet skills.