Enhance hair accessories through this free crochet pencil hair bow pattern that's offering a fun way to add subtle elegance and unique detail.
When looking for a charming and creative project to add a special touch to your accessories, a Free crochet Pencil Hair Bow Pattern is a delightful choice. The folks at WOWSUPRAVA really put together a simple and fun tutorial that makes crocheting this petite bow enjoyable for everyone. This pencil-shaped hair bow is more than just an accessory, it serves as a thoughtful gift or a playful decorative piece that brightens up any hairstyle.
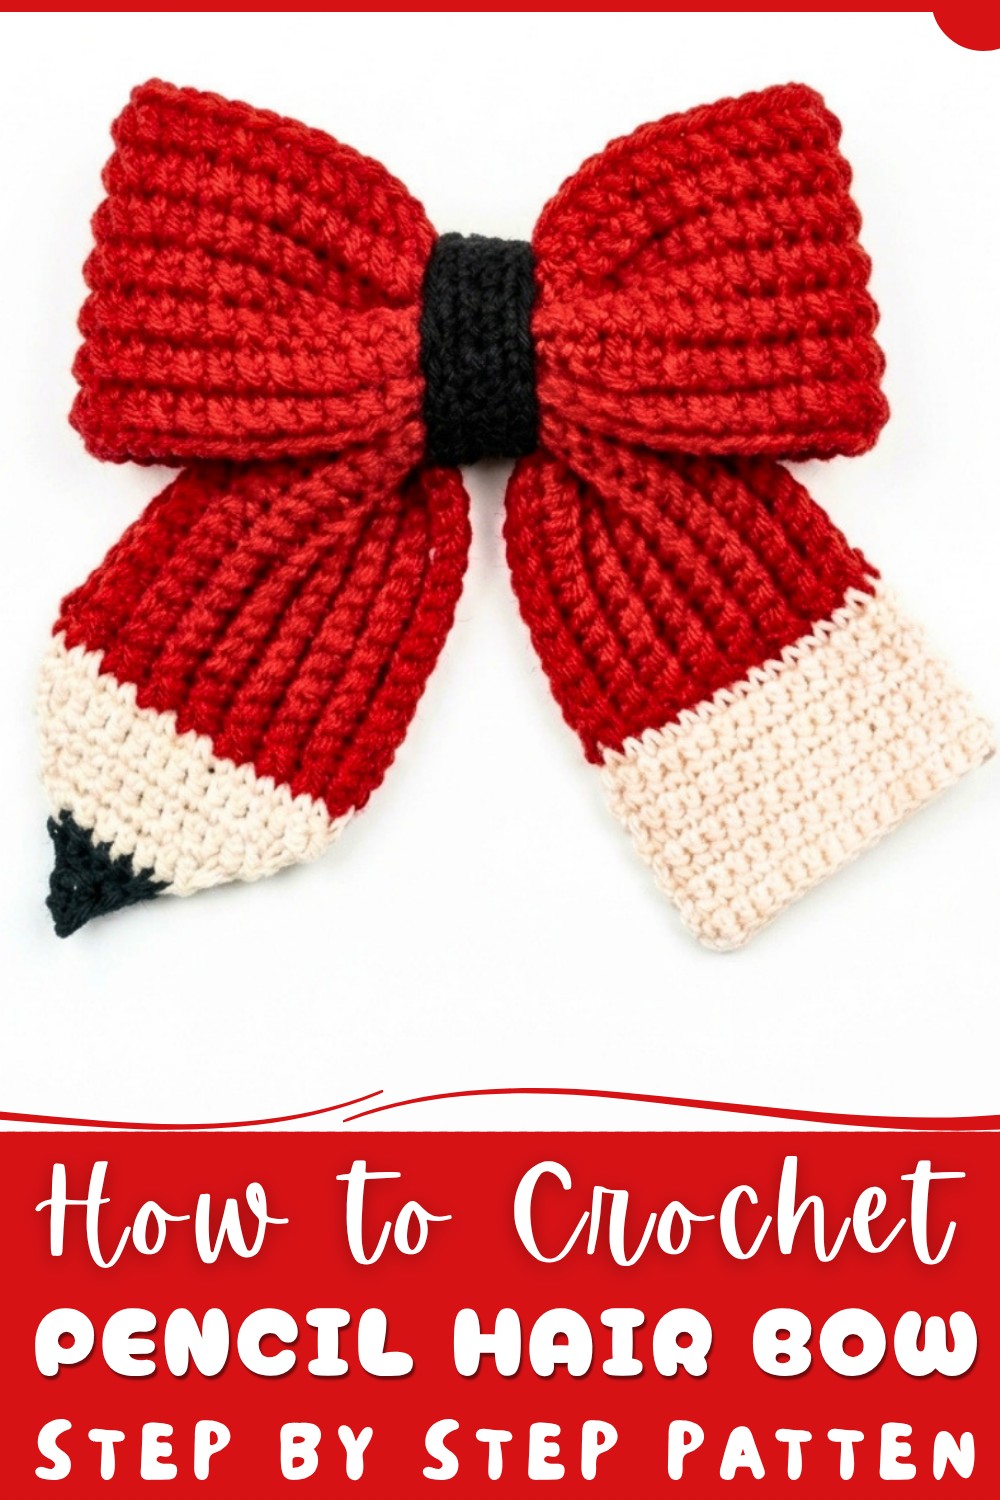
Pencil Hair Bow Free Crochet Pattern for Gift Giving
This project results in a beautifully textured crochet bow that mimics the whimsical look of a brightly colored pencil. Its neat shape and eye-catching design make it stand out among typical hair accessories. The soft yarn gives the bow a cozy feel, while the vivid colors add a lively pop, perfect for kids and adults alike. The bow's lightweight style ensures comfort while wearing it, making it easy to clip onto hair or even onto bags and clothes.
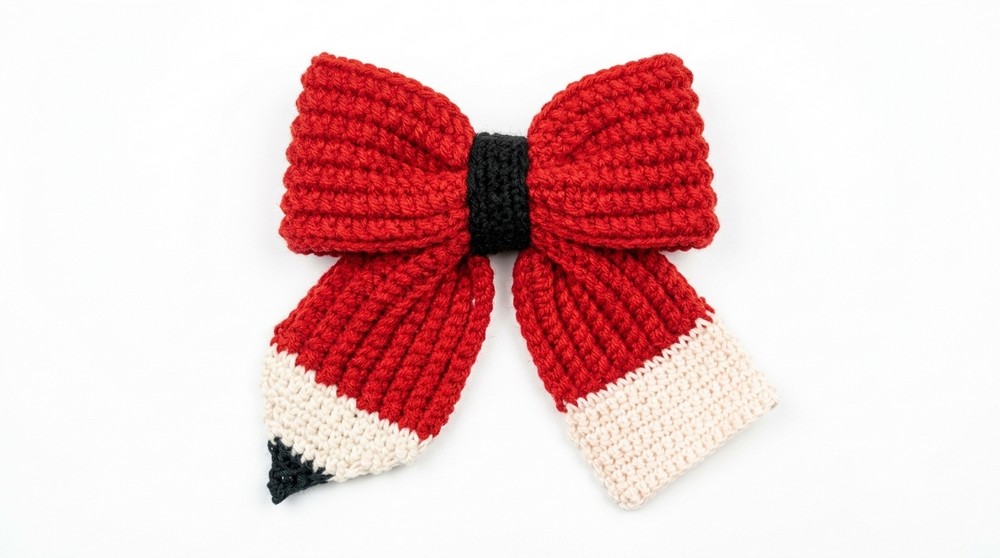
Beyond its aesthetic appeal, the pencil hair bow holds great value as a handmade gift, showing care and creativity. It’s a practical accessory that blends style with fun, suitable for everyday wear or special occasions. This free crochet pattern invites crocheters of all skill levels to enjoy the satisfaction of making something unique and adorable, all thanks to the clear guidance from the creative mind behind WOWSUPRAVA.
Crochet Pencil Bow Pattern
This detailed tutorial provides step-by-step instructions to crochet a charming pencil-shaped bow perfect for back-to-school accessories. The bow is delicate, wearable, and easy to create using amigurumi yarn in four complementary colors. The finished accessory can be attached to a hair clip or a headband, offering a versatile embellishment for hair or gifts. Following this guide will ensure a neat and professional-looking bow, crafted with precision and care.
Quick Overview Of Pattern
The crochet pencil bow consists of two rectangular crocheted sections: a larger base portion and a smaller tip section that mimics the pencil’s point. Each section is worked primarily with single crochet stitches, using the back loop only to create texture and dimension. The tip section features progressive decreases to shape the pencil point, finalized with black yarn detailing. Both sections are sewn together, gathered in the middle to form the bow shape, and wrapped with a narrow black band for finishing. Optional wire integration adds structure, and fabric glue can be used for securing ends.
Notes
- Yarn tension should be consistent but relaxed enough to maintain flexibility.
- Always pick up the last stitch in each row to avoid crooked edges.
- Back loop only single crochet rows create a ribbed effect adding texture to the bow.
- Wire incorporation is optional but recommended for shape retention.
- Using a tapestry needle for sewing pieces together ensures neat assembly.
- Glue helps secure yarn ends for durability but is optional.
- Color changes are carefully introduced to represent the pencil’s eraser, body, and tip.
- Adjust chain counts and row numbers as needed depending on yarn thickness for the desired size.
Skill Level
Intermediate: Requires knowledge of basic crochet stitches (chain, single crochet), working in the back loop, making decreases, color changes, and simple sewing techniques. Familiarity with finishing techniques like weaving ends and gluing is helpful.
Materials
- Amigurumi yarn in four colors: Natural (off-white/beige), light pink (cadmium shade), red, and black.
- Size 3 mm crochet hook
- Small scissors
- Tapestry (darning) needle
- Hair clip, tiara, or headband base
- Fabric glue (optional)
- Malleable wire (optional for reinforcement)
Measurements / Sizing
- The finished bow measures approximately 15 cm in height (from top to pencil tip) and 13 cm in width (side to side).
- The base rectangle measures approximately 29 cm long by 7 cm wide.
- The tip rectangle is approximately 14.5 cm long by 7 cm wide.
- Weight is approximately 42 grams after final assembly and attachments.
- Adjust dimensions proportionally if using different yarn or hook size.
Gauge and Stitch Pattern
- Gauge is flexible; tension consistency is more important than exact measurements.
- Primary stitch: Single Crochet (sc) worked in the back loop only (blo) for ribbing on rectangular sections.
- Decreases form the pencil tip shaping.
- Seaming uses simple whip stitches or running stitches for secure joining.
Stitch Abbreviations
| Abbreviation | Meaning |
|---|---|
| ch | Chain |
| sc | Single Crochet |
| blo | Back Loop Only Single Crochet |
| dec | Decrease (single crochet 2 stitches together) |
| sl st | Slip Stitch |
Special Stitches
Back Loop Only Single Crochet (blo sc)
- Insert hook only through the back loop of the stitch below instead of both loops and complete a normal single crochet. This creates a ridged texture.
Decrease (dec) – Single Crochet Two Stitches Together
- Insert hook into next stitch, yarn over and pull through (2 loops on hook).
- Insert hook into following stitch, yarn over and pull through (3 loops on hook).
- Yarn over and pull through all 3 loops to complete one decreased stitch.
The Crochet Pattern
Section 1: Larger Base Piece (Body of Pencil Bow)
- Foundation chain: Chain 60 stitches.
- Row 1:
- Starting in the second chain from hook, work 1 single crochet (sc) in each chain across, total 59 sc. Do not turn chain edge; this row forms foundation.
- Row 2 (and onward):
- Chain 1 (does not count as a stitch), turn work.
- Work 1 blo sc in each stitch across (59 stitches).
- Continue with blo sc in each stitch, turning and chaining 1 at end of each row.
- Continue:
- Repeat Row 2 until you reach a total of 16 rows.
- Your fabric will have a ribbed texture with upward ridges on the right side.
- Finish:
- At last row, chain 1 and cut yarn, leaving a 1-meter tail for assembling.
- Weave in the starting tail neatly on the wrong side.
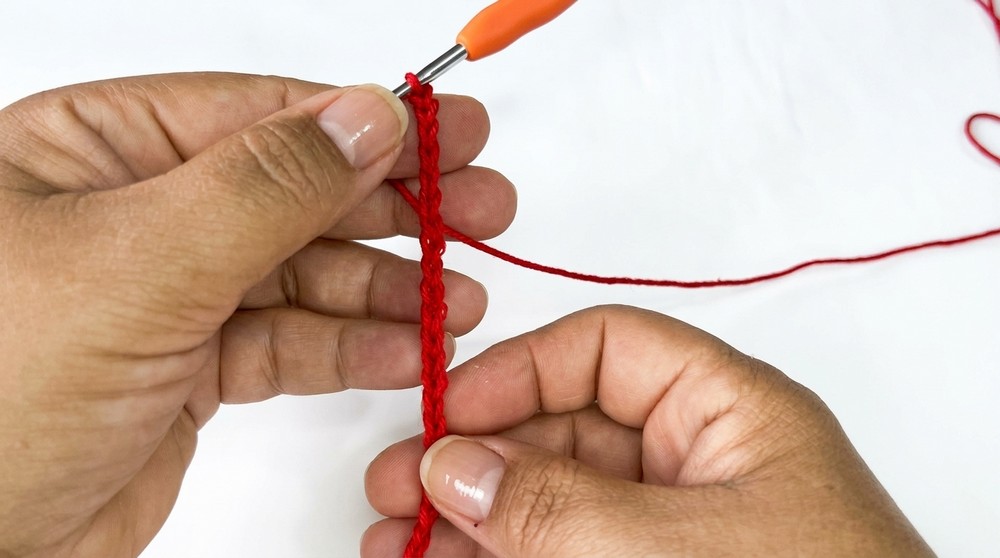
Section 2: Smaller Tip Piece (Pencil Tip)
- Foundation chain: Chain 30 stitches.
- Row 1:
- Work 1 sc in each chain across (29 sc).
- Turn, chain 1.
- Row 2 - 16:
- Work blo sc across each row, repeating for 16 rows to match the height of the larger piece.
- Leave a long tail (~1 meter) after final row.
Section 3: Shaping the Pencil Tip with Decreases
- Attach natural colored yarn or continue with smaller tip piece.
- Begin decreases:
- Work single crochet stitches across, but introduce decreases as follows:
- In the first two stitches, work dec (sc2tog) to reduce width gradually.
- Continue with single crochet stitches across the remaining stitches.
- Follow sequence:
- Gradually decrease stitches on both ends of rows by working dec at start and end, turning and chaining 1 each row.
- Typical stitch counts progress from 12, 10, 8, 6, 4, 2 stitches as you reach the pencil point.
- Continue working decreases until only 2 stitches remain.
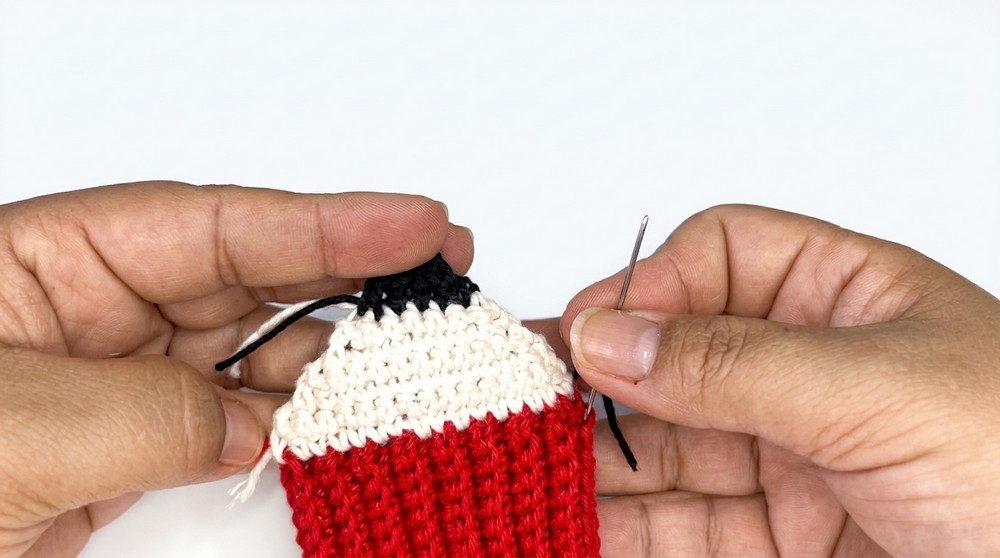
- Use a tapestry needle to pull the last loops tight, closing the tip neatly.
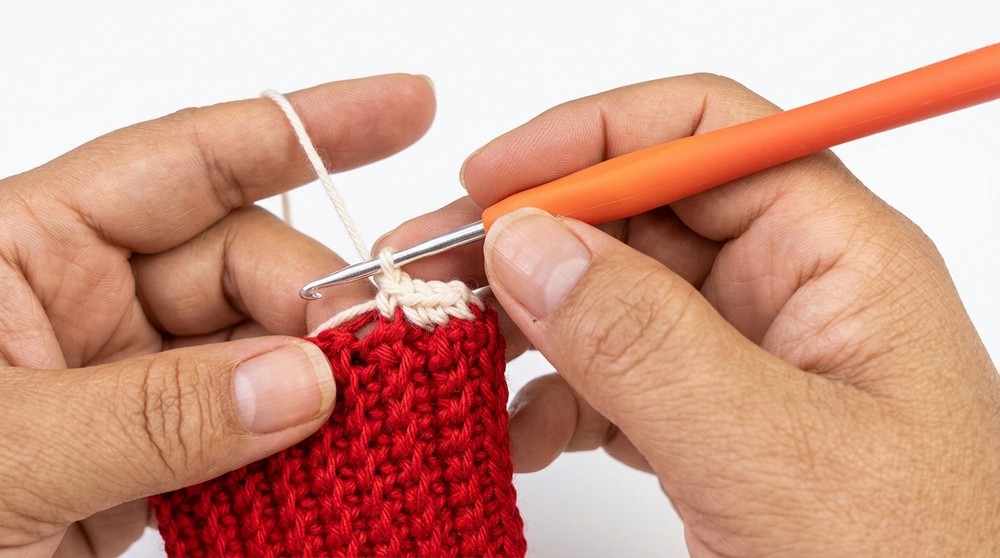
Section 4: Creating the Pencil Point (Black Tip)
- Using black yarn, fasten on at the closed tip.
- Work single crochet stitches over remaining stitches, decreasing gradually to taper the point further.
- Finish by weaving in all tails neatly.
Section 5: Making Eraser Piece (Pink Section)
- With light pink yarn, chain 16 stitches, then work 4 rows of single crochet stitches, working through both loops normally.
- This creates a narrow band to represent the pencil’s eraser.
- Leave a tail for sewing.
Section 6: Assembly
- Sew pieces together:
- Position the two rectangular pieces with right sides facing outward.
- Sew along one long edge using a tapestry needle to form the bow’s base.
- Gathering:
- Fold the sewn rectangle at the midpoint.
- Pull a long yarn tail through the center several times to gather and cinch the middle of the bow.
- Secure with knots, trimming excess tail.
- Attach black band:
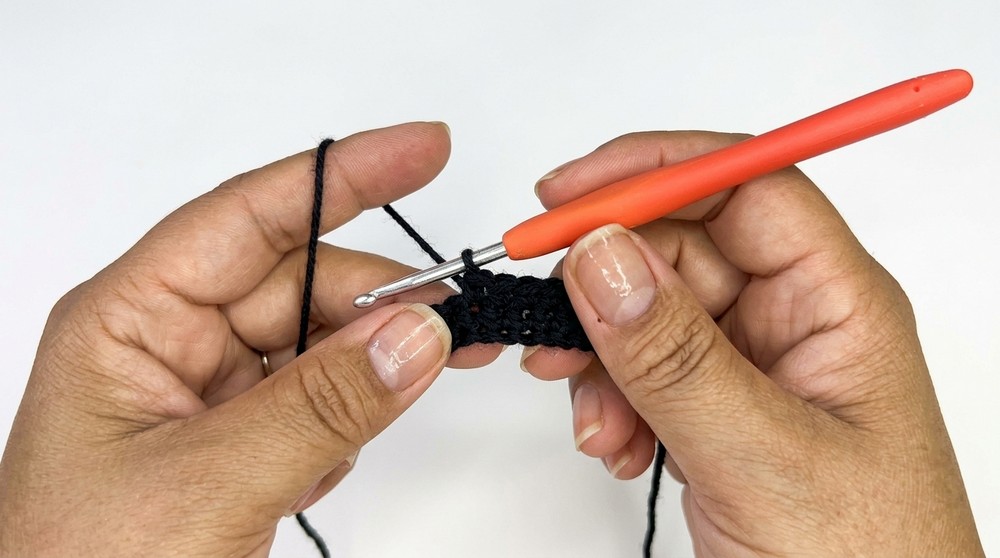
- Using the black yarn, crochet or sew a small rectangular piece about 17 chains long and 4 rows high.
- Wrap this band tightly around the bow’s center where gathered and sew or glue ends invisibly to secure.
- Attach to clip or band:
- Position the bow onto a hair clip or tiara/headband.
- Sew through folds to secure firmly.
- Optional: Use fabric glue for extra hold.
Assembly & Finished Size
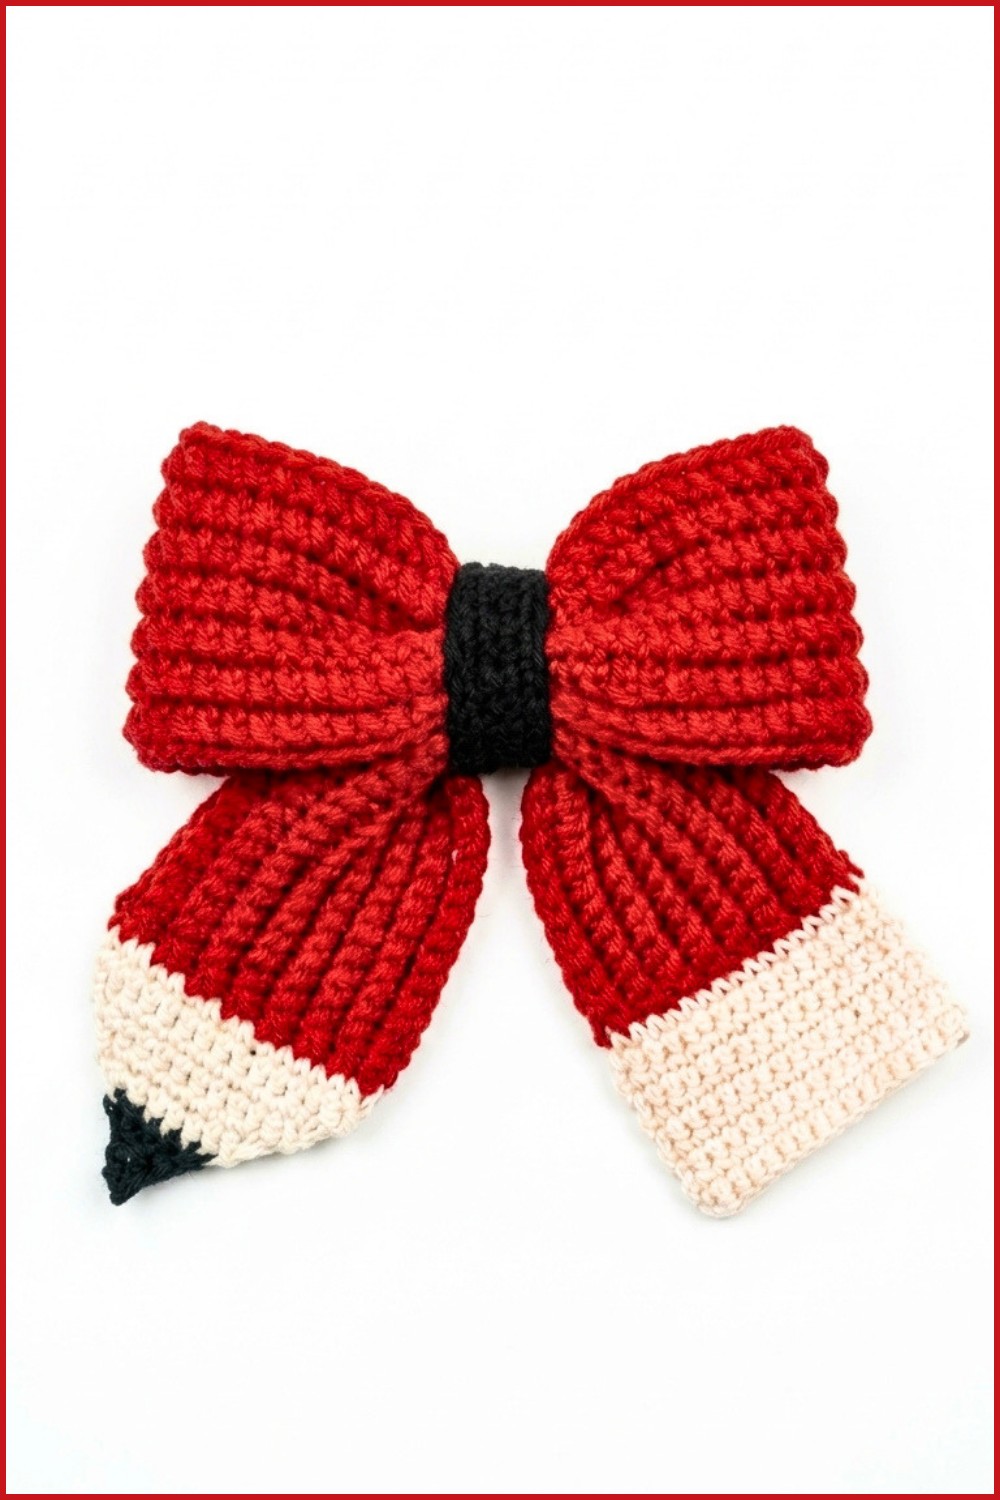
- The finished crochet pencil bow measures approximately 15 cm tall (tip to top) and 13 cm wide (across the widest part).
- The base piece is about 29 cm long by 7 cm wide, and the smaller tip piece around 14.5 cm by 7 cm.
- The bow weighs roughly 42 grams after assembly.
- The textured ribbing and gathered center provide a sturdy yet delicate appearance.
- The black tie completes the pencil look and helps secure the shape.
Conclusion
With this detailed pattern, you can create a truly unique and charming crochet pencil bow perfect for back-to-school looks or gift-making. Starting with simple chain and single crochet stitches worked through the back loop, followed by carefully executed decreases to shape the pencil point, this project combines technique and creativity. The use of multiple yarn colors adds realism and visual interest. Final assembly involves gathering and securing the bow with a neat black band and attaching it to your preferred hair accessory. Whether you’re making this for yourself or as a thoughtful present, it offers a fun, practical crochet experience resulting in an elegant and functional accessory.