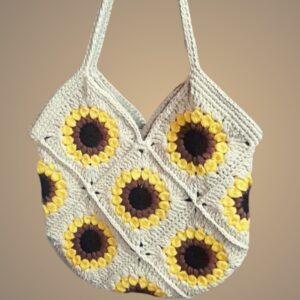
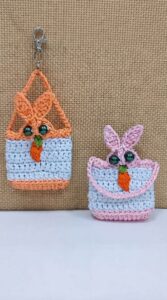
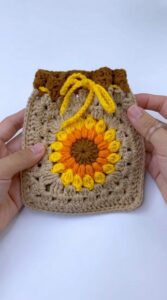
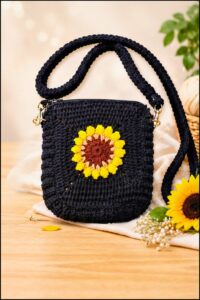
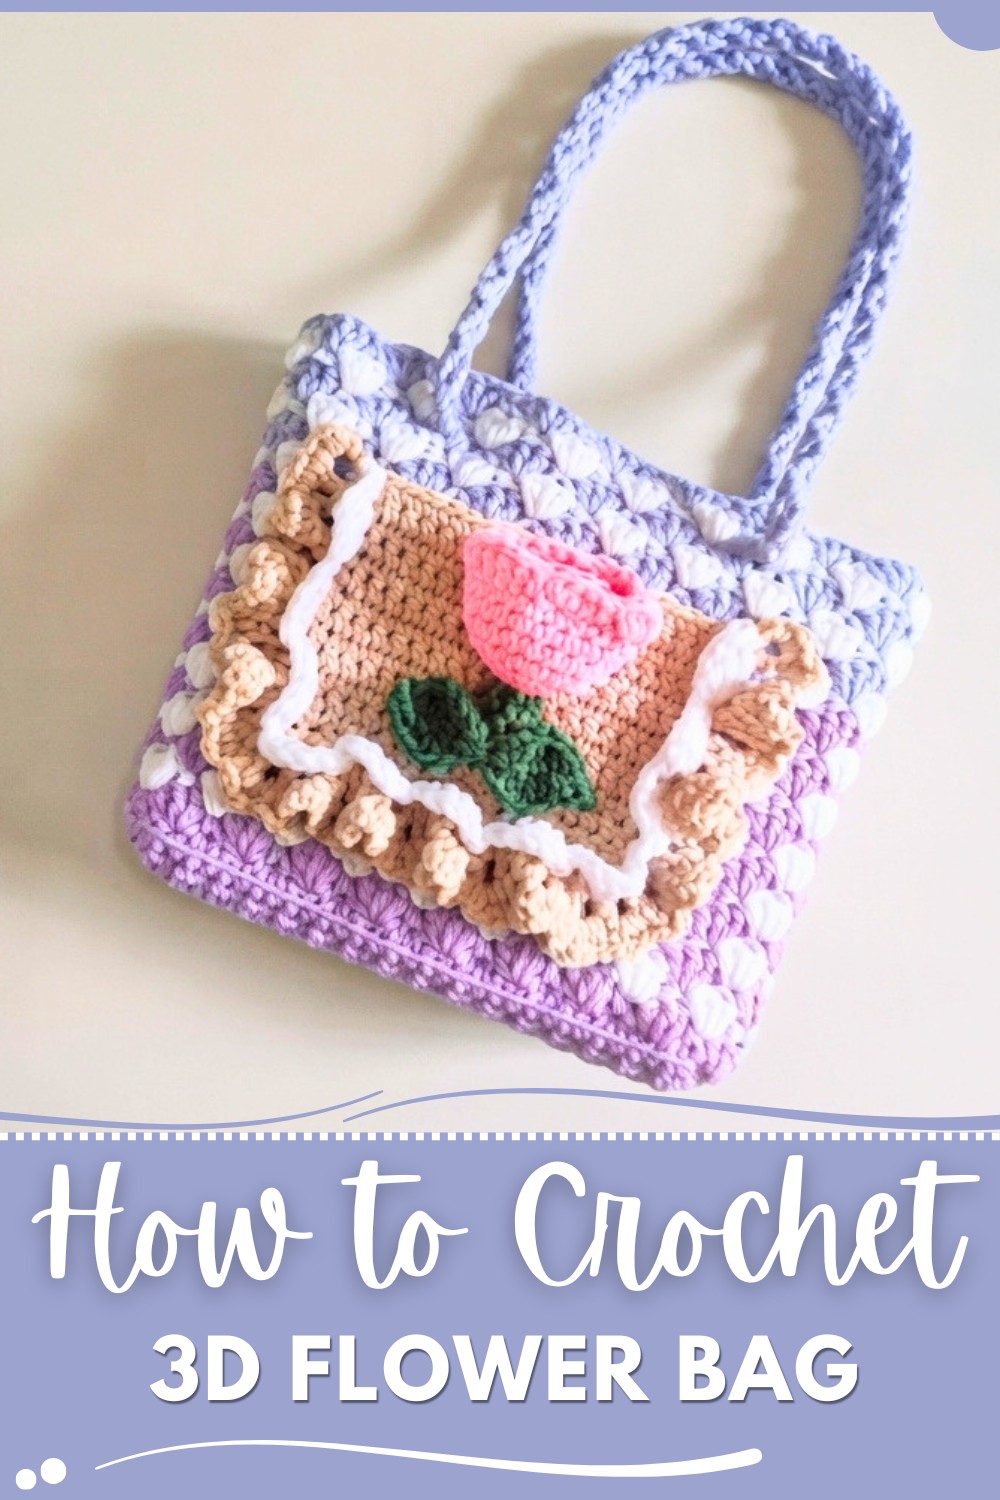
Add charm to your style with this free crochet 3D flower bag pattern, featuring step-by-step instructions to make a stunning and functional handmade accessory.
Giving a touch of floral charm to your accessories can brighten any outfit, and creating a unique bag with textured details is a wonderful way to do just that.The Free Crochet 3d Flower Bag pattern offers an engaging project that combines practicality with decorative flair. This type of bag stands out thanks to its striking three-dimensional flower motifs that give it an eye-catching, tactile surface.
Free Crochet 3D Blossom Bag Pattern for Stylish Outfits
The project involves making a stylish, medium-sized bag with a sturdy feel and a soft yet textured surface created by layered flower petals crocheted right onto the bag’s body. Its shape is usually rectangular or slightly rounded, making it functional for daily use while still looking elegant. One of the best features is the raised flowers, which add depth and an artistic touch without making the bag too bulky. Plus, you can easily customize the size, colors, and type of flowers to suit your personal style or the recipient’s taste.
Construction typically starts with a solid base using basic stitches for durability, then the 3D flowers are worked separately or as part of the bag’s rounds before attaching. Helpful tips include choosing a yarn with good stitch definition—fibers like cotton or cotton blends work wonderfully because they hold shapes well and highlight the flower details. Using a slightly smaller hook than usual can ensure the flowers appear tight and well-defined.
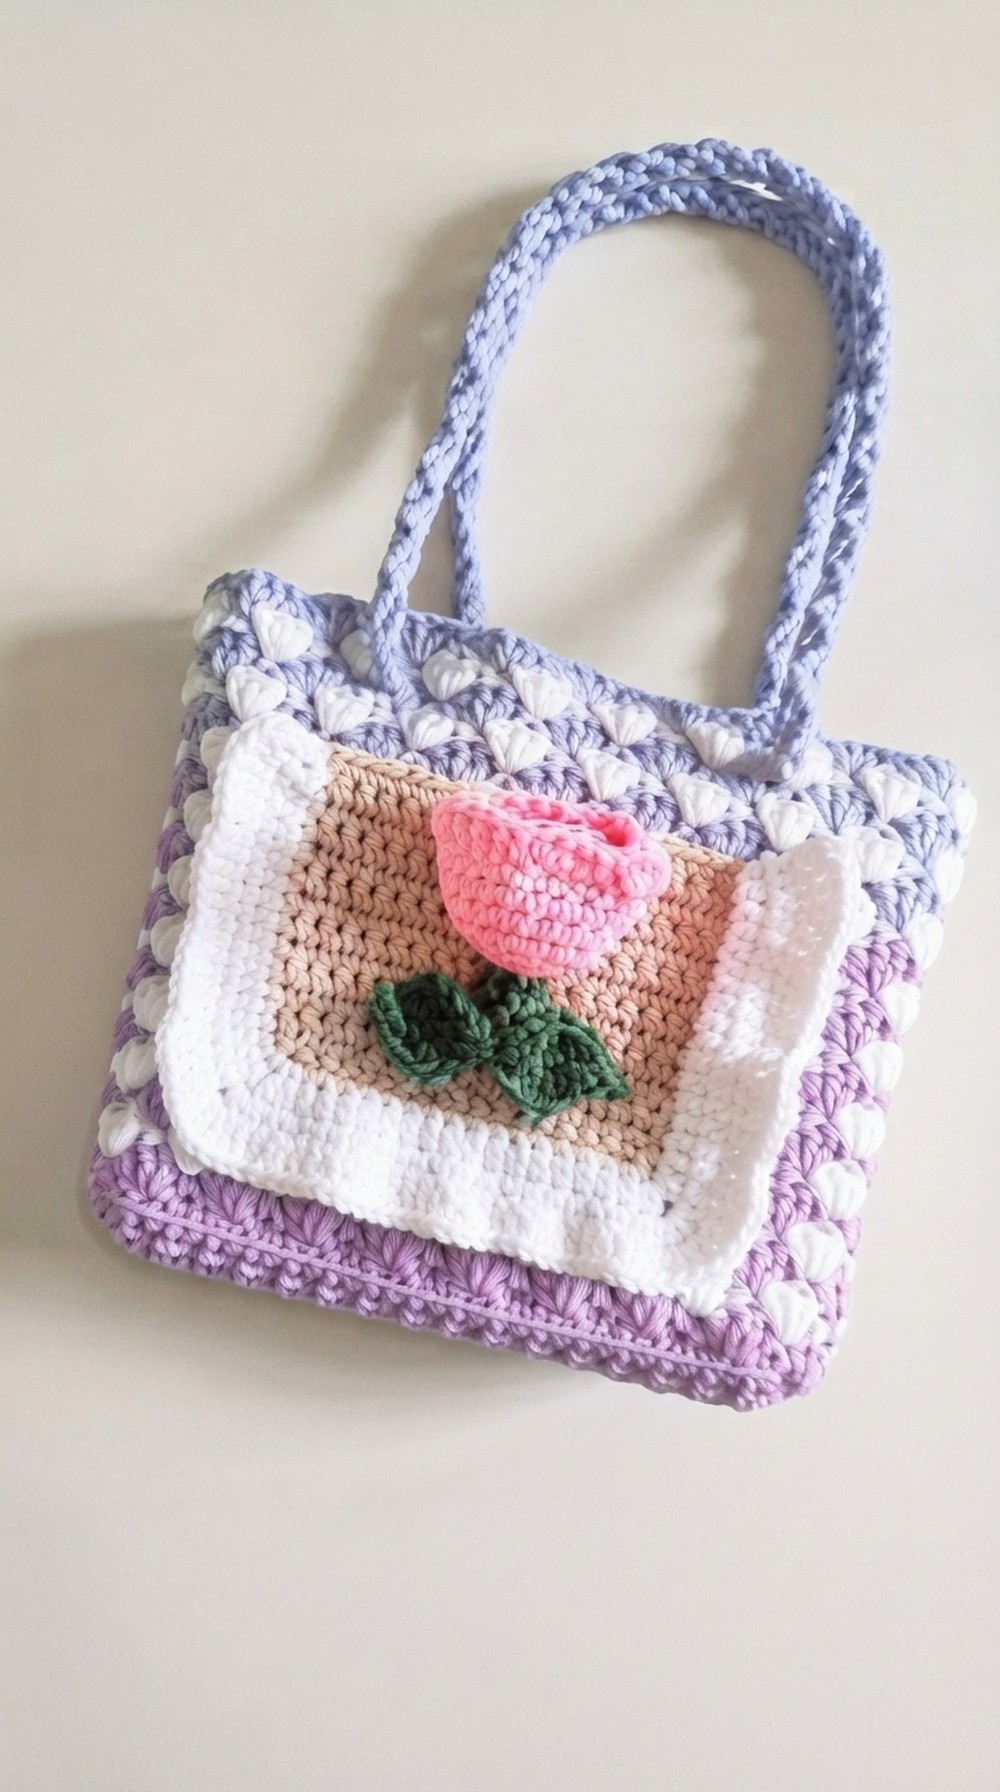
This design was inspired by nature’s beauty and the joy of incorporating floral elements into everyday items. The bag makes a thoughtful gift for birthdays, Mother’s Day, or spring celebrations, and it invites plenty of creativity, whether you want to mix colors or experiment with different flower styles. It’s a lovely way to bring handcrafted style and function together in one charming accessory.
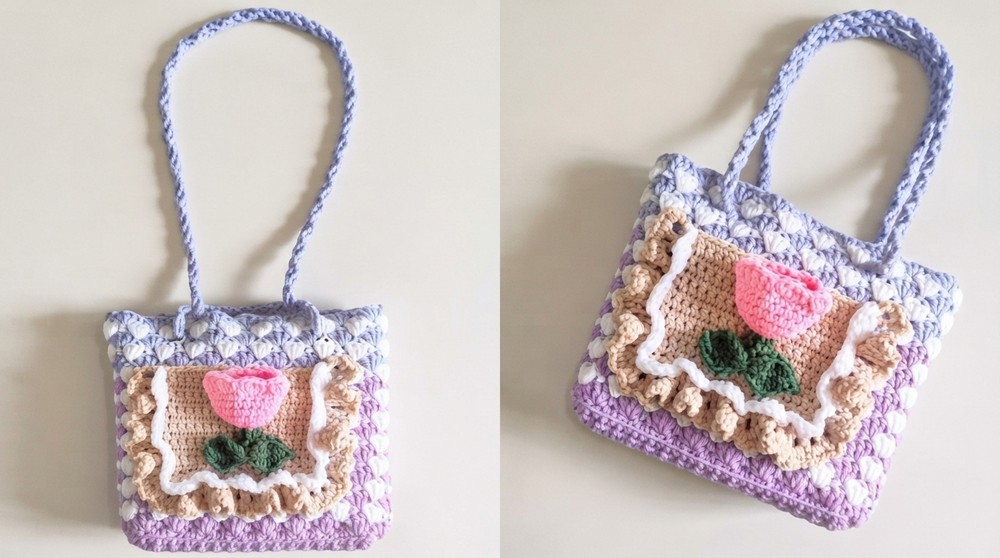
Milk Cotton Two-Color Motif Knitted Bag Pattern
Quick Overview Of Pattern
- Begins with a narrow rectangular base worked in single crochet rows.
- The base is edged with single crochet and increased at four corners.
- Sides are worked in the round with colorwork shell motifs (two alternating colors).
- A separate motif pocket with decorative edge is made and sewn to the front.
- The bag is finished with a long Romanian cord (or similar) for a sturdy sling strap.
- Optional addition of a tulip flower decoration.
Notes
- All directions use standard US crochet terms.
- Work base rows in back-and-forth single crochet.
- When working motif rounds, alternate two colors (purple and white as suggested).
- Stitch markers are helpful, especially at motif round joins.
- Pay attention to back loop/front loop instructions as indicated.
- For the strap, Romanian cord technique is used (see video for visuals).
Skill Level
- Intermediate beginner
Requires confidence with single crochet, double crochet, slip stitch, chaining, working in both rows and rounds, changing colors, and simple joining.
Materials
- Yarn: Milk Cotton, 2 colors (primary and motif), and scrap for optional flower
- Hook: 4.0 mm crochet hook
- Notions: Yarn needle, scissors, lighter (for securing strap ends)
- Optional: Stitch markers, glue for securing thread ends, tulip flower decoration (link in video description)
Measurements / Sizing
- Base: 8 single crochet wide by 32 rows long
- Motif section height: 19 motif rounds (adjustable)
- Front pocket: 18 single crochet wide by 13 rows tall
- Strap: approx. 100 cm (adjustable)
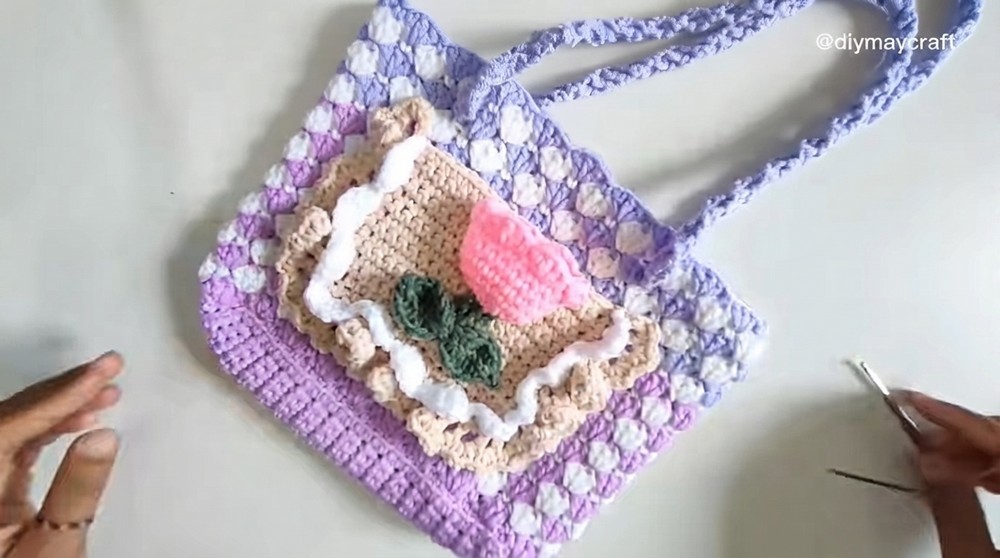
- Schematic: Simple rectangular bag with flat base, shell motif sides, front motif pocket, and long shoulder strap.
Gauge and Stitch Pattern
- Gauge not critical, but aim for tight, even stitches (bag needs structure).
- Stitch pattern:
- Single crochet (base, pocket)
- Shell motif (3 or 5 double crochets), single crochet in rounds (body)
- Back loop/front loop single crochet for borders/edging
- Romanian cord for strap
Stitch Abbreviations
- ch: chain
- sc: single crochet
- dc: double crochet
- sl st: slip stitch
- bl: back loop
- fl: front loop
Special Stitches
- Shell (3-dc or 5-dc shell): Work the indicated number of double crochet stitches into the same space or stitch.
- Romanian Cord: A strong, round cord made by a special looping/twisting method (see video for best result).
The Crochet Pattern!
Bag Base
- Foundation: Make a slip knot.
Ch 8 (4 + 4 for example), then ch 1 more (total 9 ch). - Row 1: Working into 2nd ch from hook, sc in each ch across. (8 sc)
- Rows 2–3: Ch 1, turn. Sc in each st (8 sc per row).
- Rows 4–32: Repeat Row 2, continuing to ch 1, turn, and sc across for each row until you have 32 rows in total.
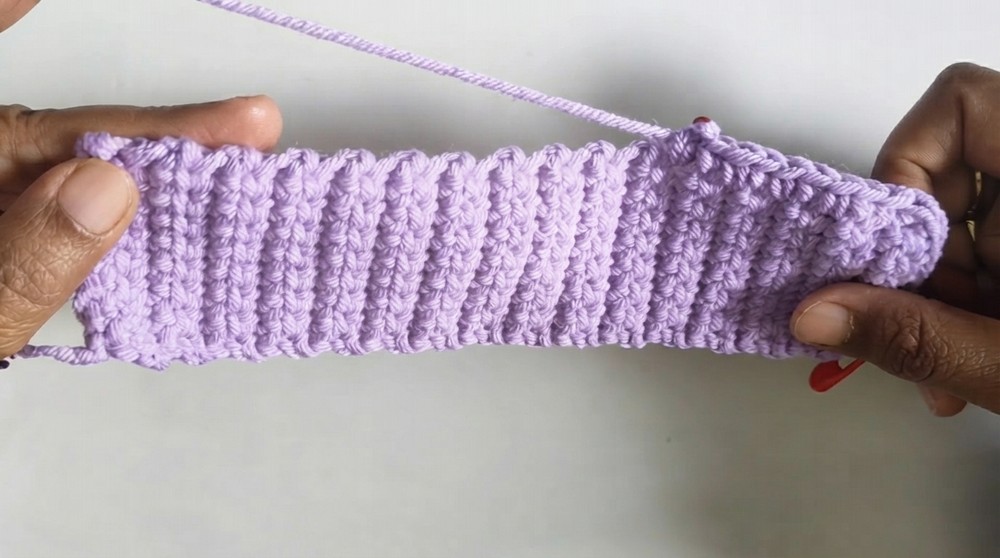
Forming the Base Border
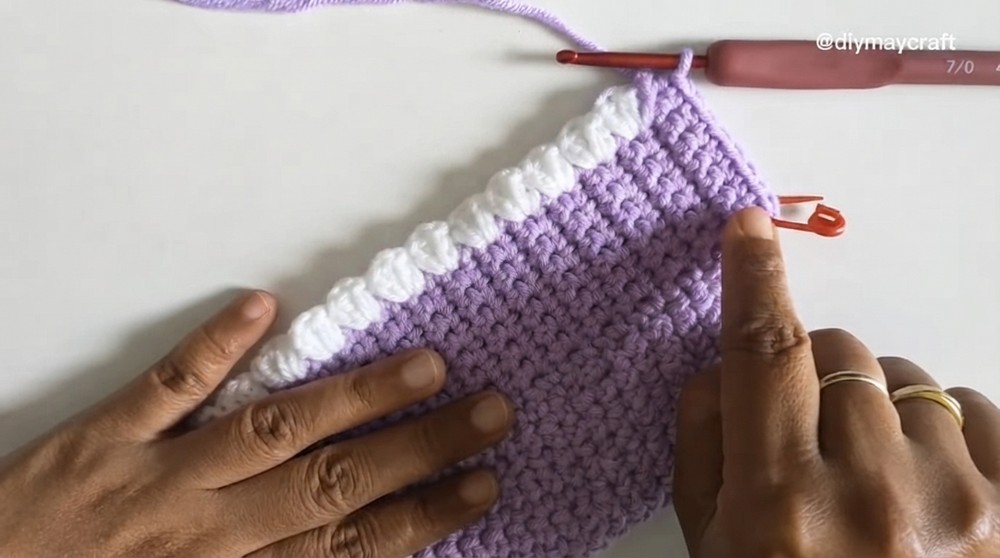
- Mark the opposite end of the row for the start point.
- Edging: Working along the short side, sc around the base:
- Sc into each row edge on first long side (31 sc).
- At the corner, 2 sc into the same space (corner increase).
- Turn to short side, sc across (6 sc), 2 sc in corner.
- Work along the other long side (31 sc).
- Join with a sl st to marker.
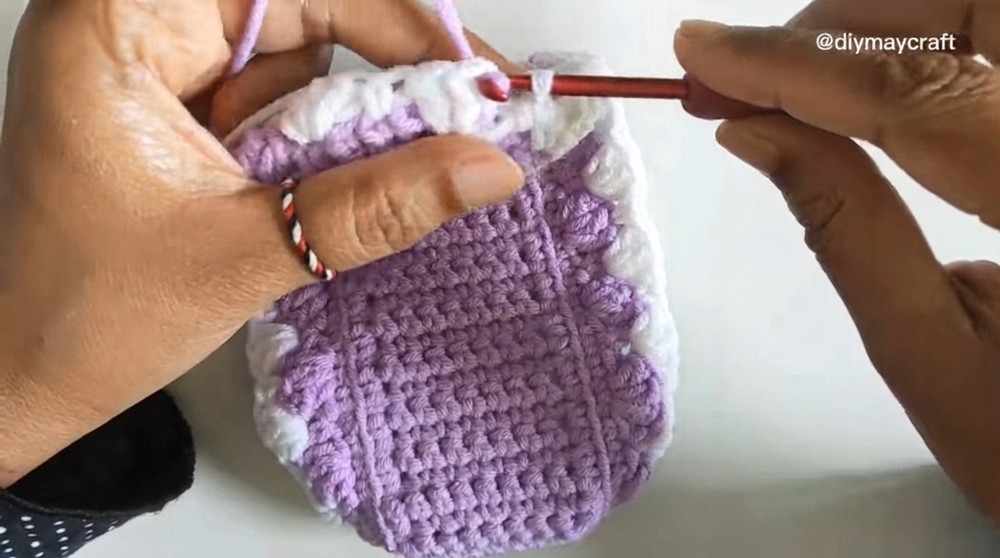
Set-Up Round (Back Loop Only)
- Preparation round: Ch 1, working in back loops only, sc in each st around (should be 80 sc total—adjust evenly if needed).
- Join with sl st to first st.
Starting the Motif Section
Change to motif color (purple suggested):
- Motif Round 1:
- Ch 1, sc in same st. Skip 1 st, 3 dc in next st (shell), skip 1 st, sc in next st; repeat from * to * around.
- Join with sl st, changing to contrast color (white) at join.
- Motif Round 2 (white):
- Ch 2 (counts as one dc), in same st dc 2 (so 3 dc in start of round).
- Skip one st, sc in next st.
- Skip 1 st, 3 dc in next st, skip 1 st, sc in next st; repeat around.
- Mark the start of this round for easy joining.
- Join with sl st, switching color back to purple.
- Motif Rounds 3–19: Alternate rounds of motif color and contrast color following Rounds 1 and 2 as set. Always join each round with a sl st and change yarn at join.
- Continue pattern for 19 motif rounds or as desired for bag height.
- Finish motif section: Cut and secure yarn, tidy up ends.
Making the Front Pocket
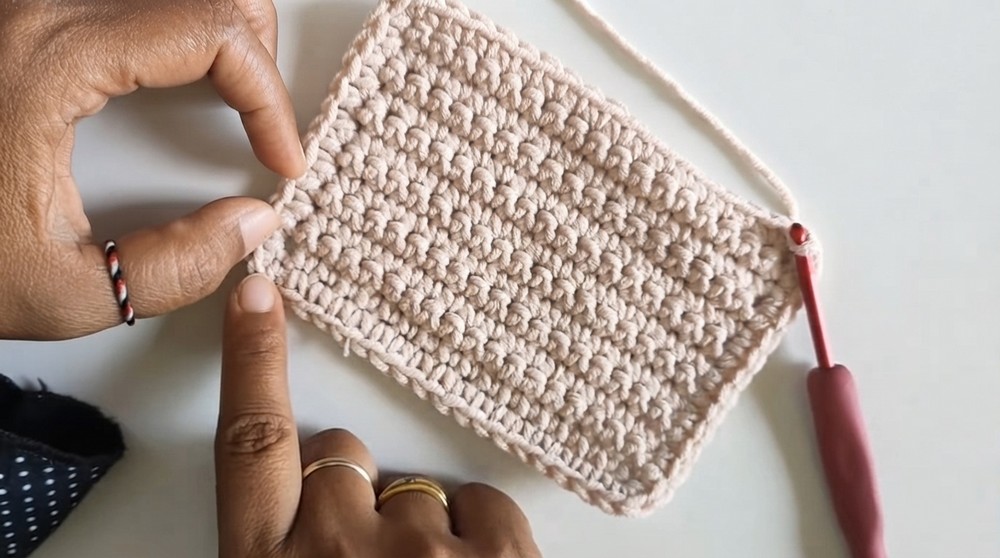
- Pocket Base: With main color, ch 19.
- Work Row 1: sc in 2nd ch from hook and across (18 sc).
- Rows 2–13: Ch 1, turn, sc in each st across.
- Pocket Edging:
- Sc around, making 12 sc at each “right angle” corner as an increase, 16 straight, 12 at next corner, etc.
- Join with sl st.
- Mark 18 sc from sl st, place marker (for later joining).
- Pocket Lace Trim:
- Ch 2, turn, work only in front loops: dc in front loop, ch 2, repeat to marker; end with dc at marker.
- Second lace row: ch 1, turn, sc into ch-2 space, ch 2, sc into same space; repeat.
- Sl st in same space at end, leaving a long sewing tail.
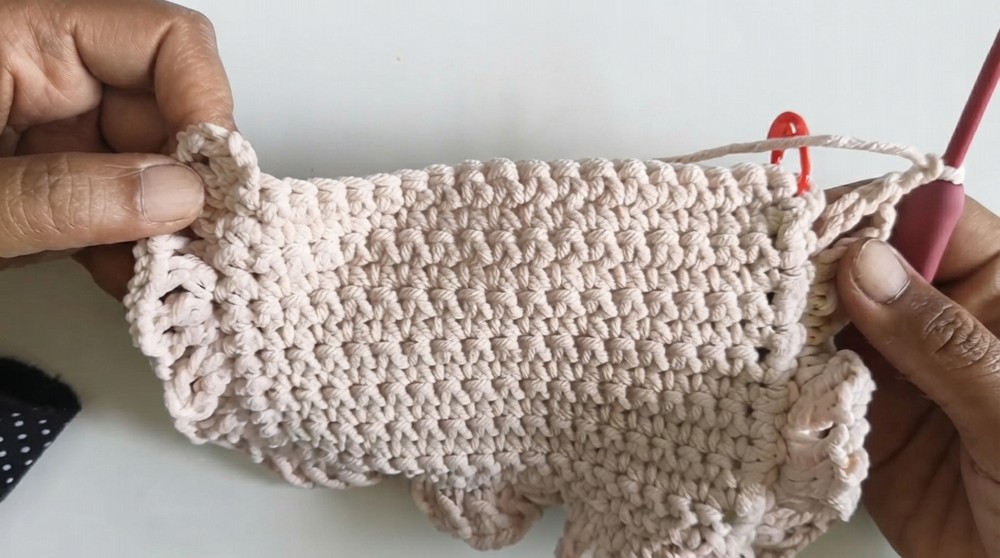
Pocket Shell Border (White)
- Attach white yarn to front loop at marker.
- Ch 1, sc in same st; skip 1 fl, 5 dc in next (shell), skip 1 fl, sc in next fl; repeat around side and lower edge.
- Join with sl st in start, cut and secure end.
Attaching the Front Pocket
- Place pocket on bag front, line up edges.
- Sew pocket to bag using yarn tail and tapestry needle with neat, invisible stitches.
Strap
- Romanian cord:
- Make approx. 100cm cord as illustrated in video.
- Leave a long tail at each end (20–30 cm).
- Cut, melt ends for security if desired.
- Weave strap through side spaces of bag and secure ends together with a strong knot and sewing.
- Optionally, use glue for extra security.
Assembly & Finished Size
- Finished bag has a rectangular base, a shell motif body, a shell-lace pocket, and a long shoulder strap about 100cm.
Conclusion and Ending Words
Congratulations! Your bag is finished. This versatile design can be customized with color, finishing details, and straps.