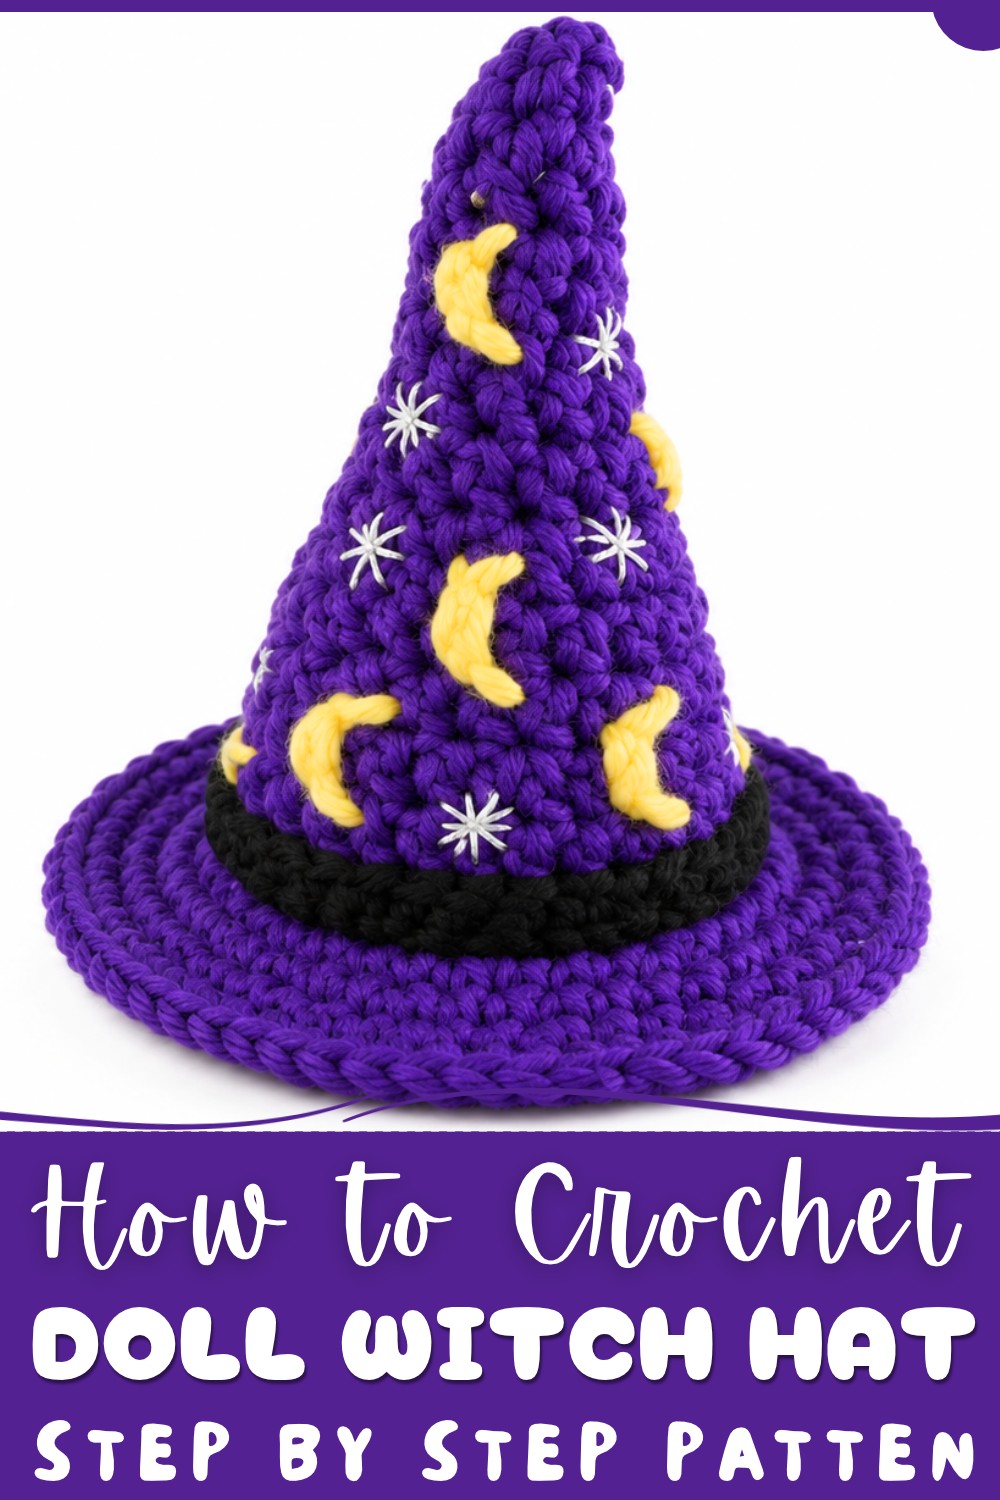
Dress your favorite doll for Halloween with the Crochet Doll Witch Hat Free Pattern, a pointed little accessory for fun costumes and play.
A favorite doll can look completely different with just one little change to its outfit. The Crochet Doll Witch Hat is a fun Halloween accessory that gives an ordinary doll a magical and slightly spooky appearance. Its tall shape and classic witch style turn a simple toy into a character that looks ready for a Halloween adventure.
Mini Crochet Doll Witch Hat Free Pattern For Halloween Costumes
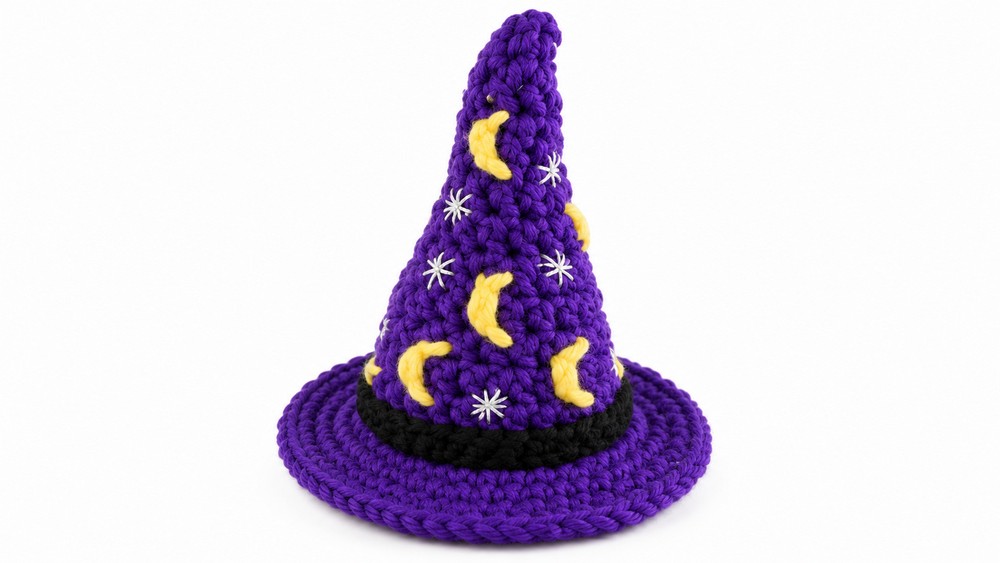
The pointed top is the most noticeable part of this hat. It rises above the doll's head, while the wide brim spreads around the bottom. A small band around the hat can add a pretty detail and separate the two sections. Black yarn gives it a traditional witch look, but dark purple, orange, or green can add a more playful feeling. The finished hat looks especially nice when paired with a matching doll outfit.
This little accessory can be crocheted with basic stitches. The pointed section is formed by gradually changing the stitch count, while the brim is worked outward to give it a wider shape. Keeping the stitches neat helps the hat fit properly on the doll's head. Lightweight yarn is also useful for keeping the accessory comfortable to wear.
The best part is that you can give an old doll a completely new look without changing the doll itself. This tiny witch hat adds a fun Halloween style with just a few simple details.
About the Pattern
The wizard hat pattern is a versatile design suitable for a variety of uses, including as a whimsical hair clip, a decorative accessory for dolls, or as a festive display piece. The hat is constructed in the round from the tip to the brim, allowing the maker to control its width and length for full customizability. Featuring a seamless cone with a structured brim, the piece can be easily embellished with stars and moons for a classic wizard’s aesthetic. The pattern utilizes accessible stitches for fluid shaping and offers detailed finishing options.
Pattern at a Glance
- Shape: Classic cone wizard’s hat with a flat, structured brim
- Structure: Worked seamlessly in the round from top to brim, with a color-contrast ribbon and embroidery embellishments
- Finishing: Optional decorative elements—stars, moons, and easy mounting as a hair clip or doll hat
Important Notes
- The hat’s size is easily modified by working more or fewer increase rounds or altering the number of brim rows.
- Maintain regular stitch increases and avoid stacking increases directly above each other to prevent visible lines or bulges.
- Use stitch markers to track rounds for even shaping, moving the marker at the start of each round.
- The brim can be further stiffened by blocking or using specialty thread if a crisp edge is desired.
Difficulty Level
This project is rated as beginner to intermediate. It serves as an accessible introduction to shaping with double crochet, increases, and brim work, while the decorative finishing introduces basic embroidery and slip stitch edgings.
Supplies Needed
- Yarn: Worsted weight in main color (black, purple, etc.), yellow (for moons), silver thread or gray yarn (for stars), contrasting accent color (for brim ribbon).
- Hook: Size E (3.5mm)
- Tapestry Needle: For sewing, embroidery, and finishing
- Sewing Needle: For fine thread
- Hair clips (optional): For accessorizing
- Scissors
- Stitch marker or safety pin: For marking starts of rounds
Size & Measurements
- Size will vary depending on use; instructions allow for adjustment.
- As worked, the hat is approximately 2–3 inches tall with a brim diameter of 2–3 inches, suitable for small dolls or as a decorative hair accessory.
Gauge & Stitch Details
Gauge is not critical due to the decorative nature. Use a firm tension for structure:
- Single crochet for rigid brims
- Double crochet for the body of the hat (creates smooth, quick cone shaping)
Crochet Abbreviations
- MR: Magic ring
- ch: Chain
- sc: Single crochet
- dc: Double crochet
- sl st: Slip stitch
- inc: Increase (two stitches in same stitch)
- st: Stitch
- bl: Back loop only
Special Stitch Guide
- Magic Ring: Make an adjustable loop; insert hook and draw up a loop, secure with chain.
- Increase: Work two double crochets (or single crochets) in the same stitch.
- Back Loop Only: Insert hook under back loop for specified rows to add dimension.
Complete Crochet Pattern
Hat Cone
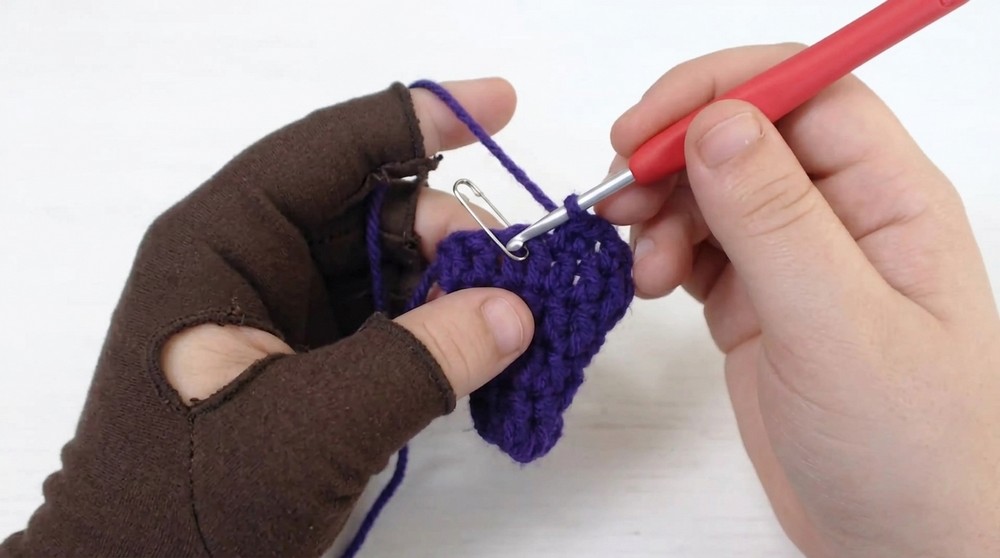
- Round 1: Create a magic ring, ch 1 to secure.
- Ch 1 (counts as base for height), then ch 1 more (to reach dc height).
- Work 5 dc into magic ring (6 stitches total including 2 chains).
- Pull tail to close ring.
- Round 2: Dc in each stitch around (use stitch marker on first st). (6 sts)
- Round 3: Dc in each st around (move marker to first st). (6 sts)
- Round 4: 1 dc in each of next 5 sts, 2 dc in last st (increase). (7 sts)
- Round 5: Dc in each st to marker. (7 sts)
- Round 6: Increase in next st (2 dc), dc in each of next 5 sts, 2 dc in last st (increase twice, total 9 sts).
- Rounds 7–8: Dc in each st to marker, increasing two stitches in each round, spreading out increases so they do not align directly above previous increases. After each round, adjust stitch marker.
- Repeat: Continue working in this pattern, increasing two or three times per round (and spacing them out) for several rounds until the cone reaches the width and height you desire for your project, such as 10–12 rounds. For adult/doll size hats, continue until the cone is as large as needed.
Brim Preparation
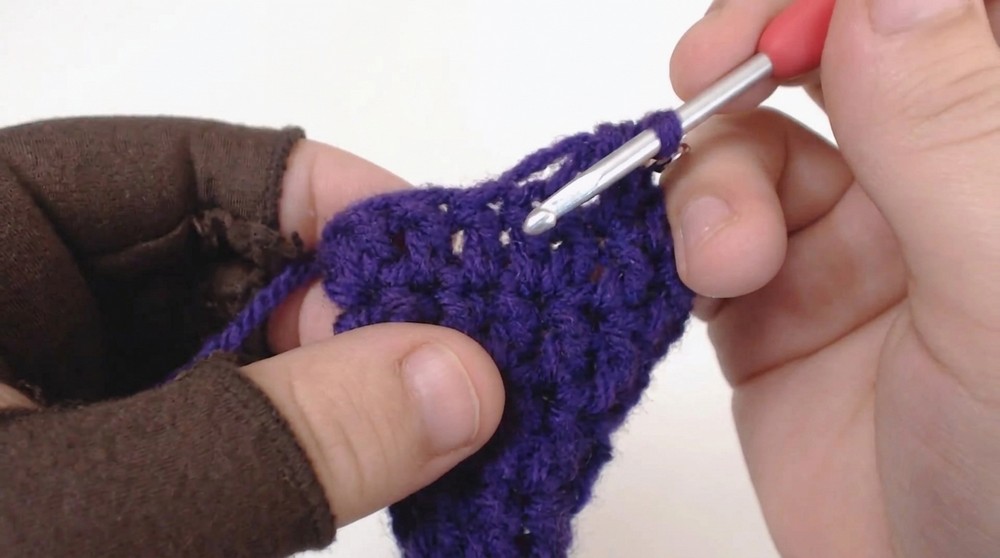
- Foundation Slip Stitch Round: Sl st in every st around the last round of the hat cone, marking the start of round.
- This provides the base for the brim.
Brim
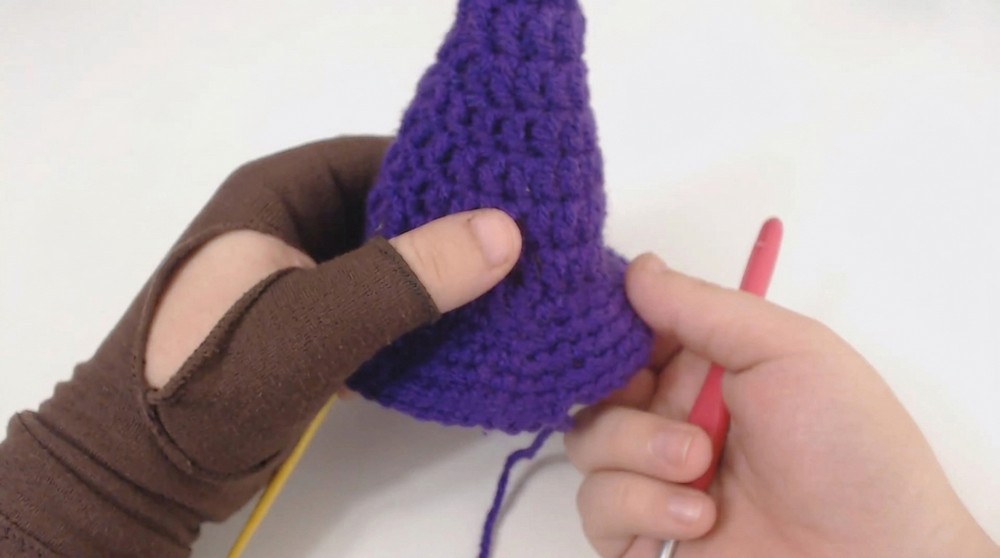
- Round 1: Attach new yarn color if desired for a contrast ribbon. If working a rigid brim:
- Insert hook into back loop only of each st, sc in each st, placing 6 increases evenly around the round (two sc in some stitches).
- Rounds 2–5: Continue sc in each st, including 6 increases per round, spacing them evenly and not stacking directly above previous increases. Adjust number of brim rows to desired width.
- Final Round: Finish with a round of sl st in each st for a clean edge. Fasten off, leaving a long tail if sewing to a doll or display base.
Ribbon Trim
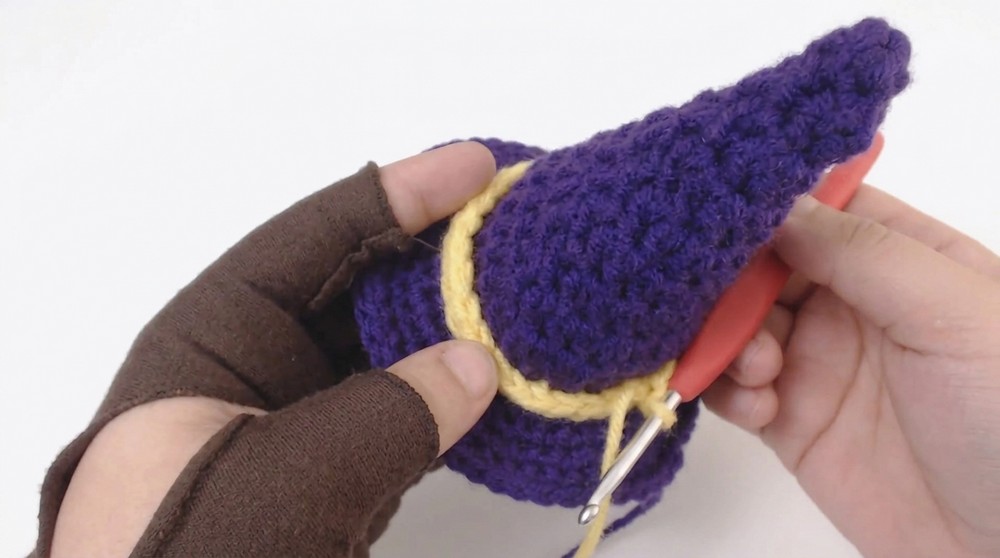
- Join accent yarn to loops left on previous row (under brim edge).
- Sl st into each loop around; join to first sl st.
- Ch 1, work sc in each sl st around if a wider ribbon is desired.
- Fasten off and weave in ends.
Stars and Moons Embroidery
- Stars: Thread silver thread or gray yarn on a sewing needle. Stitch small crosses/asterisk shapes at random positions. Each star:
- Make a vertical straight stitch.
- Add a horizontal stitch (plus sign).
- Add diagonal and retrace for thickness; weave ends inside to secure.
- Moons: Thread yellow yarn on a tapestry needle. Embroider crescents:
- Make a short straight stitch, then working from one end, create a curve back around the straight segment for a crescent effect.
- Tie thread ends securely inside hat; trim excess.
Hair Clip or Mounting
- Pass a hair clip through any stitch at the brim for a wearable accessory.
- If attaching to a doll, sew brim edge to doll’s head using the long tail for neat finish.
Assembly & Finished Size
Carefully block hat if needed for sharper brim. Attach all decorative elements firmly. Check symmetry and trim yarn ends from inside.
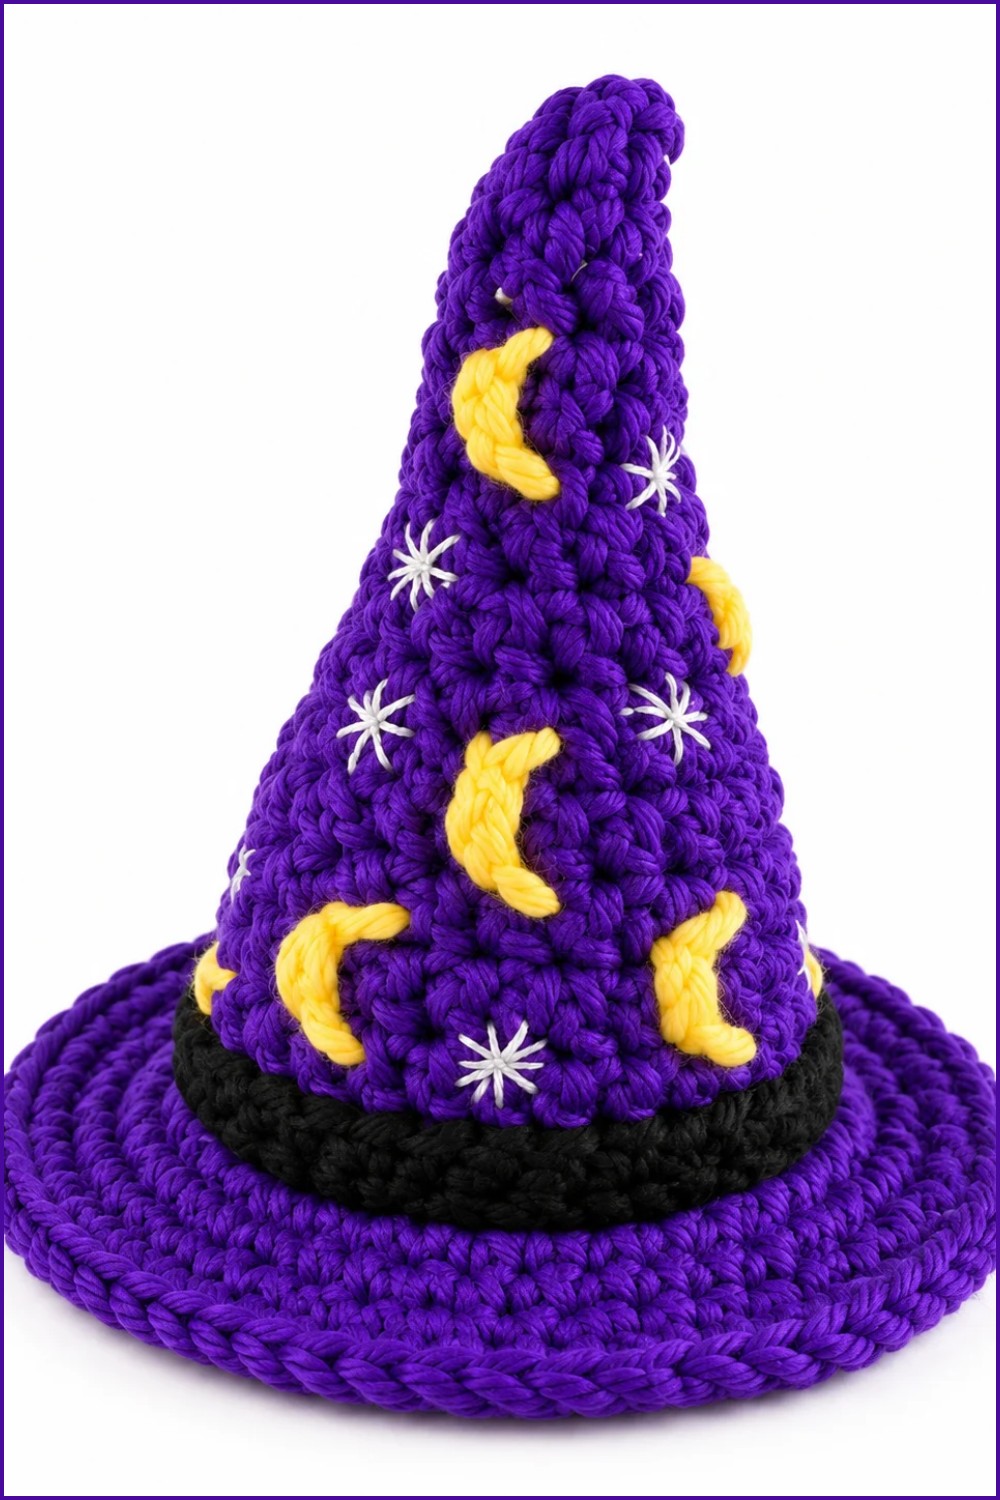
Finished hat stands with a classic conical profile, a neat brim, and abundant opportunity for creative embellishments. Sizing and fit can be tailored for various uses, from dolls to wearable accessories.
Conclusion
This wizard hat pattern walks through every essential step from foundational ring to fully embellished brim. The clear shaping achieved with consistent increases and the rigid brim combine for a polished, whimsical effect. Customization through color changes, embroidery, and additional trim means each hat can represent a unique interpretation of magical flair, making this pattern as delightful for gifting as it is for personal use.