Create a beautiful Crochet Snowflake using this free pattern that guides you step by step to make a delicate and festive decoration for any space.
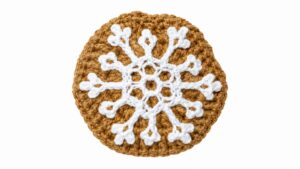
Adding a touch of winter magic is simple with a handmade decoration. A Crochet Snowflake Ornament features delicate thread loops forming a snowflake shape that feels gentle and inviting, much like a soft snowfall landing quietly on a windowpane.
Winter Crochet Snowflake Ornament Free Pattern For Gifts
Typically, these snowflakes come in bright white, closely resembling fresh snow. On the other hand, subtle pastel shades and shiny metallic threads are also common, offering a variety of color choices that suit different festive styles and moods.
The thread used is usually high-quality cotton or similar fibers, which keeps the ornament sturdy and long-lasting. Thanks to its light weight, it can hang gracefully on tree branches, garlands, or even be attached to gifts as a charming finishing touch.
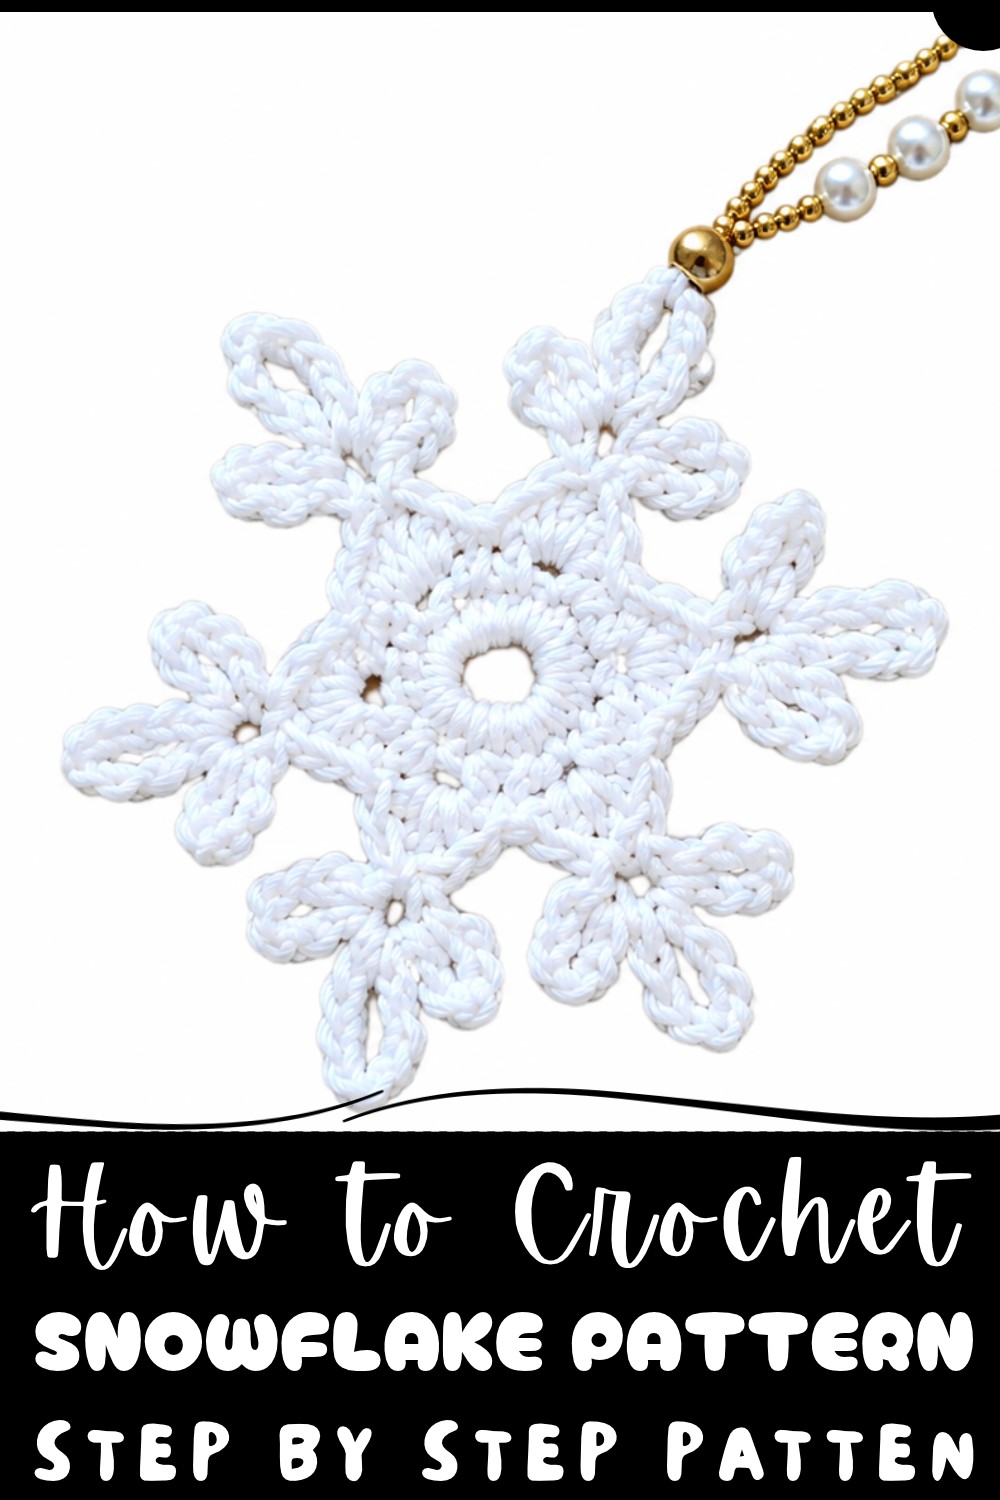
Overall, the crochet snowflake ornament presents both visual appeal and comfort. It’s a small token of seasonal warmth and care — a lovely detail that brightens the home during chilly months. Why not try putting one together this season?
About the Pattern
This snowflake crochet pattern is designed as a showpiece of delicacy and structure. Created in the round with worsted yarn and a moderate hook size, it combines basic techniques with engaging construction for bold, lacy points that showcase the geometry of a natural snowflake. The pattern develops from a center ring outward, using clusters and chains to produce pronounced arms, then employs blocking for crisp definition.
Pattern at a Glance
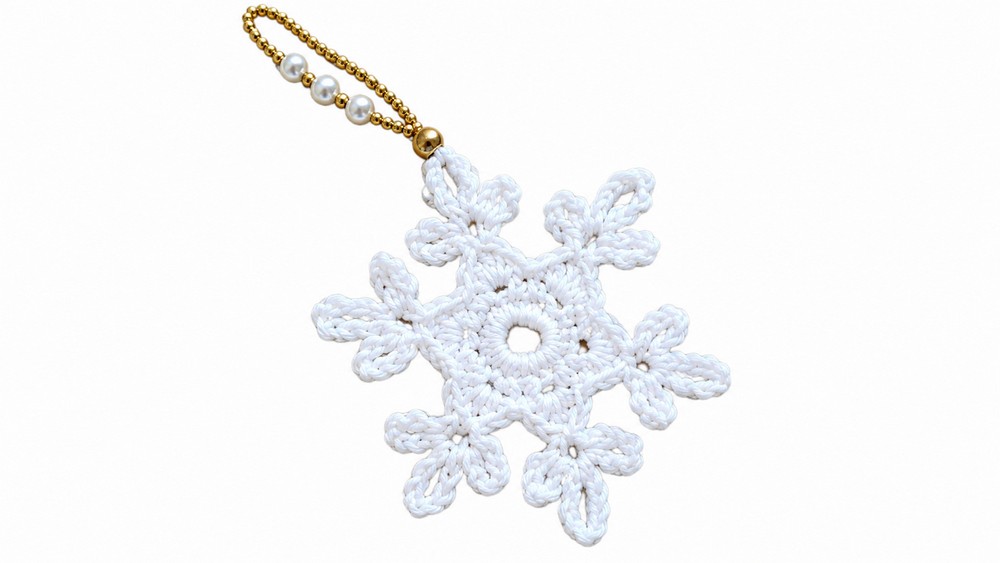
- Shape: Six-pointed, traditional snowflake
- Construction: Worked continuously in three rounds: center ring, formation of gaps, and elaborate snowflake points with chain loops
- Finishing: Blocking is crucial for form and stability
Important Notes
- Maintain an even tension throughout to ensure symmetry.
- Blocking is essential for structure; work carefully and allow full drying time.
- When joining rounds or chains with slip stitches, ensure precise placement for crisp points and stability.
- Use worsted yarn for a sturdy yet delicate finish that showcases the snowflake’s negative space.
Difficulty Level
This pattern suits adventurous beginners and intermediate crocheters. Experience with basic stitches—single crochet, half double crochet, double crochet, chaining, and slip stitch—is required. The construction of the chain-based points adds interest without excessive complexity.
Supplies Needed
- Yarn: Worsted weight, classic white or chosen snowflake color
- Hook: 4.5 mm crochet hook
- Tapestry needle: For weaving in ends
- Blocking board or mat with pins
- Water and glue mixture (or starch/soap solution) for stiffening
- Scissors
Size & Measurements
Finished snowflake measures approximately:
- Diameter: 6–8 inches (15–20 cm), depending on yarn, hook tension, and blocking stretch
Gauge & Stitch Details
Gauge is not fundamental for decorative pieces such as snowflakes; however, maintaining a consistent, moderate tension is necessary for symmetrical points and a crisp finish.
- Denser stitches will yield a slightly smaller, firmer snowflake.
- Looser tension may elongate points but can lead to less crispness after blocking.
Crochet Abbreviations
- ch: Chain
- sc: Single crochet
- hdc: Half double crochet
- dc: Double crochet
- sl st: Slip stitch
- st(s): Stitch(es)
Special Stitch Guide
- Center ring: Created by chaining and joining with a slip stitch, worked into as a foundation for first round.
- Cluster point: Formed using a combination of hdc, dc, and three chain loops, each anchored with slip stitches—refer to Round 3 instructions.
- Blocking: Wetting and pinning out to shape with water and glue/soap mixture ensures the snowflake’s crisp, delicate appearance.
Complete Crochet Pattern
The Center Ring
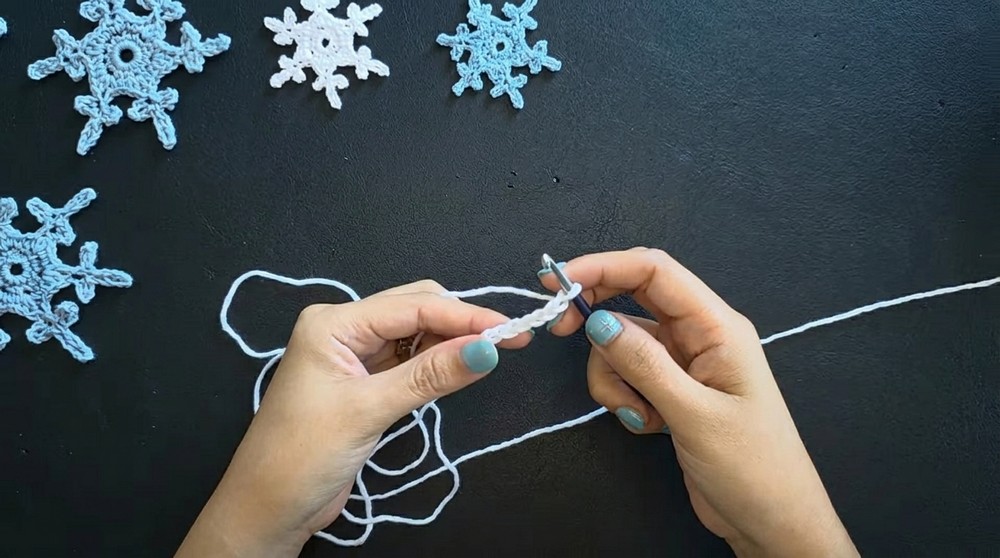
- Begin with a slip knot on the hook.
- Ch 6 to form a base.
- Sl st into the first ch to create a ring.
- Ch 1 (counts as first sc).
- Work 11 sc directly into the ring (Total: 12 sts).
- Join with a sl st into the very first ch-1.
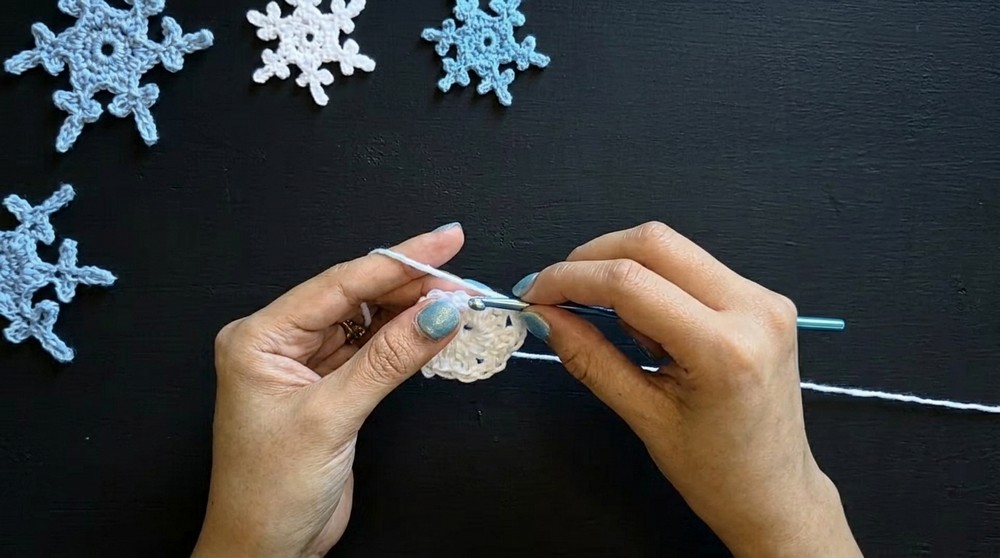
Creating the Gaps
- Ch 1, sc in next st.
- Ch 2, sc in next st. Repeat this process all the way around until you have 6 ch-2 gaps.
- After the last gap, join with a sl st to your starting stitch (the first ch-1).
The Snowflake Points
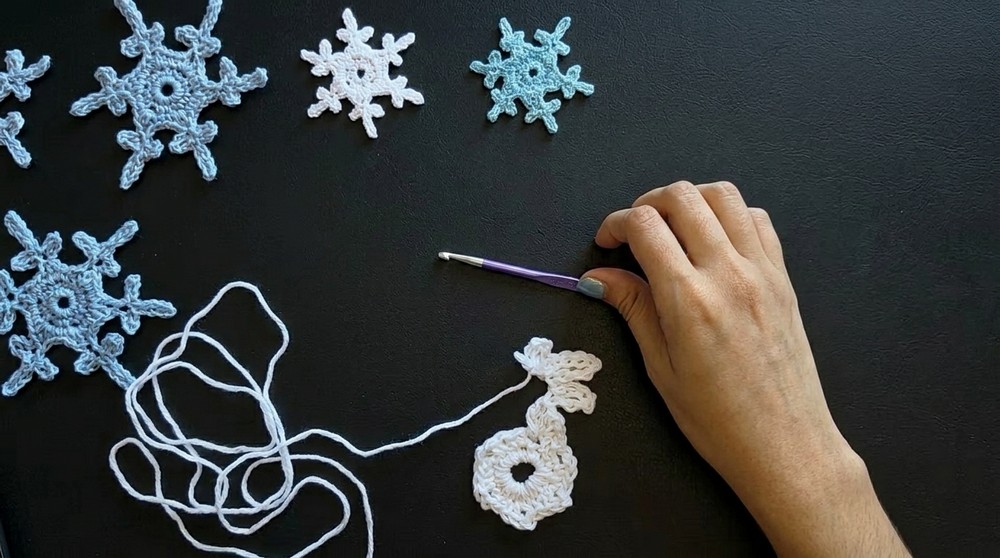
- Ch 1, sc into the next st.
- Into the first ch-2 gap: hdc, dc.
- Ch 6, sl st to the first ch of that chain (forms a small loop).
- Ch 8, sl st to the first ch of that chain (forms a larger loop).
- Ch 6, sl st to the first ch of that chain (another small loop).
- Join this cluster back into the snowflake by sl st into the top of the previous dc.
- hdc back into the same ch-2 space for symmetry and bulk.
- Sl st into the next sc to finish the first point cluster.
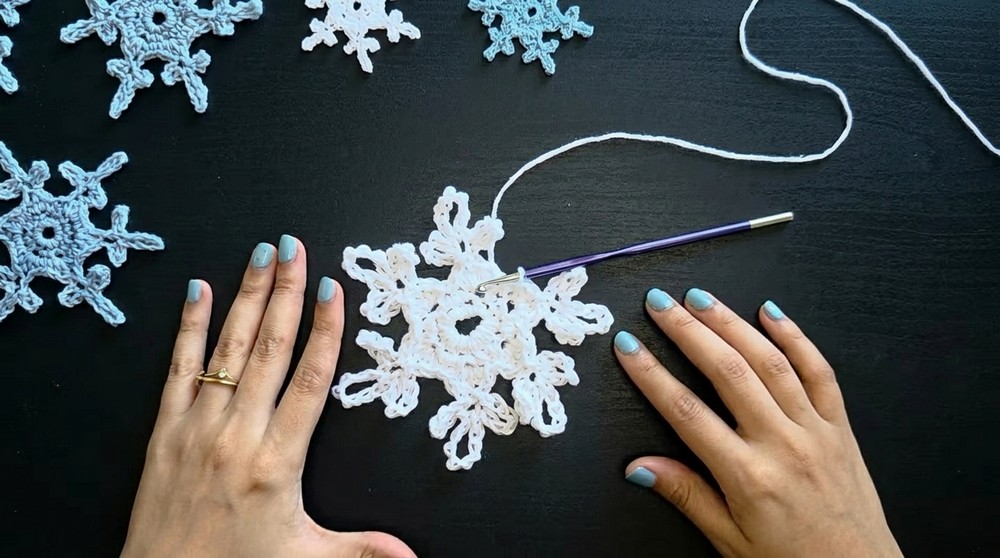
- Move to the next ch-2 gap and repeat the cluster sequence: ((hdc, dc, ch 6, sl st, ch 8, sl st, ch 6, sl st, sl st to dc, hdc) in gap, then sl st into next sc) for all 5 remaining points.
- At the final repeat, join into the top of the last dc and sl st into the project to finish.
- Fasten off and weave in ends.
Blocking & Finishing
- Prepare a mixture of water and white glue (or use water with soap/starch) and fully wet the finished snowflake.
- Lay the snowflake on a blocking board or mat. Pin the six points, as well as the chain loops, pulling gently to achieve a symmetrical, crisp shape. Adjust as needed for perfect spacing.
- Allow to dry fully (about 24 hours) before removing pins to ensure the snowflake is stiff and holds its shape perfectly.
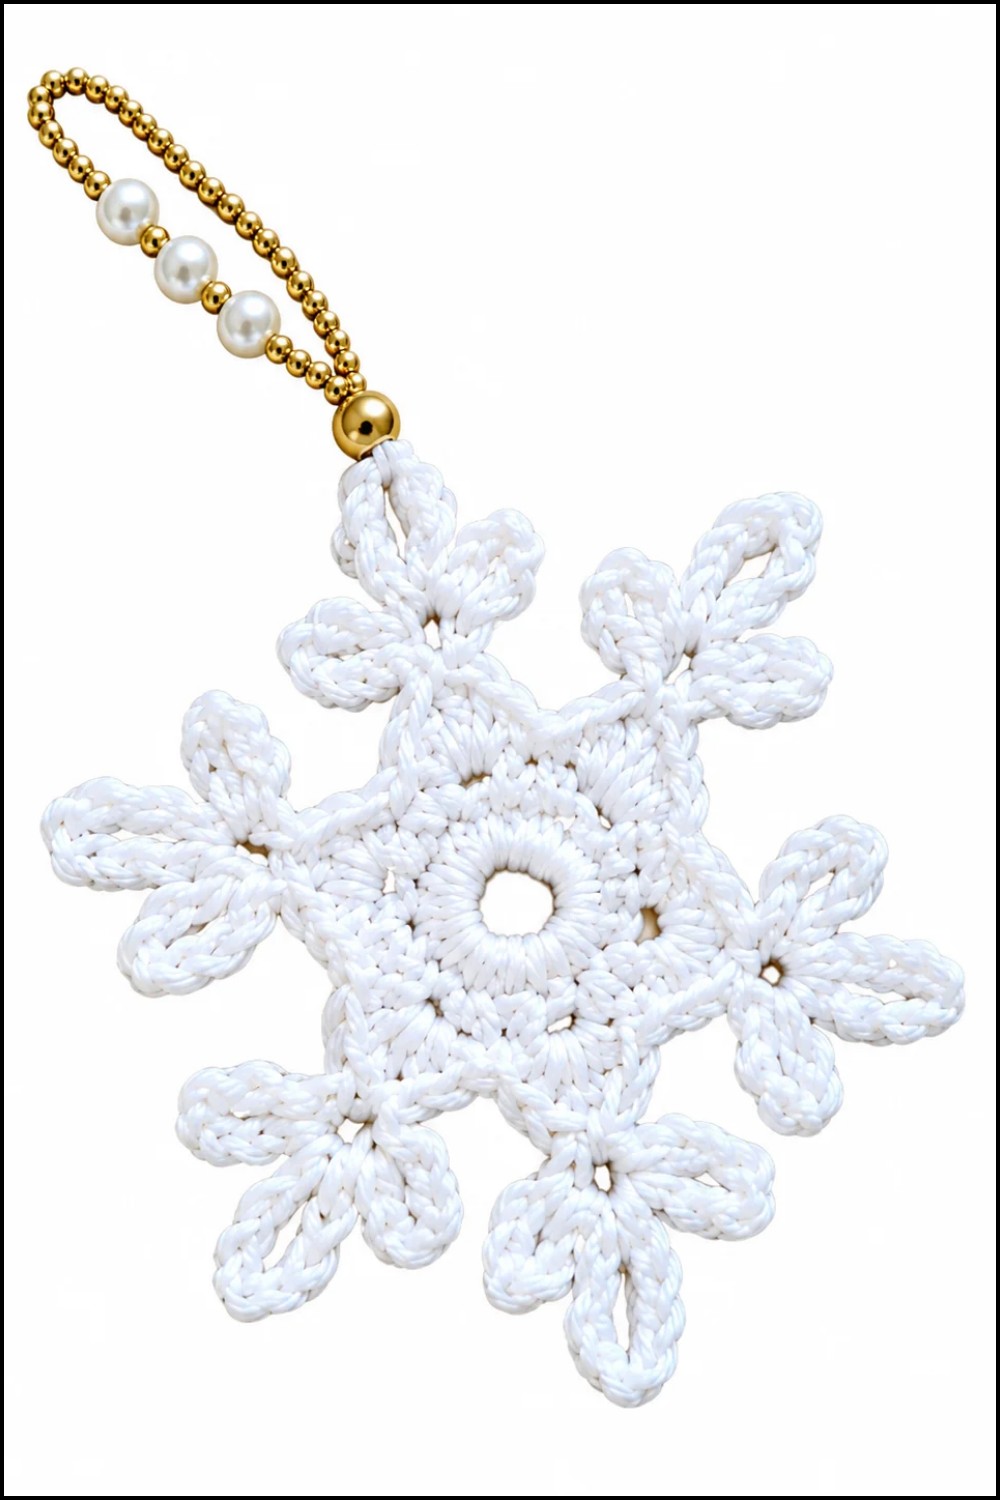
- Optionally, attach a hanging loop or thread for ornaments or garlands.
Assembly & Finished Size
No assembly is required apart from weaving in all yarn tails. Measure your finished and blocked snowflake. If desired, add a loop for hanging or attach to a window with a suction cup hook. After blocking, your snowflake will remain crisp and flat, ideal for seasonal décor.
Conclusion
This snowflake crochet pattern showcases classic round construction developed into striking points through strategic chaining and looping. Attention to detail during blocking ensures every point is evenly spaced and every line is clean. By following each round’s precise stitch placement and repeating the cluster sequence uniformly, your finished snowflake will possess the geometric beauty of the real thing, ready to bring winter cheer as part of a holiday display or as a delicate handmade gift. Diverse yarn and color choices offer further opportunity for customization while maintaining the recognizable elegance of this iconic motif.