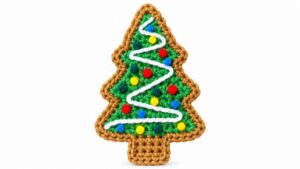
Celebrate cozy evenings with the Crochet Christmas Tree Free Pattern, a sweet seasonal piece for your mantel and family Christmas displays.
The best holiday decorations are often the little ones that have a special place in our hearts. The Crochet Christmas Tree is a lovely holiday project that adds a personal feeling to your festive preparations. It is a wonderful choice for anyone who wants to try something different from the usual store-bought Christmas decorations.
Free Crochet Christmas Tree Pattern With Festive Details
One interesting thing about this project is how yarn can be turned into a beautiful holiday item. The soft stitches give it a pleasant surface, while carefully chosen colors help it match your Christmas theme. You can choose a simple green style or add small decorative details for a more cheerful appearance. A combination of matching yarn shades can also give it a lovely finish.
Working on this tree can be a relaxing activity during the busy Christmas season. The project involves using crochet stitches to form the main sections and joining them neatly. Paying attention to the finishing details helps the decoration stay in good condition. You can also prepare more than one to share with family members.
This Christmas tree can be used to decorate a small apartment, add a festive touch to a reception desk, or brighten a family gathering space. You can also place it beside a Christmas countdown calendar or include it in a holiday care package for someone living away from home.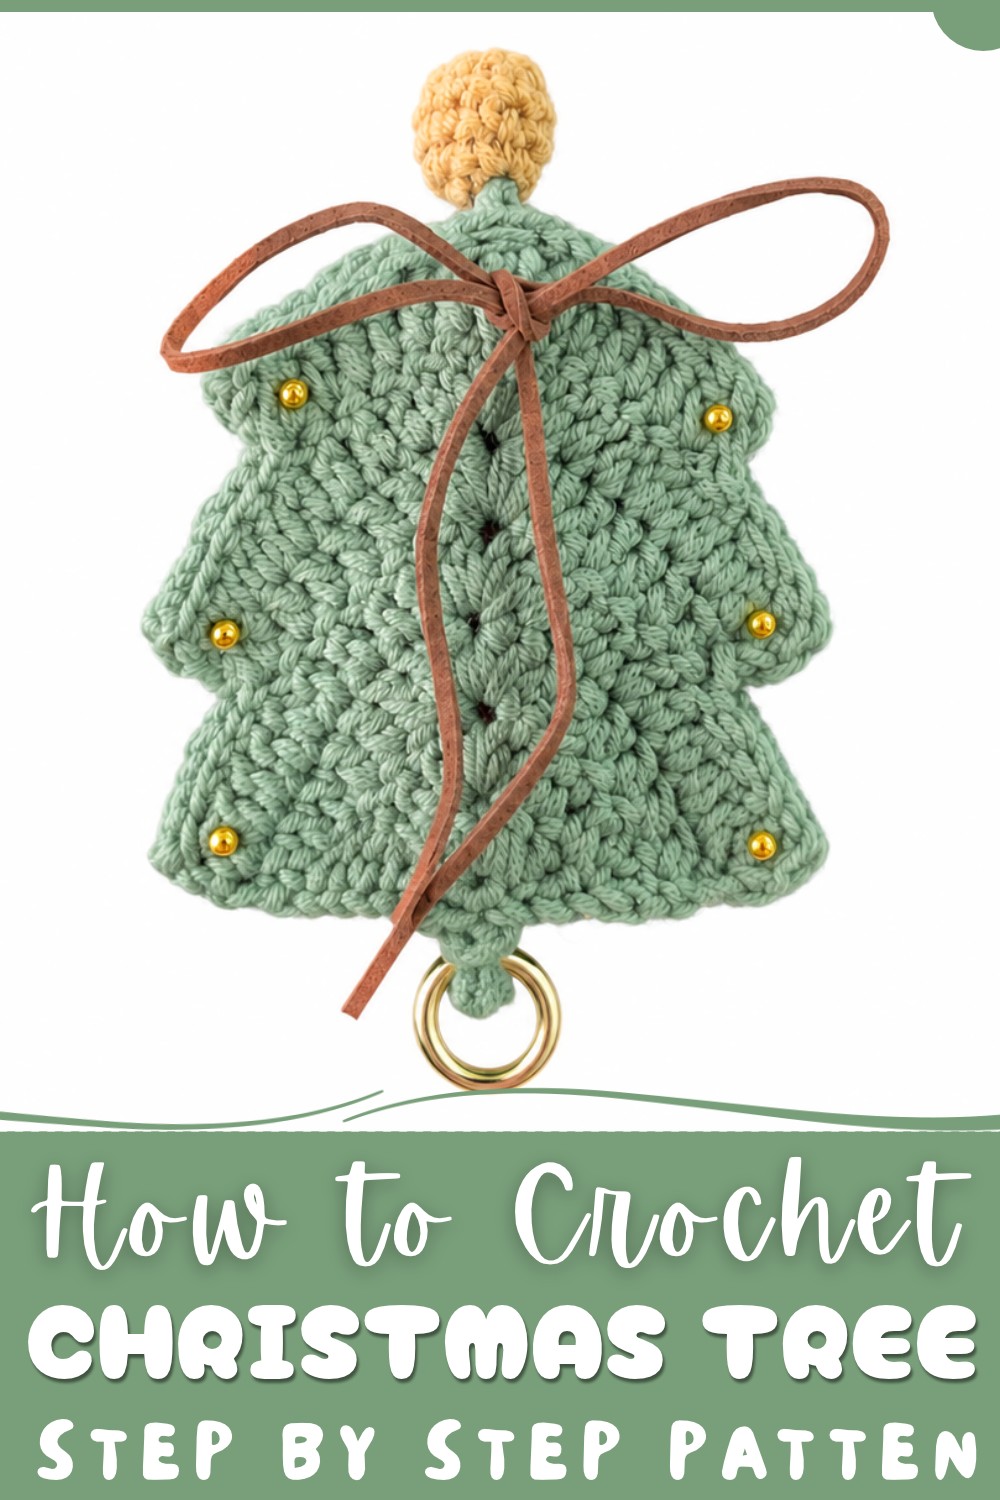
This project offers a lovely reason to spend a quiet afternoon with yarn. Once finished, it can become part of your yearly Christmas preparations, reminding you of the time and care you put into it.
About the Pattern
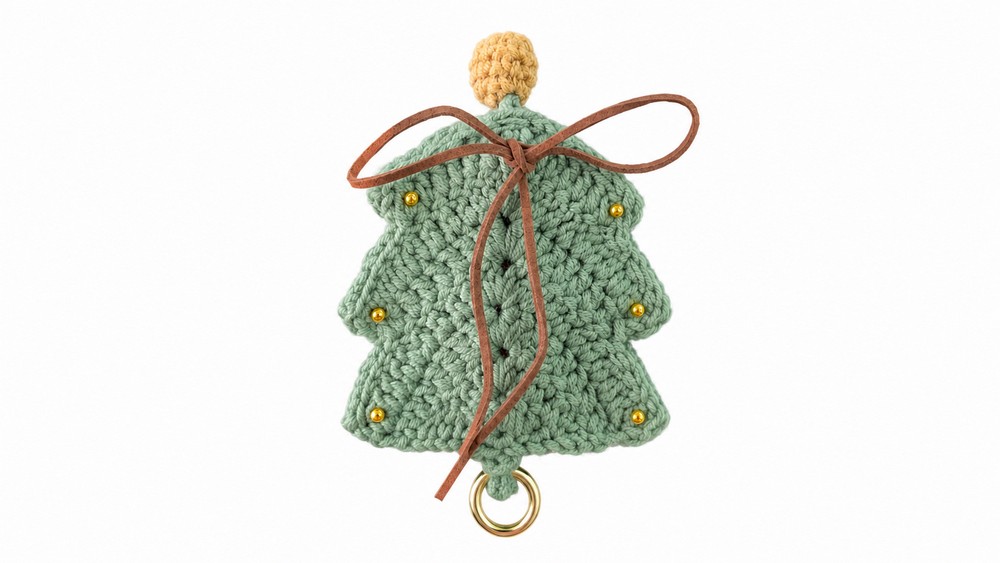
The crochet tree ornament pattern crochetes a festive, three-dimensional tree ornament or bag charm, featuring two identical tree panels joined together for firmness and dimensionality. Decorative details, including a miniature ball for the treetop and beaded embellishments, provide extra charm and texture. A long crochet chain forms a hanging loop or lanyard, making the piece ideal as a decorative gift, holiday accessory, or playful project for seasonal décor.
Pattern at a Glance
- Shape: Symmetrical tree, worked in rows, joined for a plush effect.
- Construction: Worked flat and then joined, with a top ball and decorative features.
- Finishing: Includes a chain loop or lanyard for hanging, beaded baubles as tree ornaments, optional stuffing, and a ribbon or fabric strip for added style.
Important Notes
- Ensure that both tree panels are identical in stitch and row count for a seamless join.
- While joining with slip stitches, take care to align stitches and maintain even tension so the finished piece lies flat.
- If used as an ornament, stuff lightly before closing for a plush look.
- Beads, stripes, and bows should be sewn on securely with even spacing for an attractive result.
- The top ball is worked in the round, using increases and decreases for a small sphere.
Difficulty Level
This project is best suited to adventurous beginners or intermediate crocheters. Skills involved include working in rows, increases, joining panels by slip stitching, crocheting in the round, and basic amigurumi shaping for the ball. Embellishing with beads and finishing techniques require simple hand sewing.
Supplies Needed
- Worsted weight yarn in tree green and accent colors (gold, red, white, etc.)
- Additional color for ball topper
- Crochet hook suitable for yarn (typically 3.0-3.5mm for tightness, adjust as needed)
- Stuffing (fiberfill, optional)
- Yarn needle for sewing and assembly
- Beads or seed beads for ornaments
- Decorative fabric strip, ribbon, or bow (optional)
- Key ring for bag charm, if desired
- Scissors
- Stitch marker for rounds
Size & Measurements
- Finished tree height (excluding lanyard/chain loop): 4–5 inches (10–12 cm)
- Width (widest part): 3–3.5 inches (8–9 cm)
- Measurements may vary based on stitch tension and yarn selection. Lanyard chain can be lengthened or shortened as required.
Gauge & Stitch Details
Gauge is not critical but choose a hook size that results in a tight, sturdy fabric so stuffing does not show. Maintain consistent stitch size for symmetry. Ball is worked in continuous rounds; use a stitch marker to track beginning of rounds.
Crochet Abbreviations
- MR: Magic ring/circle
- ch: Chain
- sl st: Slip stitch
- sc: Single crochet
- dc: Double crochet
- inc: Increase (work 2 stitches in the same stitch)
- dec: Decrease (work 2 stitches together)
- st(s): Stitch(es)
Special Stitch Guide
- Magic Ring: Wrap yarn into a ring, insert hook, chain to secure, and work required stitches into ring before pulling closed.
- 2-dc, ch-1, 2-dc (Tree Center): Standard shell increase forming the tree’s central peak for each row.
- Slip Stitch Join: With right sides facing out, insert hook through matching stitches of both panels and pull up a loop. Pull this loop through the loop on the hook to make a slip stitch, joining as you go.
Complete Crochet Pattern
Part 1: Tree Panels (Make 2)
- Foundation:
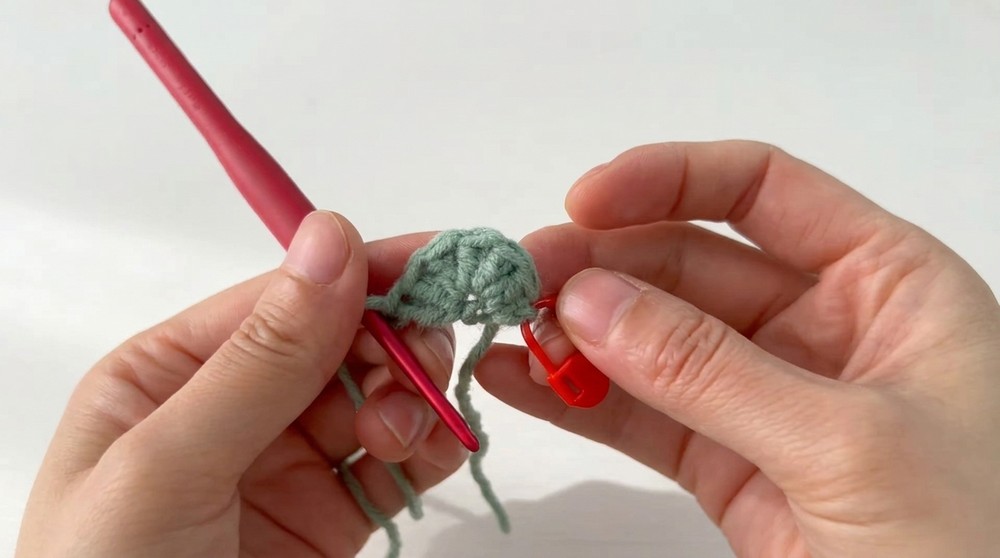
- Create a magic ring.
- Ch 4 (counts as base and first dc).
- 1 Row :
- Into the 4th ch from hook, work 6 dc.
- (Total: 7 dc in row. V-count in the pattern may begin after initial set-up.)
- 2 Row :
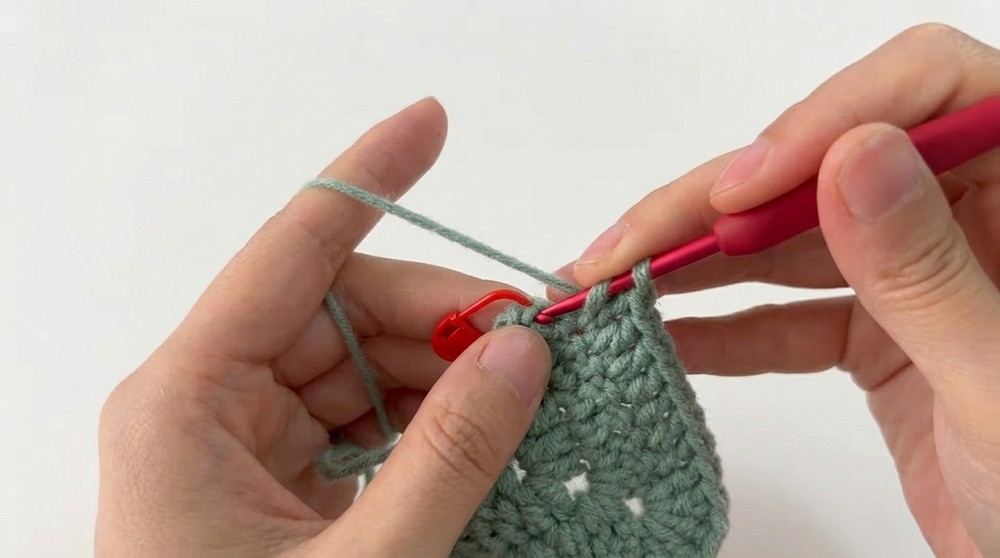
- Turn. Ch 3 (counts as first dc).
- Dc in same st.
- Dc in next st.
- In center st: 2 dc, ch 1, 2 dc (shell in center).
- Dc in next st.
- 2 dc in last st.
- 3 Row :
- Turn. Ch 3, dc in same st.
- Dc in each st to center ch-1 space.
- In ch-1 space: 2 dc, ch 1, 2 dc.
- Dc in each st to last.
- 2 dc in last st.
- 4-7 Rows :
- Repeat Row 3.
- Continue working back and forth, increasing at first and last st of each row, with the 2 dc, ch 1, 2 dc in the center ch-1 space creating the tree point and symmetry.
- Each row gets wider, shaping the tree.
- End after Row 7 (or desired size).
- Fasten off and weave in ends.
- Make second identical panel.
Joining
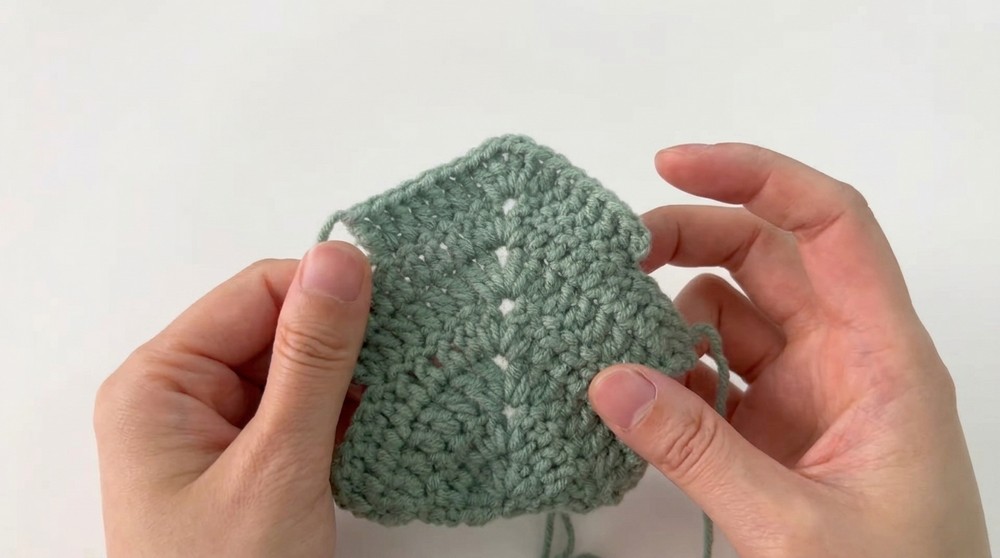
- Place panels together with right sides facing out.
- With hook, sl st evenly around the sides, aligning stitches from both pieces and working up one side, around the top, and down the other.
- Use a specific slip stitch technique to smoothly curve at the tree point/center top for a neat join.
- Leave the bottom edge open.
Lanyard / Hanging Loop
- Ch 60 (or your preferred length).
- Thread chain through the top center of the tree with a yarn needle or directly with the hook.
- Knot or secure as desired.
Decorative Ball (Topper)
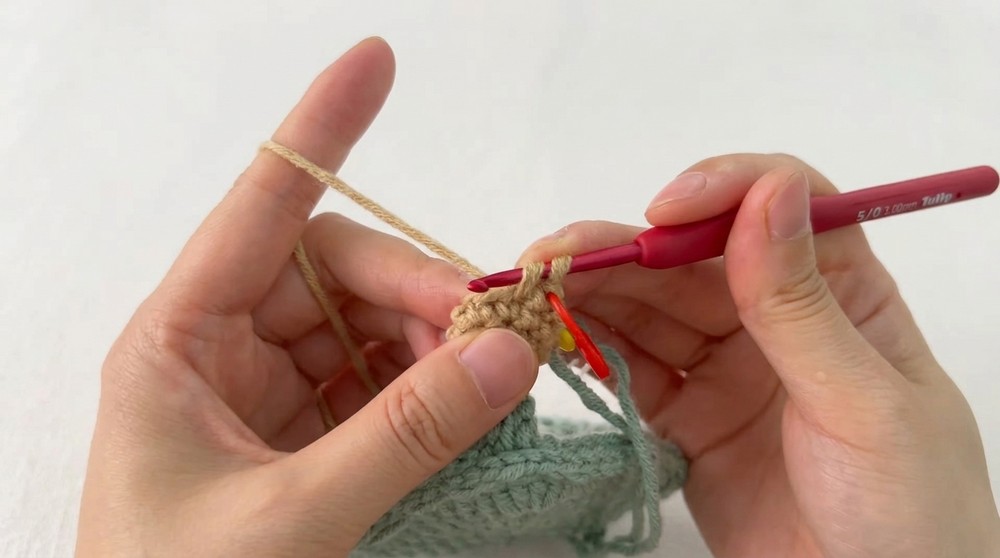
- With accent color, make a magic ring.
- Round 1: 6 sc in magic ring.
- Round 2: (inc round) 2 sc in each st around (12 sts).
- Rounds 3-4: Sc in each st (keep track with a stitch marker).
- Round 5: (dec round) Sc2tog (decrease) around (6 sts).
- Stuff with a little fiberfill.
- Round 6: Sc2tog until closed.
- Sew ball securely to tree top.
Embellishment
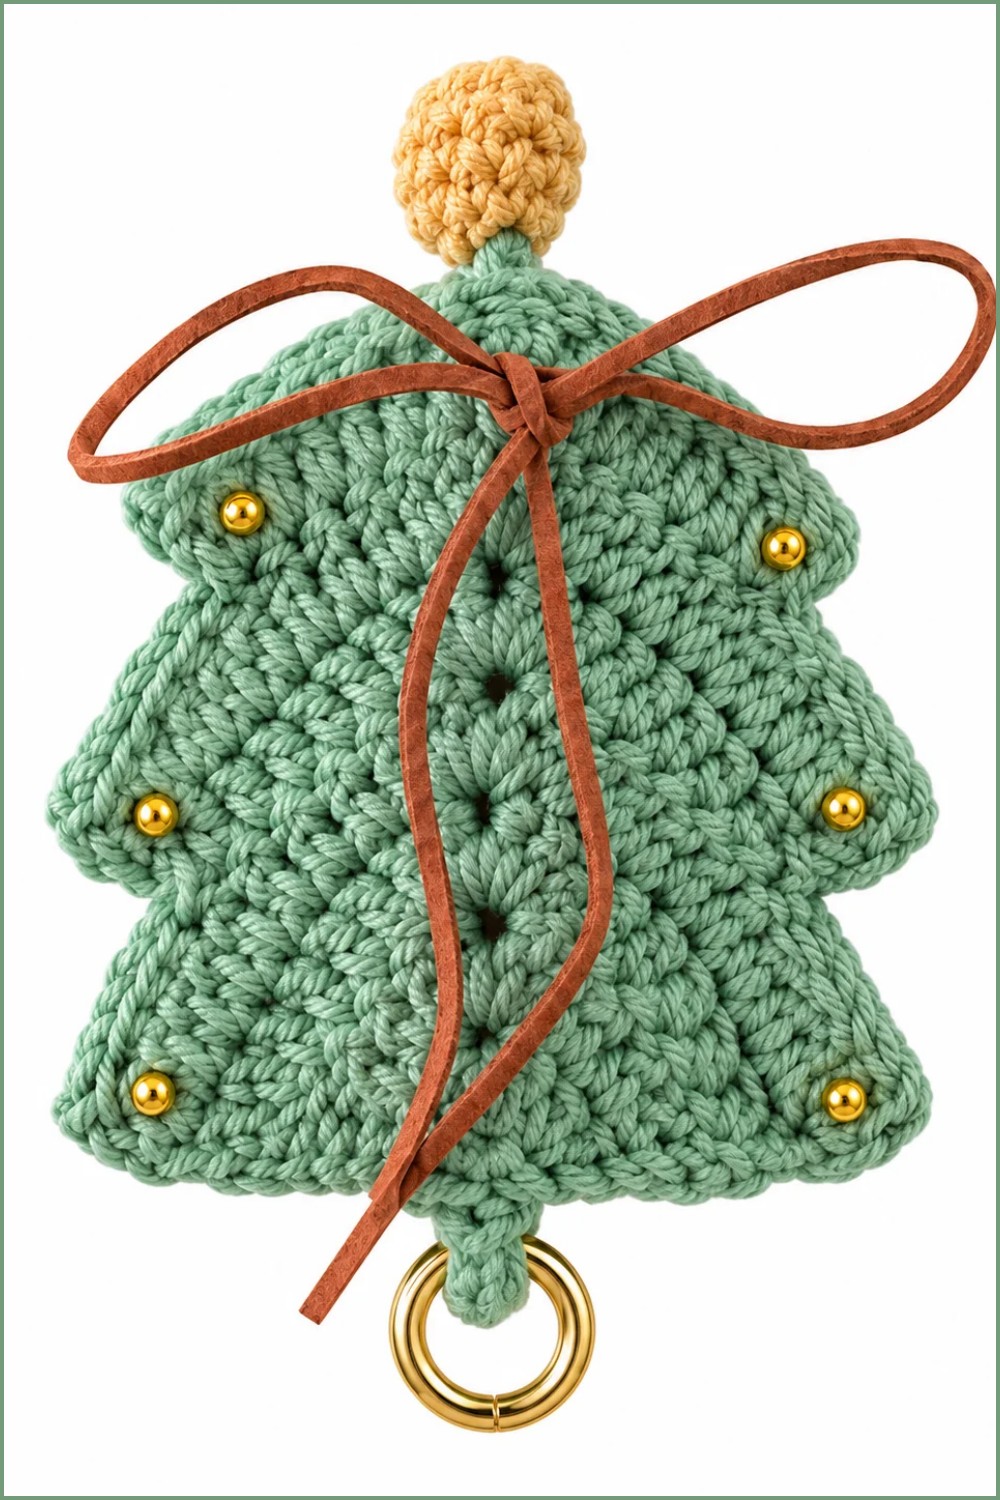
- Hand sew beads onto pointed corners and randomly across tree for “ornaments”.
- Attach fabric strip, decorative bow, or ribbon to center of the tree as an accent.
- For a bag charm: Attach a key ring to the lanyard or tree top.
Ornament Version (Optional Stuffing and Hanging Loop)
- Sew the slip-stitched sides up to the top, then begin closing lower sides, leaving a small gap.
- Lightly stuff with fiberfill for a soft, puffy tree.
- Close bottom edge with slip stitch or sewing needle.
- Attach a short chain or ring at the top for an ornament hanging loop.
Assembly & Finished Size
Shape ornament as desired. Securely weave in all yarn ends and ensure all embellishments are firmly attached. Finished tree should be plush, symmetrical, and ready for display, with a hanging or lanyard loop tailored to your purpose.
Conclusion
This festive tree crochet pattern provides creative satisfaction in every phase, from sculpting the classic holiday silhouette to adding playful baubles and ribbons. Its dual-panel construction offers a sturdy, dimensional result, ideal as a handcrafted ornament, keychain, or seasonal décor. The adaptable pattern encourages personalization with color, texture, and creative embellishment, making each piece a unique celebration of holiday spirit and handmade tradition.