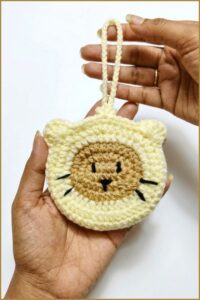
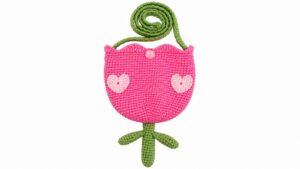
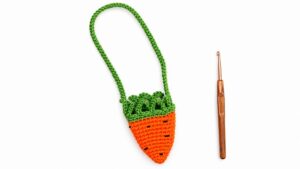
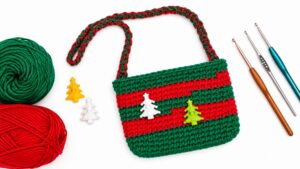
Complete a cute doll outfit with this Crochet Bag For A Doll Free Pattern and enjoy a small purse that looks lovely with little dresses and shoes.
@CrochetToysIryna sparks creativity with her delightful tutorial that brings the charming Crochet Doll Bag to life, making it a fun and easy project for all skill levels.
The Crochet Doll Bag is a cute and practical purse, perfect for holding small treasures or tiny dolls. It usually measures about 6 to 7 inches wide, making it just the right size for little hands or as a playful accessory.
Beautiful Crochet Doll Bag Free Pattern For Dress Up Fun
The bag features a sturdy rectangular body, a flap closure, and a strap that can be worn over the shoulder or across the body. These simple yet thoughtful details make it both functional and stylish. Designed for beginner to intermediate crocheters, this project combines basic stitches with straightforward assembly steps.
Why you'll love making this bag is the satisfying process: you start by crocheting the main body using simple stitches like single crochet, creating a firm fabric that holds its shape well. Then, the flap and strap are crocheted similarly and sewn on.
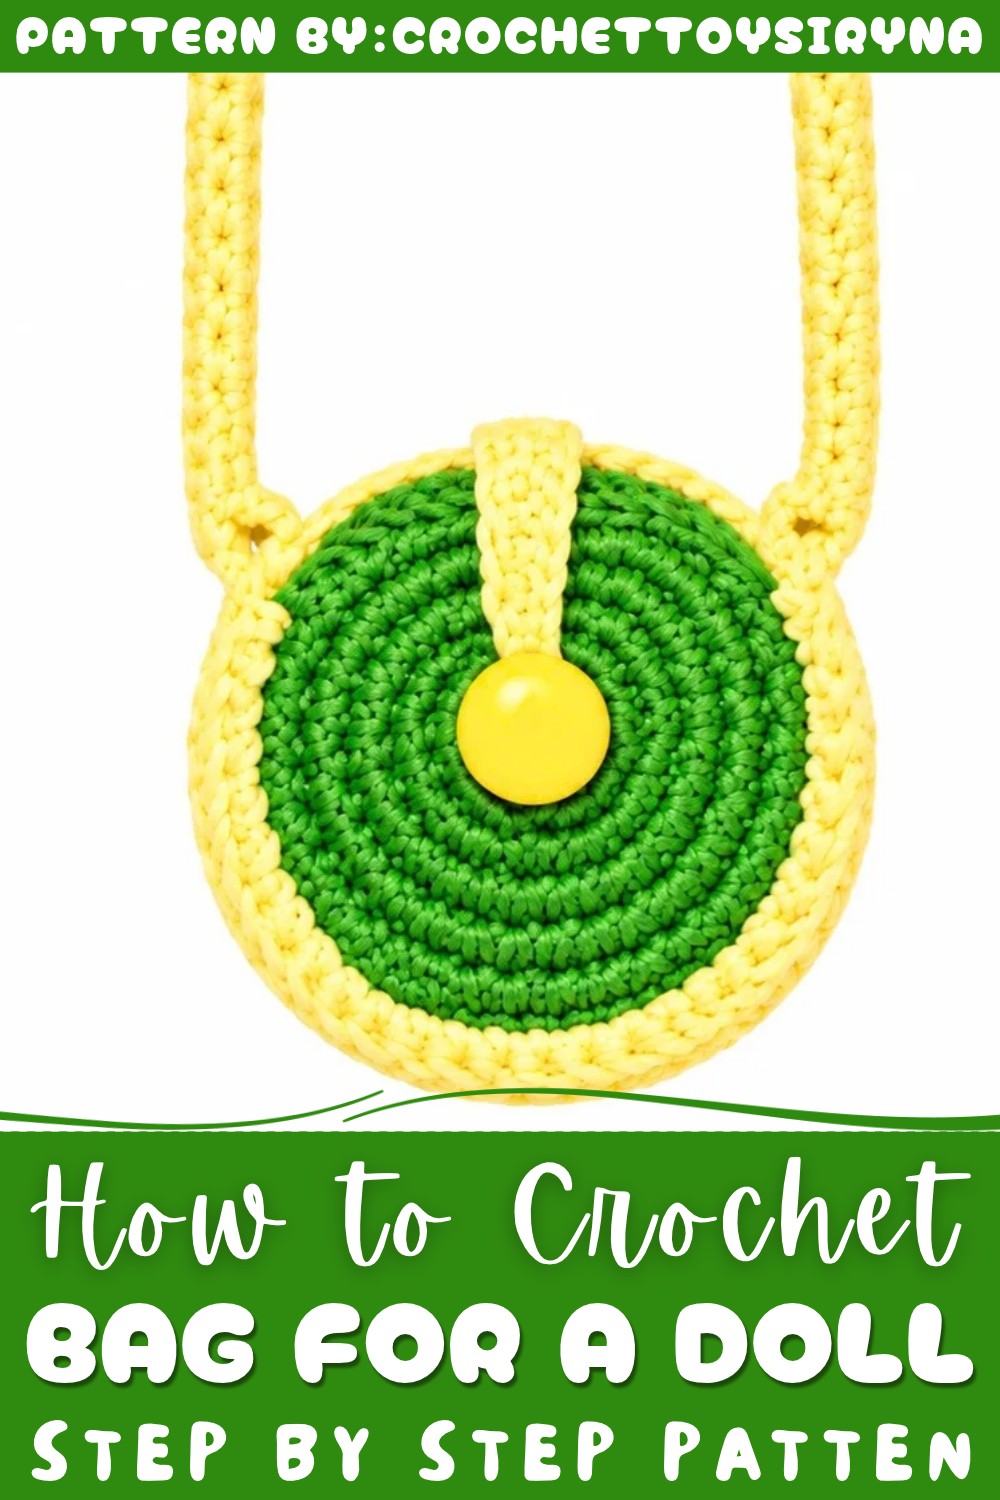
Looking for a sweet and manageable crochet project? Grab your hook and yarn, and dive into making your own Crochet Doll Bag with this free pattern—you’re going to love it!
About the Pattern
This design creates a compact, doll-sized crochet bag with a structured body, an easy side insert, an adjustable shoulder strap, and a secure closure using a shank button. The pattern focuses on shaping circular panels, working a flexible insert, and neatly assembling all parts for a polished miniature accessory, ideal for dolls, plush toys, or display.
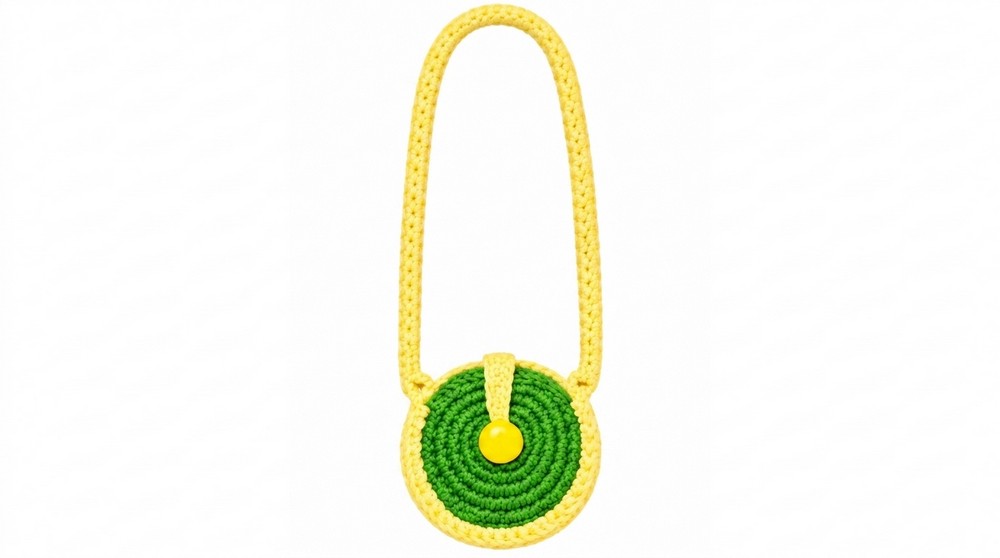
Pattern at a Glance
- Sections: Two circular bag panels, side insert for depth, shoulder strap, bottom edging, closure flap/latch
- Techniques: Working in rounds, increases, magic ring start, panel joining, simple chains, double crochet and single crochet
- Features: Buttonhole with a shank button, adjustable strap, structured sides
Important Notes
- The shape and sturdiness of each panel depend on accurate stitch counts and even tension.
- A shank button (button on a leg) is essential; the buttonhole is formed via the magic ring center.
- Tighten the center of the second panel for the buttonhole; do not skip this step.
- Mark stitches precisely before joining pieces to ensure symmetry.
- Seamless assembly is achieved by crocheting the side insert directly to the panels using single crochet.
- All yarn ends should be woven in securely after assembly for clean finishing.
Difficulty Level
This pattern is suitable for advanced beginners and beyond. It requires familiarity with basic stitch increases in rounds, double crochet, working in the round, joining panels with single crochet, and minimal shaping.
Supplies Needed
- Yarn: YarnArt Jeans or comparable sport weight cotton/acrylic blend
- Crochet hook: 2 mm or size recommended for yarn
- Button with shank (button “on a leg”)
- Yarn needle
- Stitch markers
- Scissors
Size & Measurements
- Finished bag: Approx. 7.5 cm diameter panels, 15 cm strap (adjustable), 4 cm side depth
- Side insert: About 11 cm (chain length) × 1 cm (width)
- Suitable for dolls sized 20–30 cm
Gauge & Stitch Details
- Gauge: Not critical. Aim for tight stitches to ensure bag structure and longevity.
- Panels: Worked in rounds with single crochet increases.
- Side insert and strap: Double crochet rows and chains.
- All stitches should be compact to minimize stretching and deformation.
Crochet Abbreviations
- MR: Magic Ring
- SC: Single Crochet
- DC: Double Crochet
- HDC: Half-Double Crochet
- CH: Chain
- SL ST: Slip Stitch
- INC: Increase (2 stitches in one stitch)
Special Stitch Guide
- Magic Ring (MR): Form an adjustable loop; work stitches into ring to begin circular panel.
- Single Crochet Increase: Work 2 single crochets in one stitch.
- Half-Double Crochet (HDC): Yarn over, insert hook, yarn over, pull through, yarn over, pull through all three loops.
- Double Crochet (DC): Yarn over, insert hook, yarn over, pull through, yarn over, pull through two loops, yarn over, pull through remaining two loops.
Complete Crochet Pattern
1. Main Bag Panels (Make 2)
Panel Formation:
- MR with 6 SC.
1 Round:
- 2 SC in each stitch (total 12 SC).
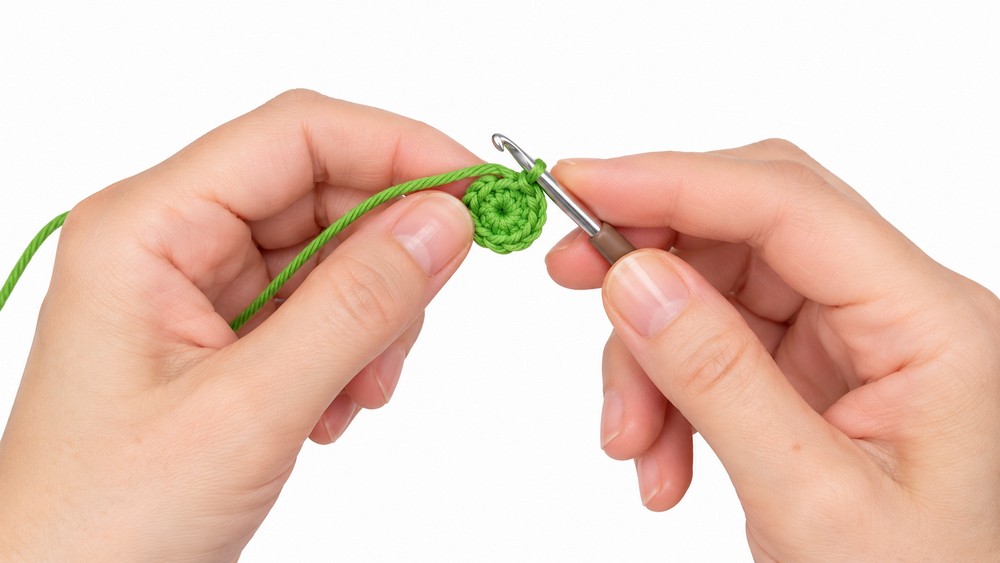
2 Round :
- (1 SC, INC) repeat 6 times (18 SC).
3 Round :
- (2 SC, INC) repeat 6 times (24 SC).
4 Round :
- (3 SC, INC) repeat 6 times (30 SC).
5 Round :
- (4 SC, INC) repeat 6 times (36 SC).
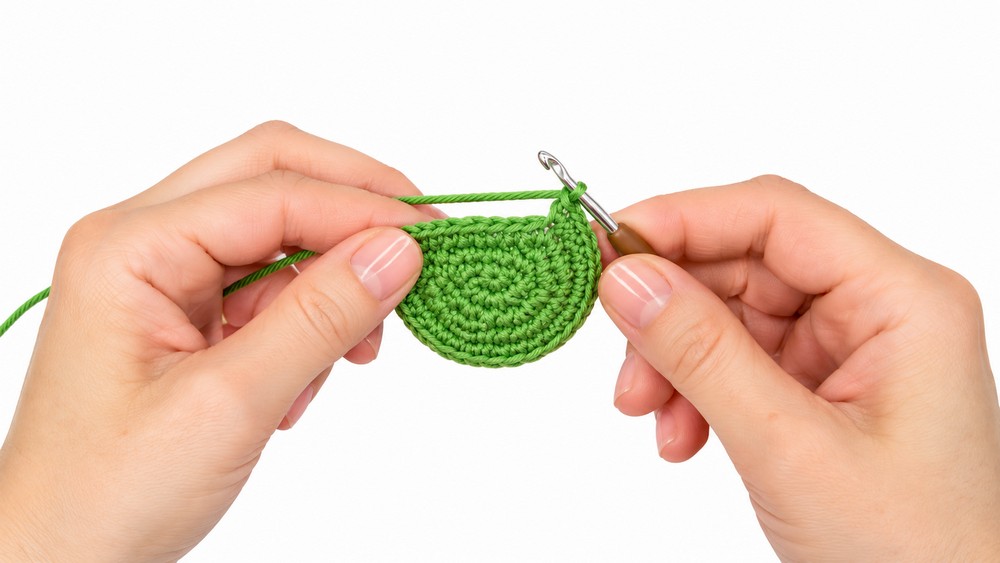
6 Round :
- (5 SC, INC) repeat 6 times (42 SC).
Finish:
- Work 1 HDC to level the edge.
Note:
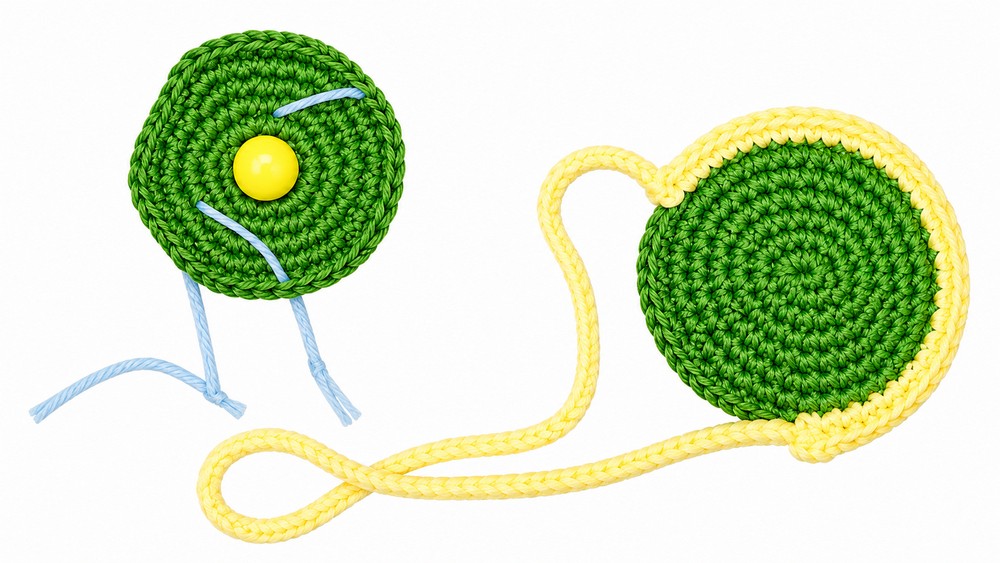
- On the second panel, pull the magic ring center tightly and secure, as this will be the buttonhole.
2. Side Insert
- CH 31.
Row 1:
- Starting from the third chain from the hook, work 29 DC across the chain.
Finish:
- This forms a flat strip to insert between the panels.
3. Assembly
Panel Preparation:
- Mark 3 stitches at the top center of each panel. This ensures the side insert lines up properly.
Joining:
- Place the panels wrong sides together, sandwiching the side insert perpendicular between them.
- Begin joining with SC: Attach the side insert to one panel, working SC evenly around the edge of the insert and circular panel until insert is joined. Repeat for the second panel.
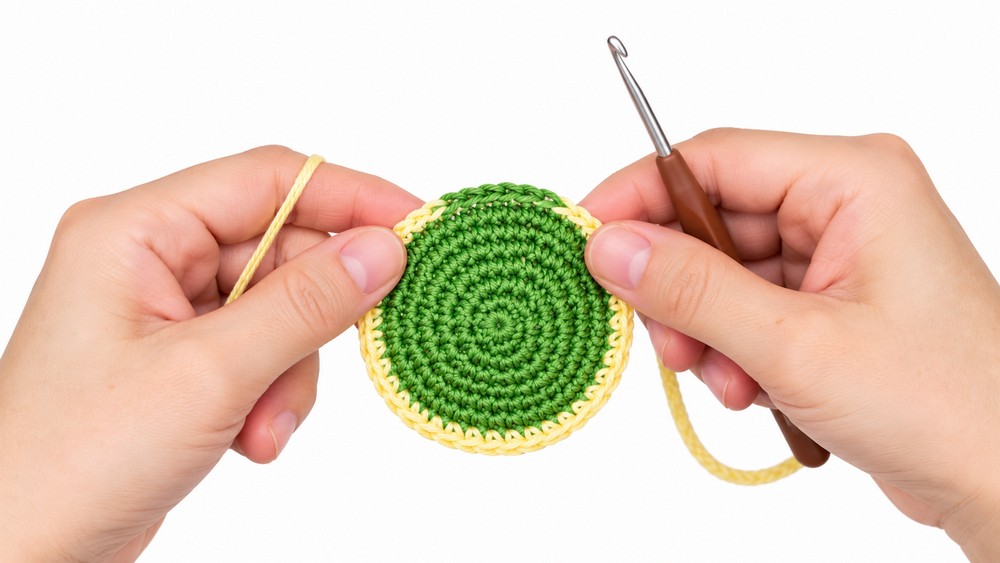
Handle Construction:
- Without cutting yarn at the end of side joining, CH 85 for the shoulder strap.
Strap Attachment:
- Attach strap back to the opposite side of the bag panel with a slip stitch or secure SC join.
Bottom Edging:
- Join the lower edge of the insert and panels. CH 5 for the bottom, connect with a slip stitch, then work SC cleanly along the bottom edge.
4. Closure (Flap/Latch)
Flap Start:
- Begin at the back center of the bag, secure yarn.
Flap Row:
- Work 3 SC into the edge.
Loop:
- CH 18, skip 8 stitches along the bag edge, attach with a SL ST to the 9th stitch.
Return Row:
- Work along the chain:
- 5 SC
- 1 HDC
- 2 DC
Finish:
- End with a slip stitch to secure the flap.
Assembly & Finished Size
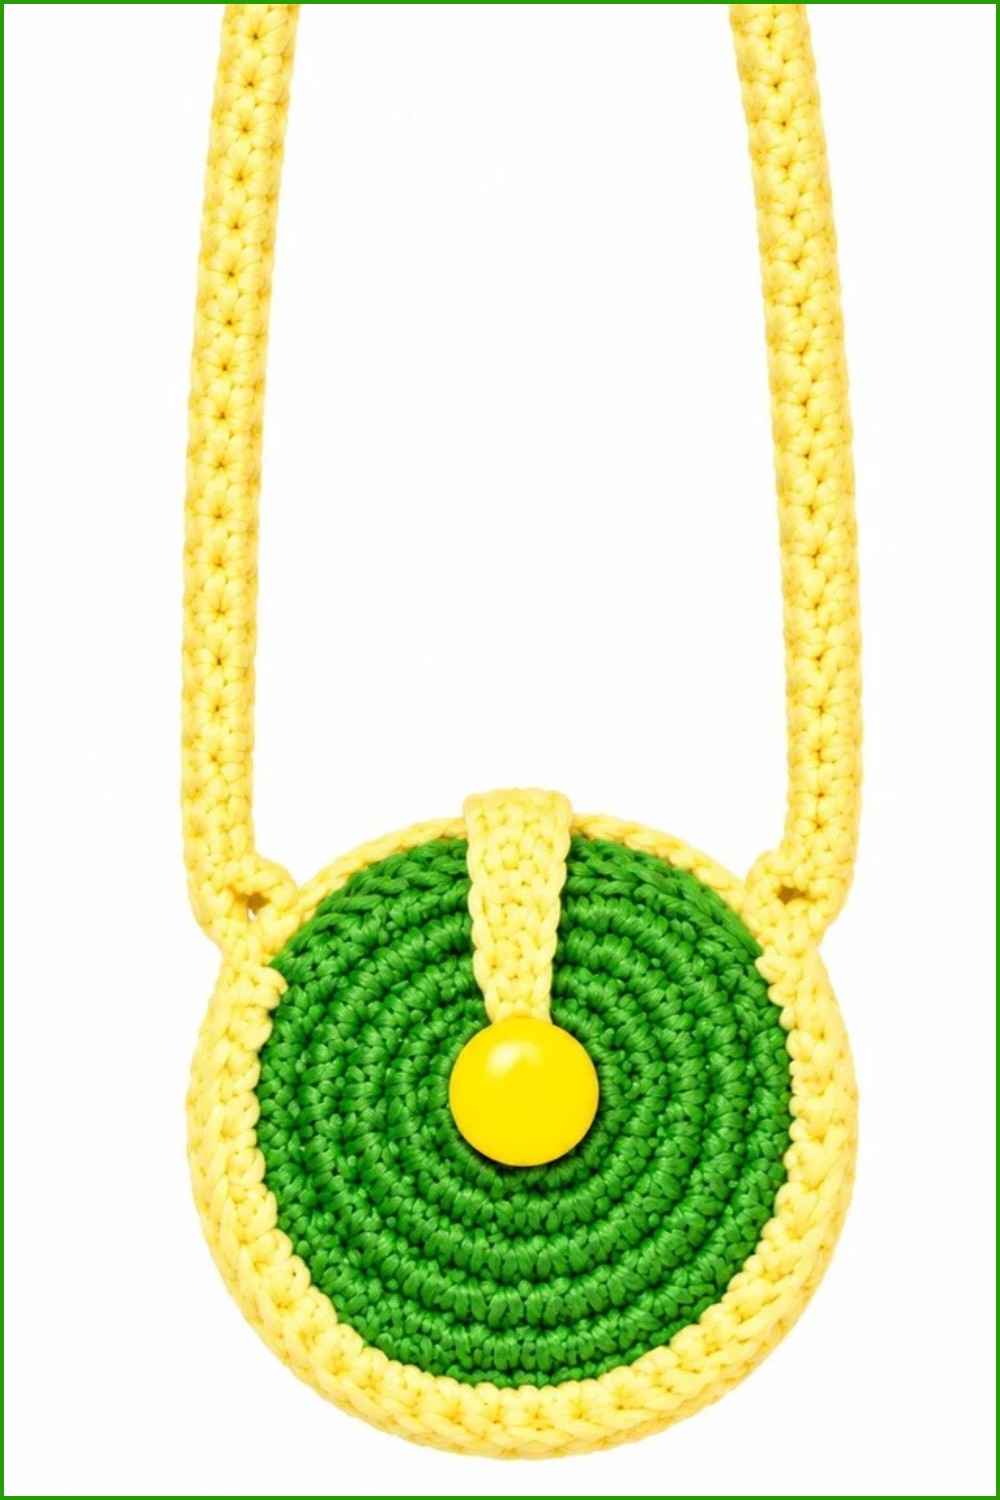
- Attach shank button to the panel opposite the pulled-tight magic ring. The button passes through the hole as a latch.
- Adjust strap length as desired for doll sizing or preference.
- Weave in all ends for a clean lining.
- Finished bag diameter is about 7.5 cm, with strap and closure centered and aligned.
Conclusion
This doll-sized bag pattern utilizes seamless rounds, compact construction, and precise joining for a durable miniature accessory. The magic ring provides a built-in buttonhole, while the double crochet insert gives depth and structure. Strap, flap, and edging are elegantly integrated for a polished finish that suits dolls or small toys. The project adapts easily for color changes or embellishments and highlights both utility and style in a small format.