Bring a fresh look to your accessories with this Crochet Handbag Carrot Free Pattern and make a charming bag for everyday use and lovely gifts.
Behind this playful accessory is the talent of Iryna, known as @CrochetToysIryna on YouTube, who shared the detailed tutorial that inspired the Crochet Handbag Carrot. This bright orange bag shaped like a carrot with leafy green accents stands out with its charm and practicality.
Fun Crochet Handbag Carrot Free Pattern For Bag Lovers
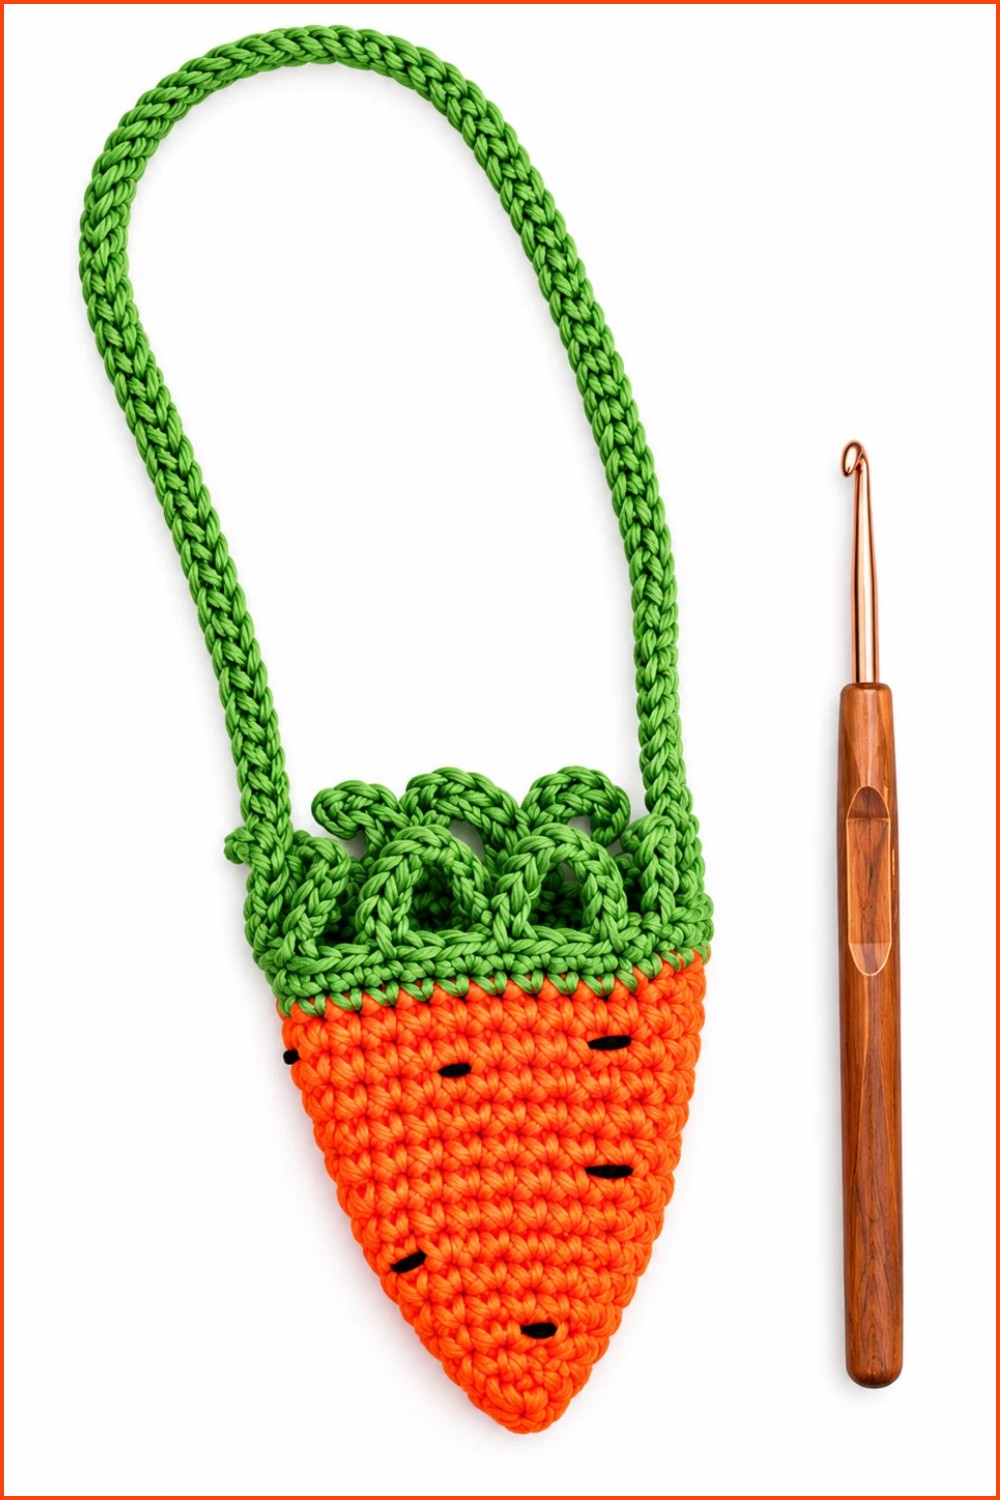
The Crochet Handbag Carrot features vivid colors and a whimsical form, making it a fun addition to daily wear or casual outings. It carries small personal items comfortably while adding a cheerful note to your outfit. The green leafy top is styled with loops or fringes that bring a natural touch to the piece.
An appealing aspect of this Handbag is how easily the size and colors can be modified. You can adjust its dimensions or swap shades to suit your style. Additional elements such as buttons or a zipper can be included for extra flair and function.
The process involves simple crochet stitches starting from a chain and working in rounds to shape the carrot body, followed by adding the leafy top. The instructions are clear, allowing crocheters at various skill levels to complete the item without trouble.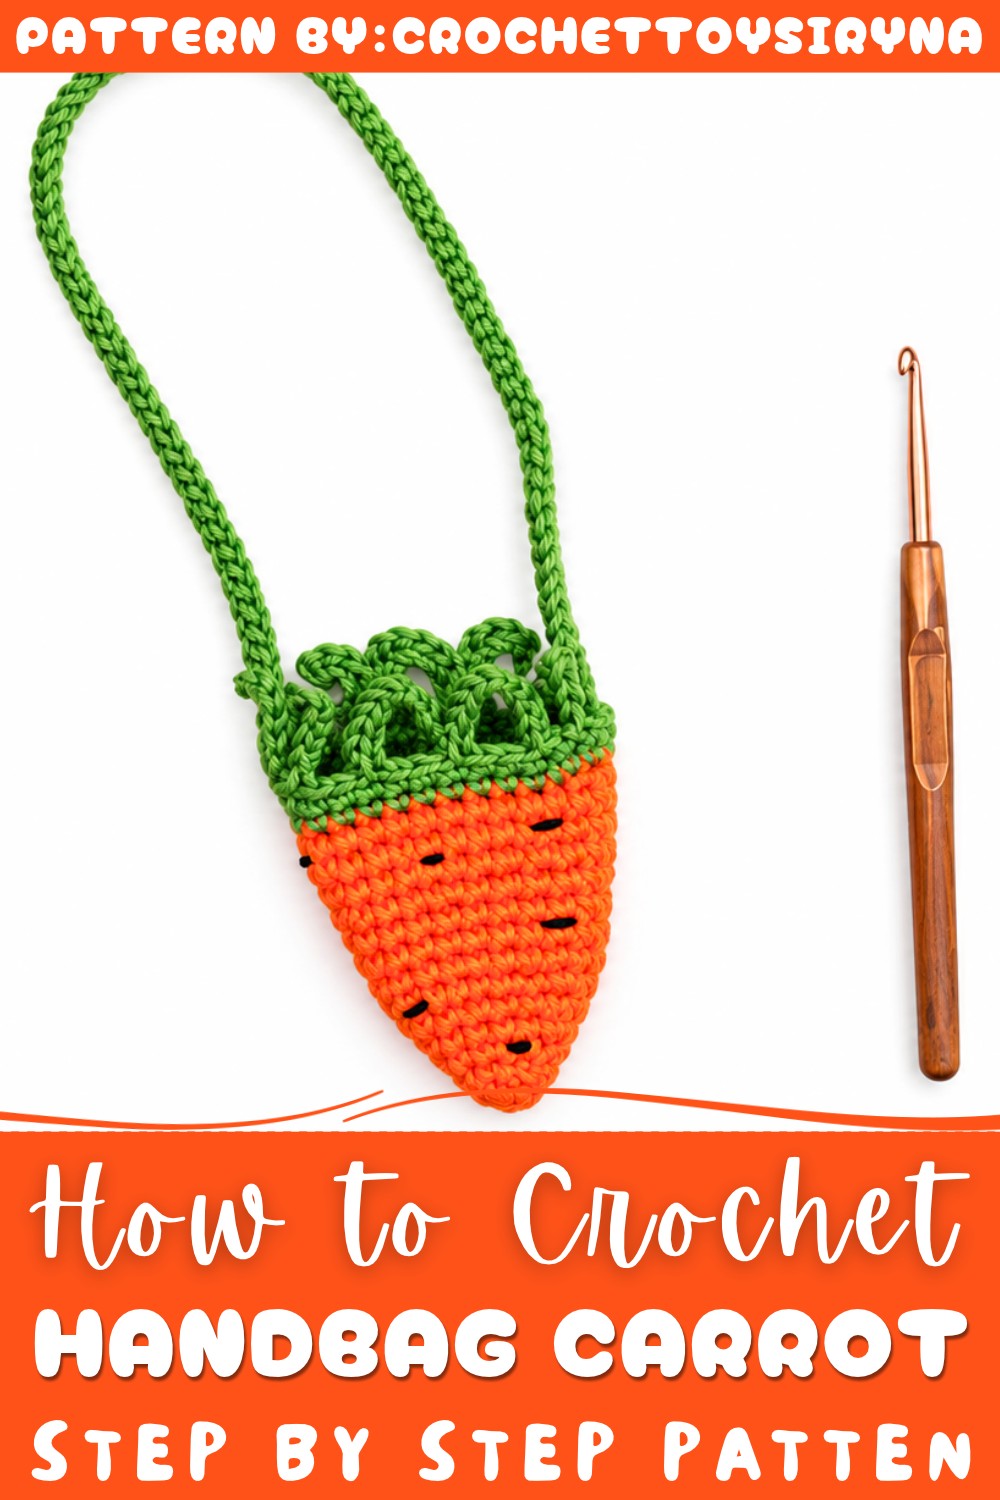
This design captures both playfulness and usefulness, turning everyday utility into an eye-catching statement. A special shout-out to Iryna (@CrochetToysIryna) for sharing this distinctive concept and encouraging makers to have fun with yarn. Her approach empowers many to produce pieces full of personality.
About the Pattern
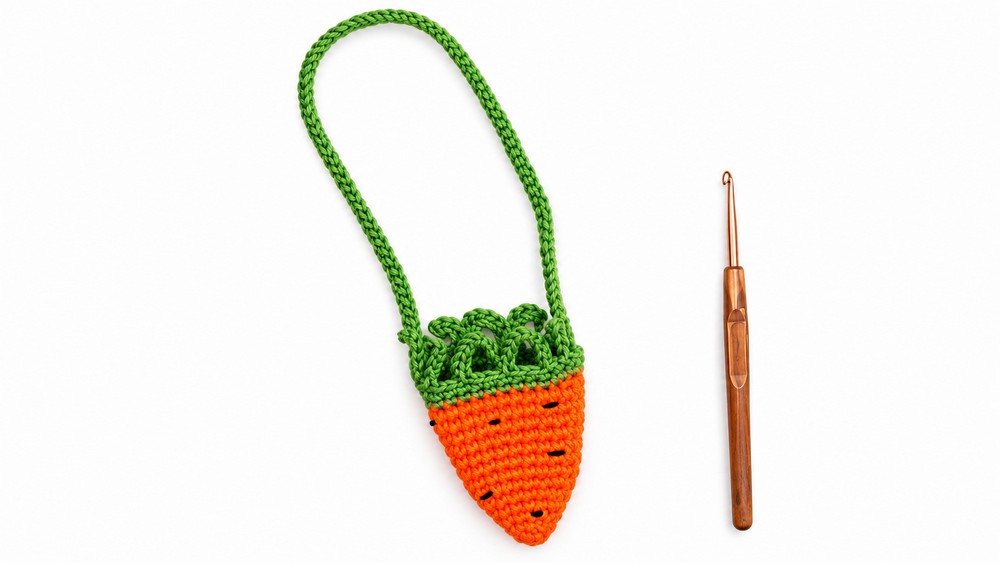
This carrot handbag pattern creates a playful, wearable accessory shaped like a fresh carrot. Constructed primarily in the round and with a combination of amigurumi techniques and simple crochet stitches, the handbag features a vibrant orange body, a textural green top made of crocheted "grass" clusters, a sturdy, thick handle, and subtle black embroidery that mimics the classic surface stripes of a carrot. The design is rooted in practicality—offering a secure, single-compartment shape—while delighting with whimsical details that evoke freshness and garden-inspired charm. Its compact size and soft texture make it appealing for everyday use, particularly for children or themed occasions.
Key Pattern Details
- The carrot body is worked from the base upward in continuous rounds, seamlessly increasing and shaping to form a tapered, carrot-like silhouette.
- Green "grass" clusters and leaves are added at the top, creating dimensional texture and visual contrast.
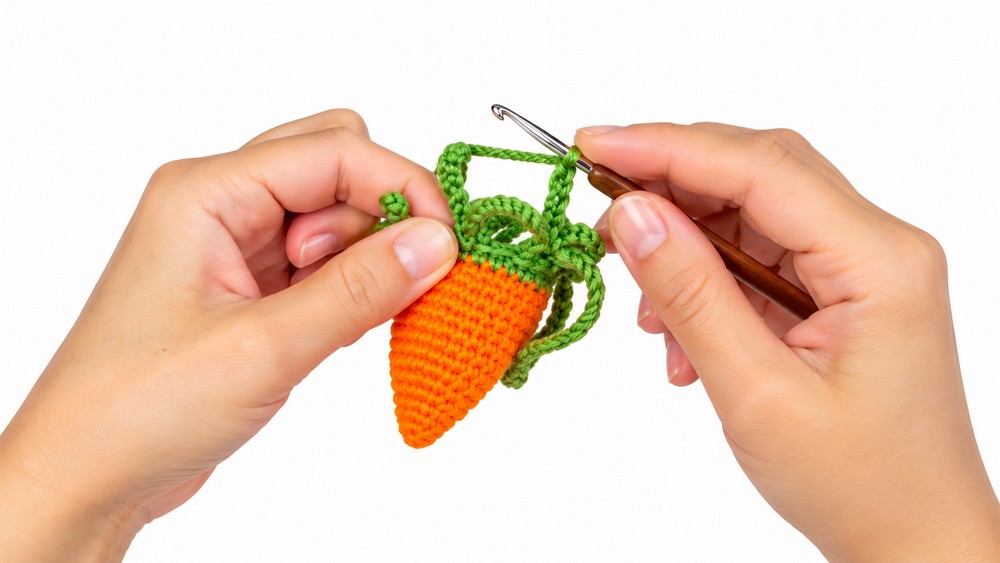
- The handle is crocheted directly onto the bag using chains and half-double crochet stitches, making it strong and more comfortable for carrying.
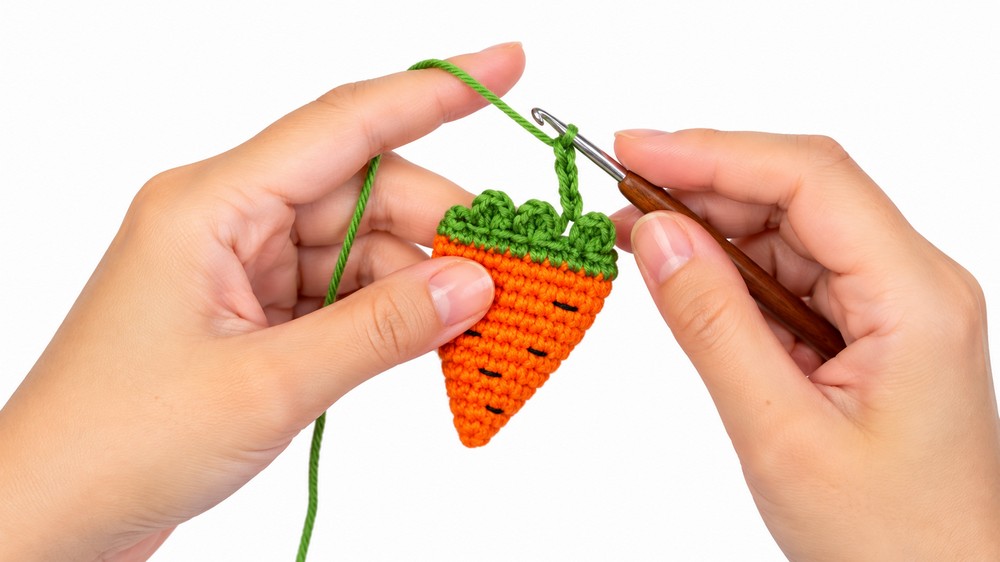
- Embroidered surface stripes replicate the look of a real carrot, enhancing detail and realism.
Important Notes
- The foundational magic ring ensures the base of the carrot is tightly closed, preventing gaps and maintaining the handbag's integrity.
- Switching yarn colors from orange to green is performed seamlessly at the top of the carrot body.
- Embroidery is done after bag assembly, ensuring stripes are only visible on the exterior and internal transitions are hidden.
- Spacing of leaf clusters is controlled using single crochets between each to create balance and avoid crowding.
Difficulty Level
This pattern is ideal for confident beginners and intermediate crocheters. Essential skills include working in the round, increasing/decreasing, color changes, slip stitches, chains, and simple embroidery. No advanced shaping or construction is required, making it accessible yet sufficiently engaging.
Supplies Needed
- YarnArt Jeans yarn in orange and green
- 2.0 mm crochet hook
- Black embroidery thread (for carrot stripes)
- Yarn needle (for sewing and embroidery)
- Scissors
- Stitch marker (optional, for tracking rounds)
Size & Measurements
The finished carrot handbag is sized for a small child or as a fun accessory for adults. The body measures approximately 14–18 cm long, depending on tension and stuffing (if used), with a handle length suitable for carrying or hanging. Adjust the handle chain for your desired fit.
Gauge & Stitch Details
Gauge is not critical as the bag’s shape is determined by rounds and increases. Ensure stitches are tight and consistent to prevent gaps. Aim for a firm structure, especially at the base.
Crochet Abbreviations
- MR: Magic Ring
- SC: Single Crochet
- Inc: Increase (2 SC in one stitch)
- Ch: Chain
- Sl St: Slip Stitch
- HDC: Half-Double Crochet
Special Stitch Guide
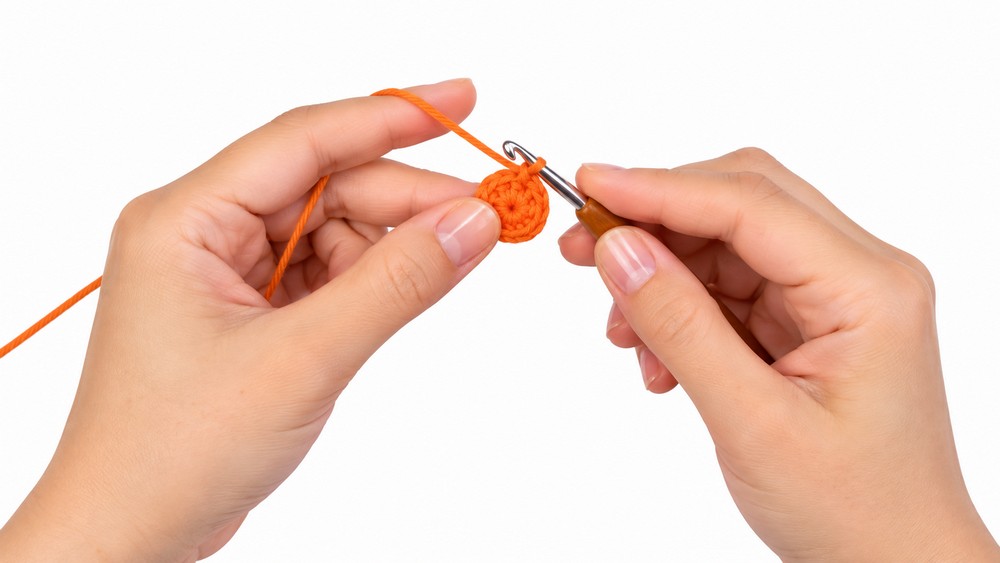
- Magic Ring: Create a loop, work stitches inside the ring, then pull tail to close.
- Increase: Work 2 SC into one stitch to expand width.
- Slip Stitch in Chain: Used to form leaves; work Sl St back along chain stitches for firm leaf structure.
- Half-Double Crochet: Used to thicken the handle by working back along the chain.
- Embroidery: Use a yarn needle and black thread to sew vertical stripes, passing the thread between stitches for a realistic, secure finish.
Complete Crochet Pattern
Base (Carrot Body)
- Foundation: MR, work 5 SC into the ring.
- Round 1: Inc in each st (10 SC).
- Round 2: 10 SC.
- Round 3: (1 SC, Inc) x 5 (15 SC).
- Round 4: 15 SC.
- Round 5: (2 SC, Inc) x 5 (20 SC).
- Rounds 6–10: Work 20 SC in each round for 5 rounds.
- Round 11: (3 SC, Inc) x 5 (25 SC).
- Rounds 12–14: Work 25 SC in each round for 3 rounds.
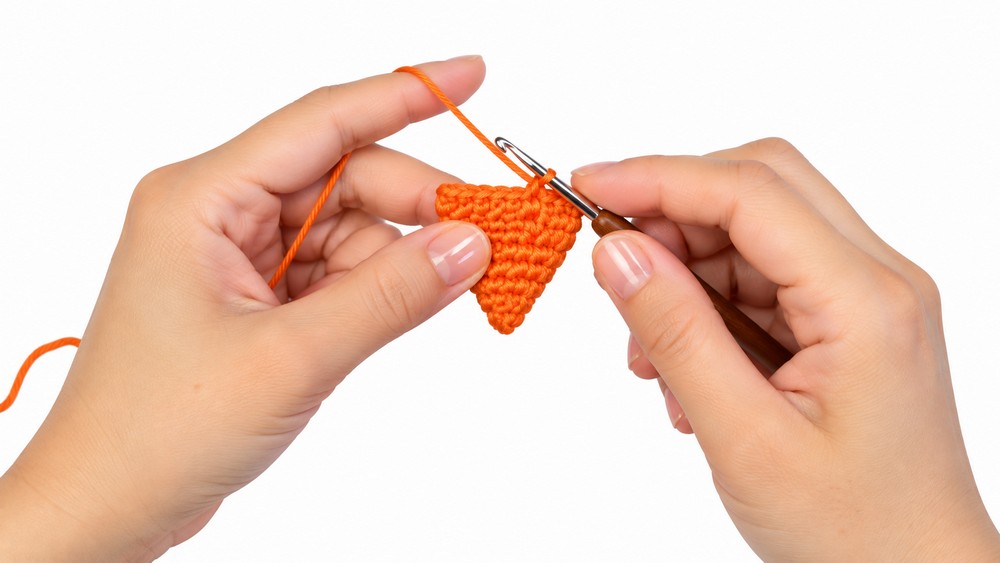
At this stage, the carrot shape is established—tapered at the base and gradually widening toward the top. The handbag’s capacity is formed by the steady increases and tall rounds.
Top (Greenery)
- Round 15: Switch to green yarn. Work 25 SC across this round.
Grass / Leaves Clusters
- Make 4 clusters to represent grass and leaves at the top of the carrot.
- For each cluster:
- Ch 8,
- Work 7 Sl St back down the chain to create a firm, short leaf.
- After each leaf cluster, work 3 or 4 SC to space them evenly, depending on the desired fullness.
- Ensure all clusters and spacers are distributed evenly across the top for a natural appearance.
This section gives the carrot handbag a striking leafy finish. The slip stitches create sturdy individual leaves, and the strategic spaces keep the clusters upright and well defined.
Handle and Details
Handle
- After completing the green top, Ch 80 (or desired length for your handle).
- Join the chain to the opposite side of the bag to form a loop.
- Crocheting back along the chain, work a row of HDC into each chain stitch to thicken the handle and add strength.
This produces a stable, comfortable handle that supports the handbag’s structure.
Decoration
- Use black thread to embroider vertical stripes on the orange carrot section.
- Pass the thread through the yarn fibers, weaving in and out of the stitches to mimic the natural lines found on a real carrot.
- Hide any internal transitions or knots within the yarn layers so the embroidery is visible only outside and doesn't snag on contents.
Joining & Final Size
- Double-check that all leaf clusters are securely anchored at the top of the bag and spaced evenly.
- The handle should be attached firmly, lying flat and comfortable for carrying.
- The carrot body is completely closed at the base; the green top forms the upper opening.
- Embroidered stripes should be evenly spaced for an authentic carrot look.
- The finished handbag is ready for use and display, with its distinctive carrot shape and textural components standing out.
Final Words
The carrot handbag pattern combines playful design, tactile details, and practical construction to create a memorable accessory. Seamless rounds and controlled increases shape the carrot body, while the green clusters and sturdy handle provide functional and visual interest. Embroidered surface stripes add depth and realism, allowing the piece to truly embody its inspiration. With careful assembly, secure joins, and consistent stitchwork, the handbag achieves both durability and a whimsical silhouette. This project celebrates the joy of themed accessories and the creativity of crochet, resulting in a handmade item with enduring appeal and imaginative charm.