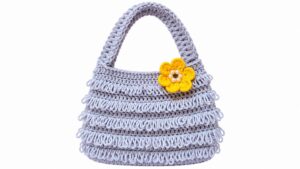
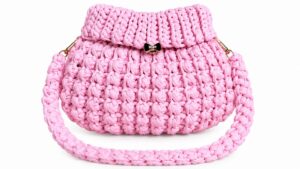
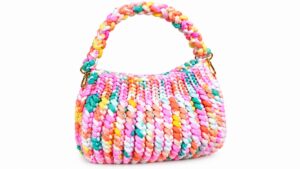
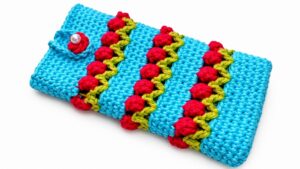
Upgrade your everyday accessories with this Crochet Mini Backpack Free Pattern and enjoy a stylish little bag for your small belongings.
@CrochetToysIryna is the original creator of this lovely design, and this written pattern is based on their YouTube tutorial. This Crochet Mini Backpack is a small, functional backpack made entirely with crochet. It’s designed to be compact yet practical, featuring a rounded shape with a flap closure and adjustable straps.
Crochet Mini Backpack Free Pattern With A Charming Casual Look
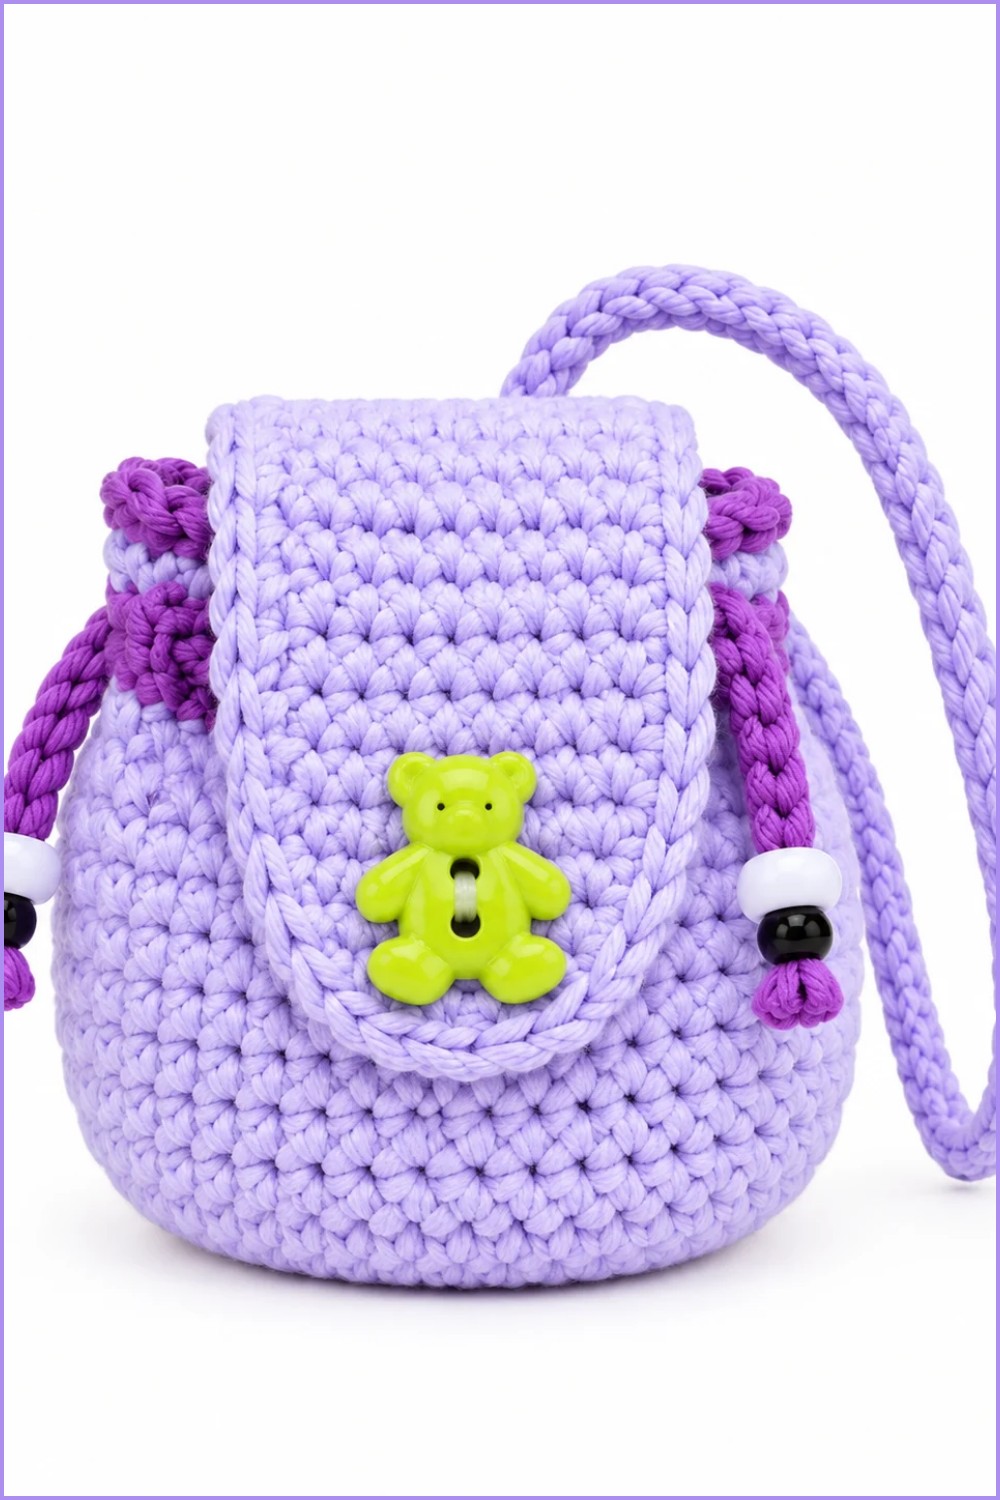
The mini backpack is lovely in appearance, with a neat stitch pattern that gives it a sturdy texture. Its size makes it perfect for carrying small daily essentials like phone, keys, or a wallet, and it works well as a cute accessory for casual outings or gifts.
One thing that makes this mini backpack special is the ability to customize it easily. You can choose any yarn color to match your style, add decorative buttons, or sew on patches for a personal touch. Some crafters even use different stitch techniques to create unique surface patterns.
To make the mini backpack, you start by crocheting the base and body using simple stitches like single crochet. Then, you create the flap separately and attach it. The straps often are made with chains and rows of crochet to adjust length, and finishing touches include sewing parts together and adding buttons or closures.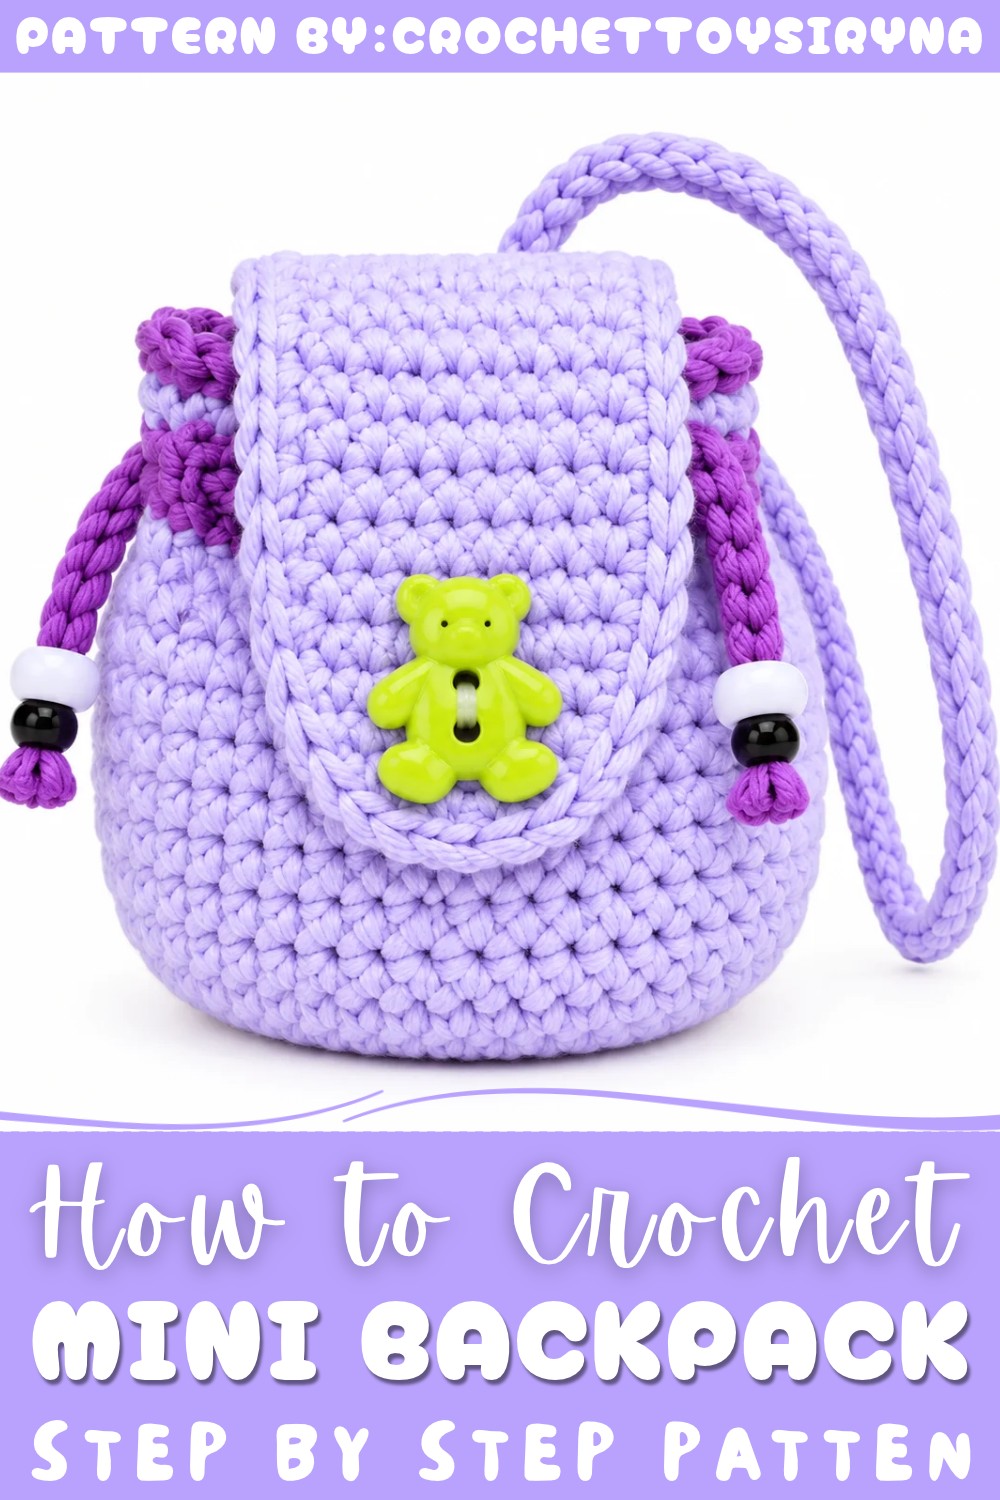
Overall, this project combines function and charm, making it a fun and satisfying crochet piece to add to your accessories.
About the Pattern
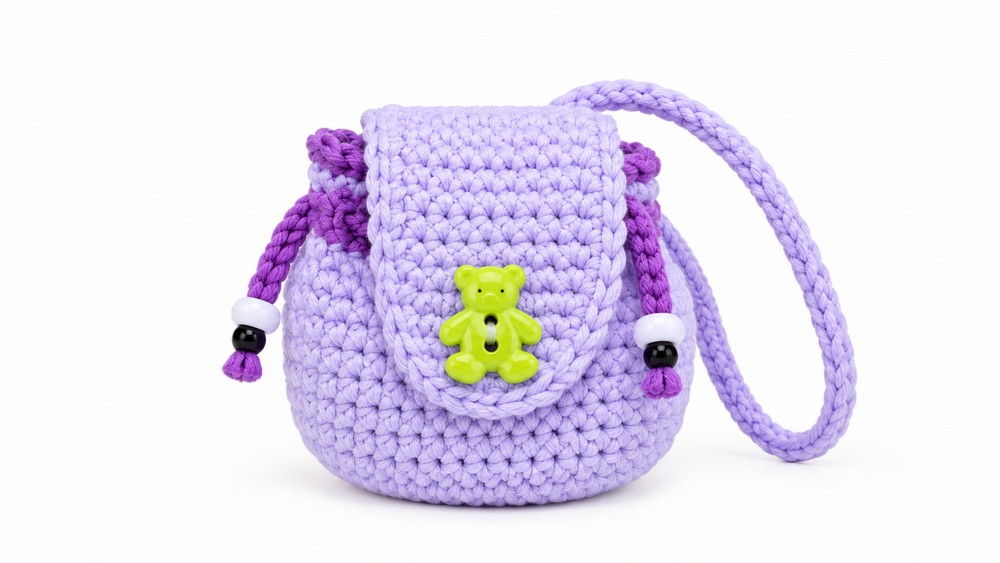
A miniature crochet backpack designed as a toy accessory, this project offers classic construction techniques and clear shaping. It features a compact height of approximately 6 cm and utilizes a 2.0 mm crochet hook. Thoughtfully constructed in the round with foundational stitches, this piece creates a perfectly sized, sturdy miniature backpack, ideal as a gift for little ones, an amigurumi accessory, or as a charming decorative object.
Key Pattern Details
- Worked primarily in continuous rounds and rows
- Consists of a flat base, a seamless cylindrical main body, a shaped flap/lid, and practical cords for closure and shoulder straps
- Designed for small details such as a functional drawstring and optional decorative button
- Emphasizes clear stitch placement and finishing touches for structure
Important Notes
- Maintain consistent tension throughout all rounds and rows for uniform shaping
- Closely count stitches after each round to ensure accuracy
- For best results, use the specified hook size, and select a yarn that matches the required gauge
- The backpack is worked mostly in the round; attention is needed when transitioning between the base, body, and flap
- Color and embellishment choices may be adjusted, but all essential steps should be followed
- Follow stitch abbreviations carefully; each abbreviation refers to a well-established crochet technique
Difficulty Level
This pattern is classified as confident beginner to intermediate, due to the inclusion of the magic ring, back loop only (BLO) rounds, shaping, and assembly.
Supplies Needed
- Yarn: Suitable for a 2.0 mm crochet hook, in your preferred colorway
- Crochet hook: 2.0 mm
- Small decorative button (optional)
- Beads for cord ends (optional)
- Yarn needle for sewing parts and weaving ends
- Scissors
Size & Measurements
- Finished backpack height: approximately 6 cm
Gauge & Stitch Details
- Gauge is not critical for this miniature project but should be close to prevent gaps between stitches
- The main body and base are constructed using single crochet (sc), while the final row of the body utilizes half double crochet (hdc) for both structure and finishing
Crochet Abbreviations
- MR = Magic ring
- sc = Single crochet
- inc = Increase (2 sc in one stitch)
- hdc = Half double crochet
- ch = Chain
- sl st = Slip stitch
- BLO = Back loop only
- st(s) = Stitch(es)
- rep = Repeat
Special Stitch Guide
- Increase (inc): Work two single crochet stitches into the same stitch
- Back Loop Only (BLO): Insert the hook into the back loop of the stitch only, for added texture or structural shaping
- Magic Ring (MR): Begin the round by forming an adjustable ring
Complete Crochet Pattern
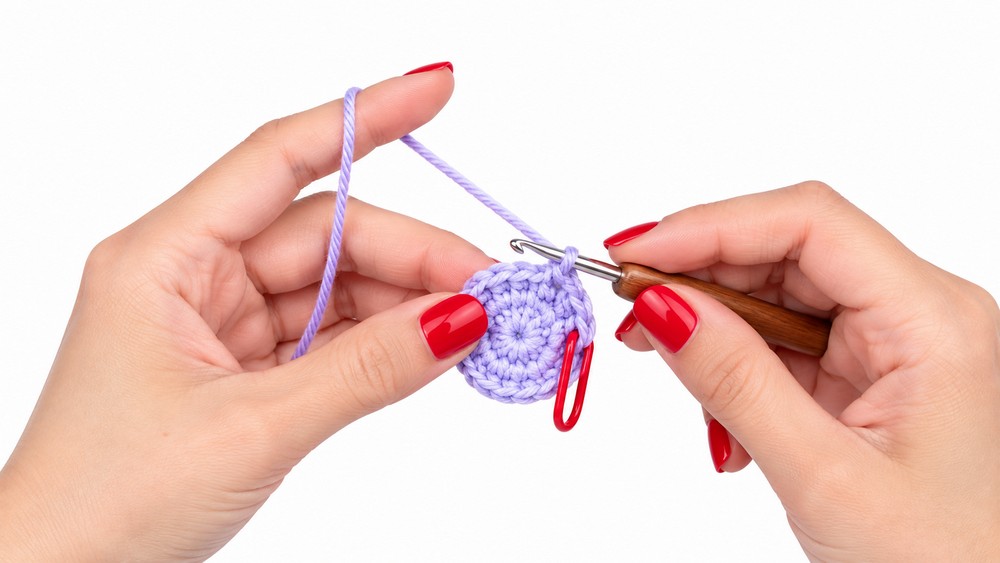
The Base
- R1:
- Begin with a magic ring, work 6 sc into MR (6 sts).
- R2:
- Inc in every stitch (12 sc total; 2 sc in each st around).
- R3:
- 1 sc, 1 inc; repeat 6 times (18 sc).
- R4:
- 2 sc, 1 inc; repeat 6 times (24 sc).
- R5:
- 3 sc, 1 inc; repeat 6 times (30 sc).
- R6:
- 4 sc, 1 inc; repeat 6 times (36 sc).
- R7:
- Work 36 sc BLO (one in each st around).
The Main Body
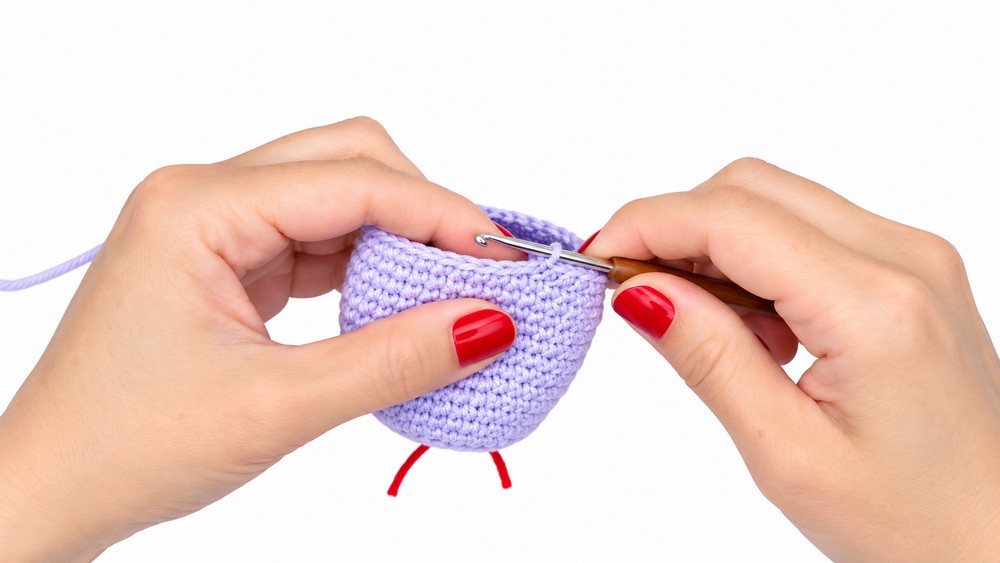
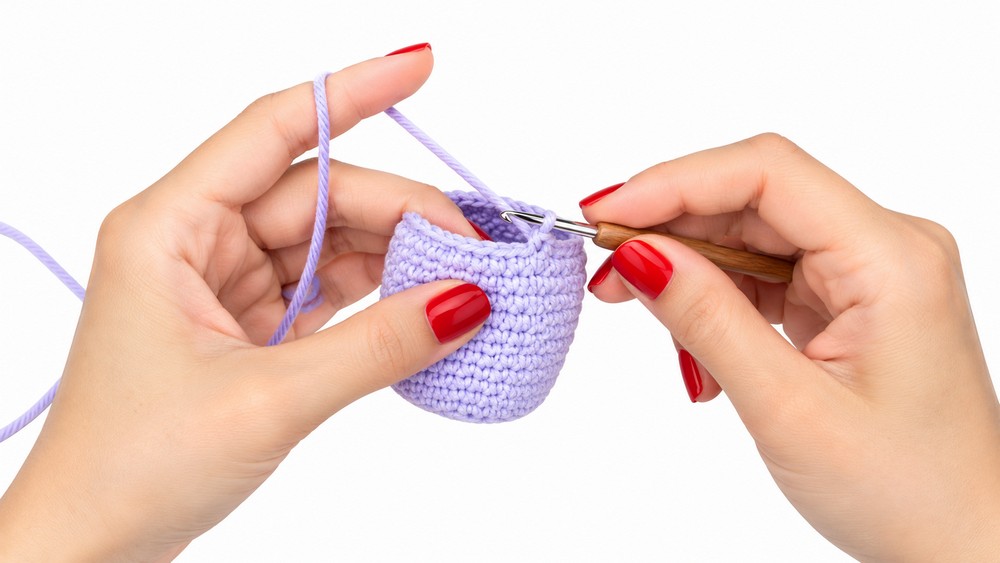
- Work 11 rows of 36 sc each:
- For each row, sc in each stitch around (36 sc per row).
- Optional: Choose BLO for a textured look, or both loops for a smooth finish.
- Row 12:
- Work 36 hdc (one in each st around).
- Finish with a sl st in the next stitch to flatten and level the edge.
The Flap/Lid
- Position:
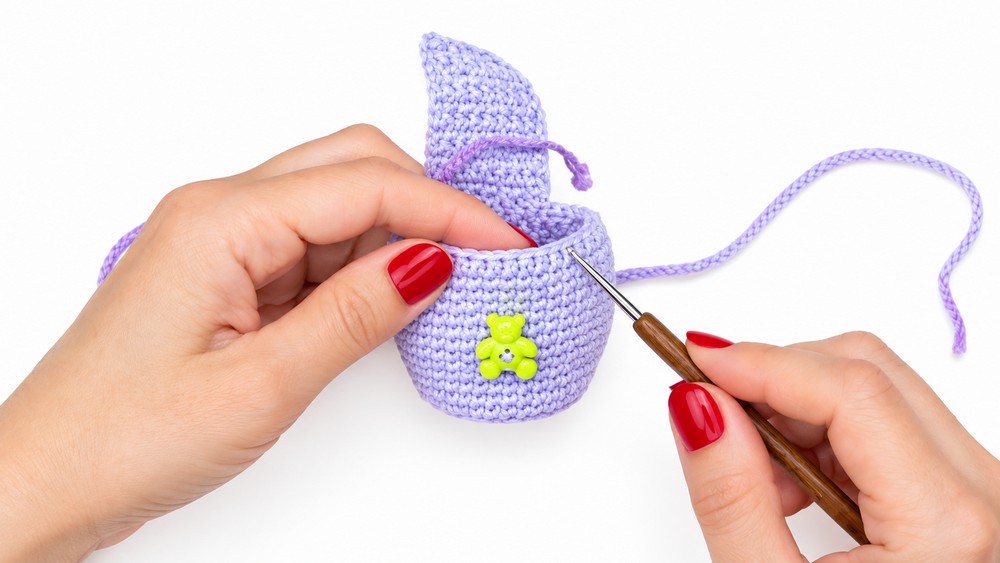
- From the final slip stitch, count forward 4 stitches. Begin the flap over the next 8 stitches only.
- Work 9 rows in back-and-forth rows as follows:
- Each row: 8 sc, turn work.
- Decrease Row:
- Work 2 sc, ch 4, skip 4, 2 sc.
- Next Row:
- Decrease at the edges:
- At start and end, decrease by working stitches together as instructed in the row.
- In between, fill the ch-4 space with 4 sc.
- Decrease at the edges:
- Continue working rows, decreasing at the edges of each row until the flap is shaped and secure.
Finishing & Assembly
- Shape and Fastening:
- Fold the backpack to align the main body and the flap.
- Attach a decorative button at the base of the flap if desired.
- Cords/Drawwstrings:
- Create two cords by chaining 100 stitches each.
- Drawstring:
- Thread one cord through the holes under the half-double crochet row to act as the backpack's drawstring.
- Add beads to the ends of the drawstring if desired, then secure knots to prevent fraying.
- Shoulder Straps:
- Use the second cord as follows:
- Anchor the cord at the top and bottom of the backpack, forming two simple shoulder straps.
- Secure each end with a strong knot, ensuring the strap is firmly attached.
- Use the second cord as follows:
Joining & Final Size
- Seam and attach all pieces carefully, ensuring the backpack sits flat and the flap aligns over the opening.
- The final miniature backpack measures approximately 6 cm in height.
- Weave in all yarn ends for a neat and professional look.
Final Words
This miniature toy backpack project provides a delightful hands-on opportunity to enhance shaping and finishing skills in crochet. With straightforward construction steps and well-defined structure, the finished piece serves as a charming accessory or toy. Thoughtfully assembled details, including a practical drawstring and flap, combine functionality with decorative appeal. Selection of color, embellishments, and button offer customization while maintaining the core construction.