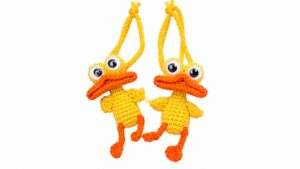
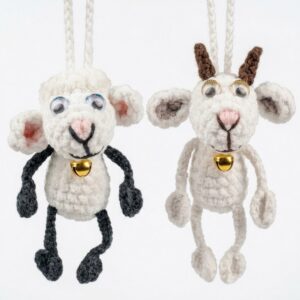
Hang a cute farm inspired charm from your keys with this Crochet Horse Keychain Free Pattern featuring a sweet face and lovely little details.
Looking for a charming and simple crochet project? The Crochet Horse Keychain tutorial by @CrochetToysIryna on YouTube offers a fantastic and easy-to-follow guide that brings this cute little horse to life. Huge thanks to Iryna for creating such a delightful pattern.
Lovely Crochet Horse Keychain Free Pattern With An Adorable Face
This crochet horse keychain is a small, adorable accessory that attaches easily to keys, bags, or even makes a lovely gift topper. Its main features include a soft, rounded body, a tiny mane and tail, and sweet little eyes that give it a friendly, inviting look. The beauty of this project lies in its simplicity and the warm, handmade feel – perfect for anyone who loves horses or enjoys cheerful, handcrafted items.
One of the best things about this keychain is its customization options. Different yarn colors can be chosen for the body, mane, and tail, and little details like a tiny saddle or embroidered smile can add a personal touch. The tutorial covers basic crochet stitches such as the magic ring, single crochet, and simple increases and decreases, making it suitable even for beginners.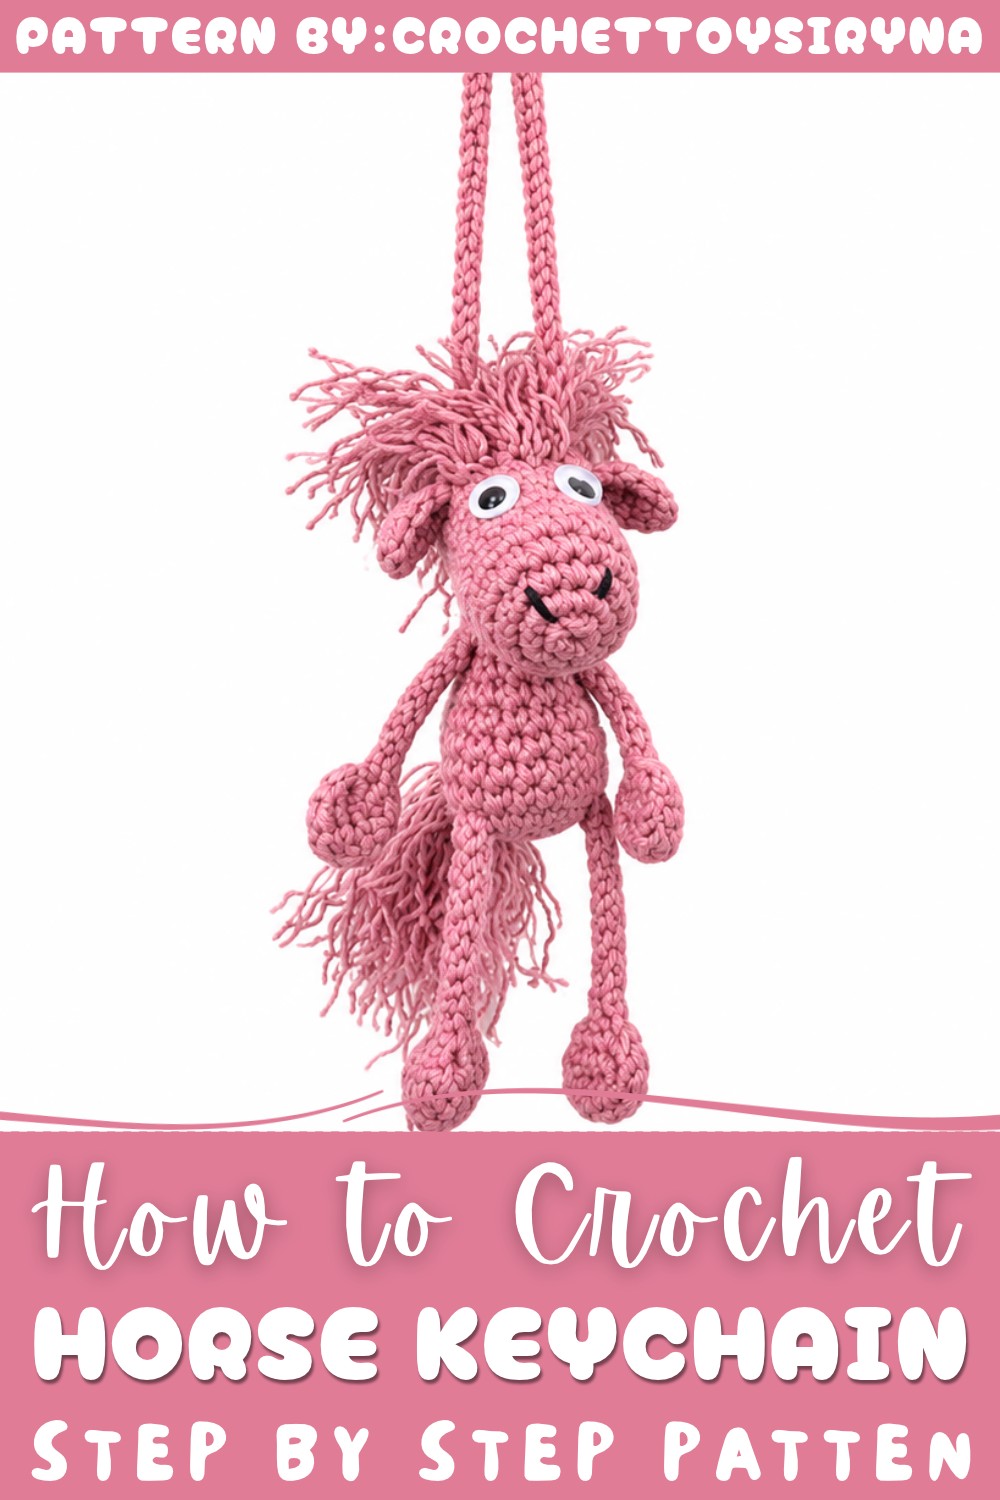
Creating the horse starts with crocheting the body in rounds, followed by the head, legs, and tail, which are crocheted separately and sewn together at the end. This friendly step-by-step instructions make the entire process smooth and enjoyable. This project is a wonderful way to practice crochet skills and create a sweet, wearable piece of art!
Miniature Crochet Horse Keychain Pattern (9 cm)
About the Pattern
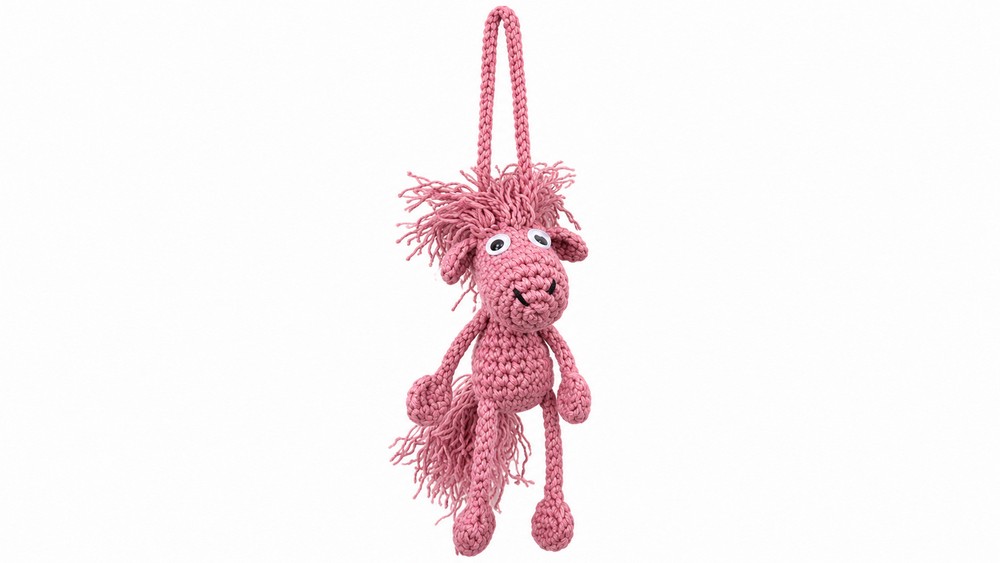
This miniature crochet horse keychain pattern creates a charming 9-cm figure with intricate details such as movable legs, perky ears, a flowing mane, and expressive eyes. Designed specifically for small hooks and fine yarn, it is a wonderful project for those looking to expand their amigurumi repertoire. The finished horse is perfect as a keychain, ornament, or a unique little gift.
Key Pattern Details
This carefully structured pattern breaks down the creation of the horse into organized stages, focusing on individual components for ease of assembly and clarity. Elements such as the mane, tail, and detailed facial features provide a delightful finished effect. Each stage is outlined with specific stitch directions and assembly instructions to ensure reliable and clear results.
Important Notes
- Every stage follows closely sequenced rounds or rows as specified.
- Use stitch markers for rounds if needed to keep track of decreases and increases.
- When attaching legs and ears, ensure symmetry and secure stitching for durability.
- Always use fine and even tension throughout, especially since the item is small.
- Secure all ends and glue eyes last to avoid shifting during construction.
Difficulty Level
Intermediate. This pattern involves basic amigurumi construction, use of both simple and slightly advanced stitches, precise insertion of appendages, and wire-free shaping. It is most suitable for those familiar with working in the round and basic amigurumi assembly.
Supplies Needed
- 1.5 mm crochet hook
- Yarn (such as YarnArt; suitable for amigurumi work in horse color and accent color)
- Toy stuffing
- 6 mm adhesive eyes
- Quick-drying glue
- Scissors, tapestry needle, and fine comb
Size & Measurements
Finished horse measures approximately 9 cm from the tips of the hind legs to the top of the head (without tail or mane).
Gauge & Stitch Details
- Gauge is not crucial for this pattern. Maintain tight, even stitches to prevent stuffing from showing.
- Finished leg pieces and head should hold their shape well.
Crochet Abbreviations
- ch: chain
- sc: single crochet
- hdc: half-double crochet
- dc: double crochet
- sl st: slip stitch
- inc: increase (work 2 sc in the same stitch)
- dec: decrease (single crochet 2 stitches together)
- MR: magic ring
Special Stitch Guide
- Magic Ring (MR): Wrap yarn to form a loop, work the indicated number of stitches into the loop, then pull to tighten.
- Increase (inc): Work 2 single crochets into one stitch.
- Decrease (dec): Single crochet 2 together (sc2tog).
How To Make It
Legs (make 4)
Round 1:
- Ch 12.
- In the 3rd stitch from hook, work 6 dc.
- Ch 2, sl st into the same base stitch (this forms the hoof curve).
- Work 9 hdc along the rest of the chain.
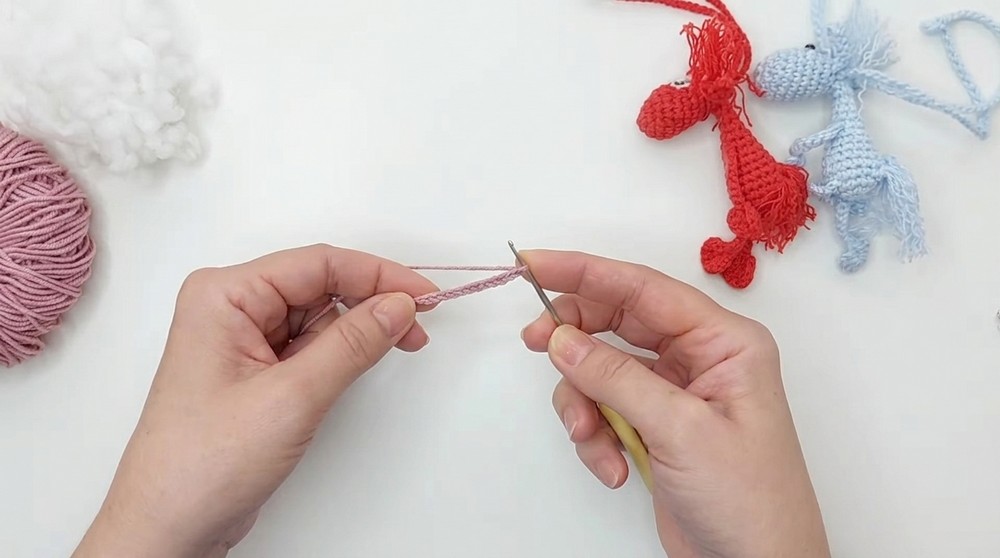
Fasten off, leaving a tail for sewing.
Ears (make 2)
Round 1:
- Ch 7.
- Starting in 2nd stitch from hook:
- 1 hdc
- 1 sc
- 2 dc
- 1 hdc
- 1 sc
Fasten off, leaving a tail for sewing.
Body and Head Assembly
Base
Round 1:
- Make MR of 6 sc.
Round 2:
- Inc in each stitch (12 sc total).
Round 3:
- (sc in next st, inc in next st), repeat around (18 sts).
Body Shaping
Rounds 4-5:
- Work 18 sc across both rounds.
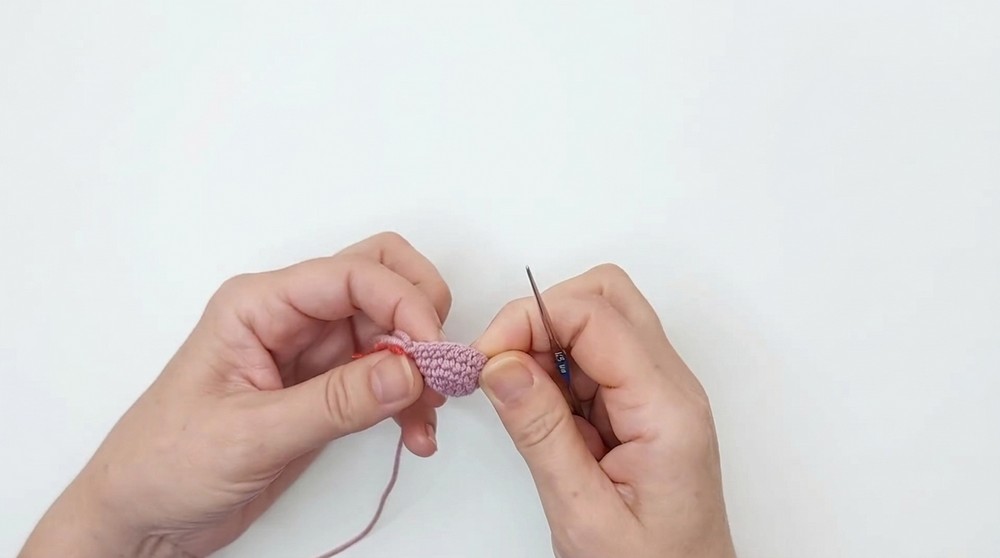
Attach bottom legs:
- Secure and sew 2 legs between rows 2-3 of the base.
Decreasing
Round 6:
- (sc, dec) repeat around to get 15 sts.
Round 7:
- (sc, dec) repeat around to get 12 sts.
Round 8:
- (sc, dec) repeat around to get 9 sts.
Attach top legs:
- Sew remaining 2 legs between rows 9-10 of the body.
Neck and Head
Round 9:
- (dec) repeat around to get 6 sts.
Rounds 10-12:
- Work 6 sc in each round to form the neck.
Round 13:
- (inc) repeat around to get 12 sts.
Round 14:
- (sc, inc) repeat around to get 15 sts.
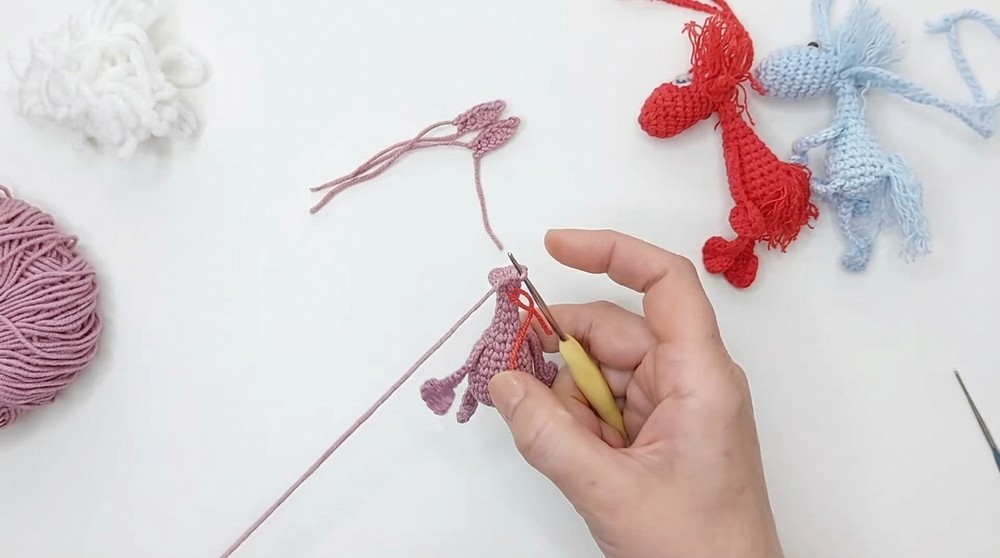
Insert ears:
- Fold each ear and sew to the head between rounds as you work.
Head Shaping
Round 15:
- Work 15 sc around.
Round 16:
- (sc, inc) repeat around to reach 18 sts.
Rounds 17-18:
- Work 18 sc each round.
Round 19:
- (dec) repeat around to shape, working 9 dec (final 9 sts).
Stuff the head and body at this stage for fullness.
Round 20:
- (dec, sc) repeat 3 times. (6 sts remain)
Close hole by weaving the remaining yarn tail through the stitches and pull tight.
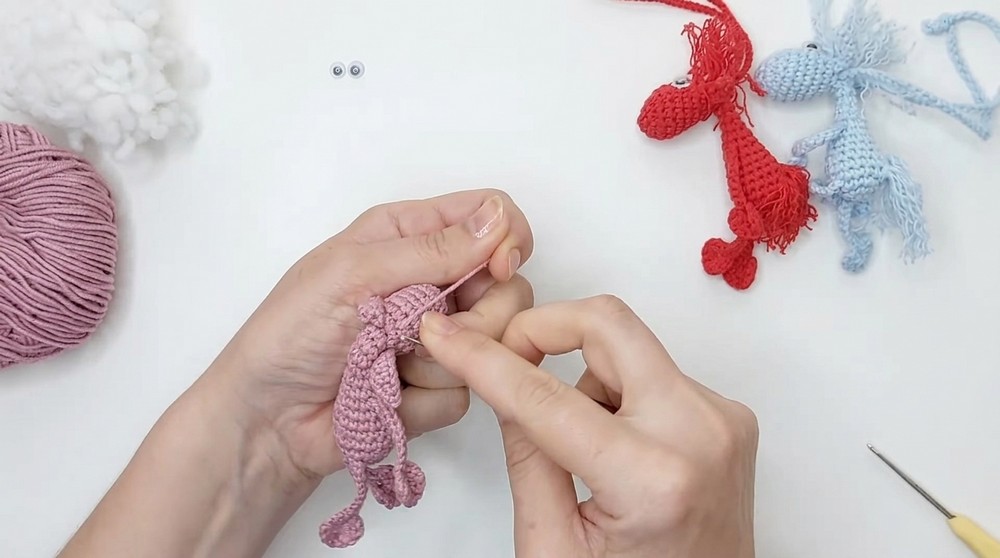
Finishing
Tail and Mane
- Using yarn, cut small segments and attach for the tail at the back.
- Attach mane pieces along the head's top using a hook or needle, knotting securely and trimming to preferred length.
Neck Cord
- Ch 80, then attach the cord behind the ears so that the head angles forward naturally when hanging.
Details
- Comb out the yarn for the mane and tail for a fluffy effect.
- Using quick-drying glue, attach 6 mm adhesive eyes one row below the mane, making sure to place symmetrically.
Joining & Final Size
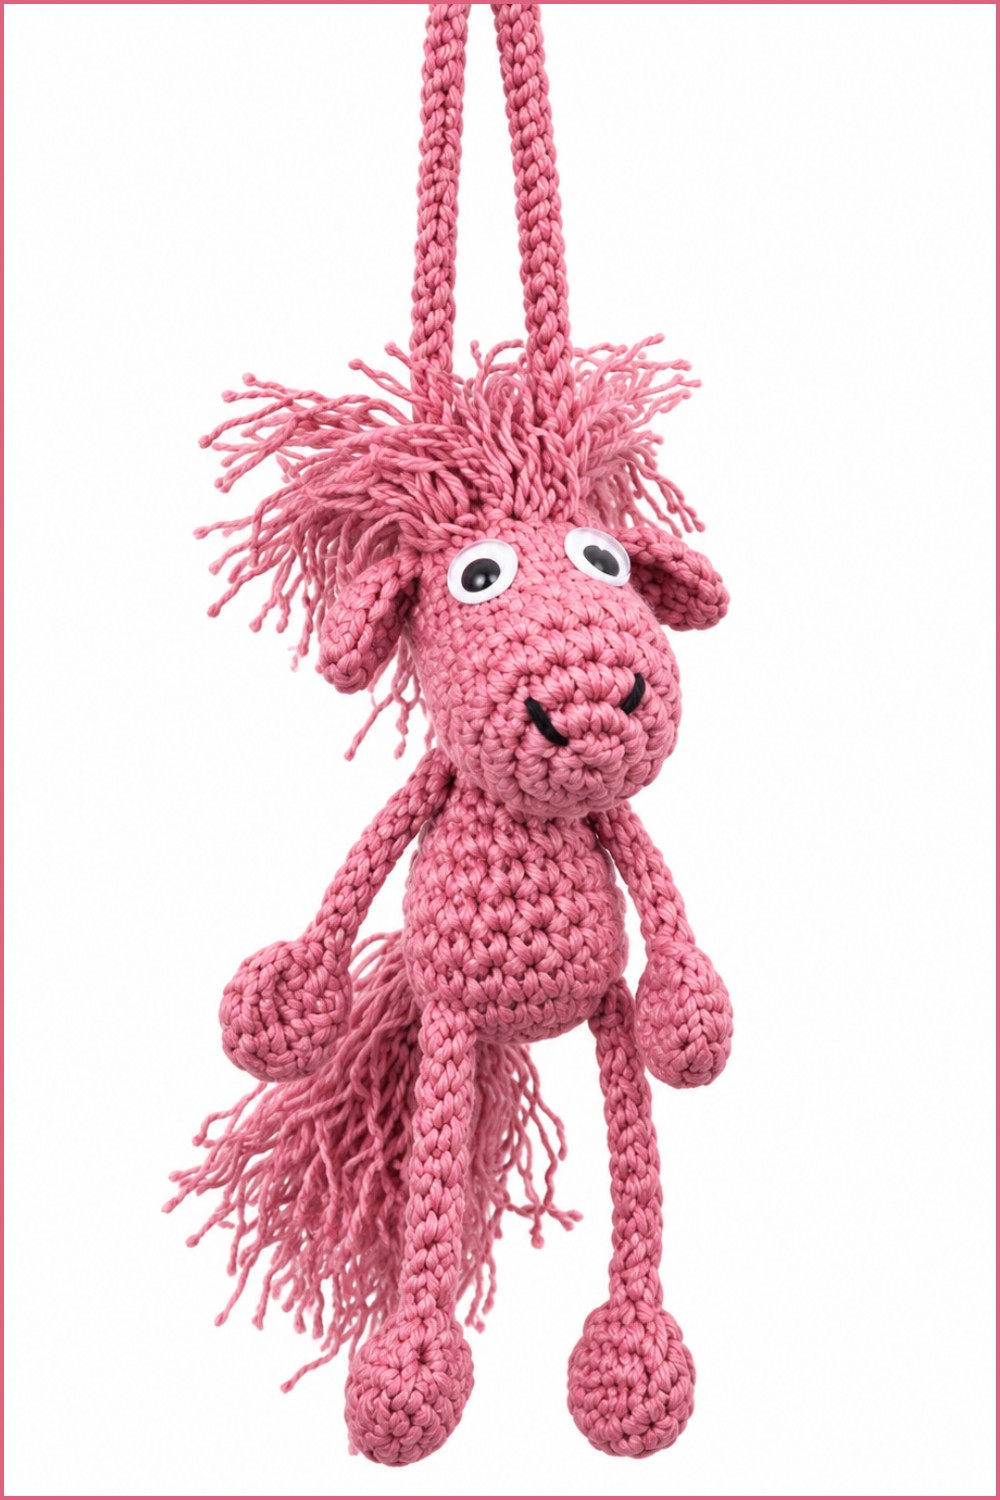
After assembly, check all attachments for security and evenness. The miniature horse should measure approximately 9 cm from hoof to ear tip, with a proportional body, rounded head, stable legs, upright ears, and expressive mane and tail.
Final Words
This miniature horse keychain pattern highlights structured amigurumi construction in a compact, charming design. Created with staple yarning techniques and shaped with careful increases and decreases, the final result is sturdy, visually appealing, and ready for use or gifting. Each element, from legs to facial features, is designed for both function and style, creating a delightful and lasting piece.