Enhance autumn decorations effortlessly with the Free Crochet Pumpkin Pattern that offers cozy charm and easy instructions for a satisfying seasonal project.
A cozy pumpkin decoration can brighten up any room during fall. The Free Crochet Pumpkin Pattern makes it easy to create a soft, round pumpkin that looks full of charm and warmth. Its bright orange color and classic shape bring a bit of autumn magic right to your home.
This pumpkin features gentle ridges and a small green stem that give it a cute and realistic style. It’s just the right size to use as a tabletop decoration, a kid’s toy, or even a fun gift for friends and family who love handmade project. People will enjoy its soft texture and friendly look that fits perfectly with Halloween or Thanksgiving decor.
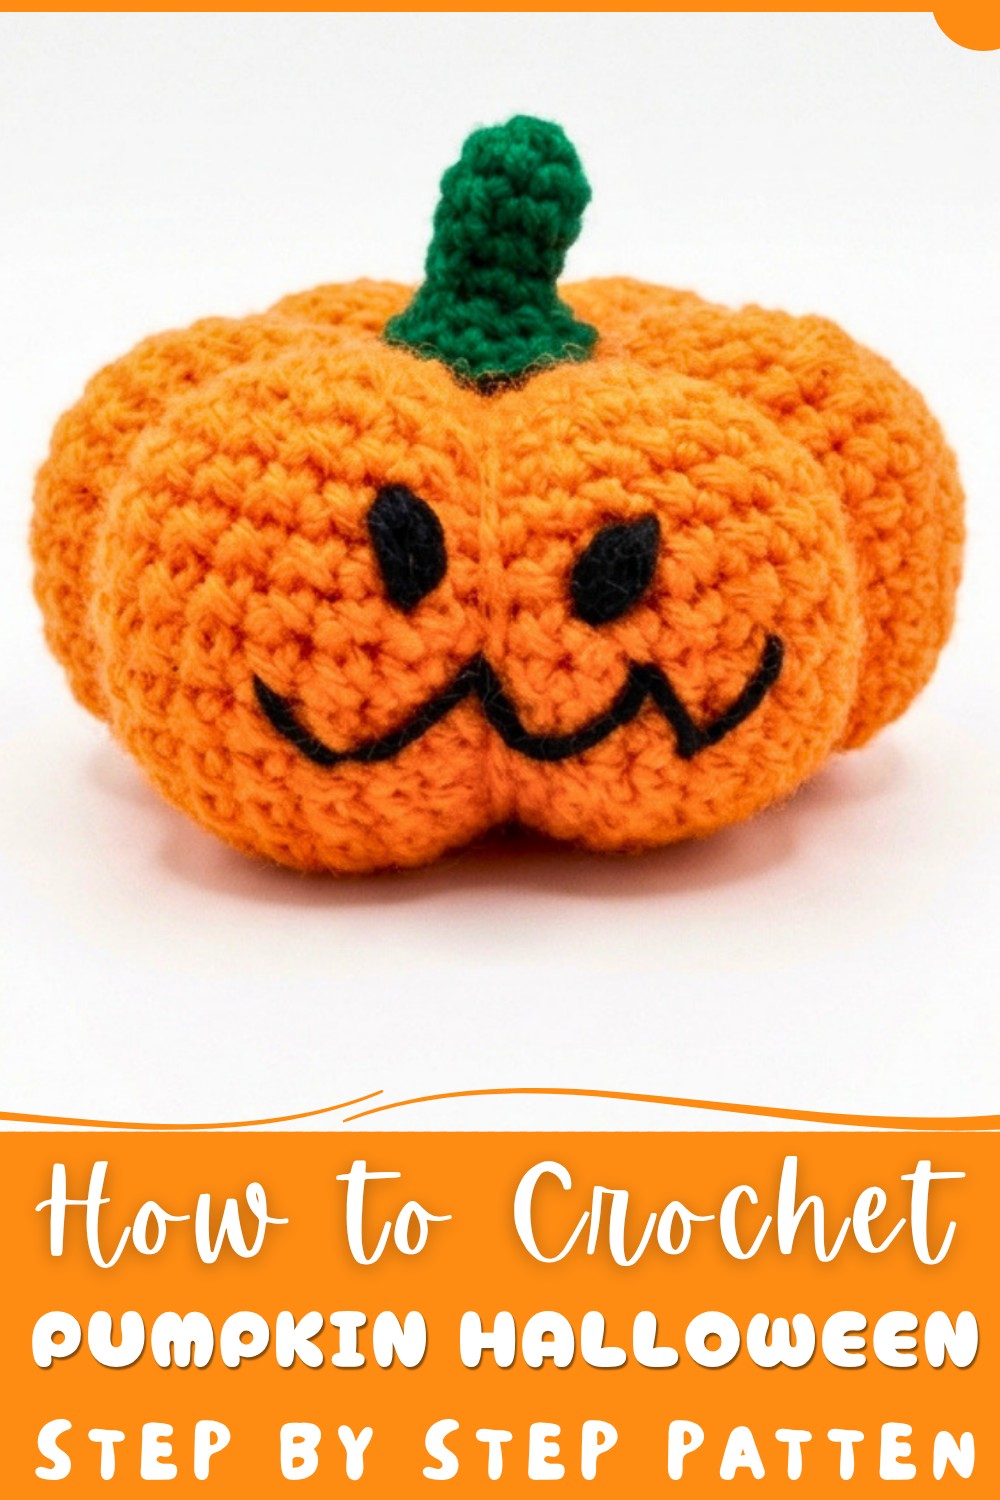
How to Crochet Pumpkin Free Pattern
This lovely creation comes from a thoughtful designer who shares their work on the popular YouTube channel WOWSUPRAVA. Through simple and clear steps, the Free Crochet Pumpkin Pattern guides crocheters of all levels to make this charming project.
Many will enjoy using their finished pumpkin in cozy home corners, on mantels, or even as part of a fall-themed centerpiece. Its handmade nature adds a personal touch that machine-made decorations can’t match.
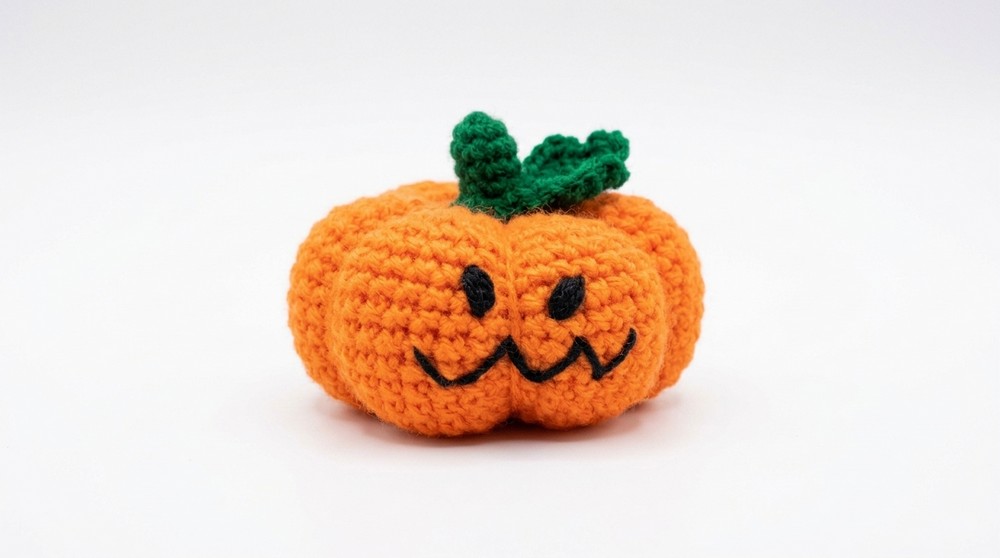
If you want to bring the warmth of autumn into your home without spending much, this crochet pumpkin is a wonderful choice. The Free Crochet Pumpkin Pattern turns yarn into a bright and friendly decoration that spreads comfort and joy all season long. It’s a fun way to celebrate the changing leaves and cooler weather!
Mini Crochet Pumpkin Pattern: Beginner-Friendly Step-by-Step Guide
Create a cute and cozy mini crochet pumpkin with this easy, detailed pattern. Using orange and green yarn, a 3.5mm crochet hook, and simple stitches like single crochet, you will craft a stuffed pumpkin complete with a curly stem, leaves, and a smiling face. This pattern is designed to guide beginners clearly through every step.
Pattern Highlights
- Step-by-step instructions round-by-round for pumpkin body shaping
- Clear increases and decreases to get the perfect pumpkin shape
- Easy instructions for adding a curly stem and leaves
- Simple embroidery guidance for a charming pumpkin face
Notes
- Start each round with a stitch marker to keep track.
- Keep your tension even to make the pumpkin smooth and nicely shaped.
- Stuff the pumpkin firmly but gently before closing it fully.
- Use a yarn needle to pull the pumpkin ridges for authentic pumpkin texture.
Skill Level
Beginner to Intermediate — Basic crochet stitches are used: single crochet, increase, and decrease. A magic ring and embroidery are included but explained clearly.
Materials
- Orange yarn (for pumpkin)
- Green yarn (for stem and leaves)
- 3.5mm crochet hook
- Fiberfill stuffing
- Yarn needle (for sewing and embroidery)
- Scissors
- Stitch marker (optional but helpful)
Abbreviations
- SC = Single Crochet
- Inc = Increase (2 SC in same stitch)
- Dec = Decrease (crochet two stitches together)
- MR = Magic Ring
- Ch = Chain
Pumpkin Body (Using Orange Yarn)
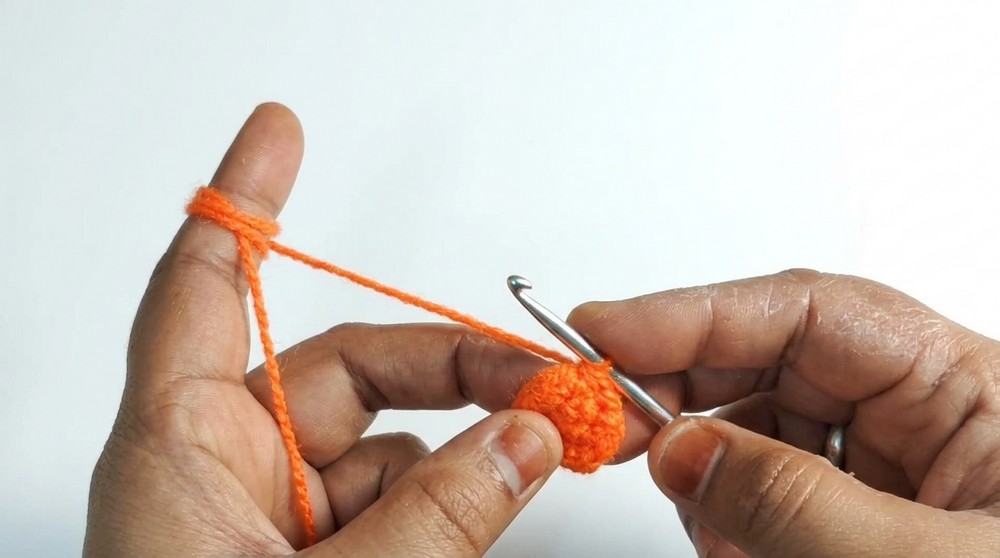
Round 1: Start the Base
- Create a Magic Ring (MR).
- Work 6 SC into the MR.
- Pull the ring tight to close.
- Total stitches: 6 SC
Round 2: Double the Stitches
- Inc in every stitch (2 SC in each stitch).
- Total stitches: 12 SC
Round 3: Increase Every Other Stitch
- Pattern: 1 SC, 1 Inc; repeat around.
- Total stitches: 18 SC
Round 4: Increase After 2 SC
- Pattern: 2 SC, 1 Inc; repeat around.
- Total stitches: 24 SC
Round 5: Increase After 3 SC
- Pattern: 3 SC, 1 Inc; repeat around.
- Total stitches: 30 SC
Round 6: Increase After 4 SC
- Pattern: 4 SC, 1 Inc; repeat around.
- Total stitches: 36 SC
Round 7: Increase After 5 SC
- Pattern: 5 SC, 1 Inc; repeat around.
- Total stitches: 42 SC
Round 8: Increase After 6 SC
- Pattern: 6 SC, 1 Inc; repeat around.
- Total stitches: 48 SC
Rounds 9 to 15: Build Height
- Work 1 SC in each stitch around, no increases or decreases.
- Total stitches per round: 48 SC
Round 16: Start Decreasing
- Pattern: 6 SC, 1 Dec; repeat around.
- Total stitches: 42 SC
Round 17: Continue Decreasing
- Pattern: 5 SC, 1 Dec; repeat around.
- Total stitches: 36 SC
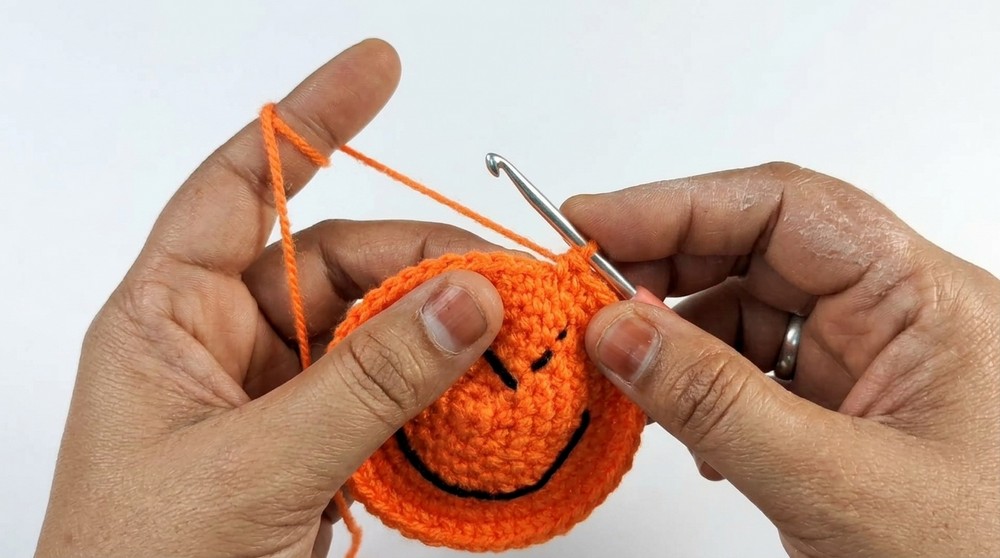
Round 18: Keep Decreasing
- Pattern: 4 SC, 1 Dec; repeat around.
- Total stitches: 30 SC
Round 19: Decreasing Further
- Pattern: 3 SC, 1 Dec; repeat around.
- Total stitches: 24 SC
Round 20: Tighten Shape
- Pattern: 2 SC, 1 Dec; repeat around.
- Total stitches: 18 SC
Round 21: Final Structured Decrease
- Pattern: 1 SC, 1 Dec; repeat around.
- Total stitches: 12 SC
Final Round: Close Up Pumpkin
- Decrease evenly around until completely closed.
- Stuff pumpkin firmly with fiberfill before fully closing.
- Typically ends with around 6 SC or fewer remaining.
Pumpkin Shaping
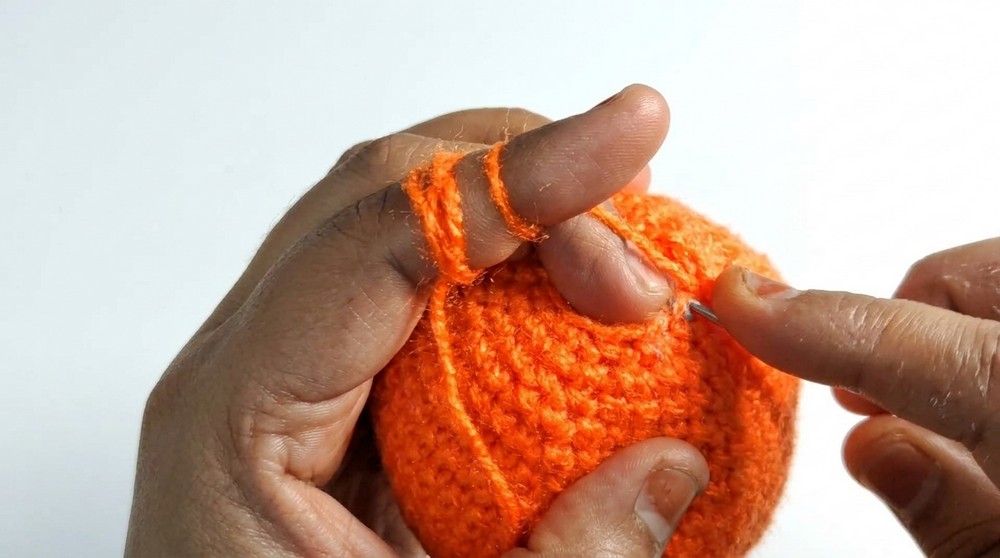
- Use the tail yarn and a yarn needle to pull through the center top of the pumpkin.
- Wrap the yarn around the pumpkin body, pulling gently to create ridges that resemble real pumpkin grooves.
- Secure and weave in the ends neatly.
Stem and Leaves (Using Green Yarn)
Stem:
- Make a Magic Ring (MR) with 5 SC inside.
- Crochet 4 more rounds of 5 SC each, maintaining stitch count (5 SC per round).
- This creates a stiff, round stem.
Leaves:
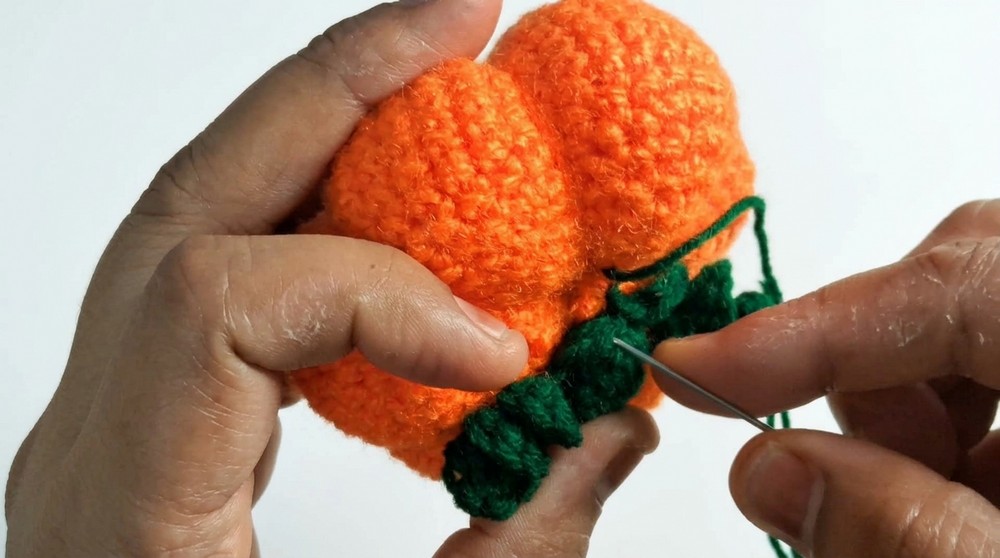
- From the stem top, Chain 10.
- Work 3 SC stitches in every chain stitch going back to the stem, which makes curly, textured leaves.
- Attach leaves securely to the stem with the yarn needle.
Embroidery for Face
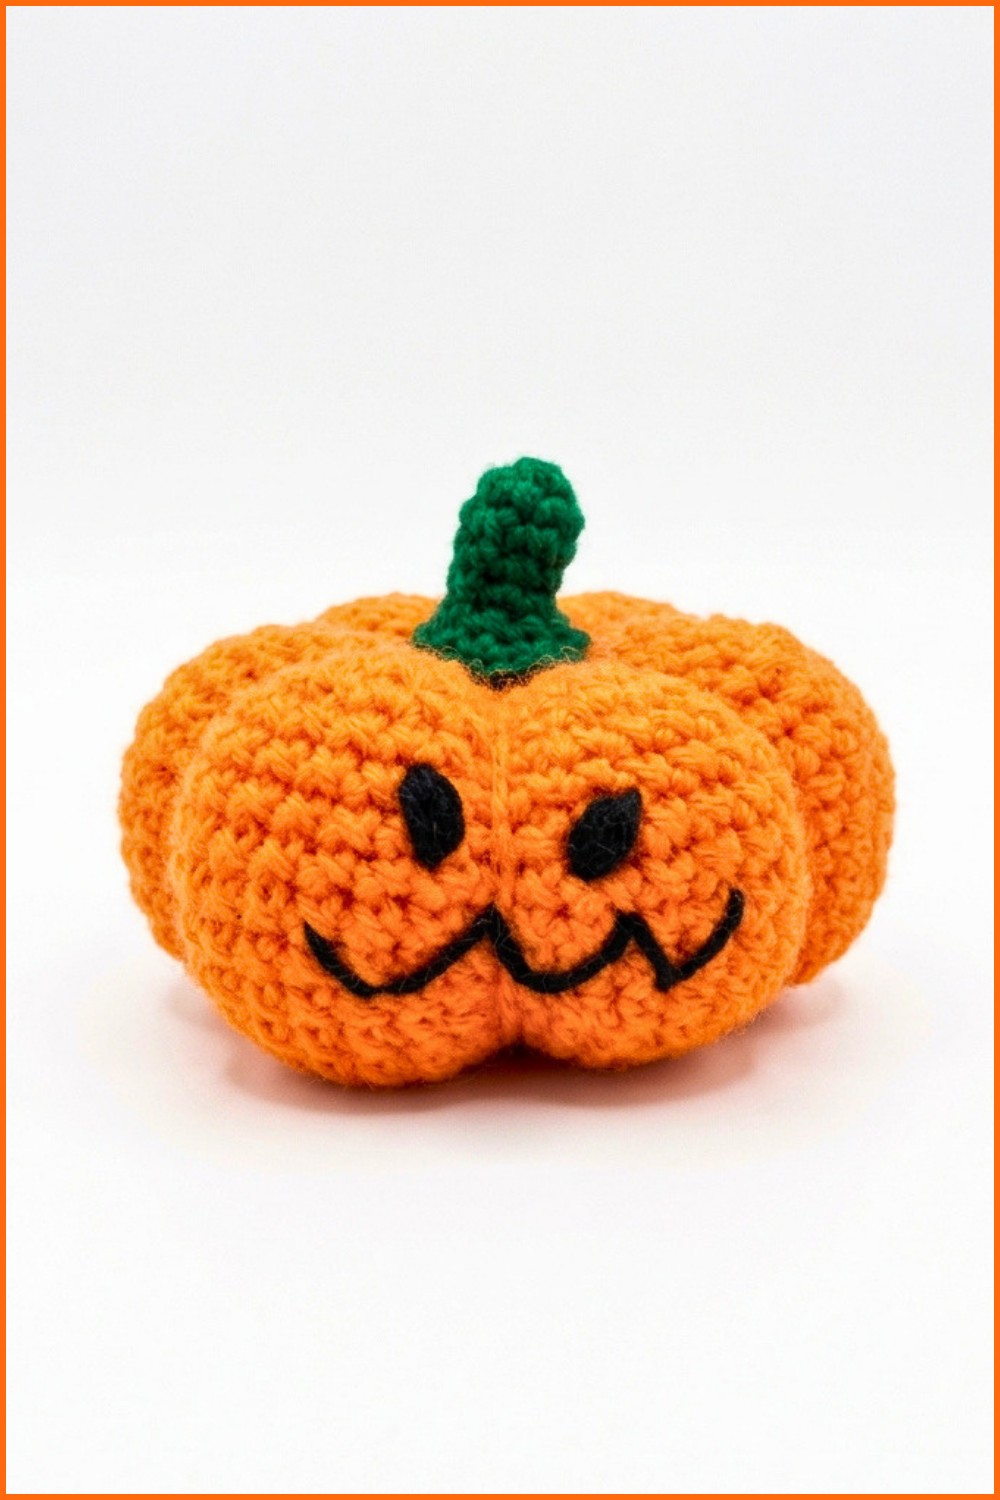
- Eyes: Embroider on rounds 10 and 11 of the pumpkin using black or contrasting yarn. Simple satin stitch or backstitch works well.
- Mouth: Embroider on rounds 14 and 15 with the same or different colored yarn for a friendly or spooky smile.
- Use your yarn needle to stitch carefully, making sure to secure ends inside the pumpkin.
Assembly & Finishing
- Securely sew the stem and leaves onto the center top of the stuffed pumpkin.
- Make sure all yarn ends are woven inside and trimmed for a clean finish.
- Adjust the ridges and stuffing if needed for perfect shape.
Conclusion
You’ve just created a delightful mini crochet pumpkin that can brighten any autumn space! With this beginner-friendly pattern, you learned how to work magic rings, increase and decrease stitches, and add adorable details like curly leaves and embroidered faces. Practice these skills and personalize your pumpkins anytime with colors or embellishments. Impress your friends, family, or customers with this charming handmade piece, perfect for fall décor or gifts.