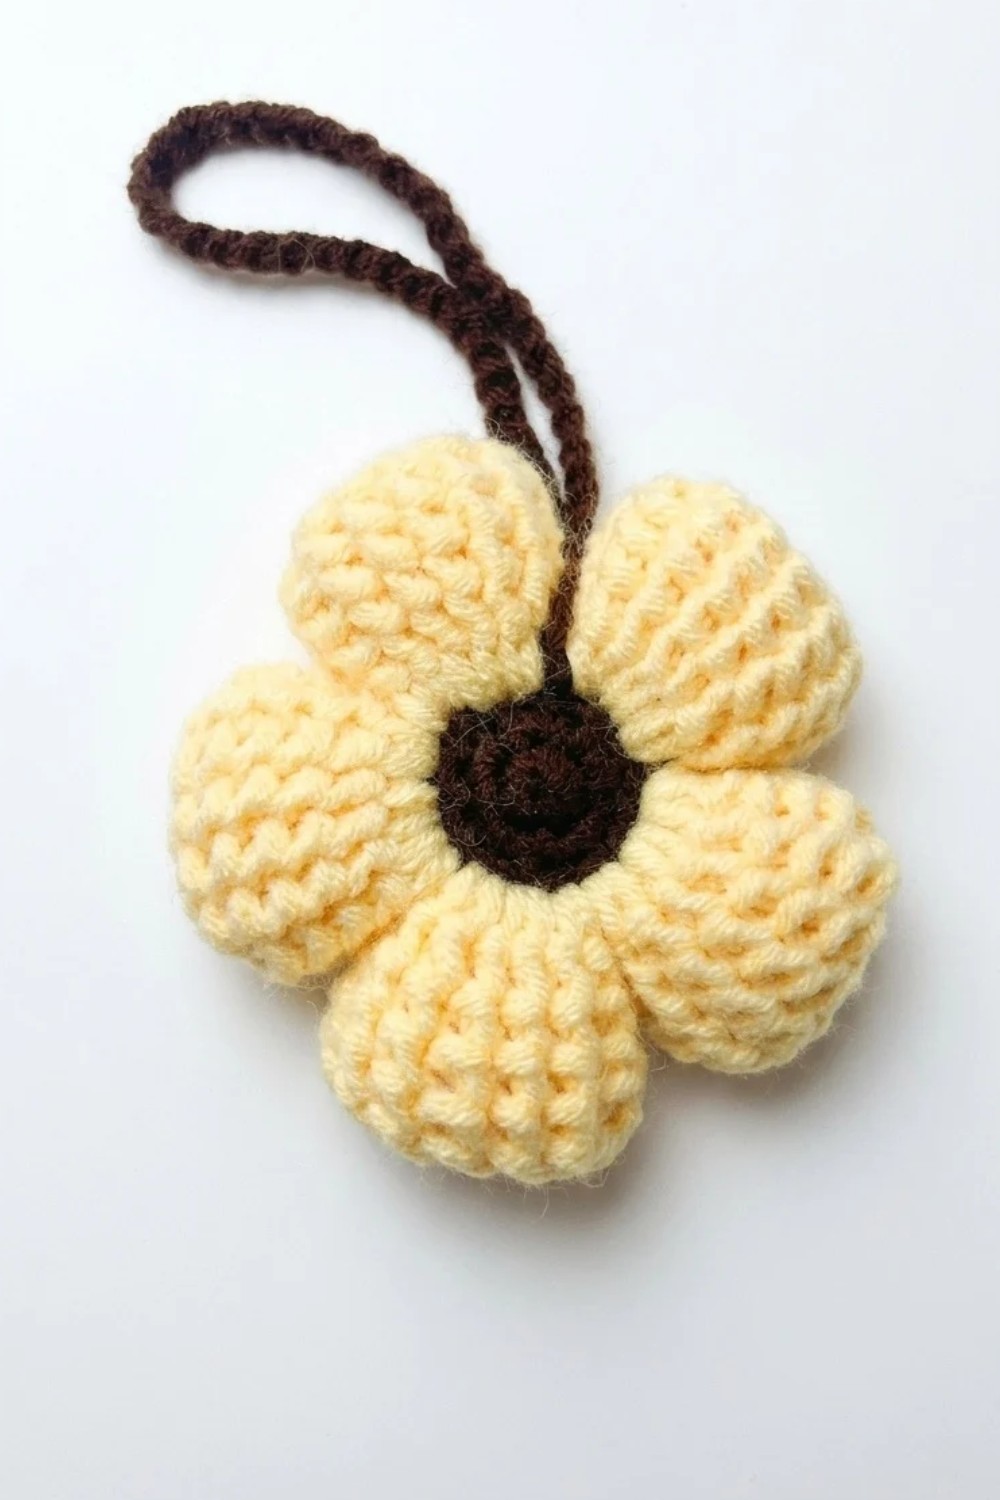
Decorate your tote using this Crochet Afghan Flower Keychain Free Pattern, an accessory that suits backpacks, purses, and everyday keys.
There’s something truly charming about small, handmade items that brighten up everyday life, and a delightful way to achieve this is by creating a beautiful flower keychain. This particular project turns simple yarn and crochet skills into a lovely accessory that’s both practical and eye-catching. Thanks to the detailed tutorial by Arti's Cozy Nook on YouTube, anyone can follow along and make their own floral charm with ease. The Crochet Afghan Flower Keychain Pattern showcased in the video presents an easy-to-follow method to produce a stunning flower-shaped keychain that adds a personal touch to your keys, bags, or even gifts.
Quick Crochet Afghan Flower Keychain Free Pattern For Yarn Projects
This keychain isn’t just a stylish adornment—it’s also a perfect gift idea. Its petite size and sweet floral design make it a thoughtful present for friends, family, or anyone who appreciates handmade accessories. Beyond gifting, it’s an excellent decorative piece for backpacks, purses, or even as a zipper pull, adding a burst of color and texture to everyday items.
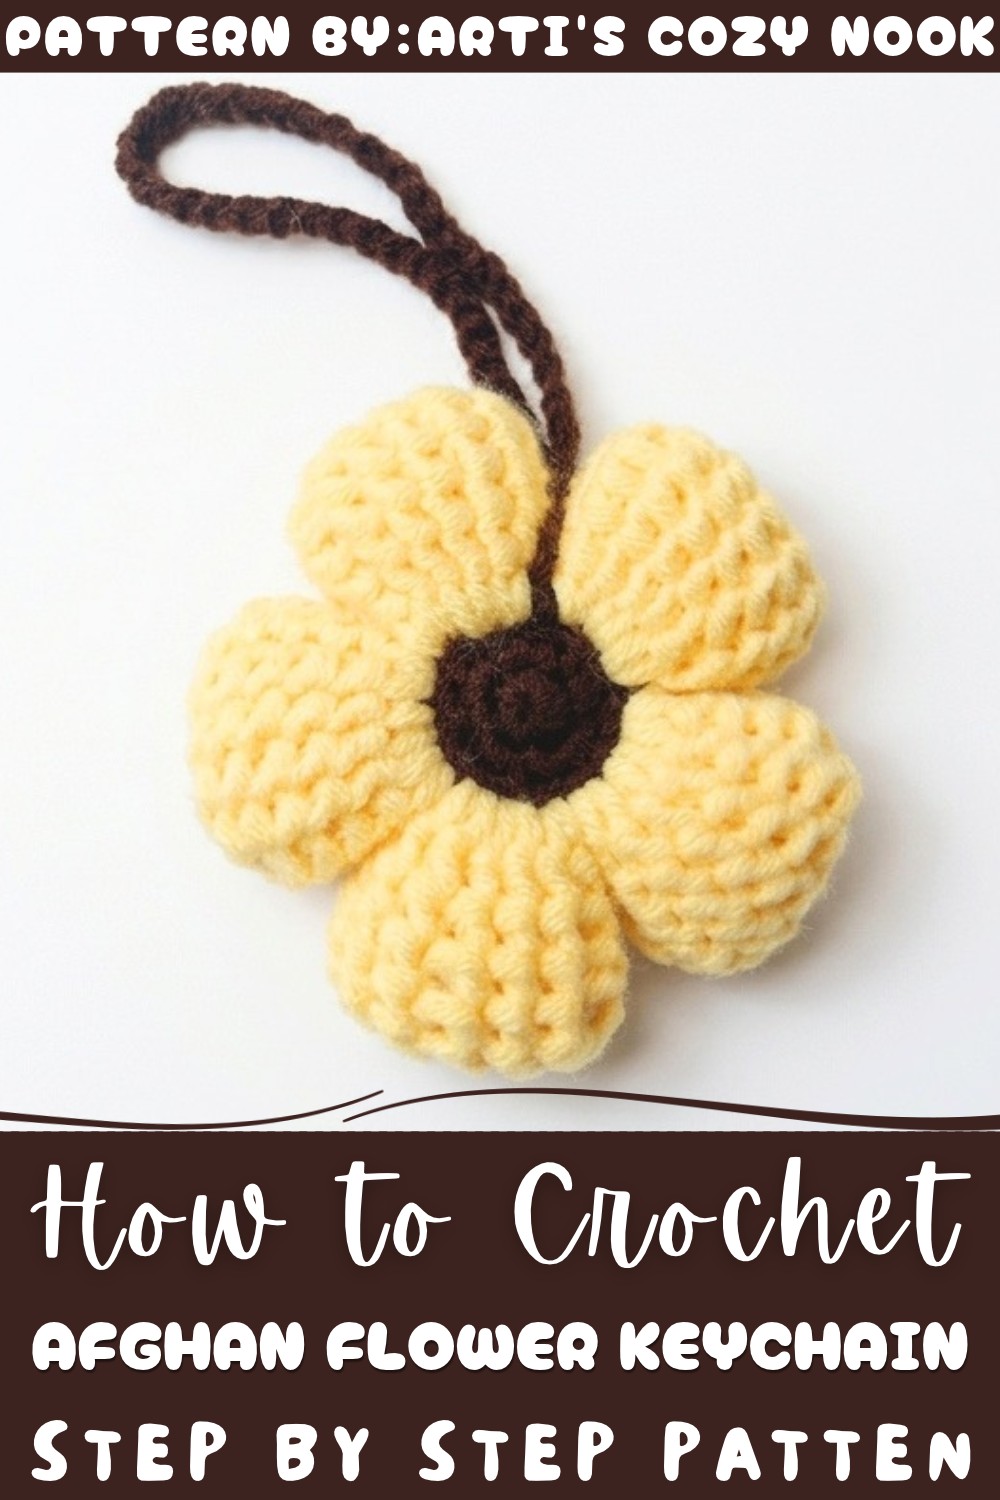
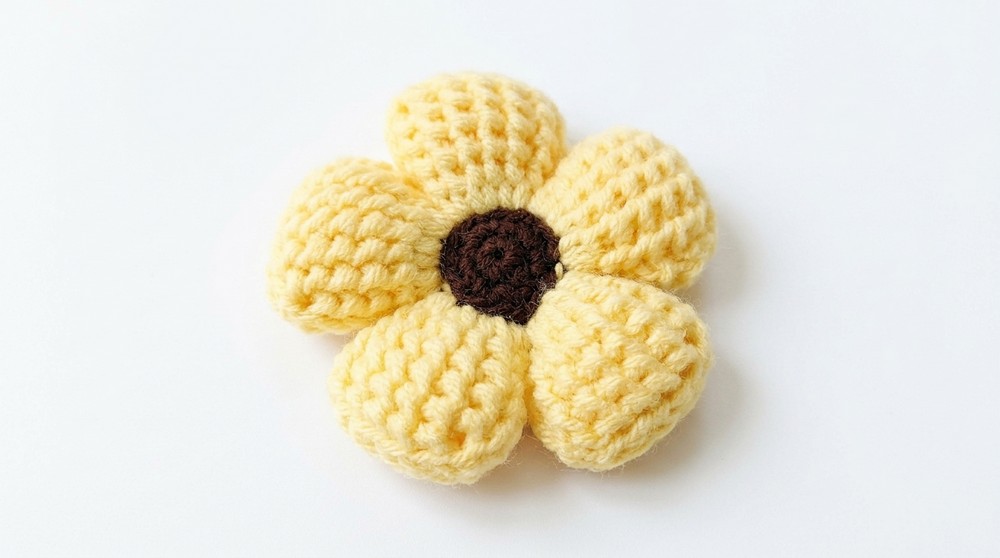
The finished flower keychain has a soft but sturdy texture that feels pleasant in your hand. Made with multiple rounds of single crochet stitches, the flower blooms with five well-defined petals, each featuring six delicate rounds that give it dimension and fullness. The center core of the flower anchors the design with a neat, circular base, from which the petals radiate gracefully. The shape is beautifully symmetrical, making it stand out as a classic yet charming accessory. Its style blends simplicity with warmth, allowing flower lovers and crochet admirers alike to enjoy its quaint, handmade aesthetic.
Whether you’re adding a pop of personality to your keys or searching for a little gift that conveys care, this Crochet Afghan Flower Keychain Pattern is both visually appealing and highly versatile—a wonderful blend of function and beauty.
Easy Crochet Afghan Flower Keychain Free Pattern
This step-by-step pattern details how to crochet a charming flower keychain, following a method that results in distinct dimensional petals. The flower begins with a solid center, worked in the round, and then transitions into textured petals using a layered back bump technique. All instructions are structured to provide clarity at each stage, ensuring each round and stitch aligns for a polished look. Yarn color changes and shaping methods are specified, guiding crocheters through both the creation and final assembly. The end product is a small, vibrant flower ideal for keychains or decorative accessories, completed with secure weaving of ends and addition of hardware.
Quick Overview Of Pattern
- Start with a double magic circle to form the flower heart.
- Crochet three increasing rounds for the flower center.
- Attach petal color yarn and create five petals using a chain foundation and textured rounds.
- Each petal consists of two textured rounds per base stitch.
- Finish by weaving in ends and attaching keychain hardware.
Notes
- Use a stitch marker for round starts if needed.
- Keep tension firm but not tight, especially when making petals.
- Petals are made using a special back bump pickup method for extra texture.
- Final round of each petal has a skipped bump to create a tapered edge.
- The flower should sit flat with even petals.
- This project is a great way to use yarn scraps and is portable.
Skill Level
Beginner/Intermediate:
Must know single crochet, increases, slip stitch, chaining, working in the round, and working into chain back bumps.
Materials
- Yarn: 4-ply in yellow, dark brown, and one contrasting color (for center/heart)
- Hook: 3 mm crochet hook
- Other: Fiber stuffing (optional), yarn needle, keychain hardware
Measurements / Sizing
- Finished flower diameter: approx. 3.5–4 cm (petal length 1.5–2 cm)
- Adaptable based on yarn and tension
Gauge & Stitch Pattern
- Not critical for this project; aim for firm, even stitches for shape
- Textured petal pattern uses foundation chains and back bump loops
Stitch Abbreviations
| Abbreviation | Meaning |
|---|---|
| ch | chain |
| sc | single crochet |
| sl st | slip stitch |
| inc | increase (2 sc in one stitch) |
| st(s) | stitch(es) |
Special Stitches
- Double Magic Circle: Start with two loops for a tighter, reliable closed center.
- Back Bump Foundation (for Petals): Work into the horizontal loop on the back side of starting chains to add texture.
- Textured Petal Layer: Draw up loops in chain bumps, then finish with a staged pull-through to create a three-dimensional effect.
The Crochet Pattern
Crocheting the Flower Heart
Round 1: Foundation
- Begin with a double magic circle.
- Ch 1.
- Work 5 sc into the circle.
- Pull to close the circle tightly.
- Join with a sl st to the first sc.
(Total: 5 sts)
Round 2: Increase
- Ch 1.
- Work 2 sc in each stitch around (inc in each st).
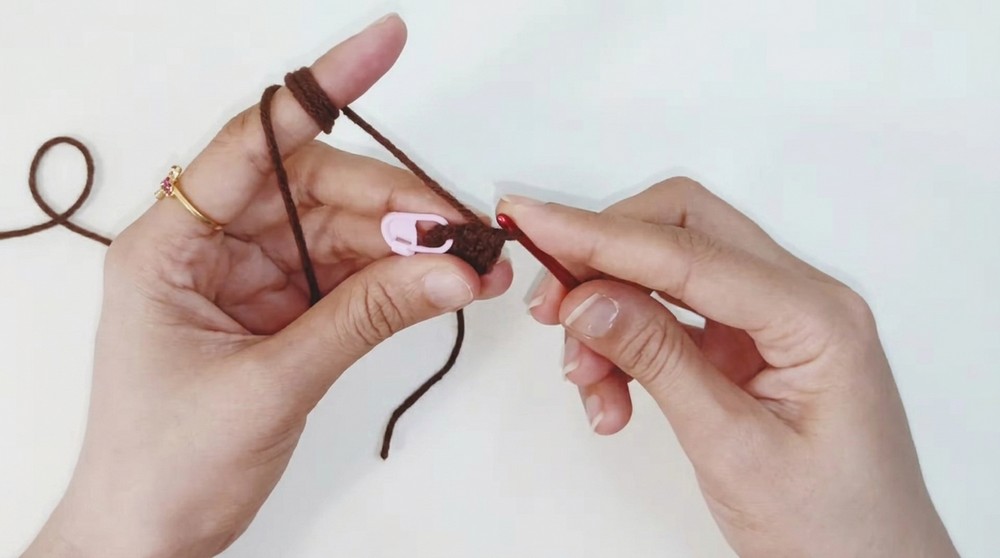
- (Total: 10 sc)
- Join with a sl st at end of round.
Round 3: Increase Sequence
- Ch 1.
- Repeat this sequence:
- 1 sc in next st, 2 sc in next st (inc), around.
- (Total: 15 sc)
- Fasten off: Cut yarn and pull through loop to close.
Creating the Flower Petals
Attaching Petal Yarn
- With the yellow yarn, attach to the first stitch of the flower center.
First Petal Base Foundation
- Ch 5 for petal base.
- Work into the back bumps of the chain:
- Insert hook into each chain back bump, drawing up a loop in each.
- At end, you will have 5 loops on hook.
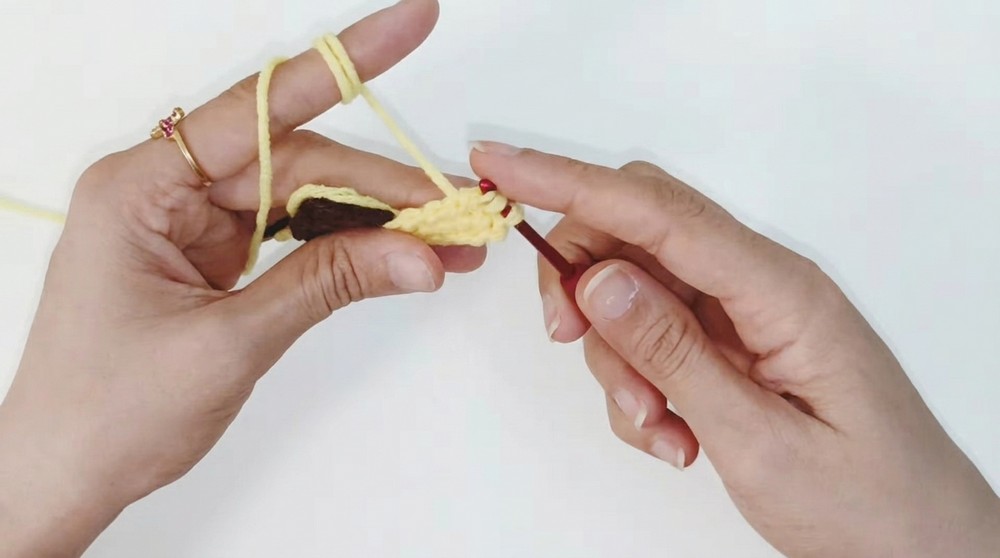
First Textured Round for Petal
- Insert your hook back into the same base stitch of the flower center.
- Yarn over, pull through two loops at a time repeatedly until only one loop remains (like foundation single crochet but drawn up tall for petal shape).
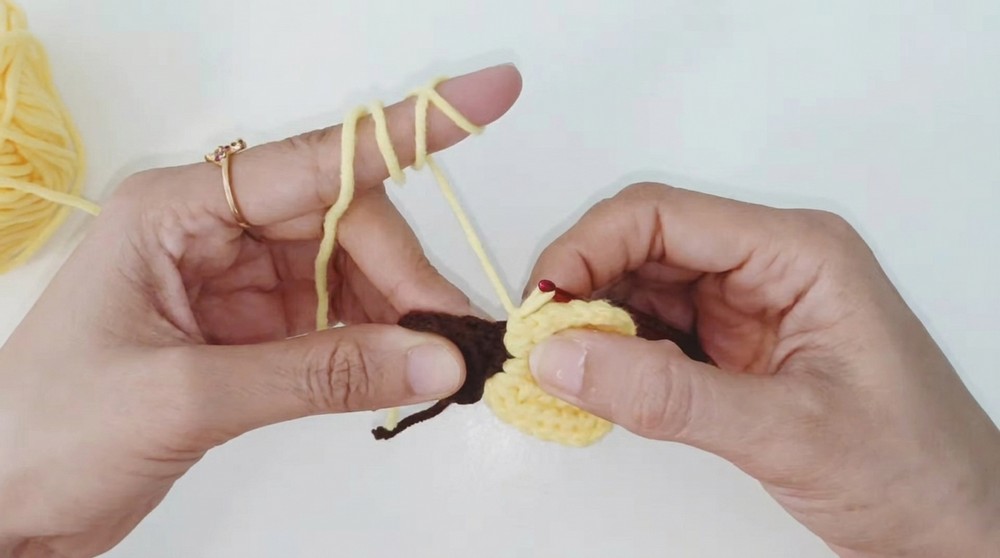
Second Textured Round for Petal
- Repeat the same process into the same base stitch.
- Ch 5, work back bumps, draw up loops, insert into base, yarn over, pull through two loops at a time across.
Making a Full Petal
- Total: 6 textured rounds per petal
- Work 2 textured rounds in each of 3 consecutive stitches on the flower heart base.
- This gives each petal enough fullness and thickness.
Shaping the Petal Edge (Last Round)
- On your 6th textured round for the petal:
- Skip the first back bump of the chain.
- Start picking up loops from the second back bump.
- Slip stitch across all bumps to sharpen and flatten the petal tip.
Repeat Petal Process
- Repeat all steps above for the next four petals, each over a set of 3 stitches, ensuring they are evenly spaced around the flower heart.
- Each petal:
- 2 textured rounds per stitch, 3 stitches per petal, for 5 petals.
- Shape the last round as described.
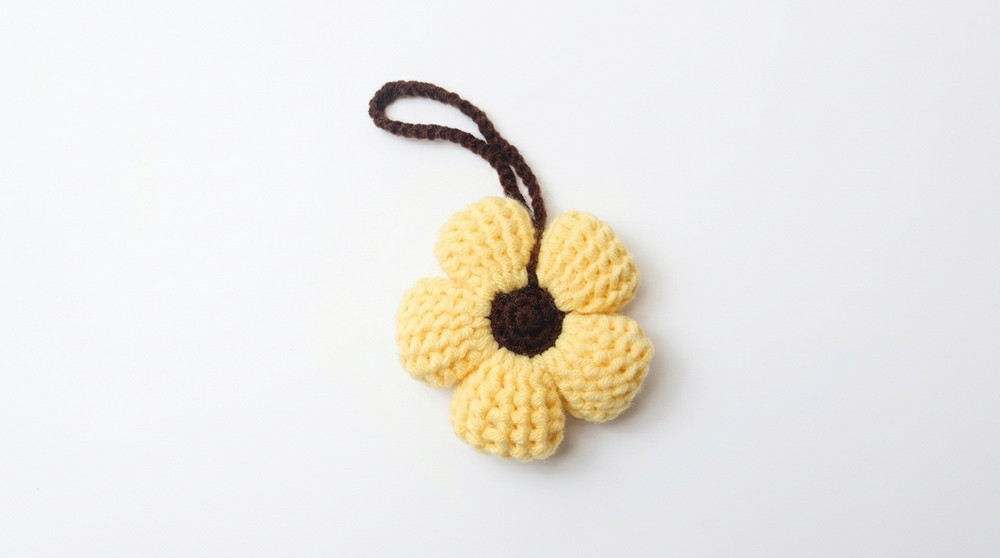
Assembly & Finished Size
- Weave in ends securely with a yarn needle at the back of your work.
- If desired, lightly stuff the center with fiberfill before final closure for a puffier flower.
- Secure keychain hardware to the top of a petal or through the center.
- Check for symmetrical petal arrangement and finished diameter (approx. 3.5–4 cm).
Conclusion and Ending Words
The completed flower keychain reflects careful attention to stitch technique and petal placement, producing a compact accessory with rich dimension. The use of foundational rounds for the center, combined with the layered petal method, produces a realistic floral effect. Secure attachment of keychain hardware adds practical value, ensuring this bright, textured motif can be used daily as a decorative or functional item. By working through each clearly marked round and methodically forming the petals, the finished result offers both visual appeal and sturdy construction. This flower keychain serves as a lasting example of effective small project skills, lending itself well to color customizations and future personal or gift use.