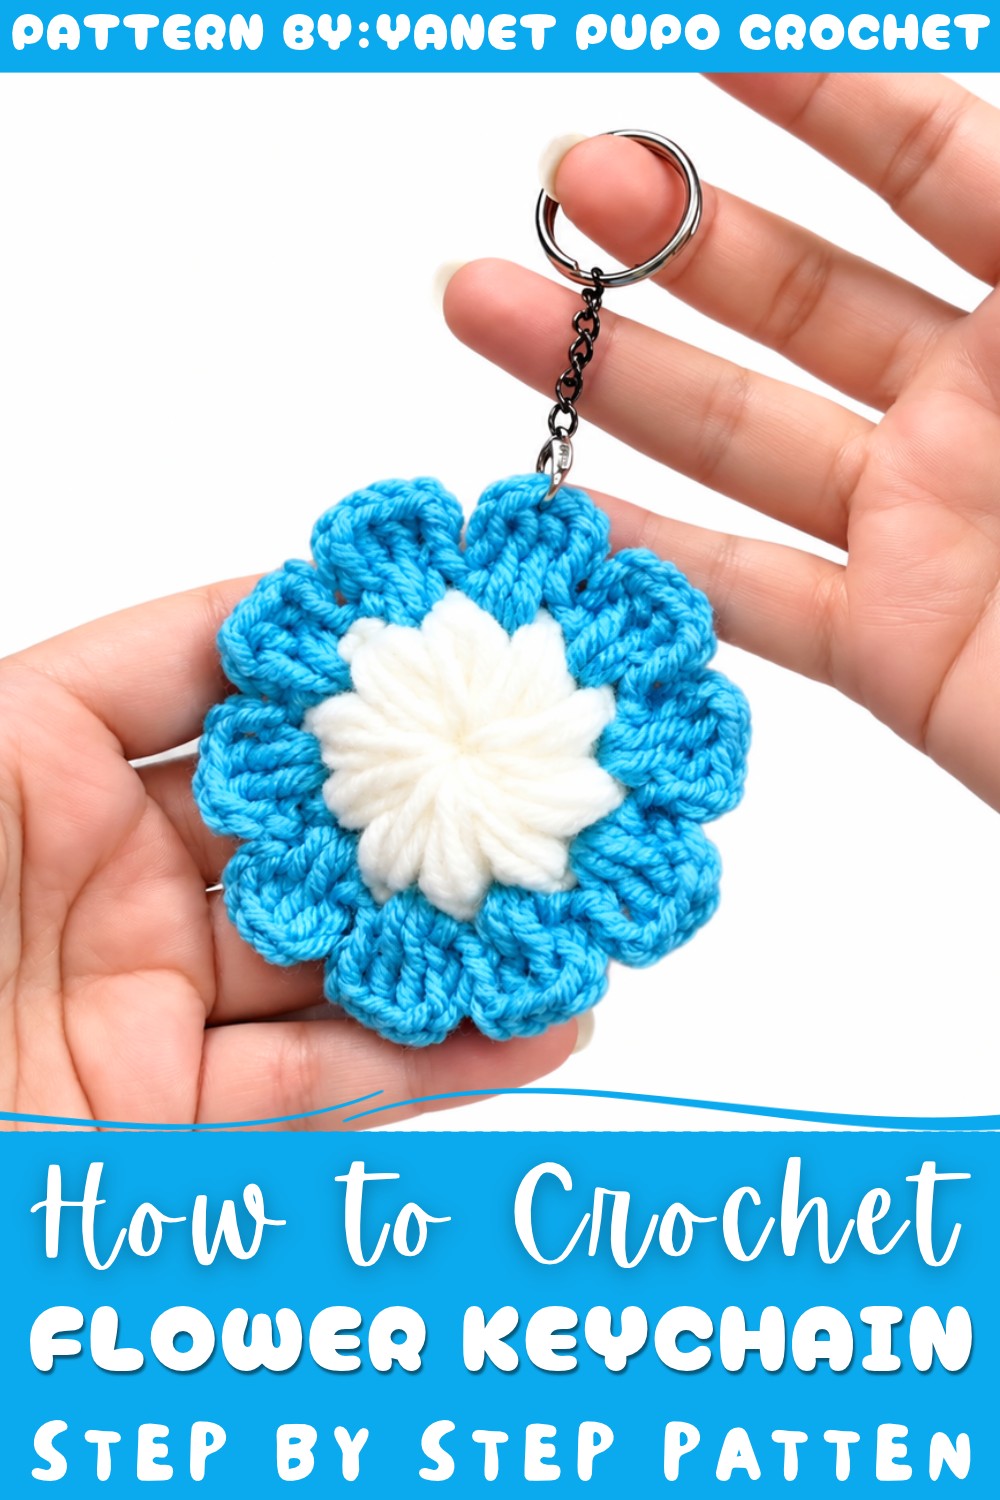
Add cheerful flair to your keys with this free crochet flower keychain pattern that blends charm and functionality into a delightful everyday accessory.
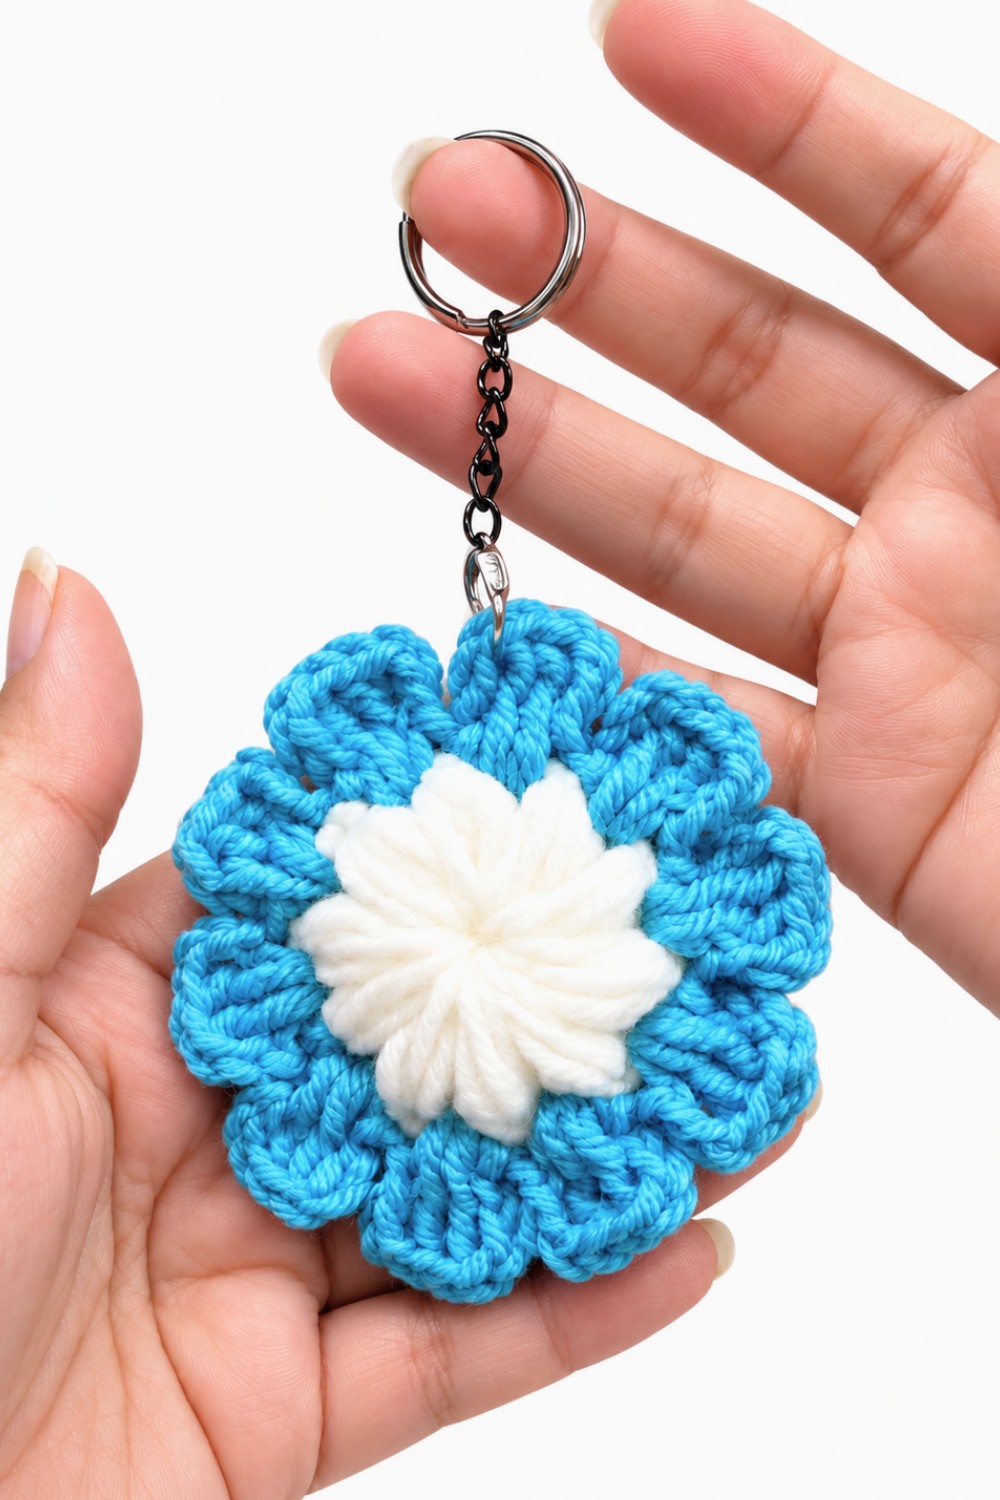
A crochet flower keychain is a delightful way to add charm to your daily essentials. The Free Crochet Flower Keychain Pattern, shared by Yanet Pupo Crochet on YouTube, is perfect for creating a small yet beautiful accessory. Whether for your keys, backpack, or purse, this handmade piece brings color and personality to anything it touches.
The flower is shaped with soft, rounded petals that create a layered and eye-catching design. You can choose bright, playful colors like yellow or pink for a cheerful vibe, or go with subtle pastel tones for a delicate, elegant look. It’s lightweight, easy to carry, and makes a wonderful decorative detail that stands out without being overwhelming.
Adorable Free Flower Keychain Crochet Pattern
One of the best things about this pattern is its versatility. The finished piece can be used as a keychain, a bag charm, or even a party favor for special occasions. Giving it as a gift is also a thoughtful way to show your creativity and care—it’s something unique that your loved ones are sure to appreciate.
Yanet Pupo Crochet’s clear and simple tutorial makes it easy to follow along and create your own beautiful flower. With its lovely appearance and practical uses, this pattern is sure to become a favorite project for crocheters of all skill levels.
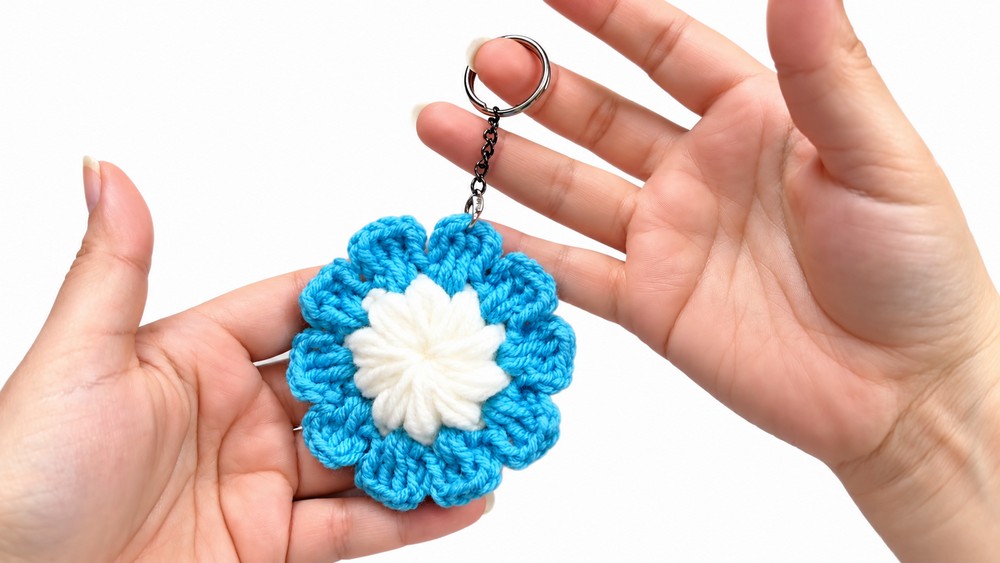
Crochet Flower Key Ring / Purse Decoration Pattern
Welcome! In this tutorial, Yanet teaches us how to crochet a beautiful flower that can be used as a key ring or to decorate purses. This charming flower is created using thick yarn and simple crochet techniques, making it an excellent project for beginners aiming to create lovely accessories with their own hands. The flower is composed of two parts—a ring base formed with grouped loops and petals crocheted around this base. This step-by-step guide follows the video transcript closely to provide clear and detailed instructions.
Pattern Highlights
- Creates a flower suitable as a key ring or bag decoration.
- Uses thick number 4 wool for sturdiness and softness.
- Works a magic ring base with 10 groups of loops.
- Surrounds the base with 10 crochet petals made with double crochets and chains.
- Uses basic and intermediate stitches to produce a balanced flower.
- Finished with neatly hidden yarn ends to keep the flower tidy.
Notes
- Use a 3.5 mm aluminum crochet hook as recommended for the yarn thickness.
- The magic ring technique forms a secure and adjustable base to work petals from.
- Maintain consistent loop sizes during the base creation to ensure uniform flower shape.
- Yarn ends must be carefully hidden under petals for a neat finish.
- Feel free to change yarn colors for different flower effects.
- This pattern easily adapts for beginners with basic crochet experience.
Skill Level
Beginner to Low-Intermediate:
- Basic experience with crochet loops, chains, double crochets, and slip stitches is helpful.
- Familiarity with working a magic ring or adjustable loop is recommended but explained here step-by-step.
- Patience to maintain uniform loops and tidy finishing is key.
Materials
- Thick wool, size number 4 (approximately 15 grams per flower).
- 3.5 mm aluminum crochet hook.
- Scissors for cutting ends.
- Optional key ring hardware if making a key ring.
Measurements / Sizing
- The flower will be approximately a few inches in diameter, sized according to yarn thickness and tension.
- Suitable as a compact key ring or small purse decoration.
- Easy to resize by adjusting yarn weight or tension.
Gauge and Stitch Pattern
- Gauge is flexible for accessory items like this flower.
- Focus on consistent loop sizes and stitch tension rather than strict gauge.
- Stitches primarily include chains, double crochets, slip stitches, and single crochets.
Stitch Abbreviations
| Abbreviation | Term | Explanation |
|---|---|---|
| ch | Chain | Yarn over, pull through loop |
| dc | Double Crochet | Yarn over, insert hook, yarn over, pull through 2 loops twice |
| sl st | Slip Stitch | Insert hook, yarn over, pull through both loops |
| sc | Single Crochet | Insert hook, yarn over, pull through both loops |
Special Stitches
Magic Ring / Magic Loop:
A loop made by wrapping yarn around finger forming an adjustable ring; used as a base to work stitches tightly closed without hole.
The Crochet Pattern – Step by Step
Part 1: Creating the Flower Base (Magic Ring with Loop Groups)
- Start the Magic Ring:
- Wrap the yarn around your finger to form a magic ring.
- Tie a slip knot and tighten lightly.
- Chain to Start:
- Chain 3 (these chains do not count as stitches) to begin.
- Make the First Loop Group:
- Make 1 loop: pull through the ring once.
- Stretch it slightly to keep it loose but uniform.
- Repeat this 3 times in the ring so you have 3 loops together.
- Close the First Group:
- Pull the yarn through all 3 loops to close this group.
- Chain 1 as a separator.
- Make Each Loop Group:
- Repeat the loop group step:
- Pull out a loop once, stretch gently, repeat 3 times to form the loop group.
- Pull through all loops to close, then chain 1 to separate groups.
- Repeat the loop group step:
- Repeat Until 10 Groups Total:
- Continue repeating the loop group and chain separator until you form a circle with 10 groups in the magic ring.
- You should see 10 loop groups each separated by a chain stitch.
- Close the Ring:
- After completing the tenth group, chain 1.
- Join to the top of the first group with a slip stitch to complete the circle.
- Secure and Finish the Base:
- Cut yarn leaving a tail, tie a knot to secure.
- Flip the piece to the back side.
- Gently tighten the magic ring but not too tight to avoid snapping the yarn.
- Hide the tail ends neatly at the back by weaving or slipping under loops.
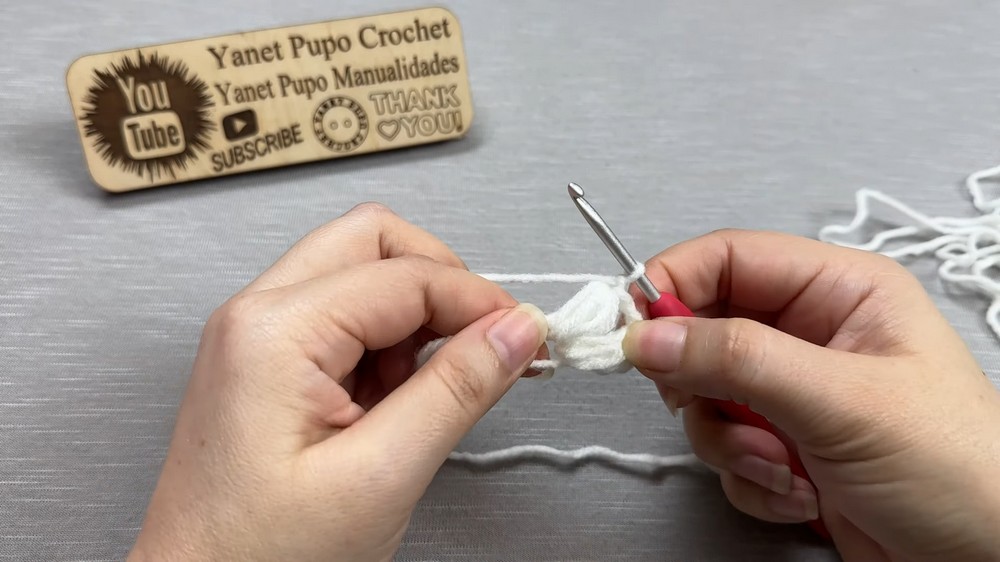
Part 2: Making the Petals Around the Base
- Attach the Yarn for Petals:
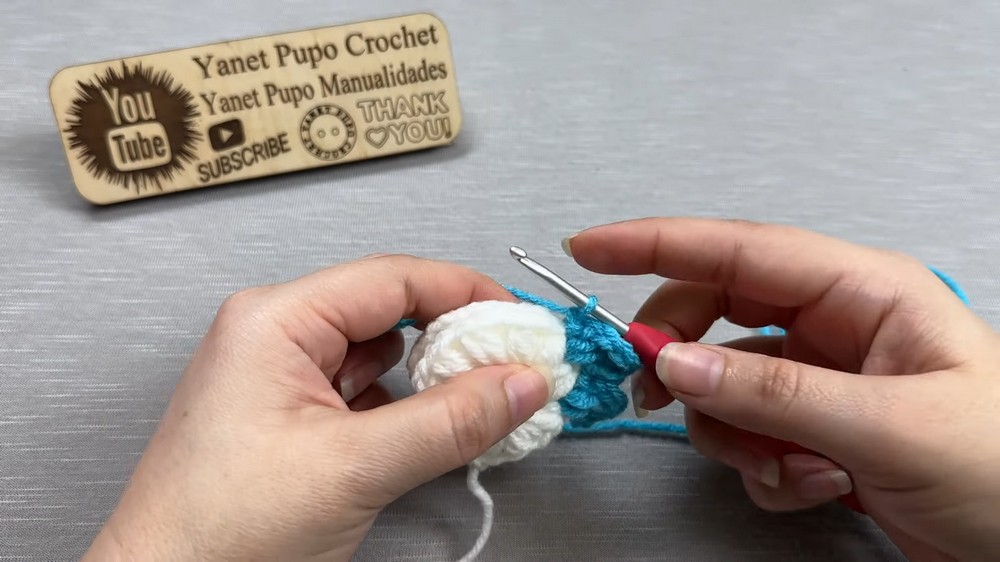
- Attach a new yarn color (e.g., blue) by making a knot on any group loop of the circle base.
- Begin First Petal:
- Chain 3 (counts as first double crochet).
- In the same group space, work 2 more double crochets (dc), so a total of 3 dc stitches in the group.
- Chain 3 chains to create height.
- Close the petal by working a slip stitch (sl st) in the same group space.
- Chain Between Petals:
- Make a chain 1 to separate petals.
- Work Each Subsequent Petal:
- Move to the next group on the base.
- Work a single crochet (sc) in that group.
- Chain 3 chains for height.
- Repeat the petal cluster of 3 double crochets (dc) in the group.
- Chain 3 chains again.
- Close with a slip stitch (sl st) in the same group.
- Chain 1 between petals for separation.
- Repeat Petals Around:
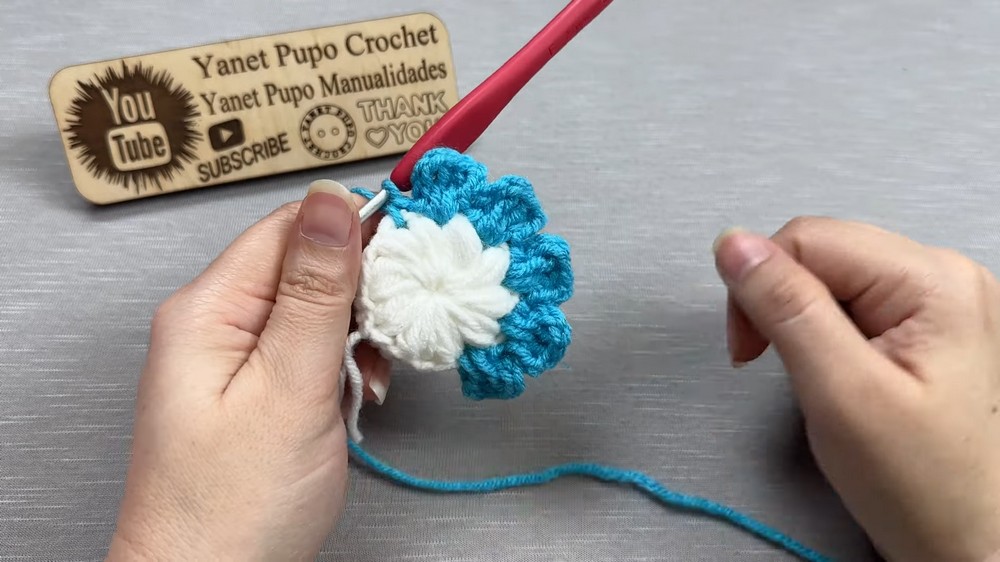
- Continue repeating the step above on every group of the base.
- Each petal: sc, ch 3, 3 dc, ch 3, sl st all in the same group loop.
- Chain 1 between petals.
- Complete 10 Petals Total:
- Make sure to complete petals on all 10 base groups.
- Finishing the Last Petal:
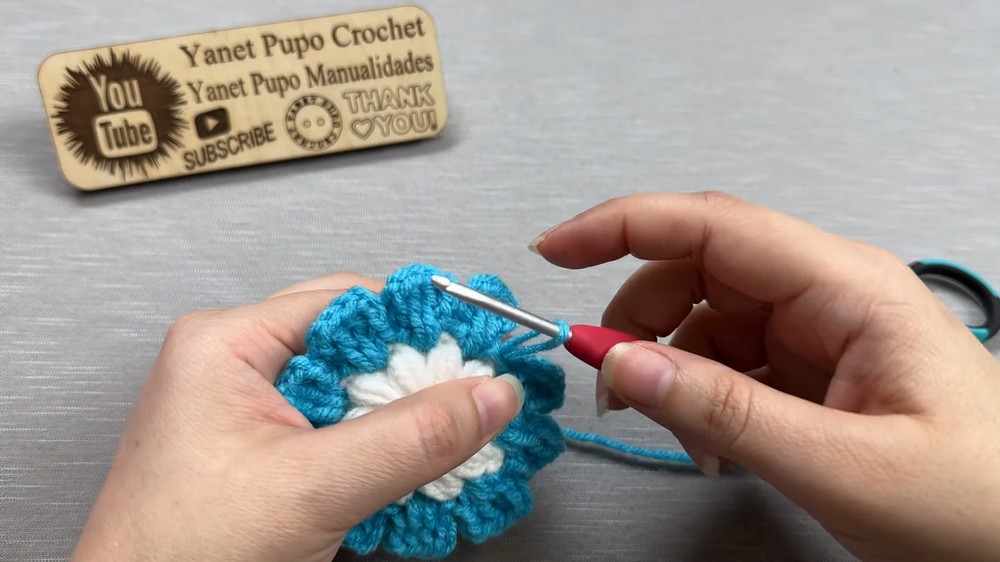
- After the final petal, cut the yarn leaving a tail.
- Pull the yarn through the last stitch to secure.
- Weave tail back under petals neatly to hide it.
Assembly & Finished Size
- Adjust and shape petals gently for an even and attractive flower.
- For a key ring, attach a ring with a chain and hook to a petal.
- The flower’s diameter will roughly range from 2 to 3 inches depending on yarn thickness and tension.
- Use different colors for multiple flowers to create a set for accessories or home décor.
- The tight, neat finishing ensures durability and wearability.
Conclusion
This flower pattern is a wonderful beginner-friendly project that results in a versatile accessory suitable for key rings or purse decorations. By mastering the magic ring base and petal formation with double crochets and chains, you build foundational skills applicable across many crochet projects. With patience and practice, you will create beautiful, colorful flowers to personalize your belongings or gift to friends. Don’t forget to like and share the tutorial if you enjoyed making this flower, and subscribe for more inspiring crochet projects.