Style your hair with this Crochet Headband Free Pattern, a lovely accessory for casual outfits, weekend walks, and thoughtful handmade gifts.
There’s something truly special about creating a beautiful accessory that can brighten up any outfit, and a lovely headband is just the perfect example. From the talented Mônica Guimarães on her YouTube channel Mônica Moda Crochê, comes an easy-to-follow tutorial that guides you through making a charming crochet headband. This project, known as a Crochet Headband Pattern, is not only simple to make but also wonderfully versatile. Whether as a thoughtful gift for a loved one or a stylish addition to your own collection, this headband offers both decorative charm and practical use by keeping hair neatly in place.
Stylish Crochet Headband Free Pattern To Wear Everyday
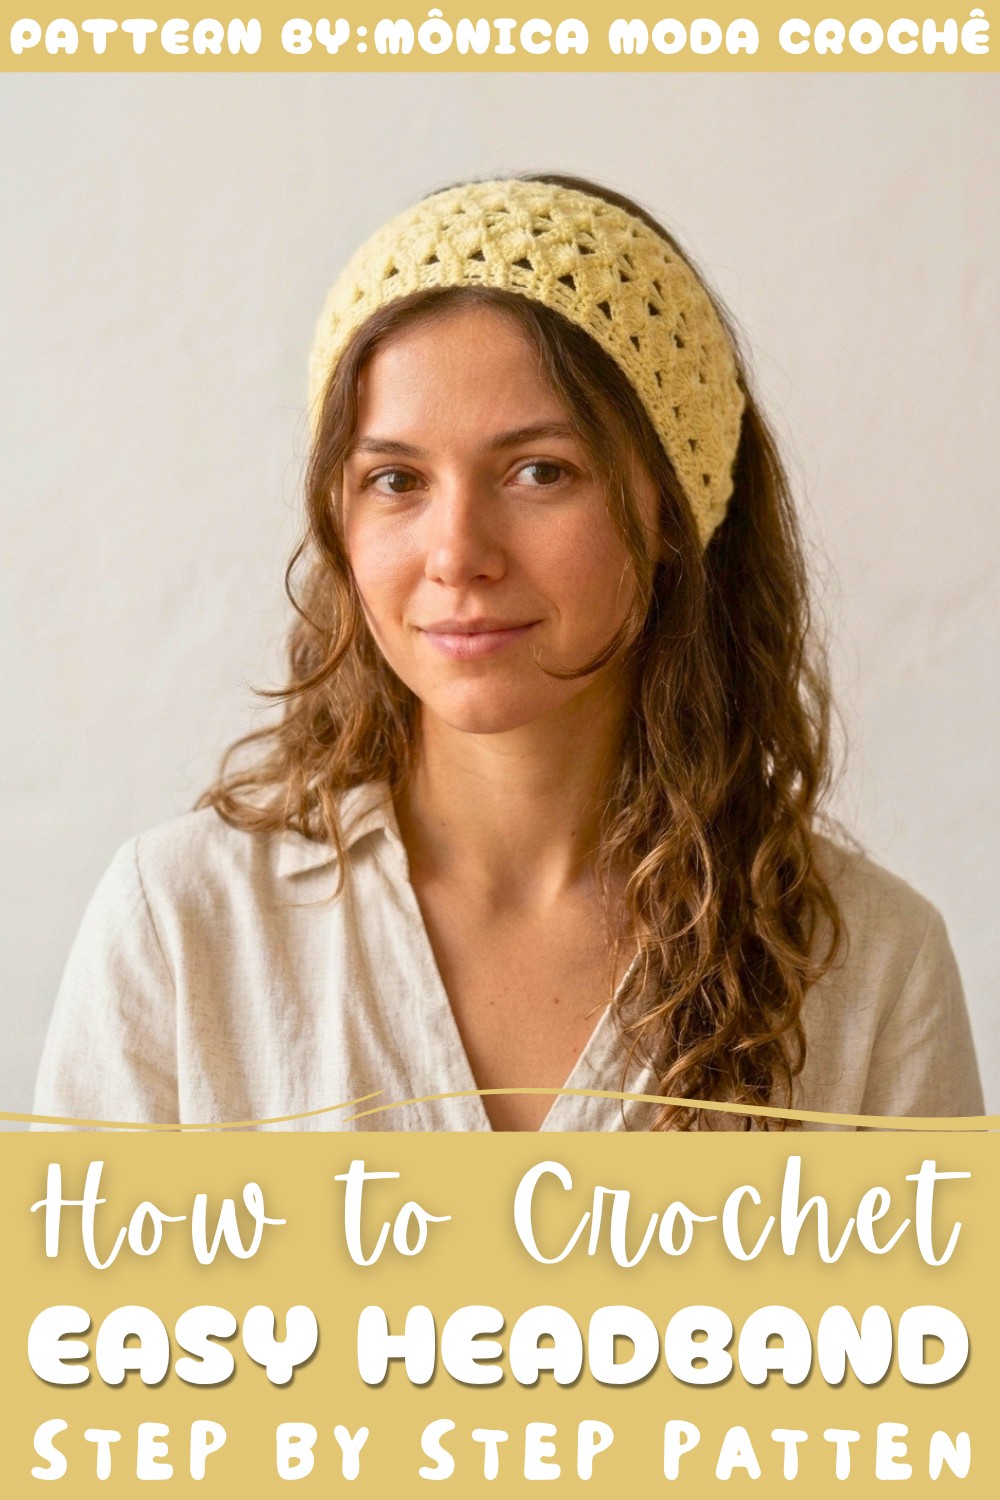
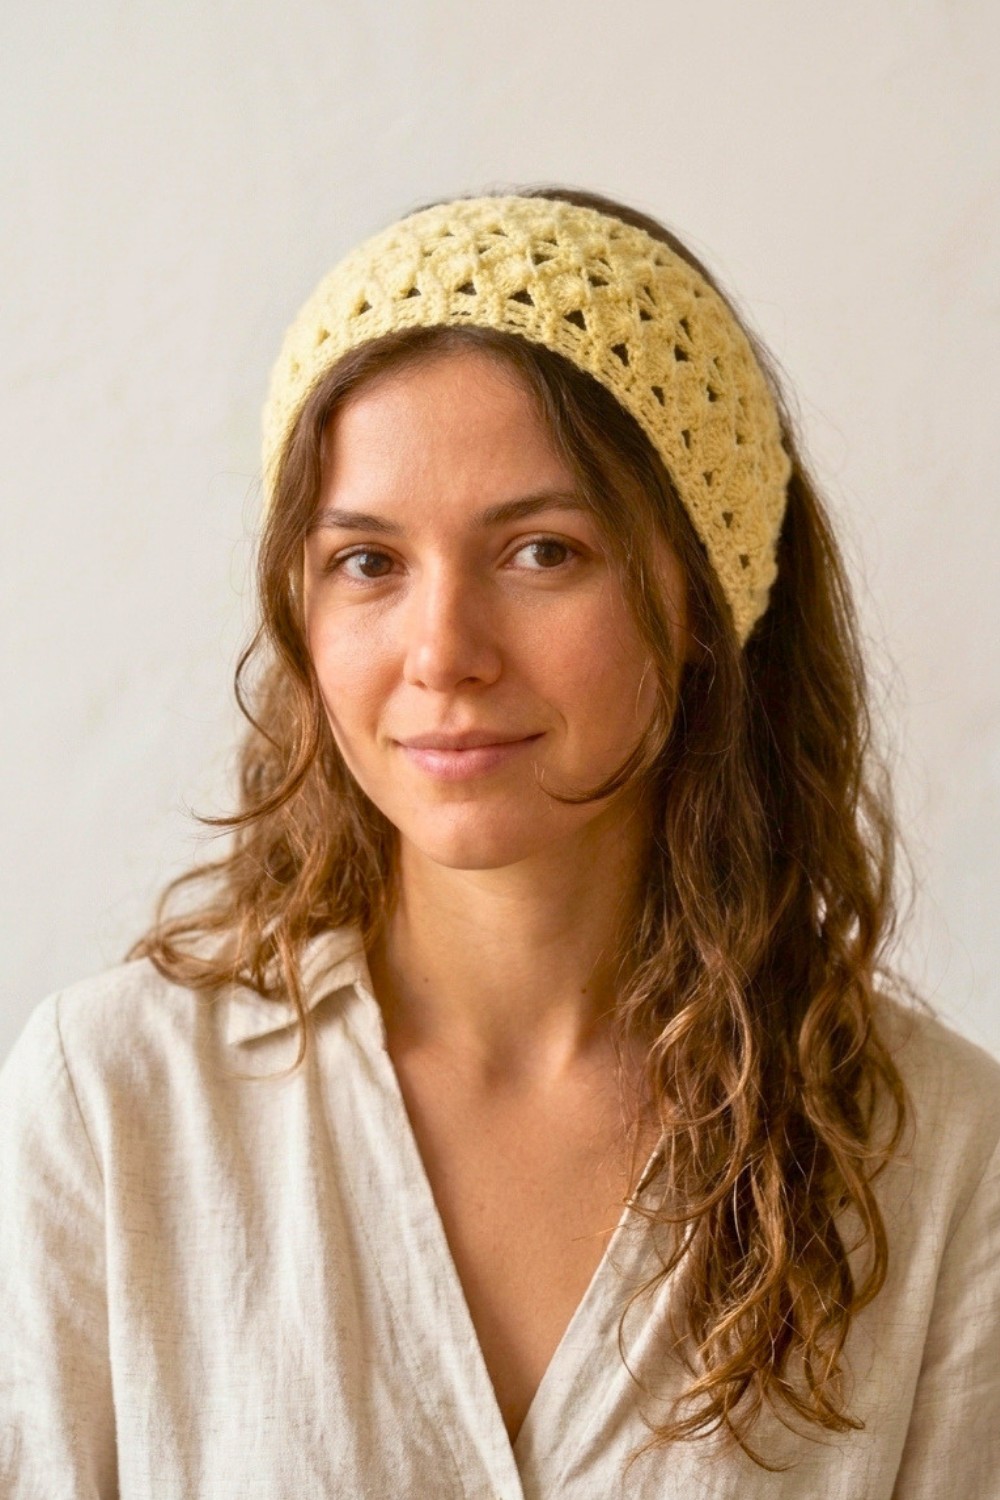
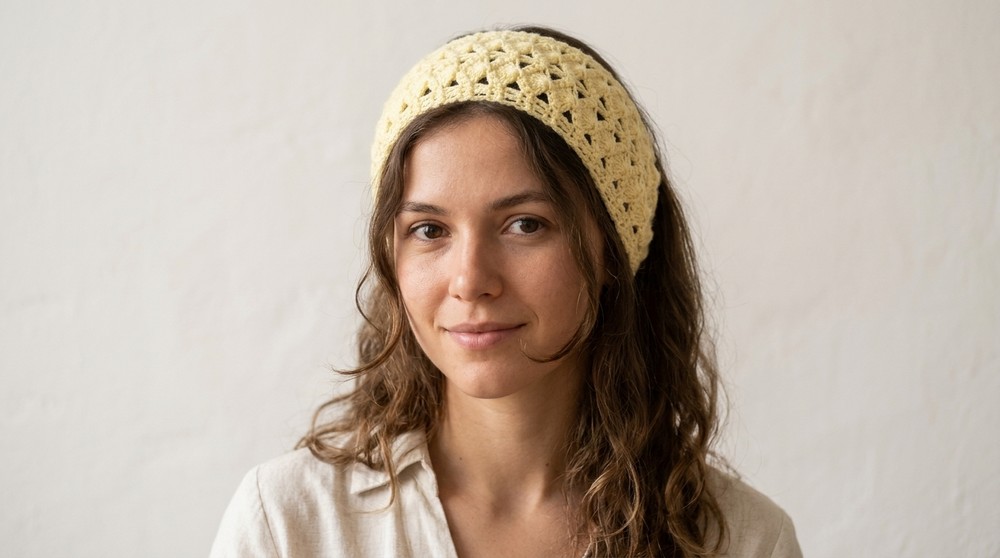
The crochet headband boasts a delicate yet textured appearance, featuring a soft and lightweight feel thanks to the gentle yarn and airy stitch pattern. Its shape comfortably fits the head, stretching just enough to hold securely without tightness. The design cleverly incorporates rows of double and treble stitches along with V-stitches that create subtle, elegant motifs throughout. These standout features give the headband a sophisticated style that feels both timeless and fresh, making it suitable for people of all ages. Whether worn casually to brighten a day or at a special event to add a handmade touch of grace, this headband complements many looks.
The beauty of this project is in its blend of simplicity and detail—easy enough for beginners, yet with an intricate pattern that delights the eye. Its soft texture ensures comfort during wear, while the flexible shape adapts perfectly, making it a lovely accessory for children, teens, and adults alike. This headband is a wonderful way to bring a little handmade charm into everyday life or to gift a friend something heartfelt and unique.
Trendy Crochet Headband Free Pattern
To begin with, attach the yarn to a hair tie to form a secure, no-slip foundation for the headband. Next, work simple rows of single crochet and double crochet to build a flexible base. After that, introduce dimensional motifs and V-stitches to give the design an attractive texture. Meanwhile, maintain even tension to keep the stitches neat and consistent. Furthermore, turn your work after each row to continue the repeating stitch sequence. As a result, the headband develops a durable structure suitable for everyday wear. In addition, the simple steps allow beginners to follow the instructions comfortably. Moreover, the adjustable length offers flexible sizing for both children and adults. For this reason, measure your work regularly to achieve the desired fit. Finally, check the stitches and overall length to ensure a neat, comfortable finish.
Quick Overview Of Pattern
- Attach yarn directly to a hair tie or base clip for sturdy beginnings.
- Work a row of single crochet for the foundation.
- Add structure with a row of double crochet across the base.
- Introduce texture using alternating motif & V-stitch rows.
- Balance design and stretch with single crochet transition rows.
- Repeat sections to achieve desired length.
- Finish with a cohesive join, closing the headband securely around the hair tie or clip.
Notes
- The headband is worked flat, then closed around a hair tie or clip.
- The pattern is easily customizable in length for different head sizes.
- Always count stitches at the end of each row for accuracy, especially when working motifs.
- All motif and V-stitch sections must be lined up for a balanced appearance.
- Use even tension for a professional finish.
- Adjust row numbers for preferred width.
Skill Level
Confident Beginner to Intermediate
Ability to execute foundation single crochet, double crochet, V-stitch, and basic seaming required.
Materials
- Yarn: Anne yarn or any sport-weight/light DK cotton yarn, light yellow recommended.
- Crochet Hook: Nickel-plated crochet hook, size 4 (number 4 or 2.5–3mm depending on comfort).
- Accessories: Hair tie or sturdy hair clip for anchoring and finishing.
- Notions: Scissors, yarn needle for weaving in ends.
Measurements / Sizing
- Finished Length: Approximately 38 cm for adult (adjust as required for children).
- Width: About 3–4 cm depending on tension.
- For a custom fit, wrap the headband around the head (unstretched) before final joining.
Gauge & Stitch Pattern
- Gauge: Not strictly critical but aim for compact, not loose, fabric.
- Stitch Pattern: Alternates between single crochet rows and a motif/V-stitch row (double crochets, clusters, and V-stitch).
- Every row ends with 23 stitches for consistency.
Stitch Abbreviations
| Abbreviation | Meaning |
|---|---|
| ch | chain |
| sc | single crochet |
| dc | double crochet |
| sl st | slip stitch |
| V-stitch | (dc, ch 1, dc) in same stitch |
Special Stitches
- V-stitch: Work 1 double crochet, 1 chain, and 1 double crochet all into the same stitch.
- 4-dc cluster motif: 4 double crochets in designated stitch, then 4 double crochets in the previously skipped stitch.
The Crochet Pattern
Foundation & Base
Round 1: Foundation Single Crochet Row
- Begin with a slip knot on your hook.
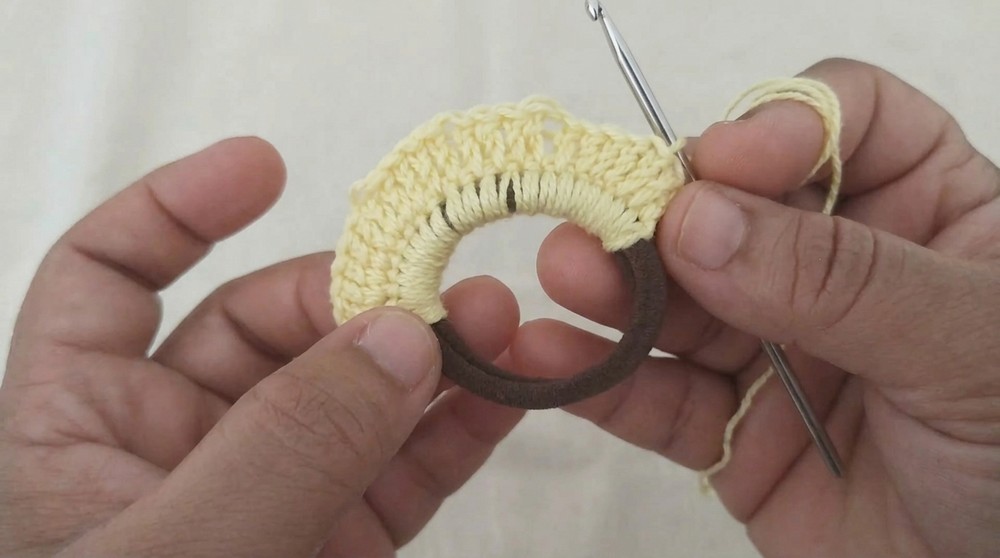
- Fasten directly to your hair tie or clip with a single crochet (sc); this holds the yarn firmly to your base.
- Continue placing sc stitches evenly around the hair tie until you reach 23 sc total. Keep stitches neat and well-spaced.
This counted “row” becomes your anchor and determines your final width.
Row 2: Establishing Height with Double Crochet
- Chain 3 (ch 3) at the end of your foundation row. This acts as your first double crochet (dc).
- Turn your work to the opposite side.
- Begin in the first sc of the previous row: dc in each sc across—one in each, ending with 23 stitches.
>Check stitch count (23 dc including turning chain).
Row 3: Textured Pattern Row (Motif, Crosses, & V-Stitch)
- Ch 3 to count as your first dc; turn work.
- Place dc in the next two stitches (now you have three dc counting the ch 3).
- Skip 4 dc. In the next stitch (5th dc), work 4 dc all into the same stitch. (This forms the base of the cross.)
- Yarn over, return to the first of the 4 skipped stitches, and work 4 dc into that earlier stitch (crossing over the previous cluster).
- Skip 3 dc. In the next (4th) stitch, place a V-stitch: (dc, ch 1, dc) in same stitch.
- Skip 4 stitches (do not include the one just used for V-stitch if ambiguous), in the (5th stitch), 4 dc again.
- Yarn over, return to the preceding of this group, 4 dc into that earlier stitch (crossing cluster again).
- Skip 3 dc, finish the row with dc in each remaining stitch, ending at the edge to mirror the beginning.
Row 4: Single Crochet Anchor Row
- Ch 1, turn your work.
- Sc in each dc across, inserting the hook into the top of every stitch including the ch-1 space of the V-stitch.
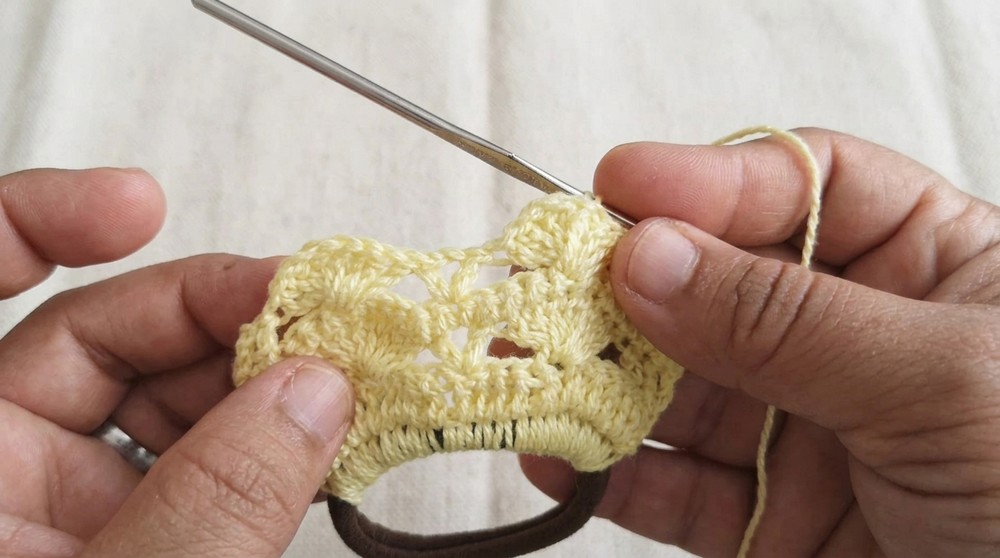
- Continue to the end of the row, keeping count (23 sc).
Repeats: Creating Length
Repeat Rows 3 and 4 to alternate between textured pattern row and single crochet row as follows:
- Ch 3, turn, work dc in first 2 or 3 stitches depending on repeat to balance sides.
- Follow the established motif sequence: crossed 4-dc cluster, V-stitch, another crossed 4-dc motif, then dc to edge.
- Always insert a single crochet row between motif rows to stabilize fabric and ensure flexibility.
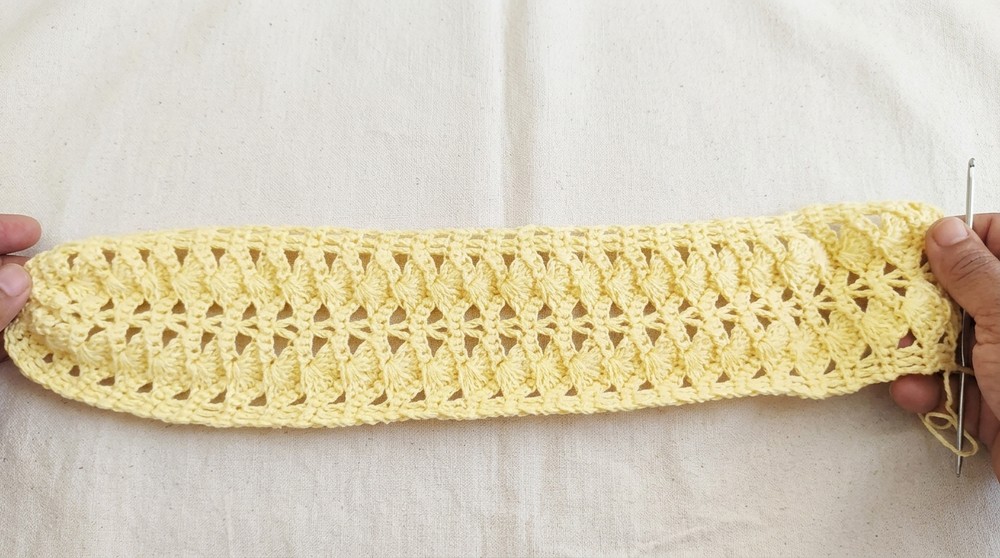
Continue until the band measures 38 cm (or adjusted size for the wearer).
Final Row: Securing Edges
- For the last row, skip the single crochet anchor row. Instead, Ch 3, turn, dc in each stitch across, from edge to edge, for a neat finish.
Assembly & Closing
Seaming and Fastening:
- With the last row complete, bring both ends of your headband together, matching the ends around your chosen hair tie or clip.
- Position the right sides together, ensuring motifs are aligned for symmetry. Seam the ends by working single crochet through both layers across the entire width.
- On the final stitch, chain 1, then cut the yarn.
- Use a yarn needle to weave in any remaining ends securely along the inside of the band.
Finished Size
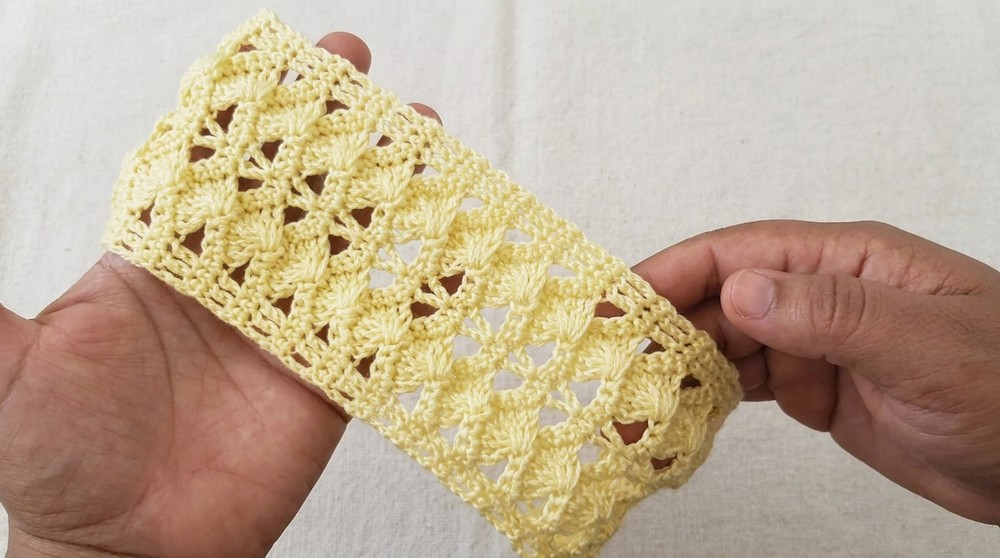
- Length: 38 cm (standard adult), easily adjusted for children or larger sizes.
- Width: Approximately 3–4 cm.
Conclusion and Ending Words
This headband combines a balanced design with durable construction for everyday wear. To begin with, alternating rows of single crochet and double crochet form a soft, flexible fabric. At the same time, bold motifs and V-stitches give the headband a distinct and attractive look. In addition, attaching the headband directly to a hair tie provides extra strength and practicality for daily use. Furthermore, the repeatable rows allow flexible sizing, making it easier to adjust the length as needed. For this reason, you can measure your work regularly to achieve a comfortable fit. Similarly, the seamless closing technique improves comfort while maintaining a neat appearance. As a result, the finished accessory looks polished and feels pleasant to wear. Moreover, following each step carefully helps maintain accurate stitch counts and smooth transitions.