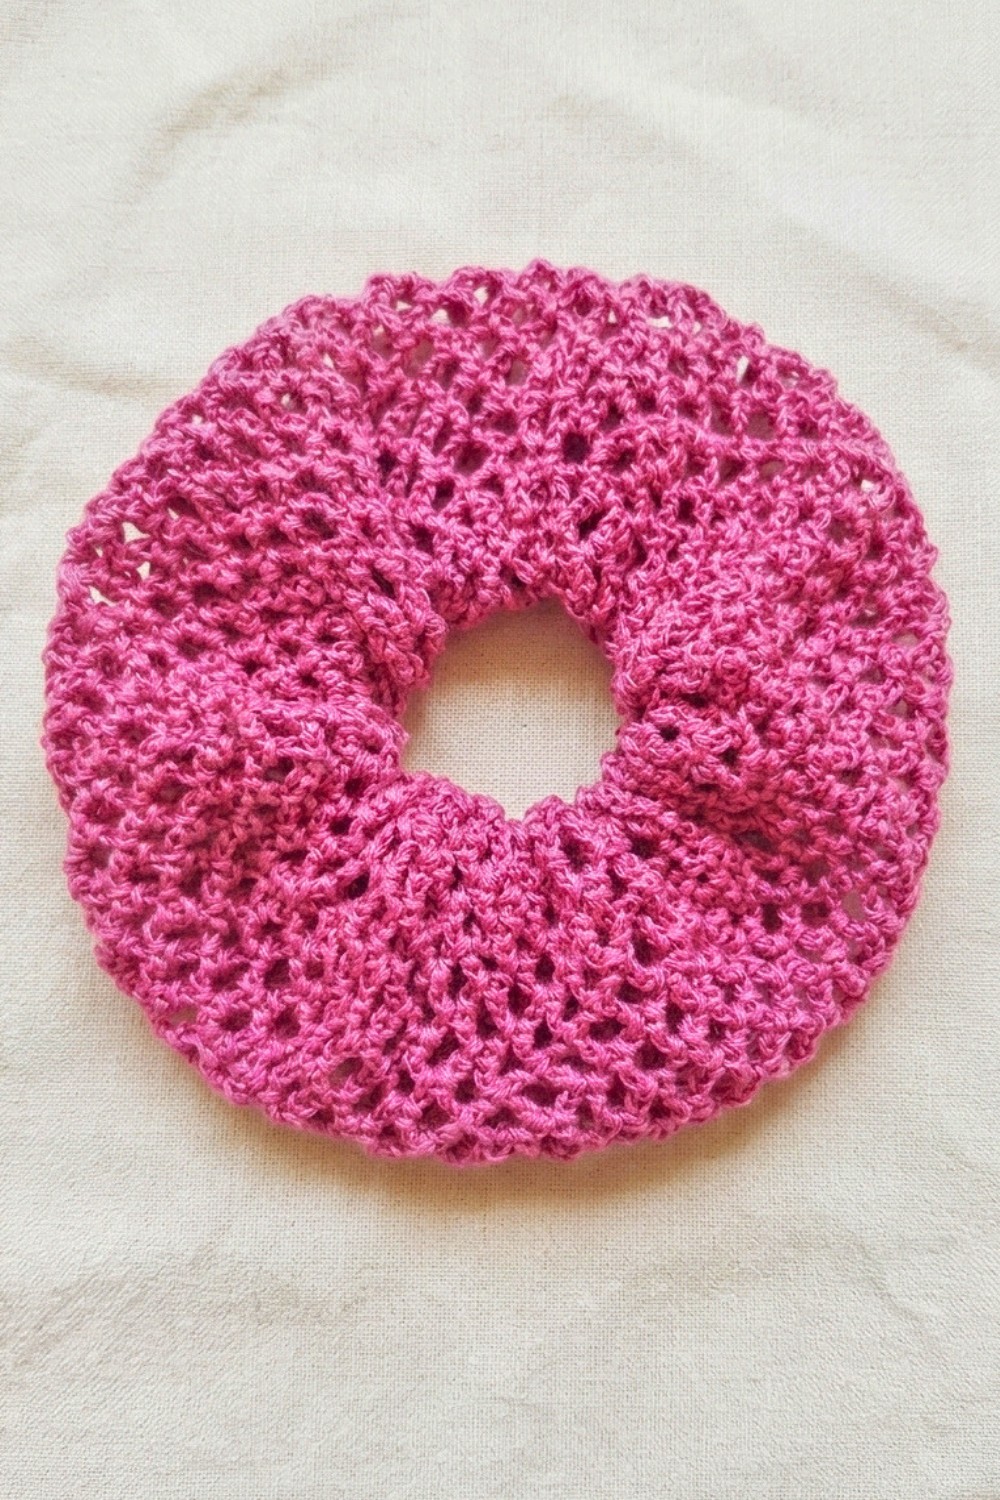
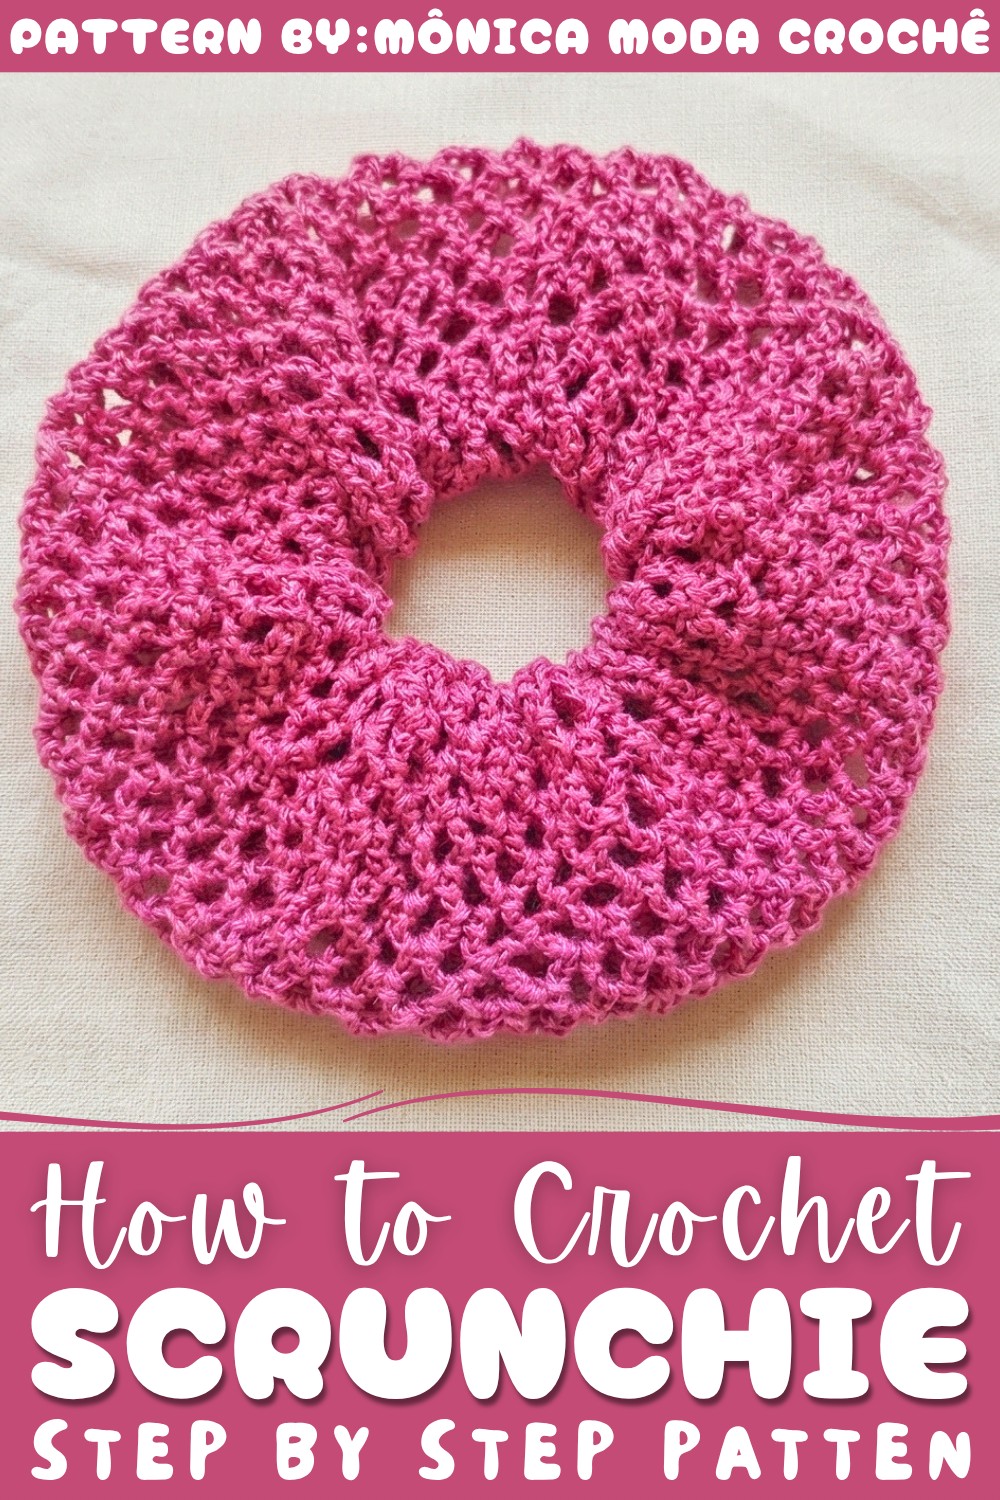
Refresh your hair accessories with this Crochet Scrunchie Free Pattern, a sweet project for everyday hairstyles and simple fashion looks.
For anyone passionate about unique and fashionable hair accessories, this crochet pattern presented by Mônica Moda Crochê on YouTube is an inspiring find. Full credit is given to the creator for the original design and clear, engaging tutorial that brings this accessory to life. This pattern beautifully captures the balance between comfort and style, offering a scrunchie that fits securely while adding a charming accent to your look. The Crochet Scrunchie Pattern is perfect for enhancing your wardrobe in any season, making it a versatile and eye-catching accessory.
Pretty Crochet Scrunchie Free Pattern For Handmade Gifts
This crocheted scrunchie perfectly balances softness and structure, making it comfortable for all-day wear without slipping or pulling your hair. It’s an ideal accessory for spring and summer, when you want to keep your hair up with flair, but it can also brighten colder months when paired with cozy outfits. Its vibrant colors and graceful loops can effortlessly complement casual styles or boost the appeal of a chic, semi-formal ensemble. Wear it at the gym, at work, or out with friends — its beauty shines in any setting.
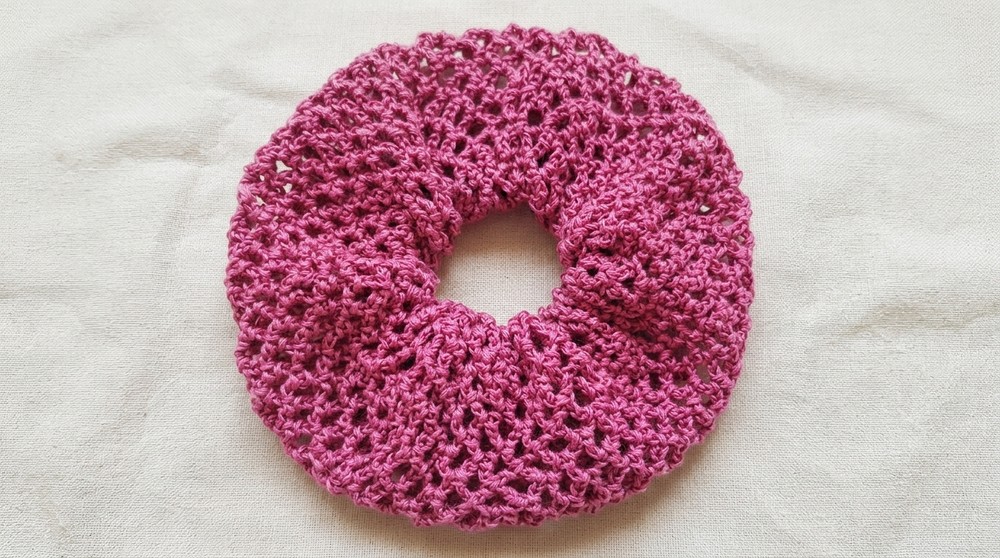
One standout feature of this scrunchie is its delightful texture, created by alternating chains and crochet stitches that form an airy, almost lace-like pattern. The interplay of double crochet and slip stitch work gives it an intricate appearance, while maintaining flexibility and stretch. The way the stitches wrap around the elastic core ensures resilience and a gathered, ruffled finish that plays wonderfully with light and shadow. This combination of aesthetics and comfort truly sets the scrunchie apart from ordinary hair ties.
For those eager to add this charming accessory to their collection, following the complete Crochet Scrunchie Pattern will unlock all the secrets behind its unique design and seamless construction. Dive into this project to create a lovely piece that blends function with irresistible style.
Stylish Crochet Scrunchie Free Pattern
This crochet scrunchie pattern is directly inspired by the method demonstrated in the referenced tutorial, utilizing simple mesh stitches to create an elasticated hair accessory with a soft ruffled effect. By employing thick yarn and a streamlined mesh technique, you gain a quick project that provides both style and function. The instructions below ensure all steps, from forming the initial chain ring to threading elastic and final seam closure, are carefully detailed for a seamless crafting experience.
Quick Overview Of Pattern
- Begin by crocheting a foundation chain and forming it into a ring.
- Create an open mesh ruffle using a combination of chain and single crochet stitches.
- Continue the mesh in rounds until reaching the desired length.
- Insert a length of elastic using a tapestry needle.
- Seam the ends of the ruffled tube together while trapping the elastic.
Notes
- Work each mesh round with attention to stitch count to ensure even ruffling and consistent mesh texture.
- The scrunchie is designed as a tube to allow the elastic to sit comfortably inside without twisting.
- Adjust elastic length according to your hair thickness or the desired amount of stretch.
- Use a sturdy tapestry needle and secure the elastic thoroughly to prevent slippage.
- Take special care to match up loops accurately during the final seam for a neat finish.
Skill Level
Adventurous Beginner to Intermediate
Requires familiarity with chain, slip stitch, single crochet, and double crochet. The project also involves basic seaming and threading elastic using a yarn needle.
Materials
- Yarn: Thick yarn, such as Raiz Artesanato, raspberry or desired color
- Elastic Band: Black or white, 23–40 cm in length
- Crochet Hook: Nickel-plated, size 4 (approx. 4 mm)
- Tapestry Needle: Large enough to accommodate elastic
- Scissors: For trimming yarn and elastic
- Lighter: Optional, for sealing elastic ends
Measurements / Sizing
- Finished Scrunchie Tube: Approx. 40 cm in crocheted mesh length before gathering (final diameter depends on elastic length and fullness chosen)
- Elastic: Cut to 23–40 cm based on preference
Gauge & Stitch Pattern
- Gauge: Not critical; aim for an airy, even mesh texture.
- Main Stitch: Combination of chains and single crochet, forming mesh loops.
Stitch Abbreviations
| Abbreviation | Full Term |
|---|---|
| ch | chain stitch |
| sl st | slip stitch |
| sc | single crochet |
| dc | double crochet |
| sp | space (often refers to mesh loop) |
Special Stitches
- Mesh Loop: 4 chains, skip 2, 1 sc in 3rd base ch
- Joining: Working into both tube edges using slip stitches and single crochet, with chains in between for flexibility
- Invisible Seam (optional): Maintains the scrunchie’s round profile without bulk at the join
The Crochet Pattern
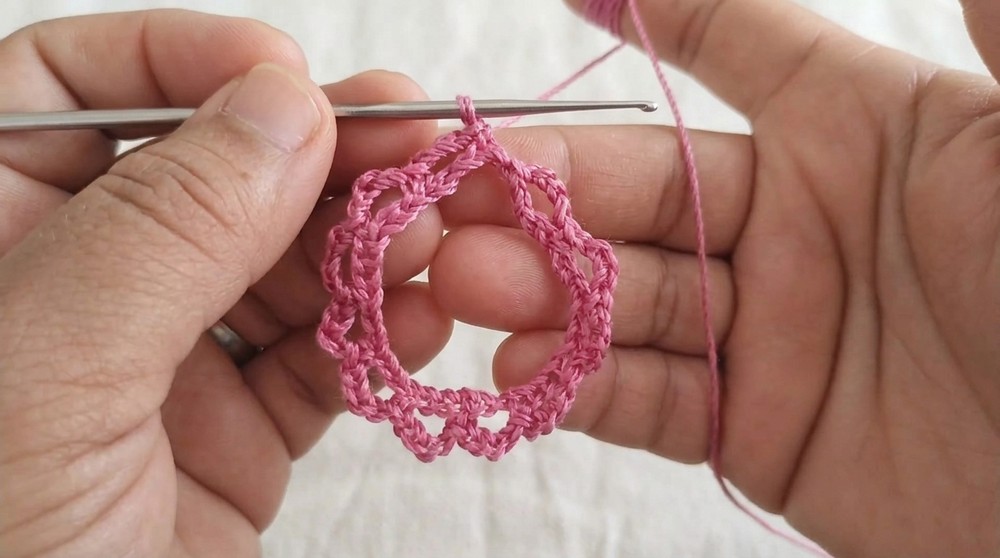
Foundation Chain & Joining
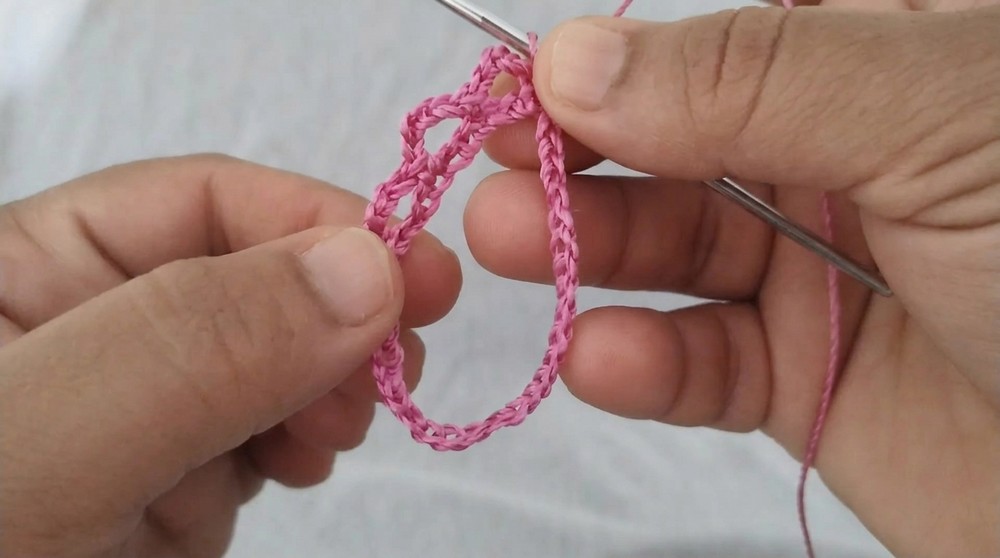
- Ch 36 using your chosen thick yarn and crochet hook size 4.
- Take care not to twist the chain.
- Insert hook into the first ch made and join with a sl st to form a ring.
- This forms the base for your mesh ruffles.
First Ruffle Row (Mesh Base)
- Ch 4 (counts as first mesh loop).
- Skip the next 2 chains on the base, then sc into the third chain.
- Repeat:
- Ch 4, skip 2 base ch, sc in next ch.
- Continue this sequence around the ring until nearly at the starting point.
- For the last mesh loop of the row:
- Ch 2,
- Yarn over and work a dc into the base of the very first ch of the row.
- This joins the ends of the round and positions you to begin the next row seamlessly.
Building Mesh Length
- For Row 2 and all subsequent rows:
- Ch 4,
- Sc into the center of the next mesh loop (i.e., work into the middle of the chain-4 space from previous row).
- Repeat (ch 4, sc in center loop) around.
- At the end of each row:
- For final loop: ch 2, dc into the dc from the previous row’s last join.
- This maintains the gentle spiral and keeps the tube open and uniform.
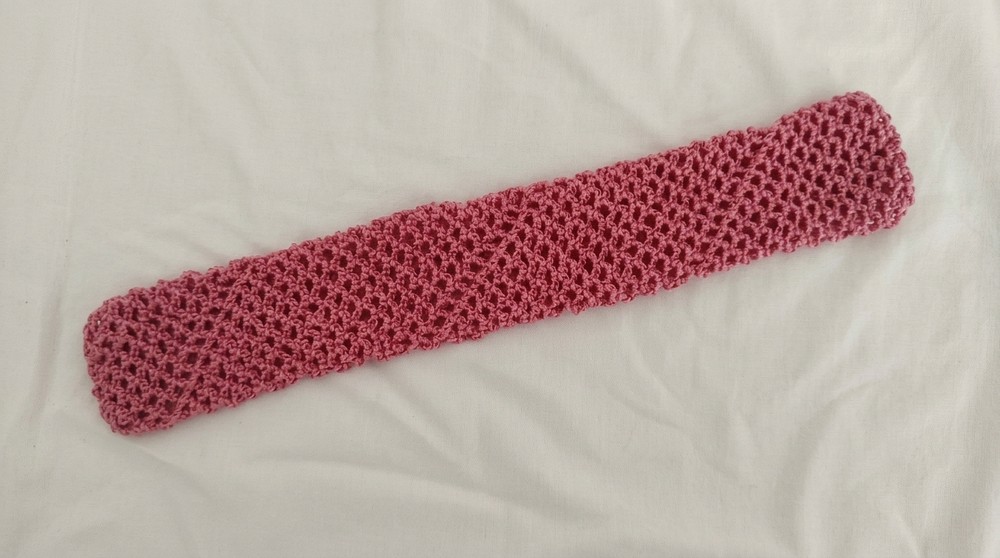
- Continue working these mesh rounds.
- Measure the mesh tube until you reach approximately 40 cm (or adjust for desired fullness).
- To secure the last stitch prior to inserting elastic, pull through a long loop (so the stitches do not unravel).
Inserting & Securing Elastic
- Cut your elastic to desired length (generally 23–40 cm).
- Optional: Use a lighter to carefully seal each cut end to prevent fraying.
- Thread one elastic end through the tapestry needle.
- Tie a knot at the very end of the elastic so it will not slip out during threading.
- Pass the needle through the inside of your entire mesh tube, gathering the piece as you go.
- Be sure to gently hold onto the other elastic end to prevent it from slipping inside.
- When the needle emerges at the opposite side, remove the needle and tie both elastic ends together securely with at least one tight knot.
- Trim any excess elastic; ensure the knot is firm and inconspicuous within the tube.
Seaming & Finishing
- Return to your working yarn, keeping tension even.
- Ch 2, then align the two short, open tube ends (beginning and end rounds).
- To join:
- Insert your hook into a loop on the starting edge and the corresponding loop on the opposite edge.
- Sl st through both edges.
- Ch 2.
- In the next aligned loops, sc through both.
- Continue alternating: slip stitch into one pair, chain 2, single crochet into the next, chain 2.
- Repeat this process, alternating stitches and always matching mesh loops from both sides, all the way around.
- For the final loop:
- Ch 2, slip stitch into the last corresponding stitches (usually the previous dc join), then ch 1.
- Cut the yarn, leaving a tail, and pull it through to secure.
- Use your tapestry needle to weave in any remaining yarn ends discreetly inside the mesh tube for a tidy appearance.
Assembly & Finished Size
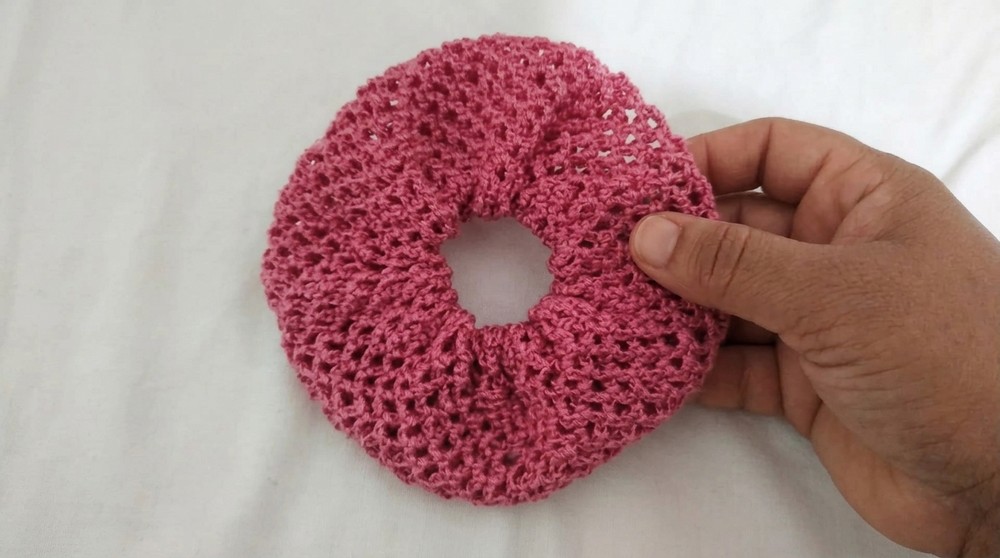
- No separate assembly required—a continuous ring.
- When complete and gathered, scrunchie diameter ranges from 8–14 cm, dependent on elastic tension and mesh fullness.
- This results in a soft, ruffled scrunchie ready for wear.
Conclusion and Ending Words
This scrunchie pattern fuses simplicity with practical design, allowing quick creation of a stylish hair accessory using common crochet skills. Each phase systematically builds up the necessary texture and structure, culminating in a durable elastic-encased tube that looks appealing in a range of colors. The alternating slip and single crochet stitches ensure a flexible, seamless join, while the mesh base gives the accessory natural volume and stretch. Careful threading and sturdy knotting of the elastic provide long-lasting security for frequent use. The completed scrunchie is not only suitable for personal wear but also ideal as a thoughtful, handmade gift. Choose a favorite color to customize your hair accessory, and let the rhythmic, mesh-based process serve as a relaxing and rewarding crochet session.