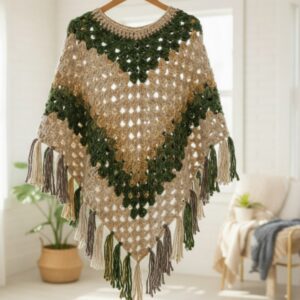
On crisp, windy days, layering becomes essential for comfort and warmth, and a well poncho can provide both protection and style effortlessly. The Free Crochet Hooded Poncho pattern transforms a simple garment into a versatile wardrobe staple that combines cozy insulation with practical functionality. The construction begins with forming a rectangular or square base, followed by shaping the hood to fit comfortably over the head while allowing ease of movement. Stitches are worked uniformly to create a fabric that is soft, flexible, and drapes naturally over the shoulders, ensuring warmth without restricting motion.
Elegant Crochet Hooded Poncho Pattern to Gift Handmade Pieces
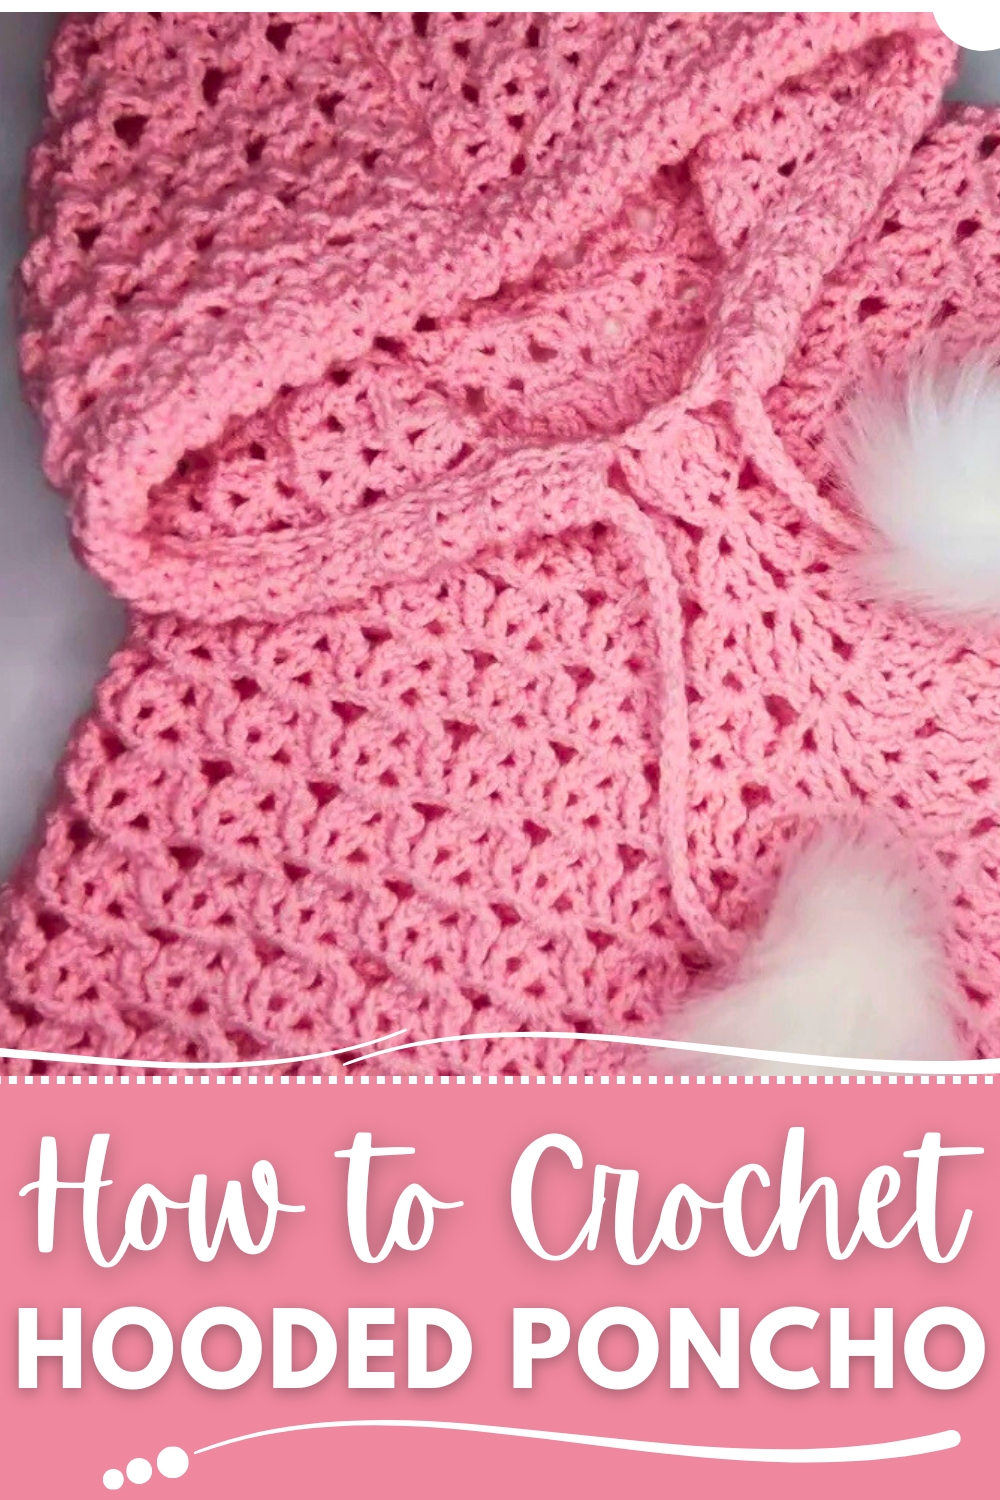
Its open, flowing structure makes it easy to layer over sweaters or tops, while the hood adds extra protection from wind or light rain. Beyond practicality, the poncho offers visual appeal through its textured stitches and customizable colors, allowing for a piece that reflects personal style.
Lightweight yet insulating, it is suitable for casual outings, outdoor walks, or cozy indoor wear. Each completed hooded poncho demonstrates attention to detail, providing both comfort and functionality. This versatile garment offers an elegant balance of warmth, freedom of movement, and aesthetic charm, turning a simple crochet project into a stylish, practical accessory that enhances everyday wear.
Special Features
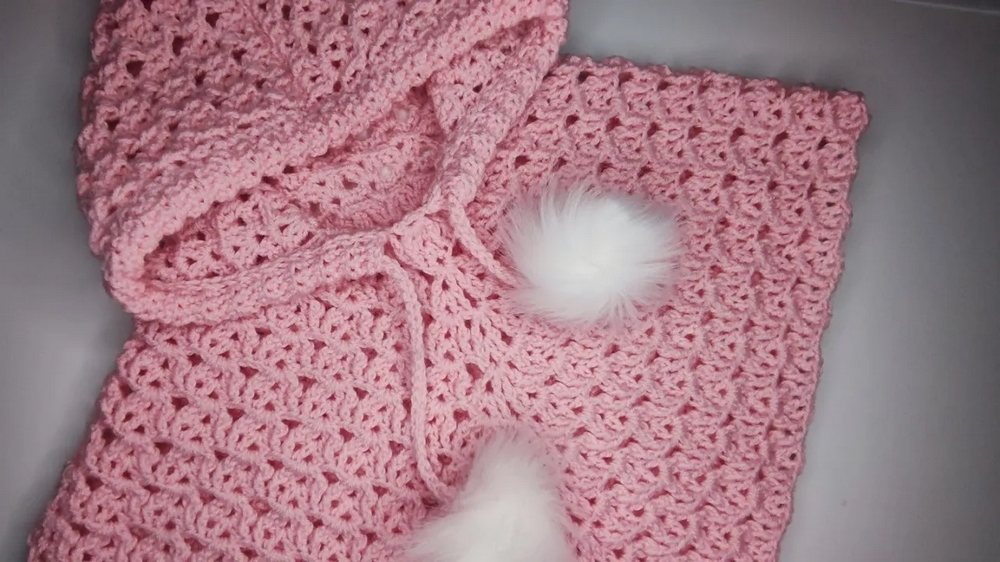
- Adjustable Hood: The hood comes with a drawstring, allowing it to fit securely for added warmth and functionality.
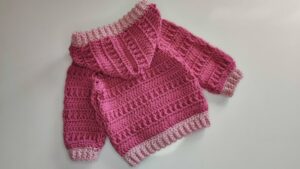
- Two-Row Repeat Stitch: The shell-like stitch paired with front post double crochets creates a textured yet soft and cozy design.
- Customizable Sizes: The poncho can be tailored to fit children from 1 to 6 years by following simple measurement guides.
- Lightweight Design: The poncho is warm yet lightweight, suitable for fall or mild winter seasons.
- Budget-Friendly: The poncho can be created with leftover yarns or a single 200g ball, making it economical and sustainable.
Materials Needed
- Yarn: Lightweight #3 yarn (approximately 200g for the largest size).
- Hook: A 4.5mm crochet hook (slightly larger than usual to ensure softness).
- Measuring Tape: In centimeters (cm) for accurate sizing.
- Stitch Markers: At least 4 to keep track of key points during the pattern.
- Pom-Poms or Fur Balls: To secure the ends of the hood’s drawstring.
- Yarn Needle: For weaving in ends.
Level of Difficulty
Intermediate: While the stitches themselves are simple, the project involves measurements, shaping, joining, and working with stitch markers. The step-by-step instructions make it approachable for individuals with basic crochet skills who wish to challenge themselves further.
Tutor's Suggestions
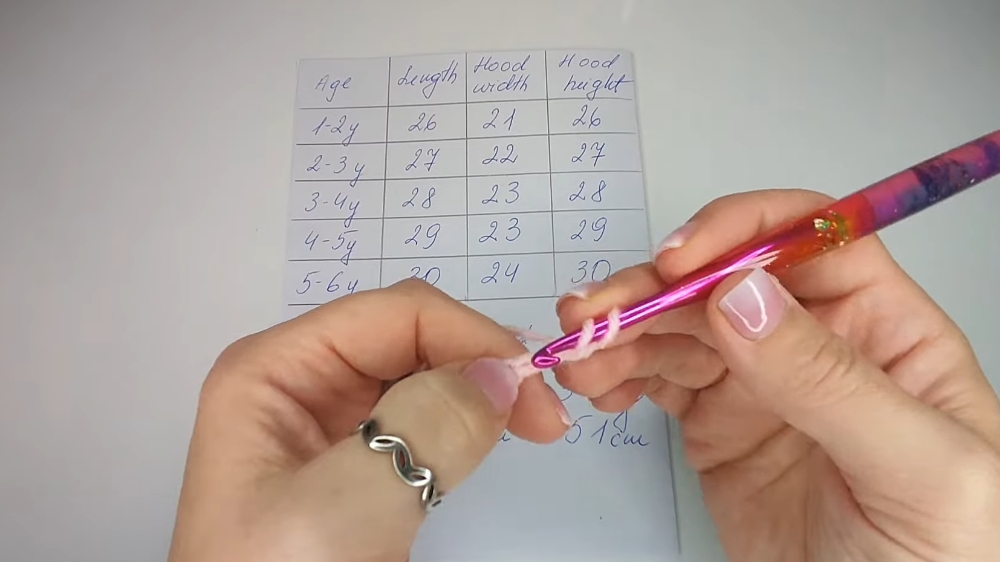
- Sizing Flexibility: Always measure the child’s head circumference and back length before starting. Use the size chart provided for reference to ensure a comfortable fit.
- Yarn Choice: Don’t worry about using identical yarn to the tutorial. As long as you use lightweight #3 yarn and adjust based on measurements, the pattern is flexible.
- Color Creativity: Feel free to experiment with leftover yarns to create colorful stripes or opt for autumnal shades for a seasonal appeal.
- Customization: You can omit the drawstring or replace pom-poms with knots if preferred.
Step-by-Step Instructions
Step 1: Create the Foundation Chain
- Begin by measuring the child’s head circumference (e.g., 46 cm for 1–2 years, 48 cm for 2–3 years, etc.).
- Using a slip knot, make loops using a combination of chains and double crochets until the chain length matches the measured circumference. Aim for an even number of loops to maintain symmetry.
- Connect the chain ends using a slip stitch. Place stitch markers at two opposite points on the chain—these will mark the shoulders.
Step 2: Start the Poncho’s Body
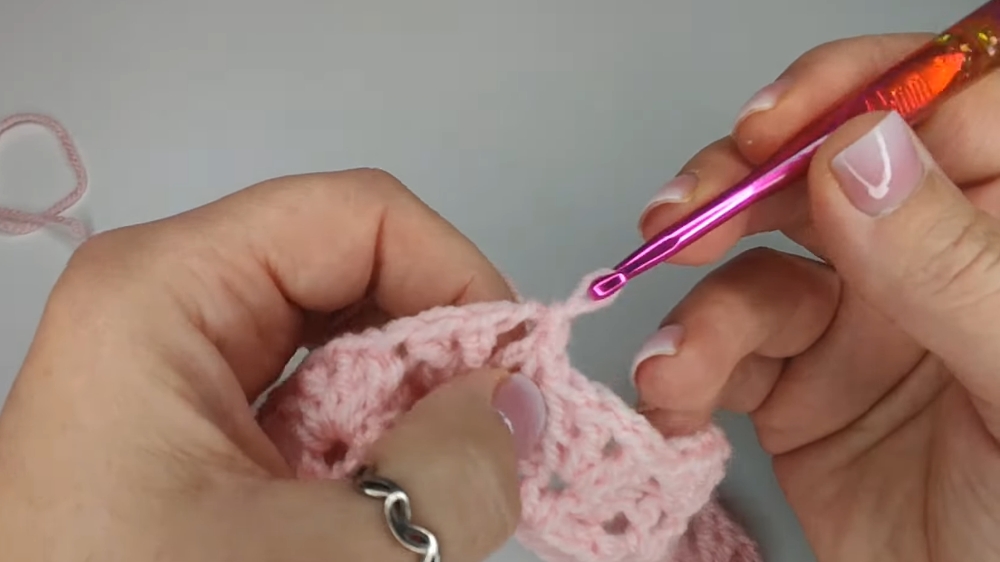
- Row 1: Begin with a shell stitch (2 double crochets, chain 1, 2 double crochets) in the marked loops. Continue the shell stitch in each chain loop, working around the chain.
- Row 2: Turn and alternate with front post double crochets to enhance texture. Include increases at marked points to shape the triangular structure of the poncho.
- Repeat the two rows (shell row and front post double crochet row) until the body of the poncho reaches your desired length (e.g., 28 cm for a size for 3–4 years).
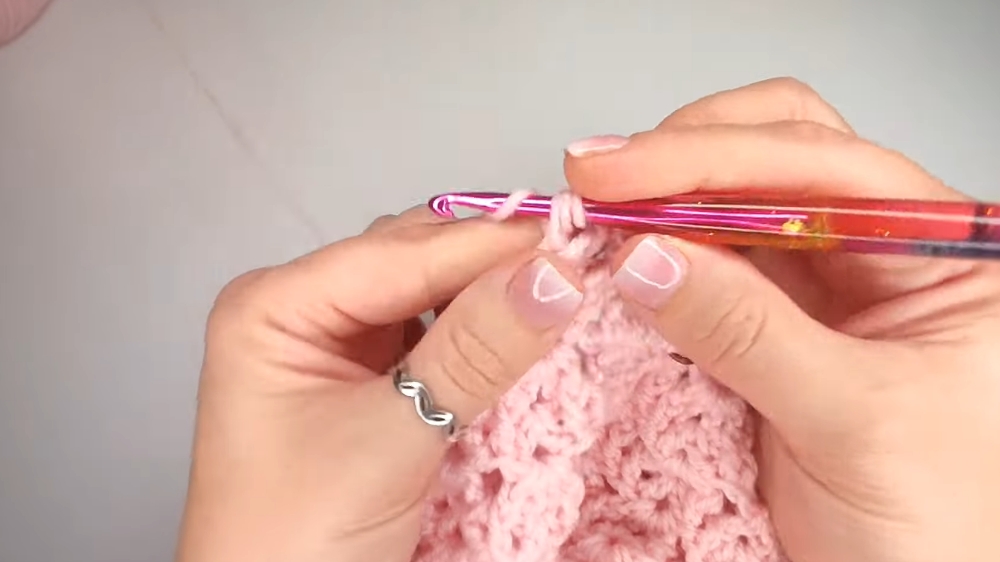
Step 3: Adjust the Final Rows
- In the last two rows, omit any increases to smooth out the sharp corners. Replace increasing shells with regular shells to round out the edges for the final look.
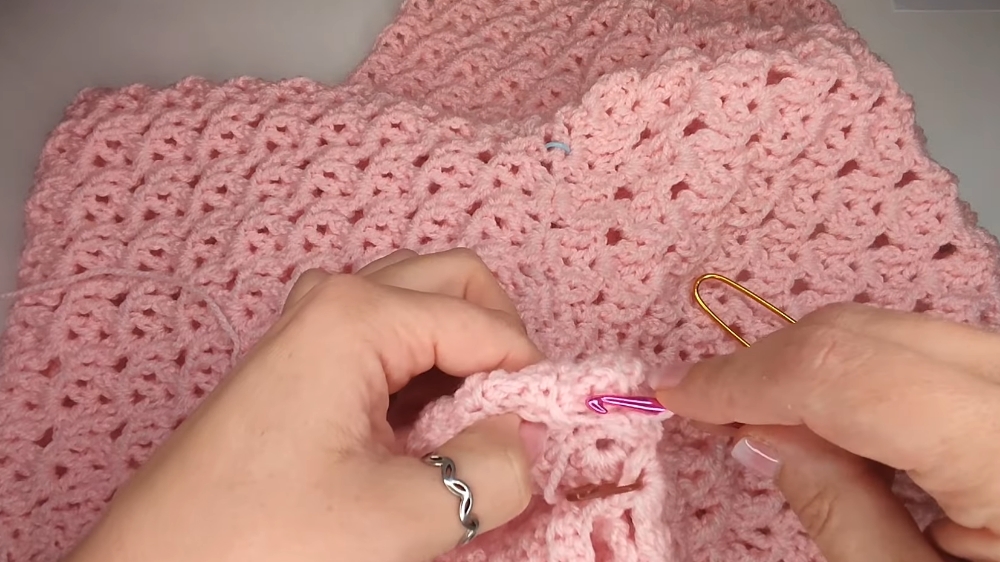
Step 4: Add the Hood
- Straighten the V-neck by adding three shells to make the back neck square. This provides a uniform base for attaching the hood.
- Foundation Row for Hood: Create normal shells around the neck. Start with three loops in the middle of the neck for symmetry. Place stitch markers to define the hood edges.
- Continue working upward, alternating between shell rows and front post double crochet rows, and incorporate increases for width if needed. For example, the hood width for ages 3–4 years should measure approximately 23 cm.
- Finish the final hood row with single crochets to ensure the edge is straight for neat sewing or slip-stitching.
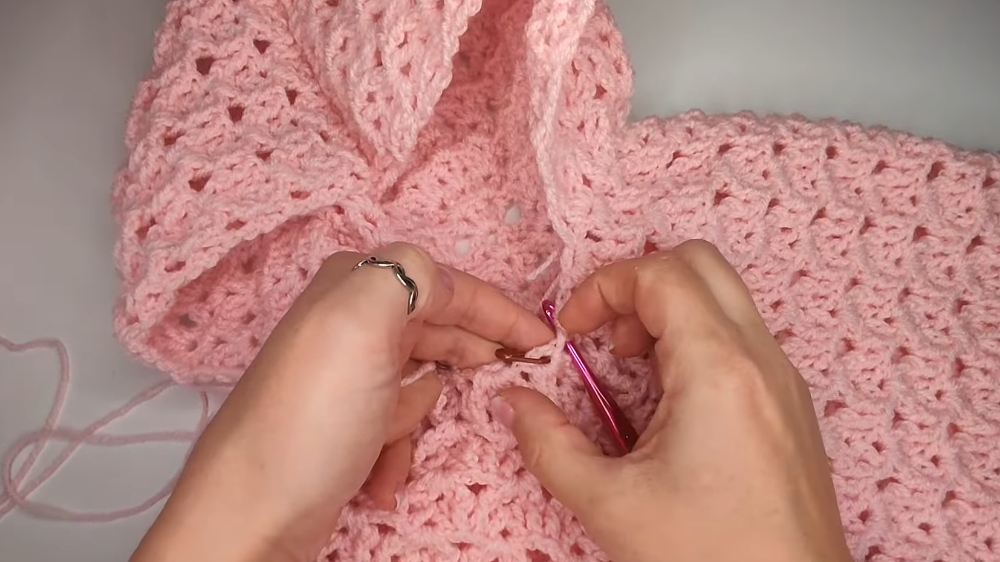
Step 5: Create the Drawstring
- Crochet a chain long enough to fit around the hood plus some excess length for tying. Add slip stitches along the chain for durability.
- Insert the string into the hood’s edge and secure the ends with pom-poms (or knots) to prevent the drawstring from being pulled out.
Step 6: Make the Ribbed Edging
- The edging involves a ribbed pattern created from single crochets worked in the back loop. Chain 7 (or adjust to your desired edging width) and create rows of six single crochets per chain.
- Slip stitch the edges to the bottom to hold the string in place but ensure the string can move freely.
Step 7: Finishing Touches
- Sew or slip stitch the hood together for a clean finish. Hide yarn tails and attach pom-poms or fur balls at the end of the drawstring for decorative and functional purposes.
Uses
- Warm Outerwear: Perfect as a layering piece for colder seasons.
- Seasonal Look: Ideal for autumn and winter, especially with earthy or colorful yarn options.
- Handmade Gift: A thoughtful gift for birthdays, holidays, or special occasions.
- Child’s Comfort: The adjustable hood and soft stitch make the poncho cozy and stylish.
Tip
When inserting the drawstring into the hood, avoid accidentally catching it with your hook or needle as this can prevent it from sliding freely. Test its movement frequently while securing the edging.
Conclusion
The hooded poncho is a delightful and functional piece for children, showcasing a blend of warmth, design, and practicality. Its adaptable pattern allows for personalized size adjustments and creative yarn choices, making it an enjoyable project for intermediate crocheters.