Warmth and style come together with this free crochet sweater pattern, featuring simple for anyone who wants a cozy and fashionable layer.
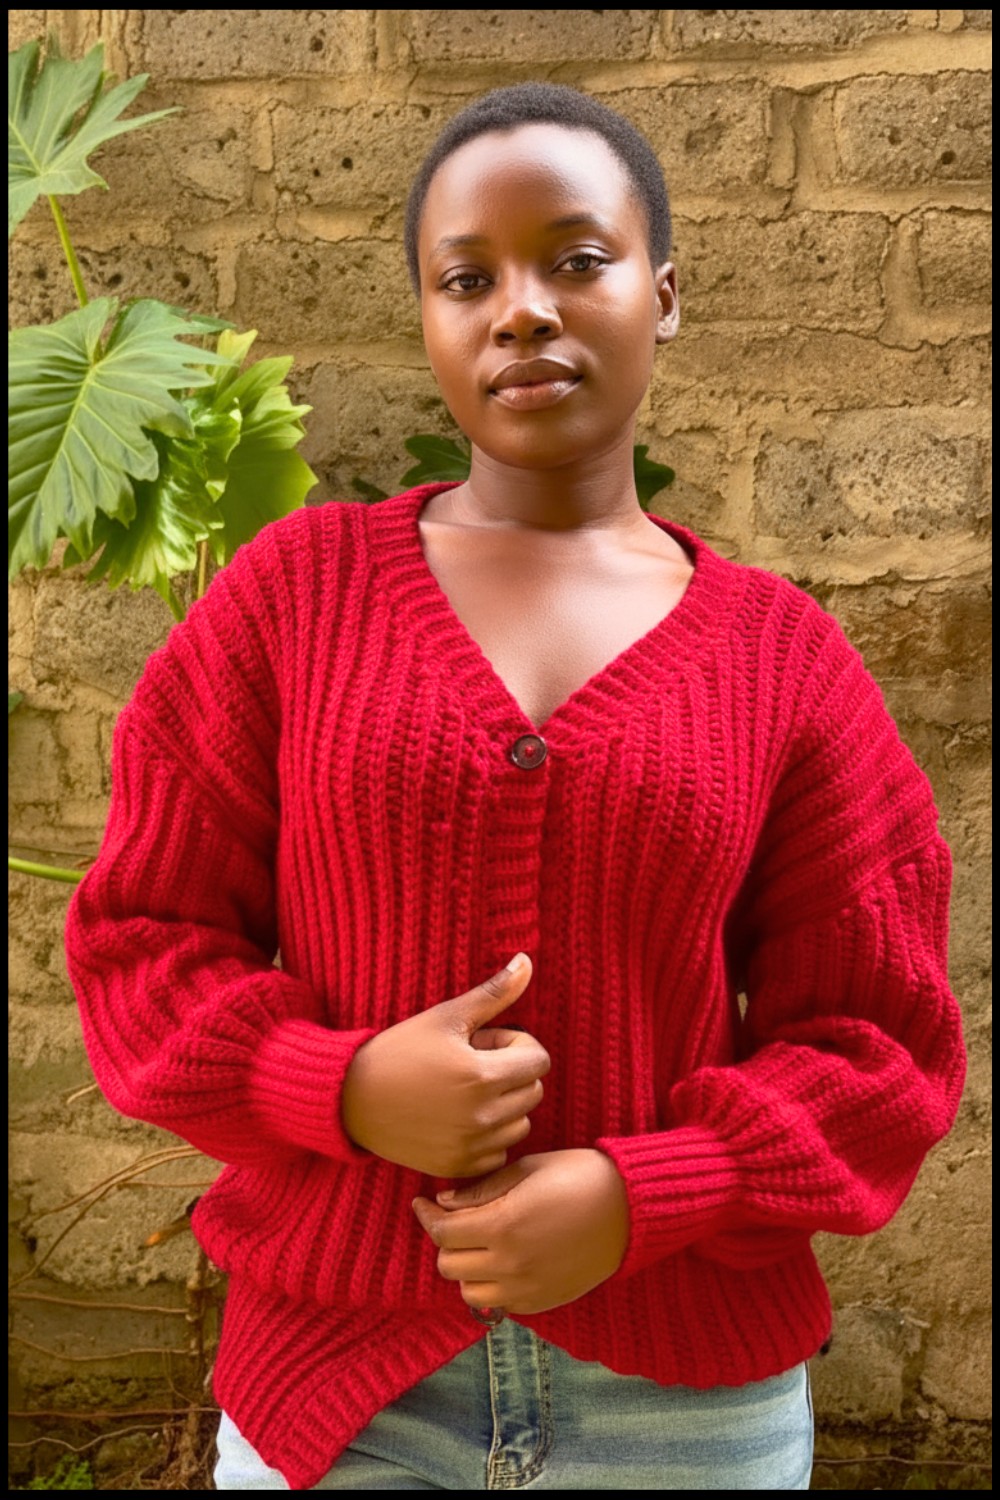
Soft and cozy clothes bring special feelings of comfort to anyone who wears them. Slipping on a sweater that hugs your body just right with little ridges that make every touch feel warm and welcoming. This beautiful handmade cardigan looks stylish with its neat lines and stretchy texture making it perfect for layering over any outfit in every season.
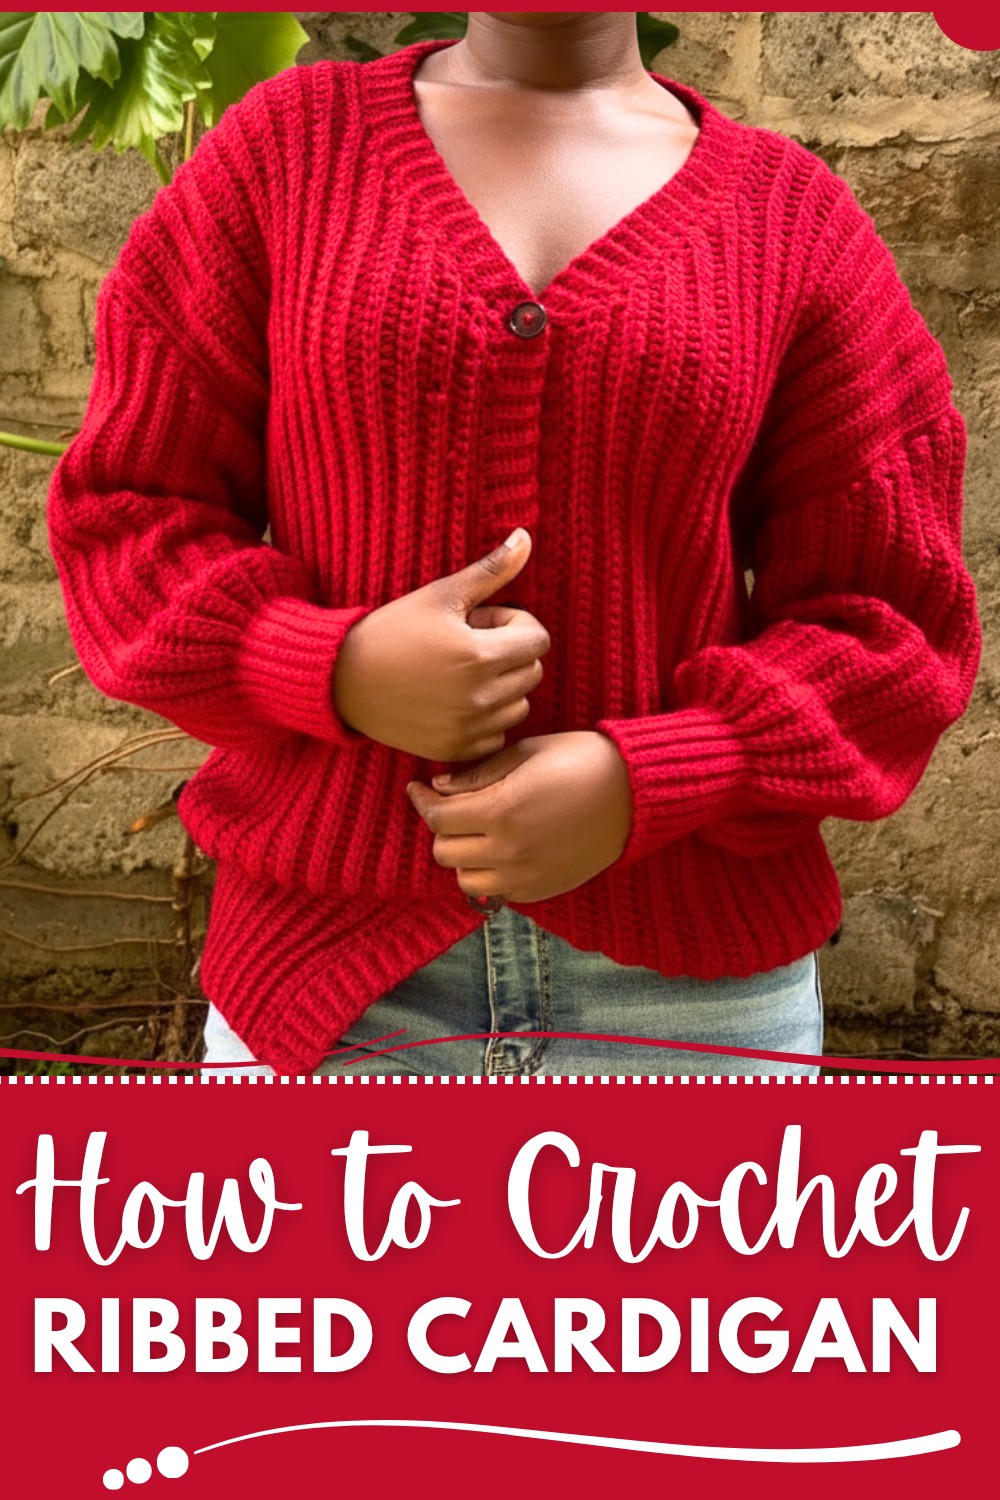
Free Crochet Ribbed Cardigan Pattern – Clear Sizing and Assembly Tips
With the crochet ribbed cardigan pattern you can create a sweater that fits your body like a gentle embrace and flatters every shape from young to old. Its ribbed design stretches easily so it is never too tight or loose and it keeps you comfortable all day. You can dress it up for going out or keep it casual at home making it a real treasure in your closet. Anyone can have fun making and wearing this cardigan because it is simple yet special with lovely lines and a classic look that never goes out of style.
Ripped Cardigan Crochet Pattern
Materials
- Worsted weight yarn (e.g., Red Heart Super Saver), approx. 4 skeins (400m/200g each)
- 3.0 mm crochet hook
- 3.5 mm crochet hook
- Stitch markers
- Scissors
- Tape Measure
- Sewing Needle (for attaching buttons, optional)
- Buttons (at least 3, ¾”–1” in diameter)
Abbreviations
| Abbreviation | Meaning |
|---|---|
| ch | chain |
| sc | single crochet |
| sl st | slip stitch |
| hdc | half double crochet |
| BL | back loop |
| BLsc | back loop single crochet |
| BLhdc | back loop half double crochet |
| rep | repeat |
| st(s) | stitch(es) |
| YO | yarn over |
Special Notes
- Cardigan is worked in panels – back, two fronts, and sleeves – and seamed.
- All ribbing and shaping utilizes the back loop only.
- The turning chain does not count as a stitch unless otherwise specified.
- Pattern is for a size Medium. To increase or decrease size, add or remove a multiple of 4 rows/panels as indicated.
Pattern
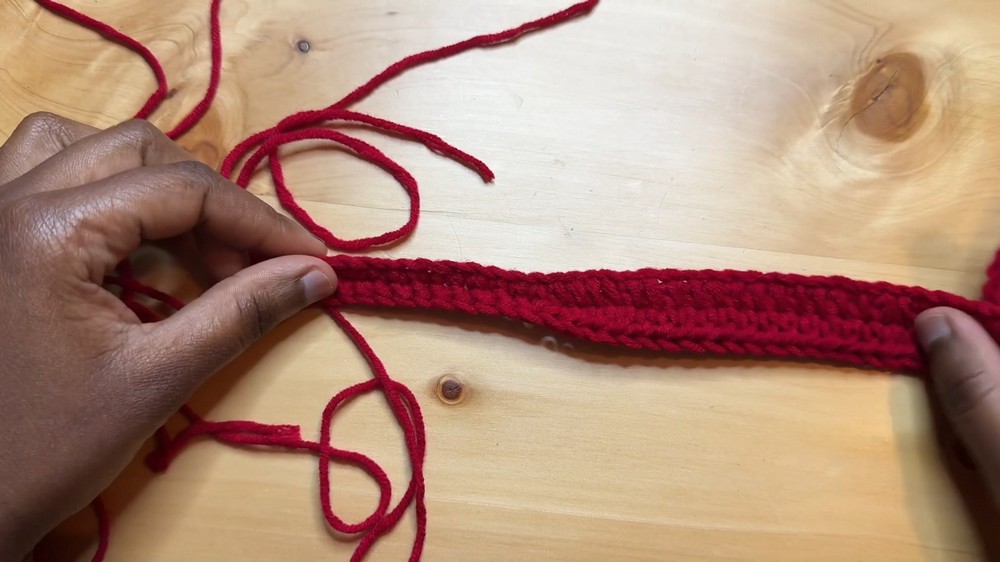
1. Back Panel
Foundation Chain:
With 3.0 mm hook, ch 100. (Measures ~21 in/53 cm, unstretched.)
Row 1:
Ch 1, sc in next 16 sts, place marker in 16th sc.
Switch to hdc, hdc in each remaining ch across.
(Total: 16 sc, 84 hdc [in first row, confirm count matches ch length])
Row 2:
Ch 2, turn (does not count as st).
BLhdc in each st across up to marker, switch to BLsc, BLsc in final 16 sts.
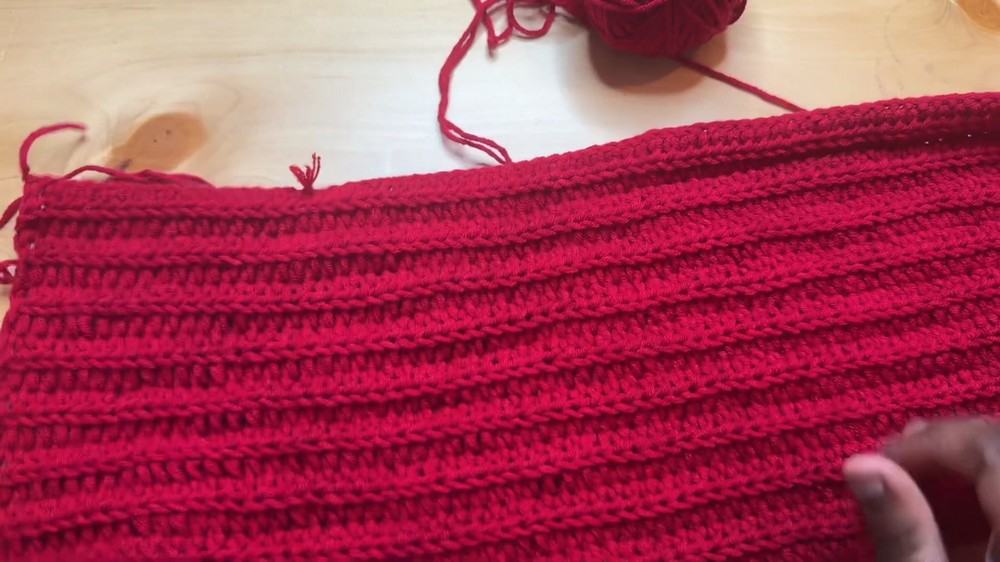
Repeat Row 2 until you have 56 rows in total.
Back panel should measure ~20 in/51 cm unstretched. For sizing, see notes below.
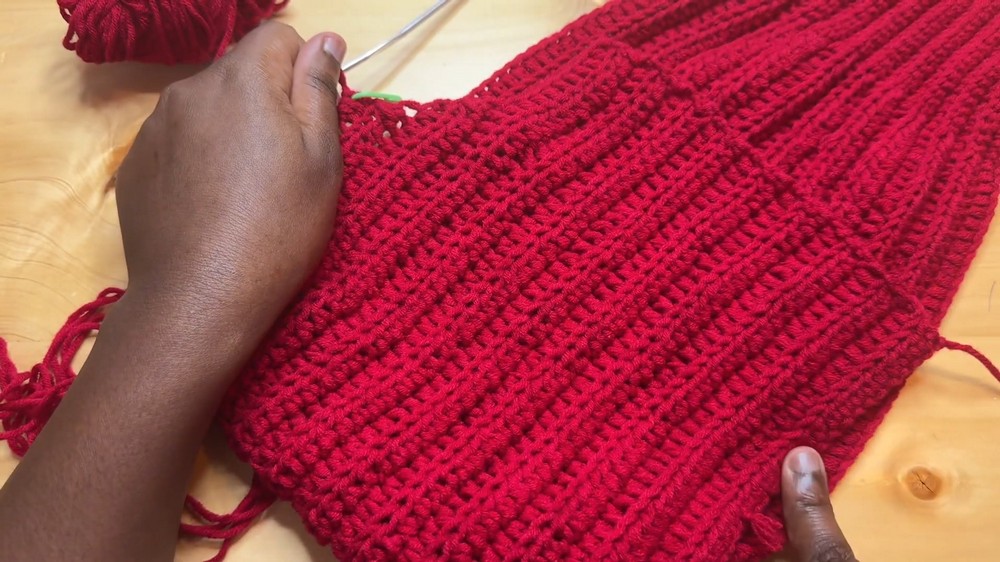
2. Front Panels (Make 2)
Foundation Chain:
Ch 100 with 3.0 mm hook.
Rows 1–18:
Work as for back panel (Row 1, then repeat Row 2 for 18 rows).
Shaping Neckline (Row 19 Onward):
- From outer edge, count 9 sts; place marker.
- Begin decreasing at neck edge as follows:
Row 19:
Work BLhdc across to last 2 sts before marker.
Decrease over the final two sts (YO, insert hook in BL of next st, pull up loop, YO, insert in BL of next st, pull up loop, YO, pull through all loops—counts as 1 BLhdc decrease).
Do NOT work the marked stitch.
Row 20:
Ch 2, turn.
Skip decrease stitch from previous row.
Decrease over next 2 sts (as above), then continue BLhdc across.
- Add a marker to each new decrease stitch at neck edge after each decrease row to track shaping.
- Continue alternating normal rows and decrease rows at neck edge, until you have a total of 28 rows.
- Each front panel will measure ~10 in/25.5 cm across.
Make 2 panels, mirroring the shaping for right and left fronts.
3. Panel Assembly
Shoulder Seams:
- Lay back and front panels RS together.
- From neckline, count 18 sts/rows on both panels and mark.
- Join using sc across the shoulder seam (insert hook through both panels, make sc through both layers), working 2 sc in final st to secure the seam.
Side Seams:
- From the shoulder seam, count down 40 rows and mark.
- Seam up from hem to marker using sc through both panels.
- Repeat for other side.
4. Sleeves (Make 2)
Cuff:
- With 3.0 mm hook, ch 60.
- Switch to 3.5 mm hook.
Row 1:
Ch 1, sl st into the 2nd ch from hook and each across for 18 sl st (mark last st), switch to 3.0 mm hook, BLhdc in each remaining st to end.
Row 2 (Increase Row):
Ch 2, turn.
2 BLhdc in first st, 2 BLhdc in next st (inc made). BLhdc across up to marker.
- Switch to 3.5 mm hook, BLsl st (back loop slip stitch) in next 18 sts (cuff section).
- 62 sts for this row.
Row 3 (Non-Increase Row):
Ch 1, turn.
BLsl st in cuff (18 sts), switch to 3.0 mm hook, BLhdc across to end.
Row 4 (Increase Row):
Ch 2, turn.
2 BLhdc in first, 2 BLhdc in next, BLhdc across up to cuff.
Switch to 3.5 mm hook, BLsl st in cuff.
Repeat Rows 3–4, alternating an Increase Row and a Non-Increase Row, until there are a total of 20 rows (80 sts at the top of row 20).
Row 21: (No increase, 3.0 mm hook in upper section, 3.5 mm in cuff): BLhdc and BLsl st as established.
Shaping Cap:
- Row 22 (Start Decreases):
Ch 2, turn.
Skip first st, decrease over next two (as for panel shaping), BLhdc across to cuff, BLsl st in cuff. - Row 23:
BLhdc (no decrease), BLsl st for cuff. - Row 24 & onward:
Alternating decrease row (as above) and plain row until there are 40 rows (60 sts at final row, same as beginning).
End with completed sleeve shape.
5. Sleeve Seaming & Attachment
Shape Sleeve Cap
With RS up, attach yarn at cuff edge, sc evenly (2 sc per row-end, for total of 80 sc).
Attach to Armhole
- With RS, sc evenly around arm opening (~80 sc).
- With WS together, seam sleeve into armhole with sc.
- Continue to seam sleeve edges using sc, then switch to sl st at cuff edge for neat finish.
- Repeat for second sleeve.
6. Front Ribbing & Button Band
Work With 3.0 mm Hook:
Row 1:
With RS facing, attach yarn at right front hem.
Sc in each st up front panel, around neckline (2 sc in side/neck rows as needed), sc down opposite front.
Special Corners:
At each corner decrease, make 3 sc in one st for a smooth curve.
Total sc count should be even for balanced button band.
Ribbed Edging
- At right front hem, ch 6 (+1 turning ch).
Row 1:
Sc in 2nd ch from hook and each ch across (6 sc).
Sc in next 2 edge sc on body panel.
Row 2, 3, ...:
BLsc in each sc across, ch 1, turn.
At end of each row, sc in next 2 body sc up the edge.
Continue up front, around neckline, & down opposite front.
At bust band corners (where you made 3 sc in one row):
- When reaching 3 sc at corner, perform sc, sc, sc in consecutive edge sts.
7. Buttonholes
- On the button band, after every 12 rows, make a buttonhole as follows:
- Work 2 BLsc, ch 2, skip 2 body sc, BLsc in next 2.
- Place three total buttonholes: one at bottom, one in middle, and one near top.
- For more, space as desired.
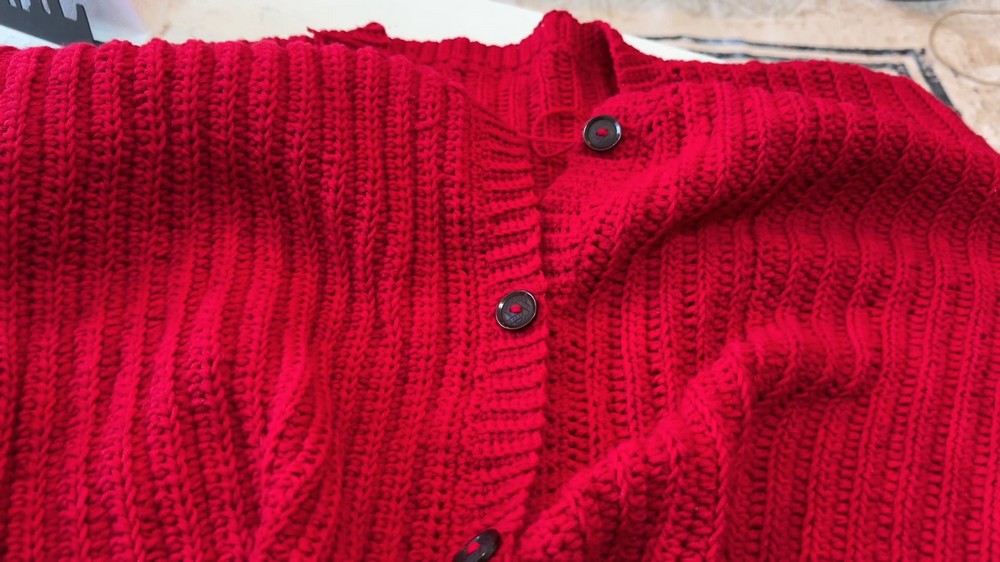
8. Attach Buttons
- Using sewing needle and yarn or thread, sew buttons opposite each buttonhole on the other band.
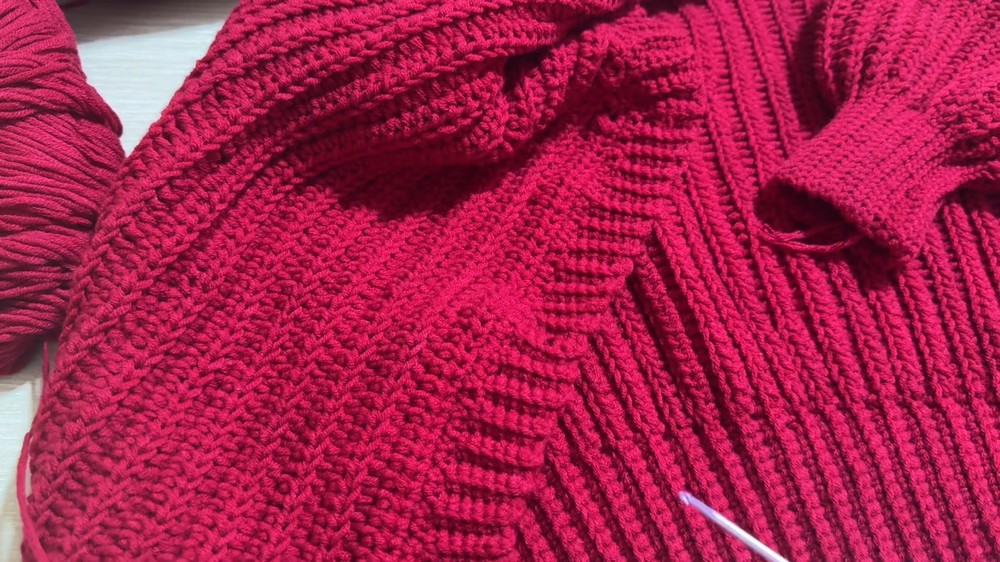
Conclusion
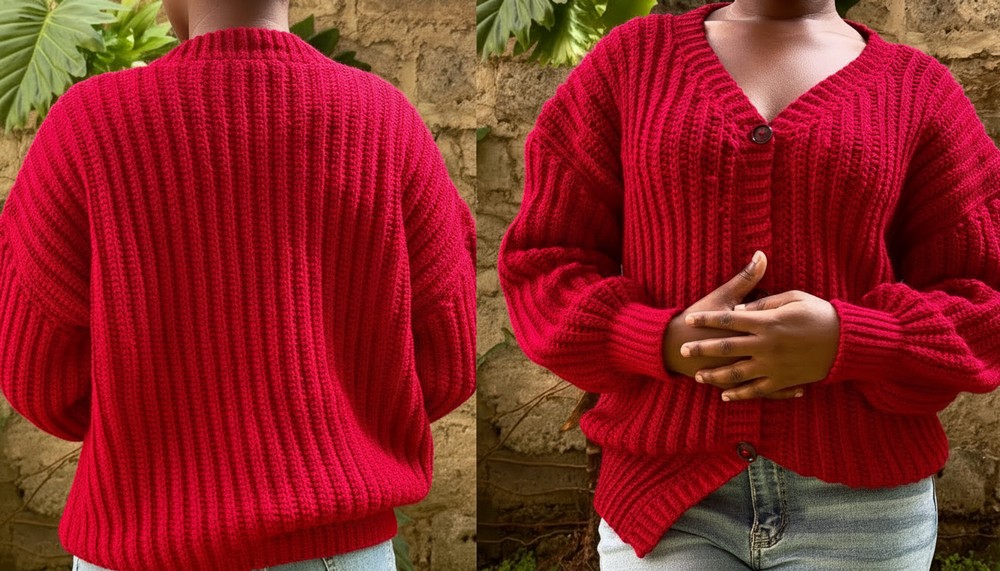
This ribbed cardigan is worked in structured, simple pieces for neat vertical lines and a fitted silhouette. Button band and neckline shaping create a classic finish, and using two hooks gives a subtle ribbed effect on the cuffs.
Pattern Corrections & Tips
Corrections
- If your piece is twisting, check tension on slip stitches and back loop portions—do not pull too tight.
- Ensure stitch counts match on panel edges and armholes for easy joining.
Tips
- Consistent, even back-loop stitches give the ribbed look.
- Try on panels as you go for fit—add rows for length or width as needed.
- Seam with single crochet for a sturdy, flexible join.
- Mark every 10th or 12th row to keep edges straight.