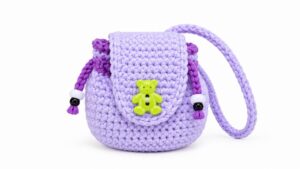
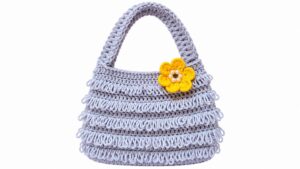
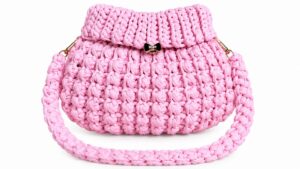
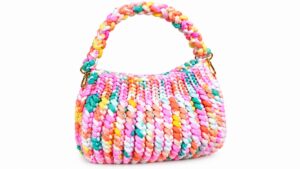
Organize your essentials with a free crochet card holder pattern; it’s lightweight, compact, and perfect for everyday use or gifting.
A clever solution to keeping your cards safe and organized, a crochet card holder is the perfect blend of style and functionality. This small but versatile accessory holds credit cards, IDs, or business cards securely, making it an essential for everyday use. Its sturdy and reusable pattern helps prevent wear and tear on cards, while also adding a personalized touch to your on-the-go essentials.
Learn Crochet Card Holder Pattern for Smart Organization
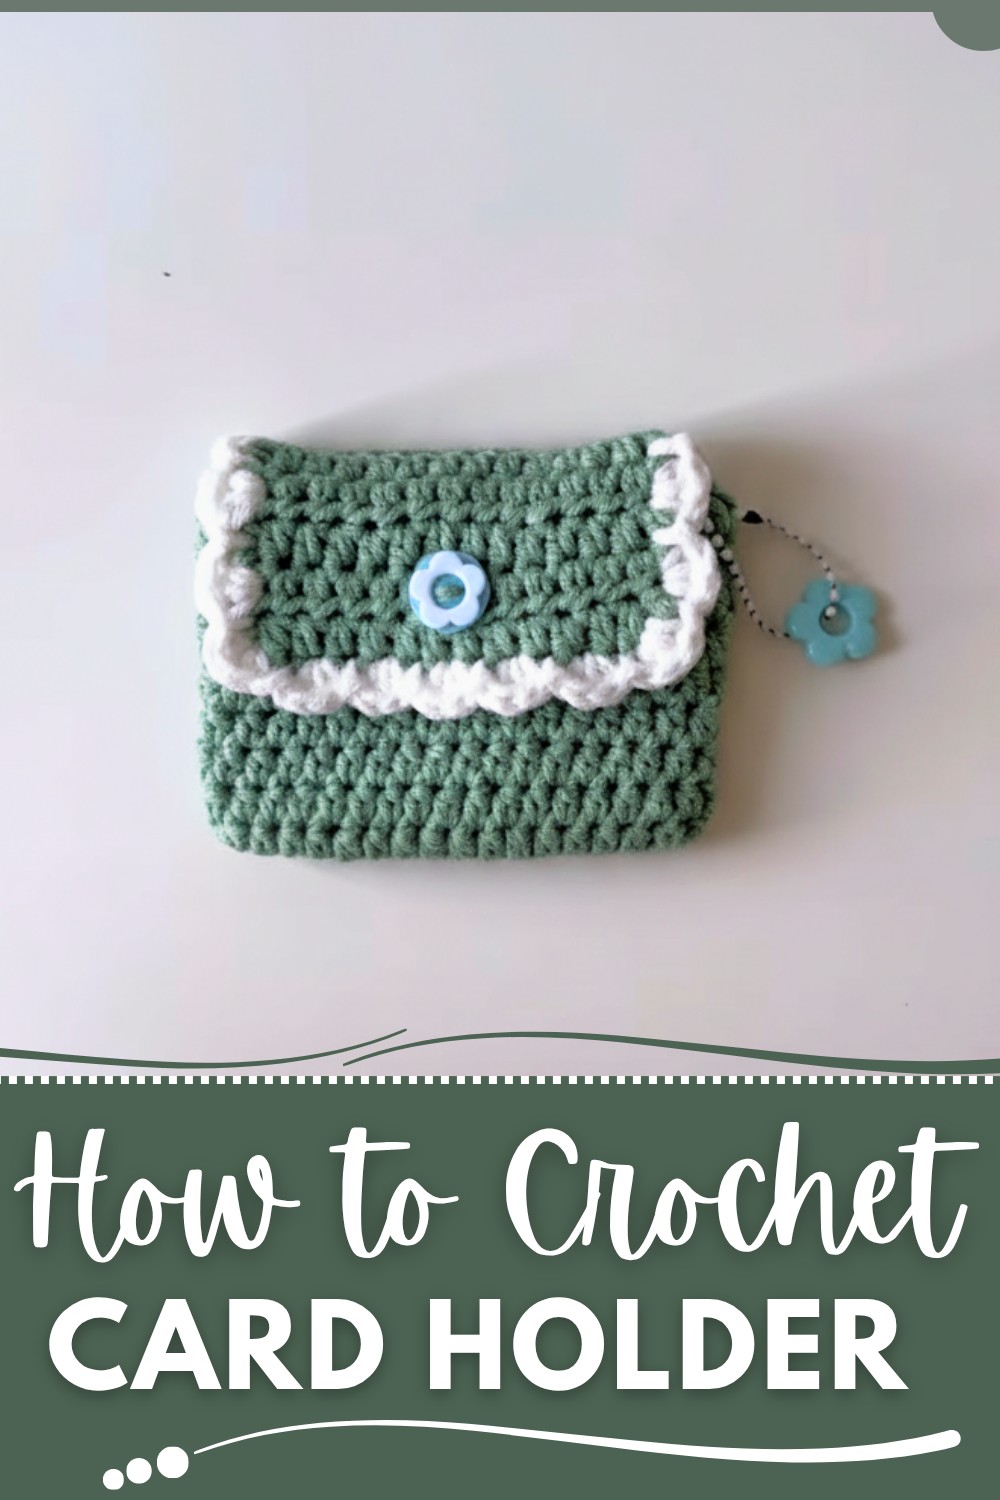
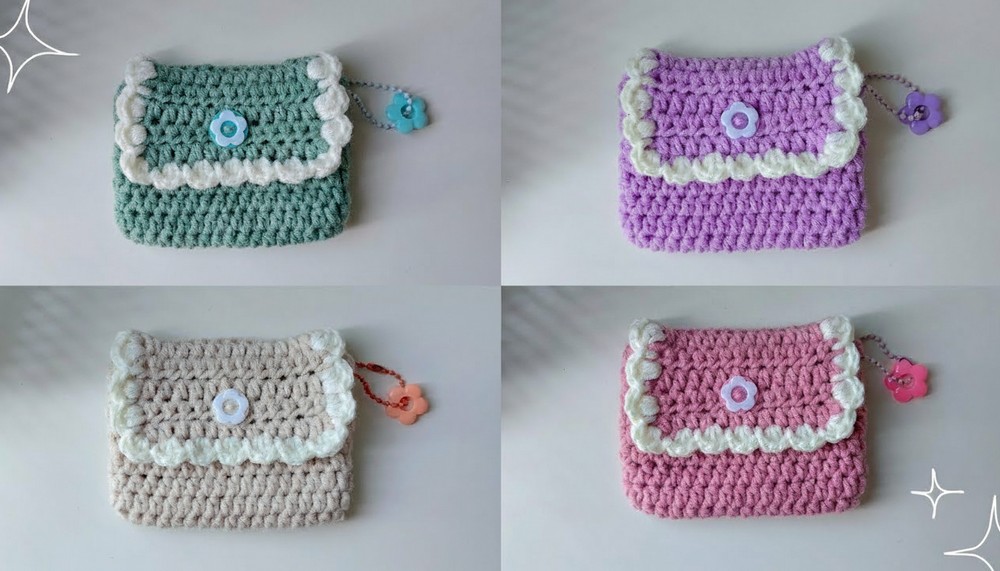
This pattern is simple enough for beginners yet enjoyable for experienced crocheters who love quick and practical projects. It allows for full customization—you can choose your favorite colors, add stylish borders, or even embellish with buttons for an extra touch of flair. Not only does it make a great tool for personal use, but it’s also an ideal handmade gift option for friends or family.
Compact and lightweight, this card holder fits perfectly in pockets, purses, or bags, saving space while staying durable. Its eco-friendly pattern offers a sustainable alternative to store-bought wallets, giving you a chance to reduce waste while embracing the charm of handmade accessories. Whether for daily organization or thoughtful gifting, this crochet project is a modern, functional, and stylish addition to anyone’s collection.
Special Features
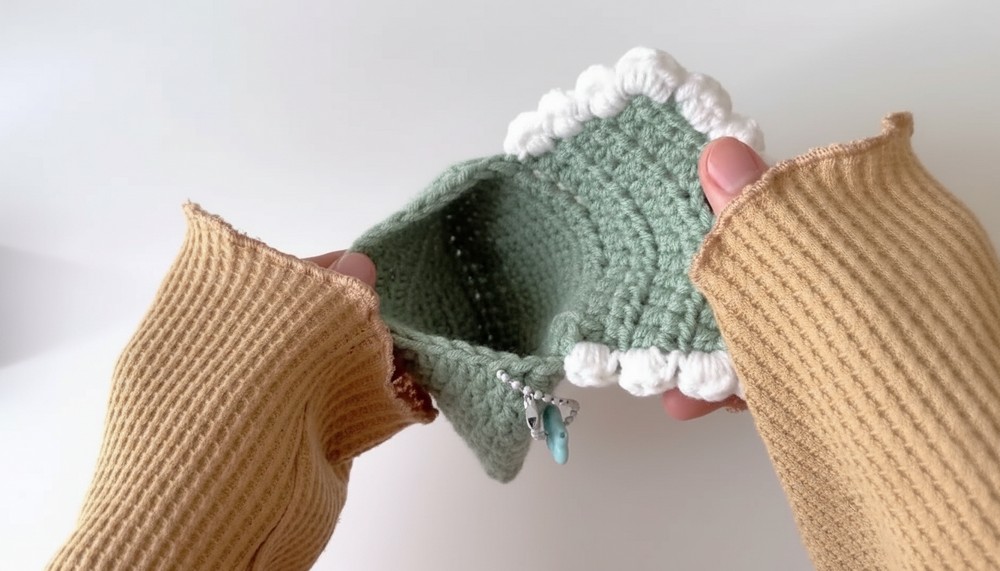
- Design: Compact rectangular shape with a flap for secure closure.
- Skill Level: Beginner to Intermediate (requires knowledge of basic stitches like Chain, Slip Stitch, and Half Double Crochet (HDC)).
- Highlight: Decorative edges created with alternating stitches for an elegant finish.
Step-by-Step Pattern
Materials Needed:
- Yarn (main color and contrast for edges)
- Hook suitable for the yarn size
- Stitch markers
- Scissors
- Button
Step 1: Creating the Foundation Rows
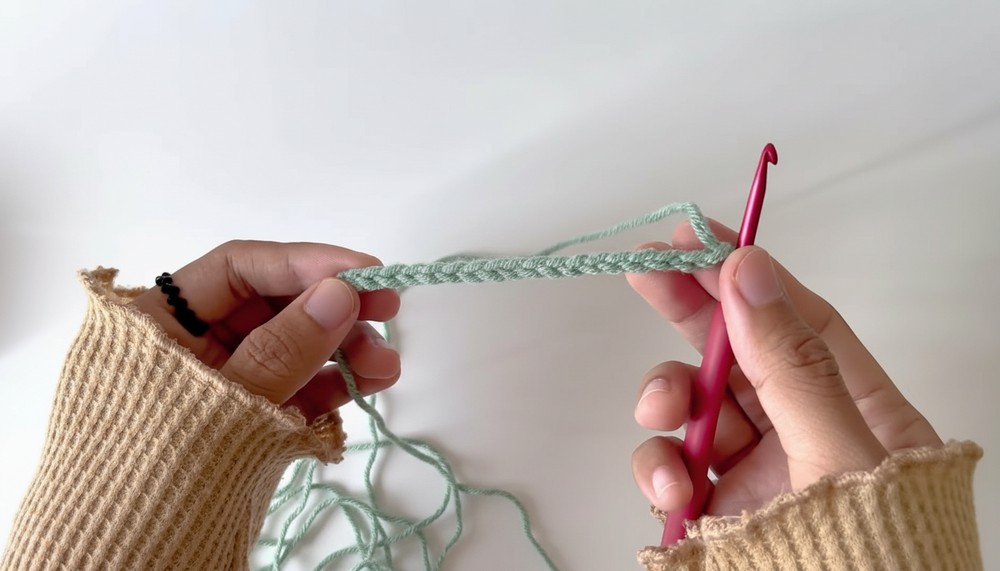
- Create the Slip Knot: Begin with a slip knot to prepare the starting chain.
- Make Chains: Crochet 18 chains as the base row.
2: Half Double Crochet (HDC) Row
- Start the First Row:
- Insert the hook into the third chain from the hook (skip the first 2 chains). Yarn over, insert into the chain, pull through, yarn over again, and pull through all 3 loops on the hook (HDC completed).
- Place a stitch marker at the beginning of this row.
- Continue Across the Row:
- Work HDC into each chain across until the last stitch.
- In the last chain, work 3 HDC to form a rounded edge.
- Reverse Row:
- Turn your work and begin HDC across the opposite edge of the chain.
- Join the Round:
- Slip stitch into the first marked stitch. This completes your foundation row with 34 stitches.
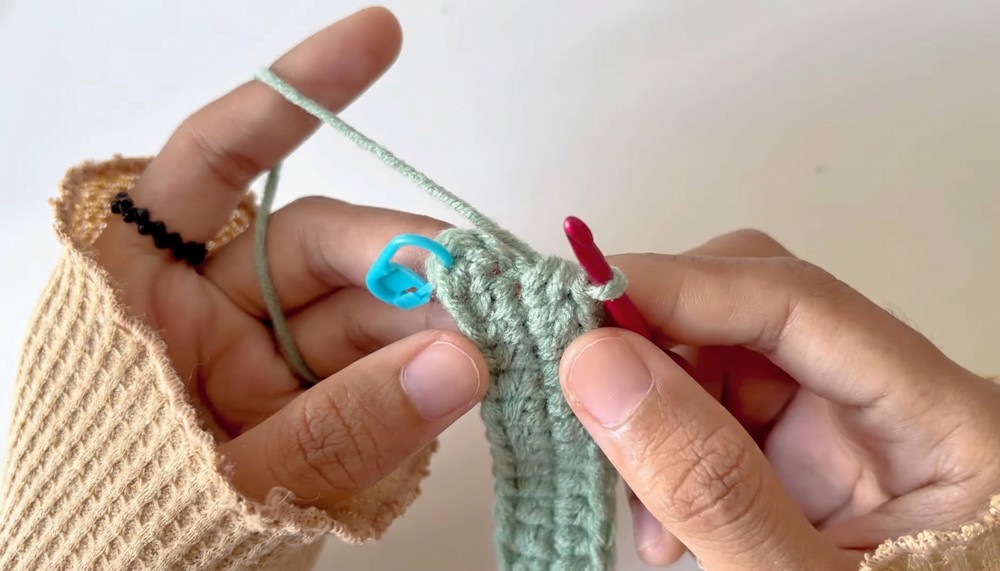
3: Building Height with Rows
- Second Row and Onwards:
- Start each new row with 2 chains (acts as an HDC height substitute).
- Proceed to crochet HDC into each stitch, excluding rounded corners (only 1 HDC per stitch here).
- Repeat the process until the base has 9 rows.
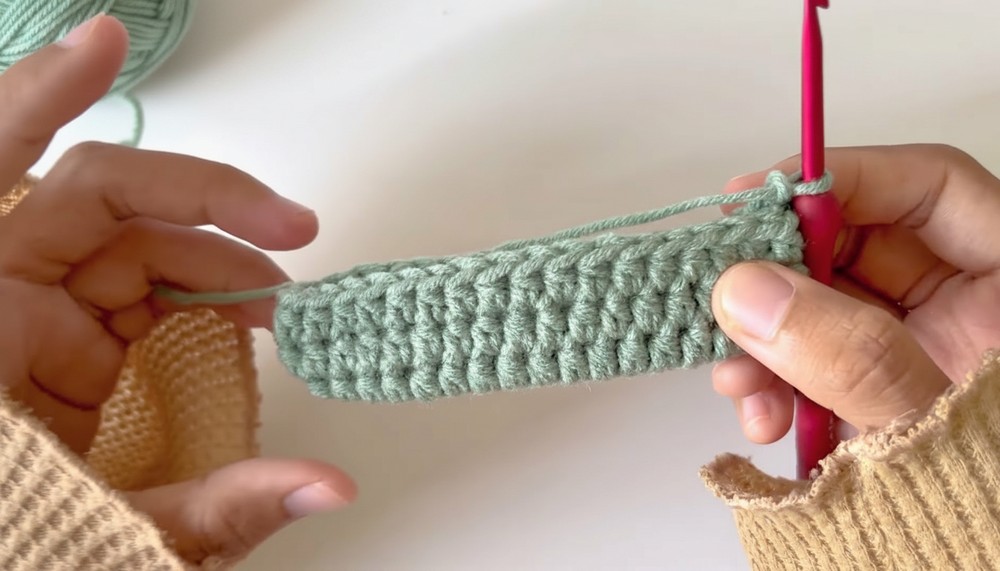
4: Creating the Flap for Button Closure
- Start the Flap Base:
- From the last row, work Slip Stitches into Front Loop Only of the first few stitches (to start the flap).
- Establish the Flap Edge:
- After slip stitching, chain 2 and work HDC across 13 stitches.
- Rows for the Flap:
- Repeat HDC rows for a total of 4 rows.
- Buttonhole Row:
- On Row 5 of the flap, skip the 7th stitch, chain 1, then crochet HDC over the remaining stitches to create the buttonhole.
- Complete the Flap:
- Add one final row of HDC (Row 6) for stability.
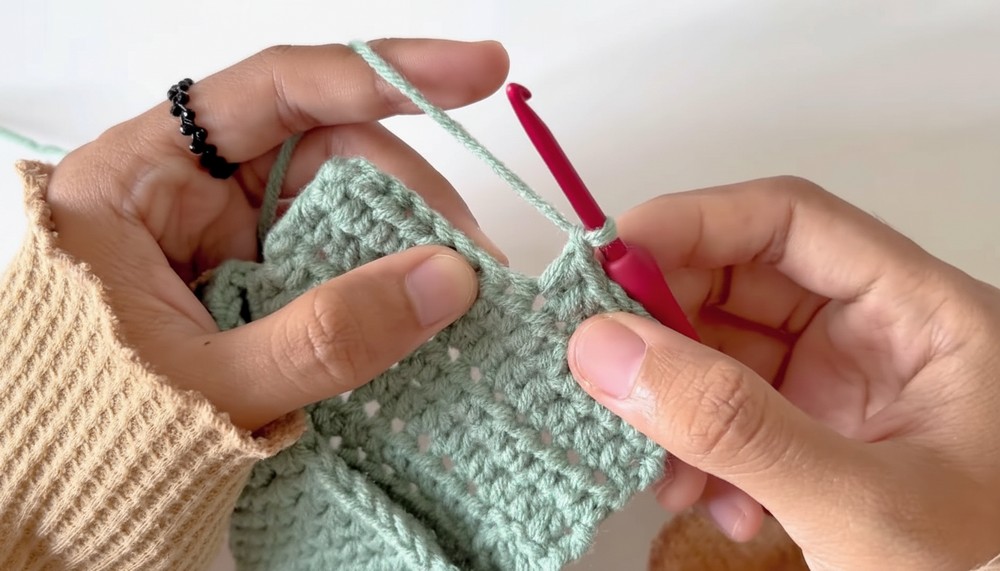
5: Adding Decorative Edges
- Switch to Contrasting Yarn:
- Fasten off the main color yarn and attach the contrasting color with a slip knot.
- Decorative HDC:
- Crochet 3 HDC in the same stitch, then Slip Stitch into the next stitch, and repeat this alternating pattern around the edges for a decorative touch.
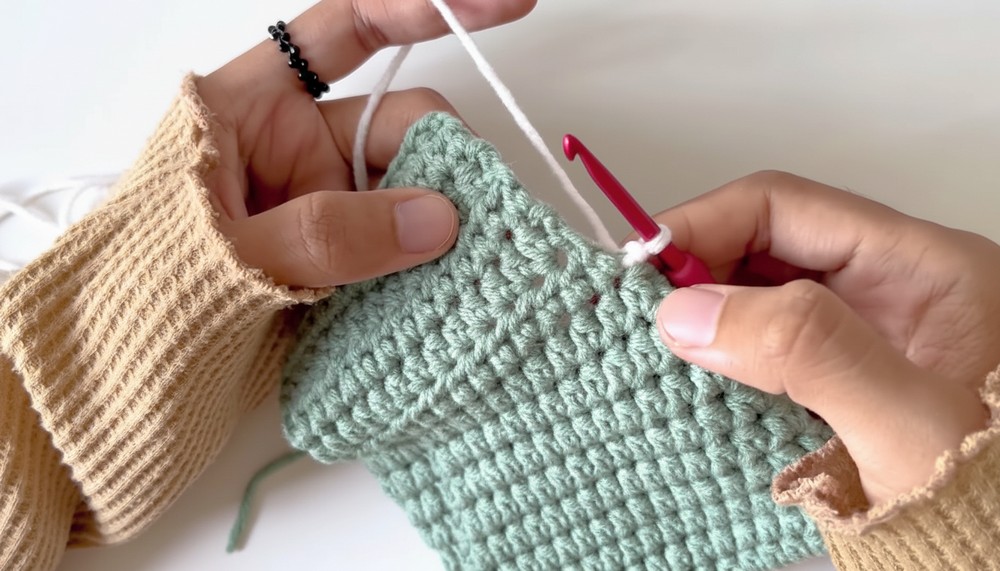
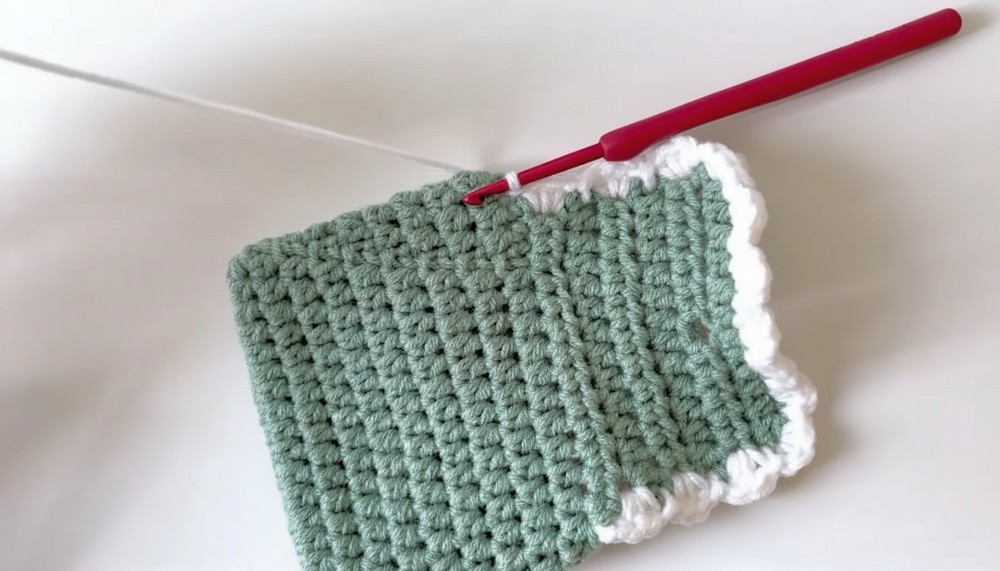
6: Adding the Button
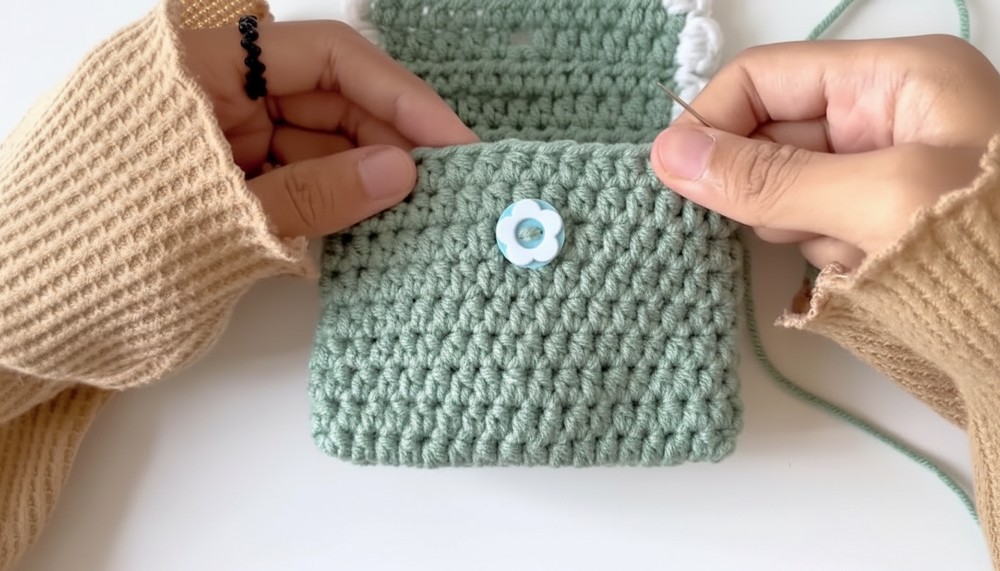
- Attach Button:
- Position the button directly over the skipped stitch (buttonhole). Use a needle to secure it with matching yarn.
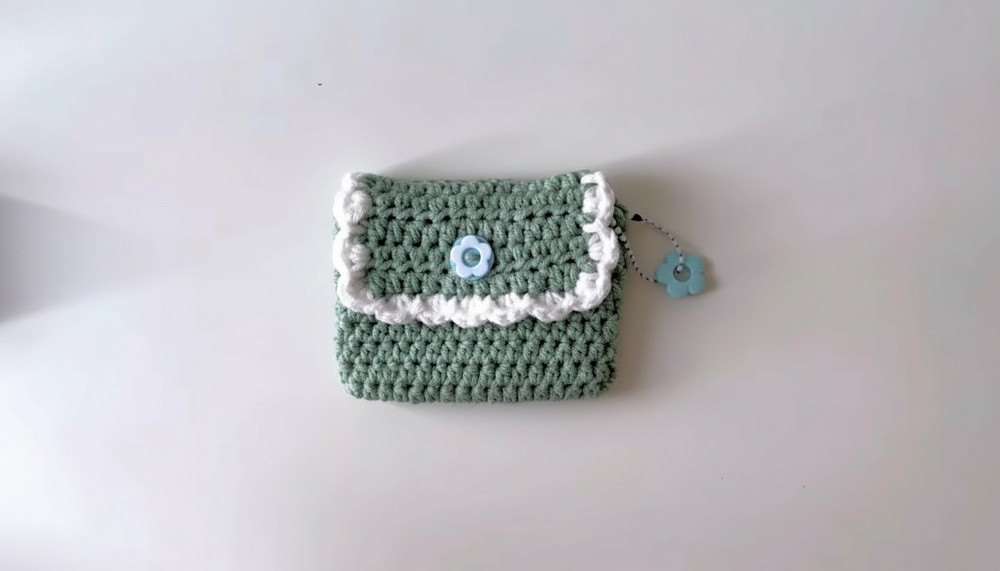
- Optional:
- Add a loop or attachments, such as small keychains to make it multifunctional.
Tutor's Suggestions
- Yarn Options: Choose a sturdy yarn with good elasticity for prolonged use. Cotton yarn works best for card holders.
- Hook Size: Match the recommended hook size for your yarn to avoid loose stitches.
- Sizing Adjustments: If you want to change the size, add or reduce chains initially but keep the pattern consistent.
Uses
- Perfect for organizing bank cards, IDs, or loyalty cards.
- A thoughtful gift for loved ones or a decorative addition to your workspace.
- Compact and travel-friendly—great for minimalists.
Tip:
To ensure durability, tighten the button securely and run the item under steam blocking for a polished look.
Conclusion
This Crochet Card Holder Pattern is a simple yet stylish project that offers functionality and charm. Whether you’re a beginner or looking for a quick crochet gift project, this pattern is easy to follow and practical to use. With its decorative flap and neat edges, it elevates your crochet skills while allowing for personalization.