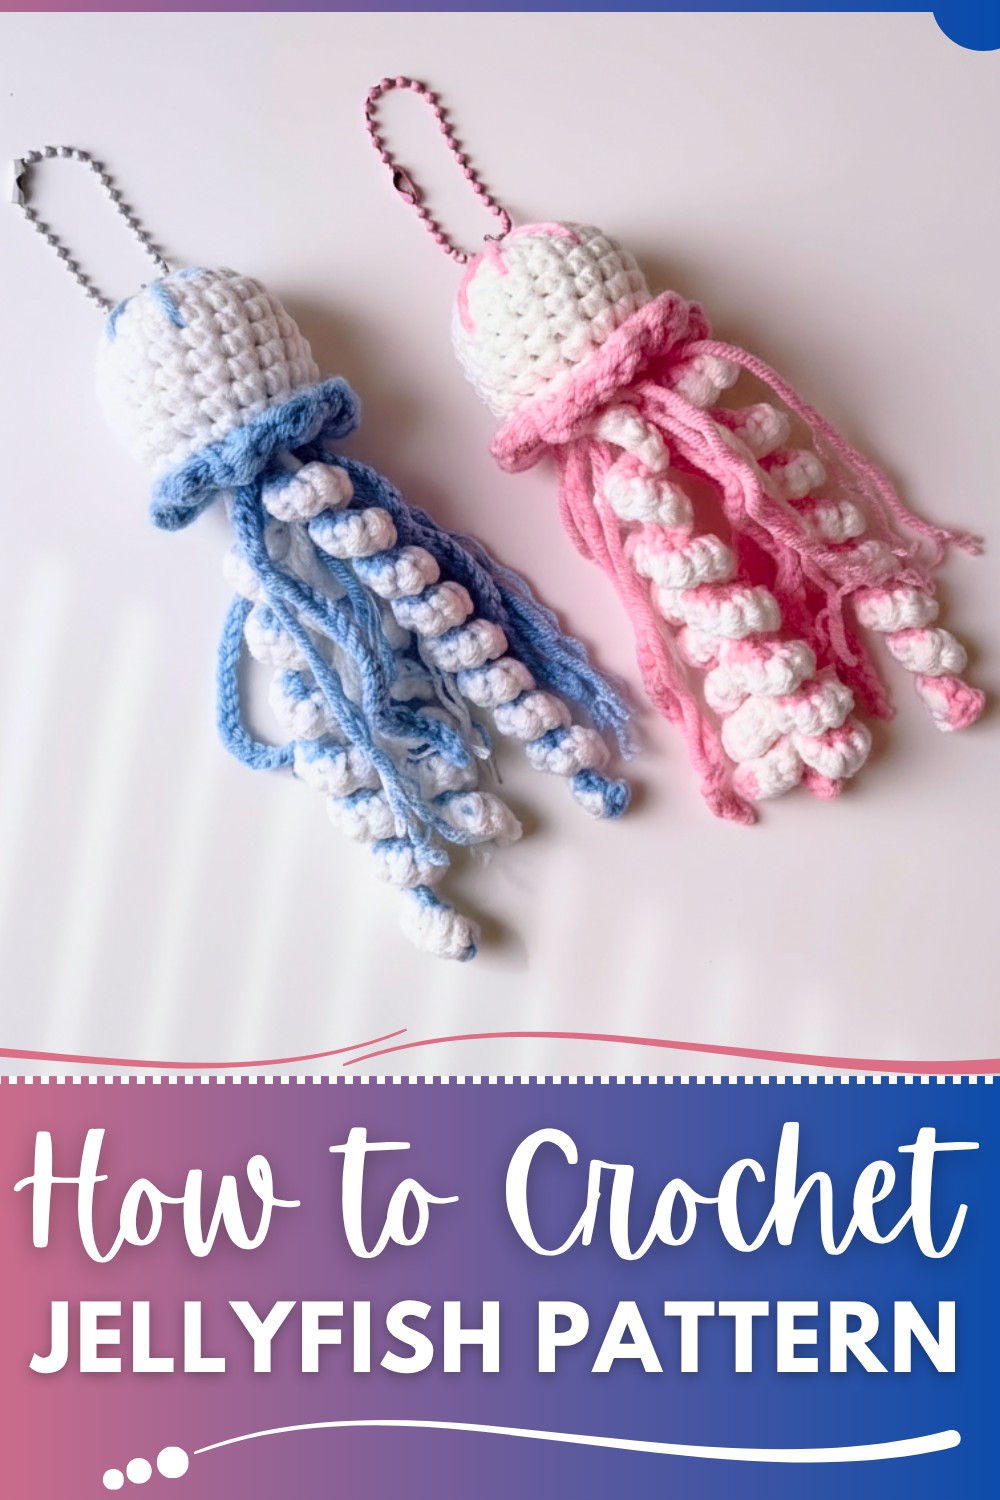
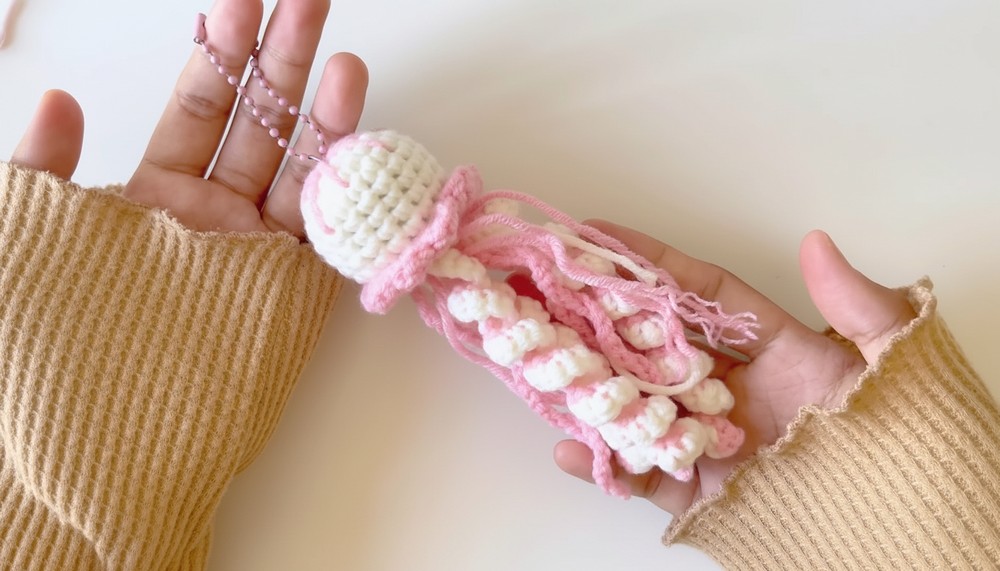
Hook up some fun with this Free Crochet Jellyfish Pattern, cute, colorful, and perfect for gifts, décor, or sprucing up your keychain.
Tiny stitches come together to form a playful masterpiece that celebrates the beauty of handmade designs. This free crochet jellyfish pattern turn simple yarn into an ocean-inspired creation, complete with flowing tentacles and a cheerful round head. Whether chosen for its decorative charm or as an unforgettable handmade gift, this jellyfish pattern adds personality to any space or accessory.
Free Crochet Jellyfish Pattern to Add a Splash of Creativity to Your Projects
Ideal for crocheters at all skill levels, the pattern provides an opportunity to refine techniques like single crochet, back loop stitching, and invisible decreases while diving into creative customization. Vibrant color choices and adaptable sizing allow limitless possibilities for personalization, ensuring every jellyfish is truly one of a kind.
Cherished for its ability to bring moments of relaxation and joy, the finished pattern is both durable and versatile. From keychains to room décor to whimsical playtime companions, this project is more than just crocheting—it’s a celebration of creativity brought to life through yarn. Let this jellyfish inspire a fresh wave of ideas and bring lasting smiles to yourself and anyone lucky enough to receive it!

Special Features
- Skill Level: Beginner to intermediate.
- Key Stitches Used: Magic ring, single crochet (SC), increase, decrease, back loop only (BLO), invisible decrease, and double crochet (DC).
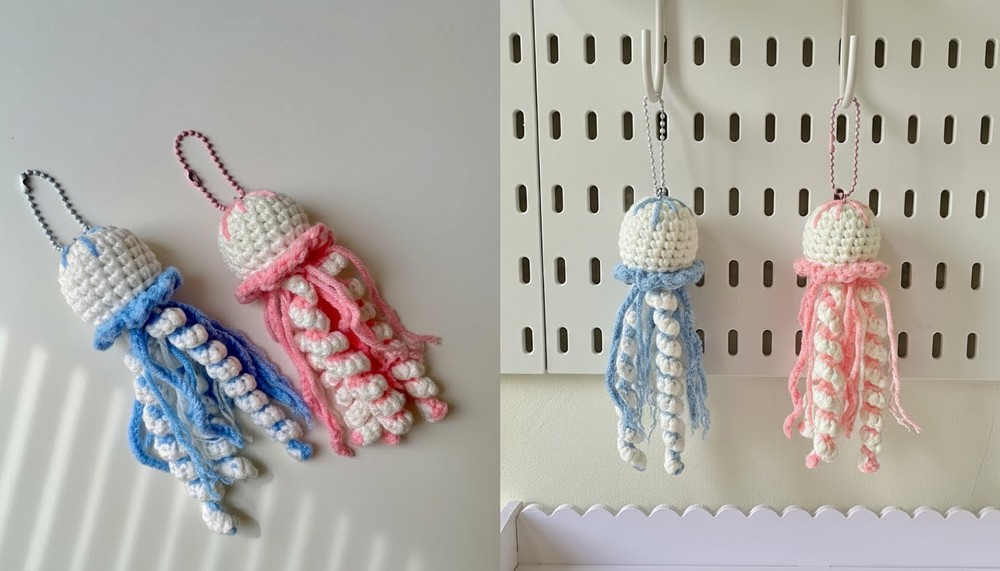
- Customization: Use various colors for the body and tentacles or adjust the tentacle shapes for diverse styles.
- Uses: Keychains, bag charms, room décor, kids' toys, or vibrant stationery accents.
Step-by-Step Pattern
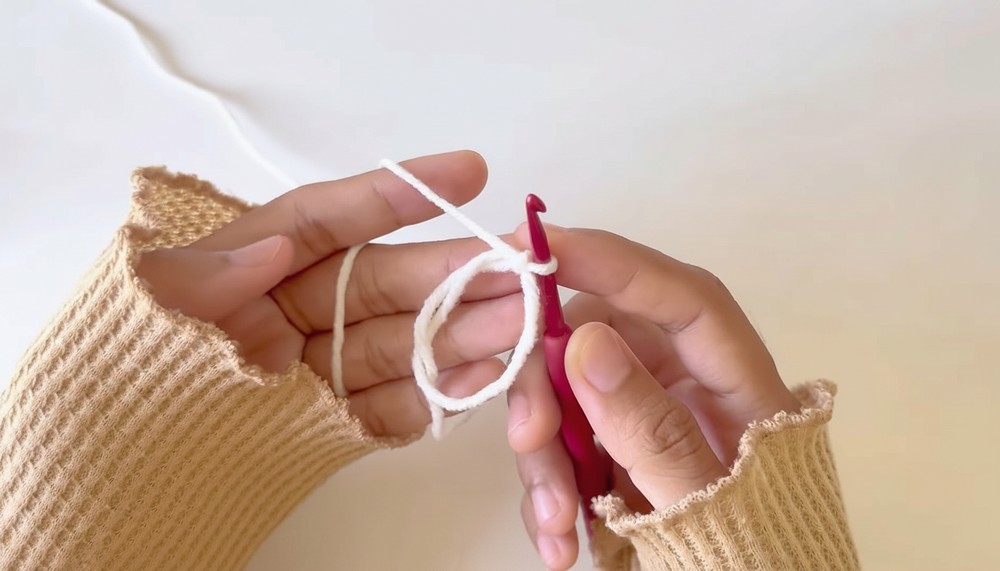
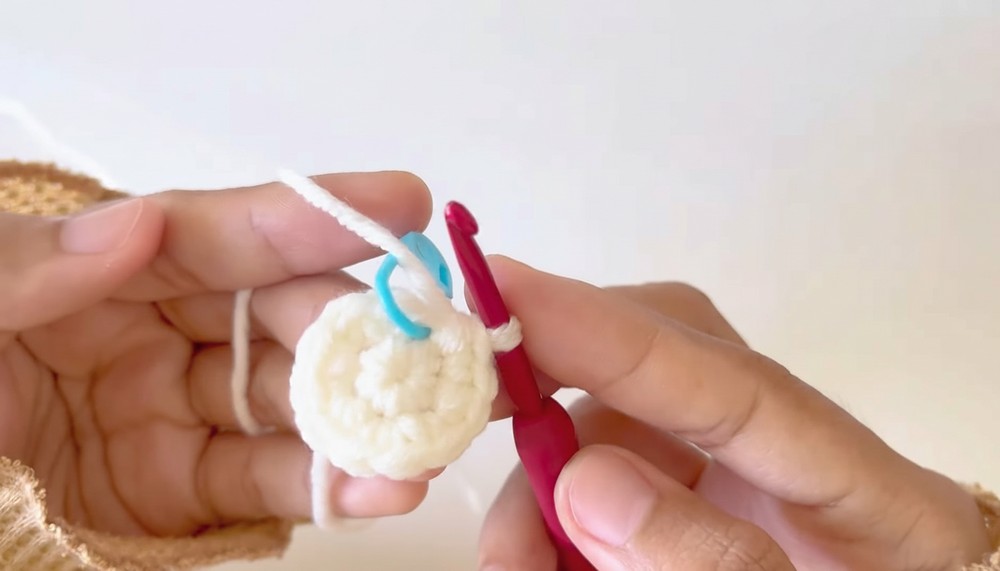
1. Jellyfish Head (Starting with the Magic Ring)
Round 1:
- Start by making a magic ring.
- Work 6 single crochets (SC) into the magic ring. Pull the tail to close the ring tightly.
Rnd 2:
- Increase all around: Work 2 SC in each stitch. You’ll have a total of 12 stitches.
- Use a stitch marker to mark the first stitch for easier tracking.
Rnd 3:
- Work one SC in the first stitch, followed by an increase (2 SC in one stitch).
- Repeat the sequence: SC, increase for the whole round.
- Finish with 18 stitches total.
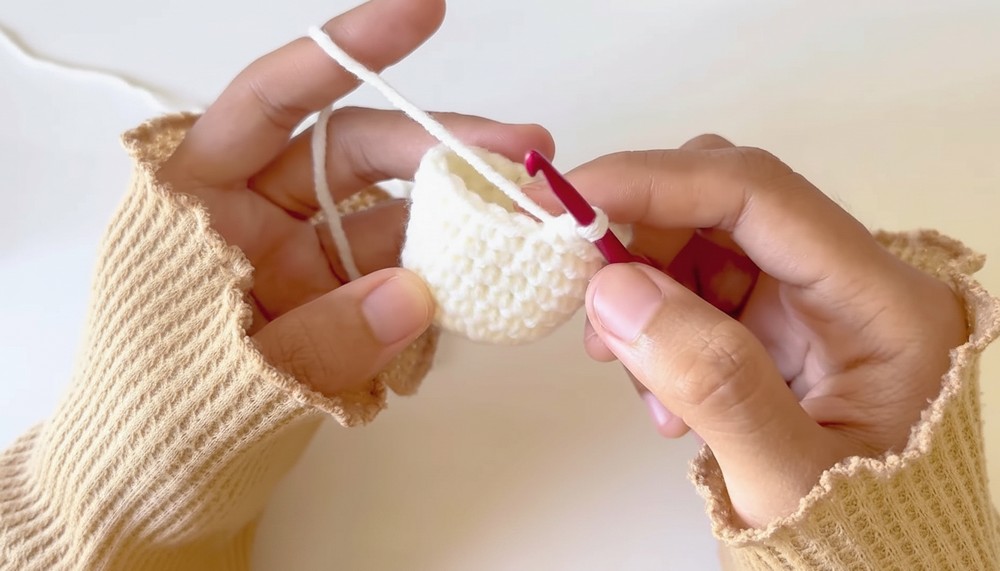
Rounds 4–9:
- Work 1 SC in each stitch for every round.
- This maintains the round shape and builds the jellyfish's head.
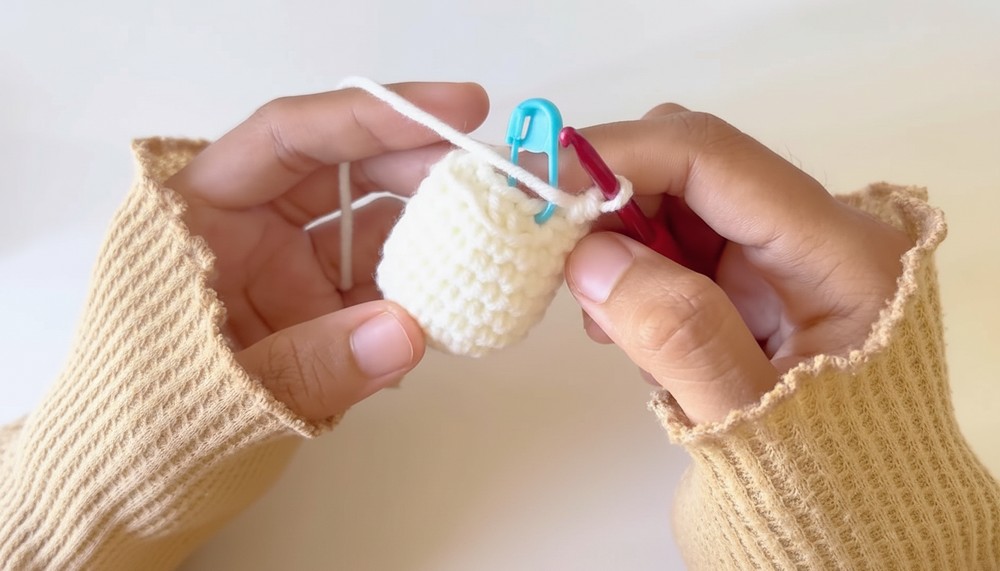
Rnd 10:
- Use back loop only (BLO) for this round. Work SC in the first stitch, decrease in the next two stitches.
- BLO means working into the back part of the stitch (the loop furthest from you).
- Continue the pattern: SC, decrease all around.
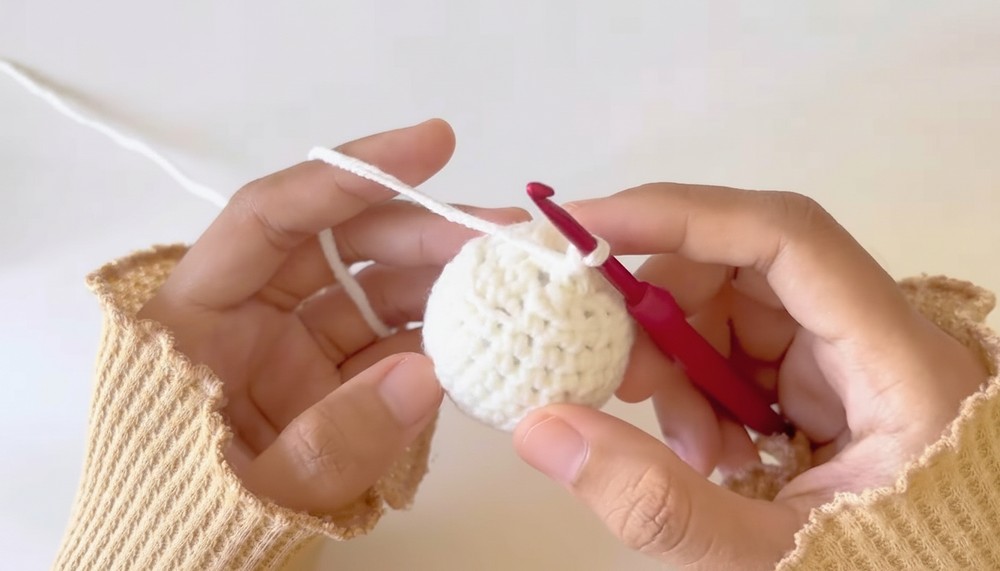
Round 11:
- Work invisible decrease all around without BLO:
- Combine two stitches into one by pulling through their front loops.
- Repeat until the round is closed.
- Finish off, leaving a long tail for sewing. Use a tapestry needle to weave it neatly.
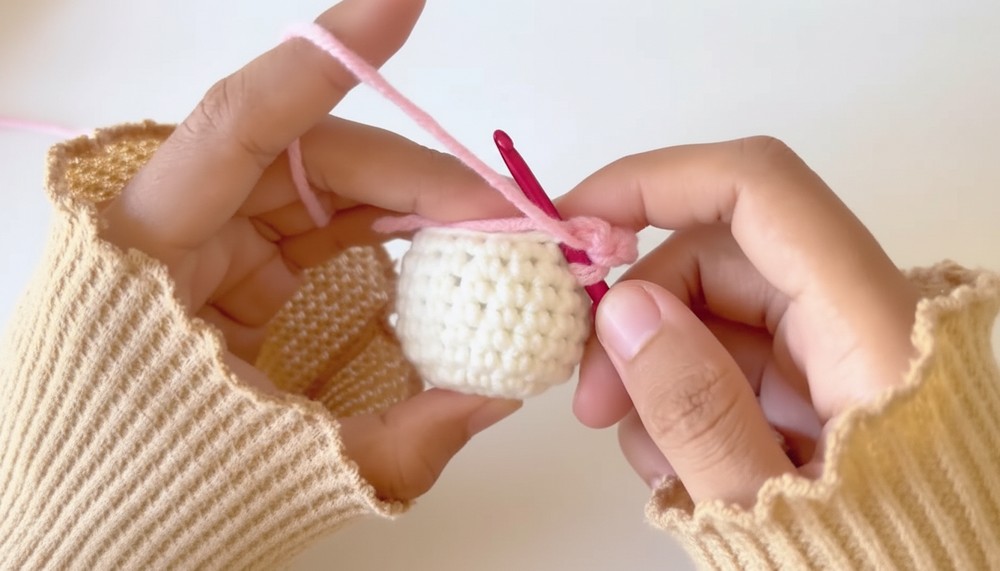
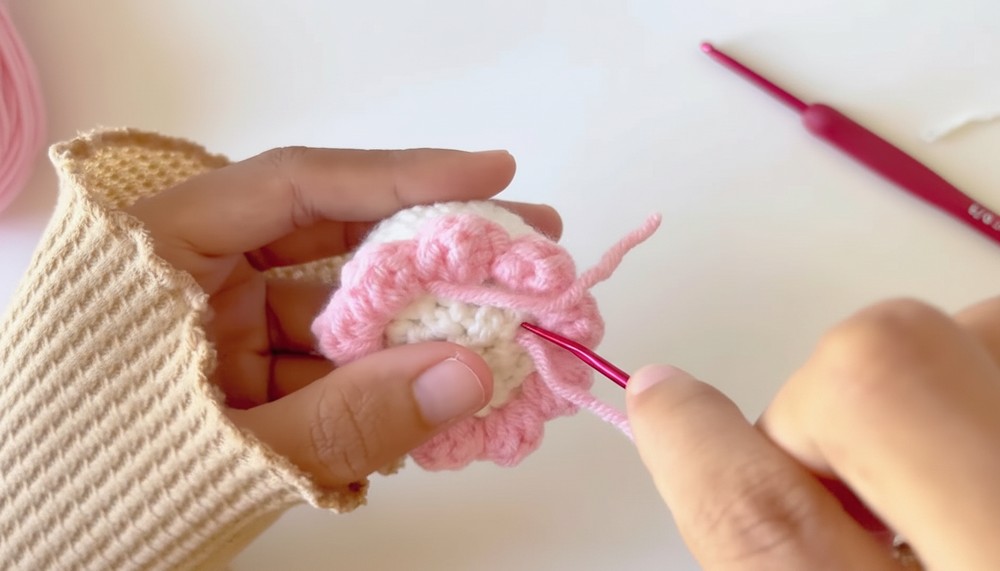
2. Jellyfish Ruffle (Base Decoration)
- Attach a new yarn color (e.g., pink) to the BLO ridge from Round 10.
- In each ridge space: Work 3 double crochets (DC) into the same stitch, then finish with a slip stitch in the next space.
- Repeat 3 DC + slip stitch in each ridge until completing the circle.
- Fasten off and weave the ends securely.
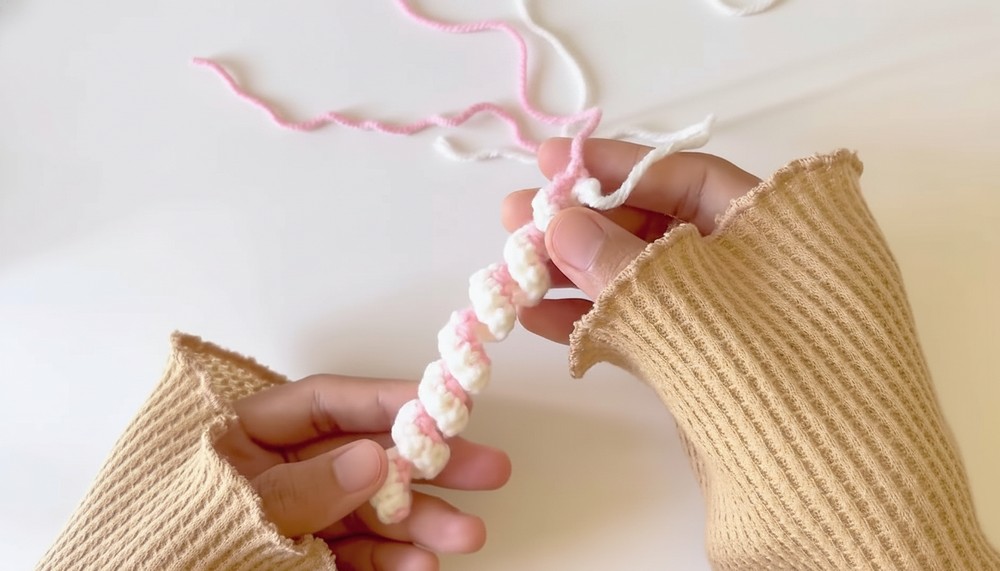
3. Tentacle Creation
Large Tentacles:
- Using pink yarn, start with a slip knot, leaving a long tail.
- Chain 40 stitches.
- Begin in the second chain from the hook:
- Switch to white yarn and work 1 SC in the first stitch.
- Alternate sequence: 1 SC, increase (2 SC in one stitch) all the way to the end.
- Twist the tentacle to create a spiral shape and fasten off.
- Tip: Create three large tentacles.
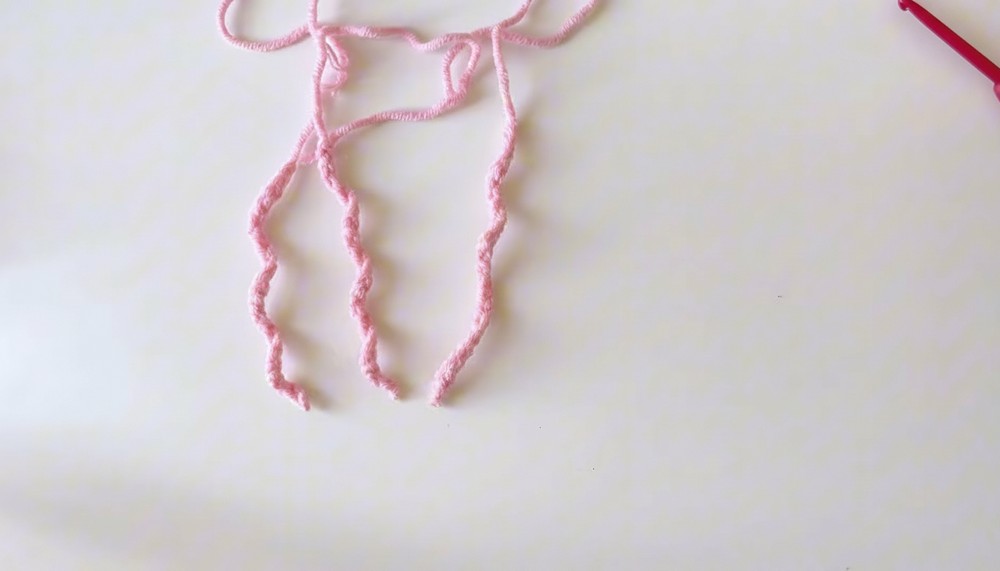
Small Tentacles:
- Start with pink yarn and a slip knot.
- Chain 25 stitches.
- Twist and secure the tentacle as a spiral, leaving a long tail.
- Tip: Make three small tentacles.
4. Attach Tentacles to the Jellyfish Head
- Use the tails to tie or sew the tentacles onto the jellyfish's base (ridge).
- Spread them evenly and secure tightly for stability.
- Optional: Fray the tail ends for more texture.
5. Jellyfish Final Touches
- Add a keyring to the top if you’re making a keychain.
- Decorate the jellyfish further by embroidering stripes or designs on its head.
Tutor's Suggestions
- Keep the stitches loose: Avoid tight stitching for easier handling and smoother shapes.
- Use vibrant contrasting yarns to make the jellyfish look lively and eye-catching.
- If using it as a keychain or décor, secure all loose ends firmly to ensure durability.
Uses
This cheerful jellyfish makes a fantastic decorative piece, kids’ toy, or functional accessory, like a bag charm or keyring. Its playful tentacles enhance creativity, while bright colors add a fresh look to any space.
Pro Tip
For a softer finish, opt for cotton yarn; for a more structured shape, use acrylic or blended yarn to retain the body form.
Conclusion
With this simple yet versatile pattern, crocheting a jellyfish is both fun and rewarding! Whether for gifts, playtime, or home décor, this project lets you find your creativity while mastering essential crochet techniques. So, grab your hook, yarn, and imagination to bring your jellyfish to life.