Bring a smile with this free crochet mini cat pattern, an easy way to create something adorable and share a heartfelt gift with your loved ones.
Looking for a fun and quick project to brighten your day? This free crochet mini cat design offers a charming little companion that’s easy to make and full of character. Perfect for anyone who enjoys creating small, delightful crochet animals, it’s a great way to add a touch of warmth and whimsy to your space.
Mini Cat Amigurumi Free Crochet Pattern for Gifts
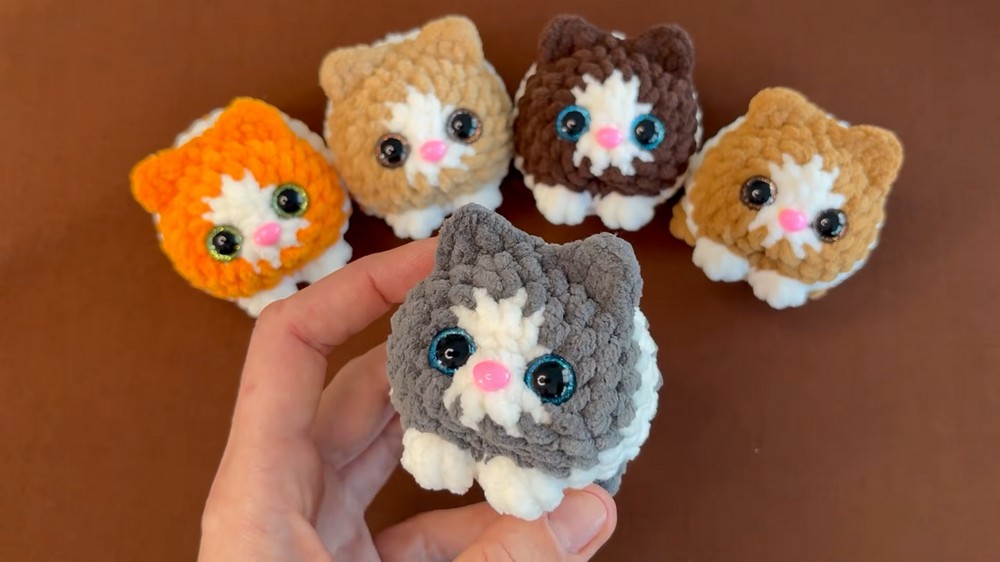
The mini cat features simple, smooth curves and a soft, rounded shape that fits comfortably in your hand. Its texture is mostly even, with just enough stitch detail to highlight the ears and tail, lending a pleasing balance between simplicity and personality. Thanks to its small size, you can adjust the scale by using different yarn weights or hooks. Adding tiny custom touches, like embroidered eyes or colorful collars, makes each cat truly one-of-a-kind.
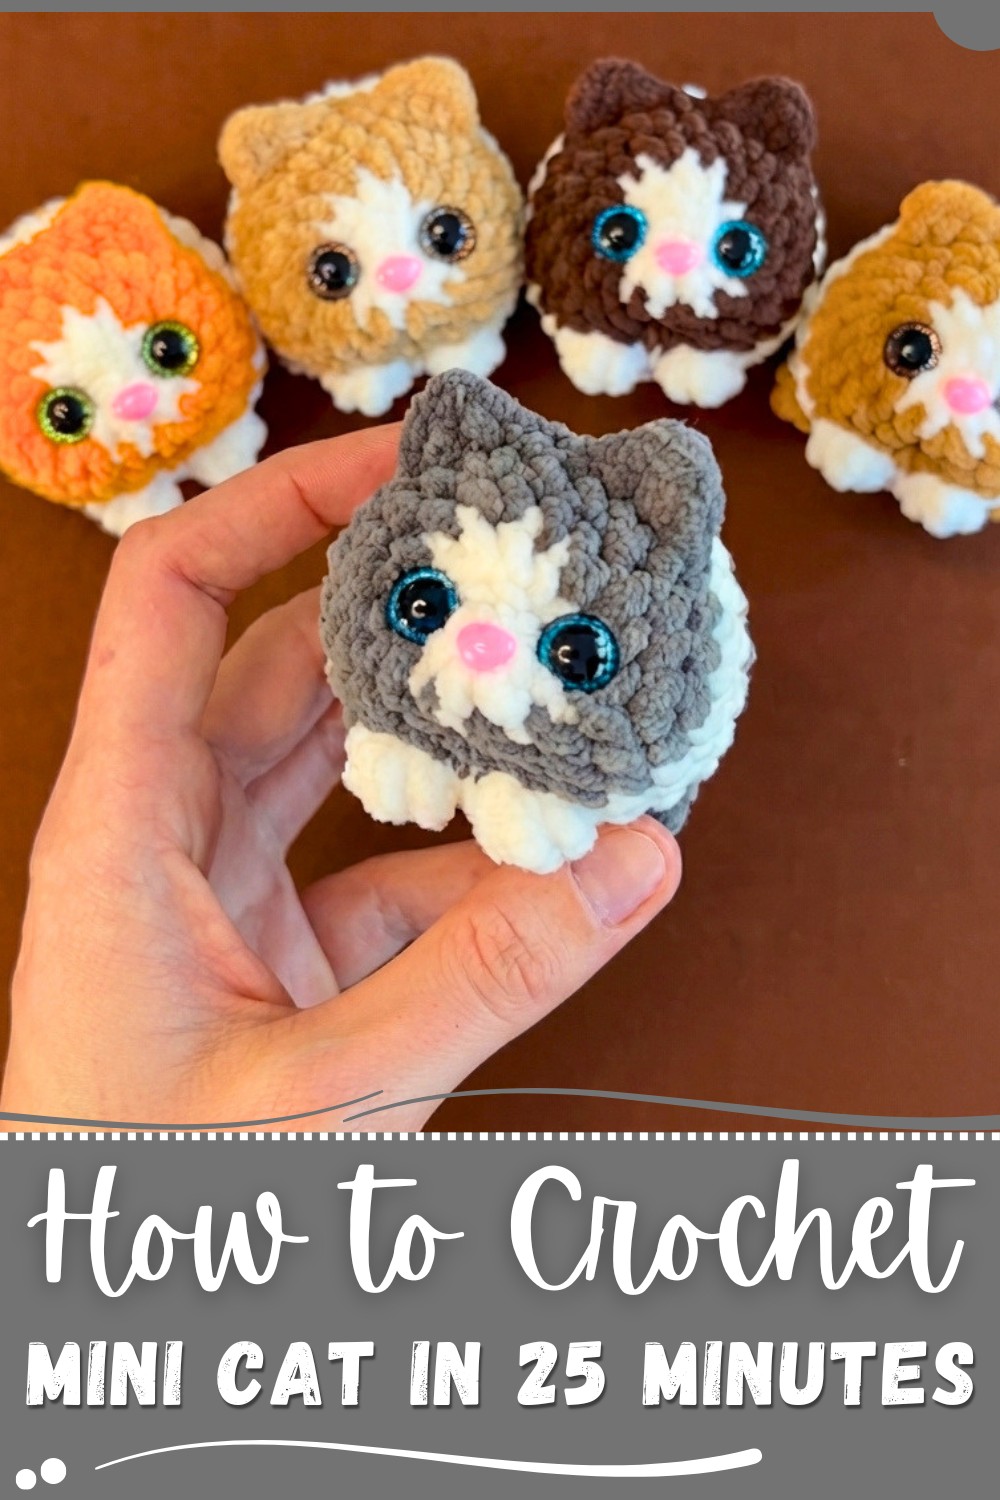
This little feline is formed by working continuously in the round, shaping the body and head to create gentle, flowing lines. Maintaining steady stitch tension helps keep the fabric neat and stops stuffing from peeking through. Smooth yarns, such as cotton blends or soft acrylics, work well here by showcasing stitch details and offering a comfortable feel when held.
Inspired by the sweet nature of everyday cats and the joy found in making small handmade items, this mini cat makes a thoughtful gift for loved ones, a cute keychain, or a cozy shelf accent. There’s plenty of room to personalize each one with color choices or small embellishments, making this project a delightful way to express creativity.
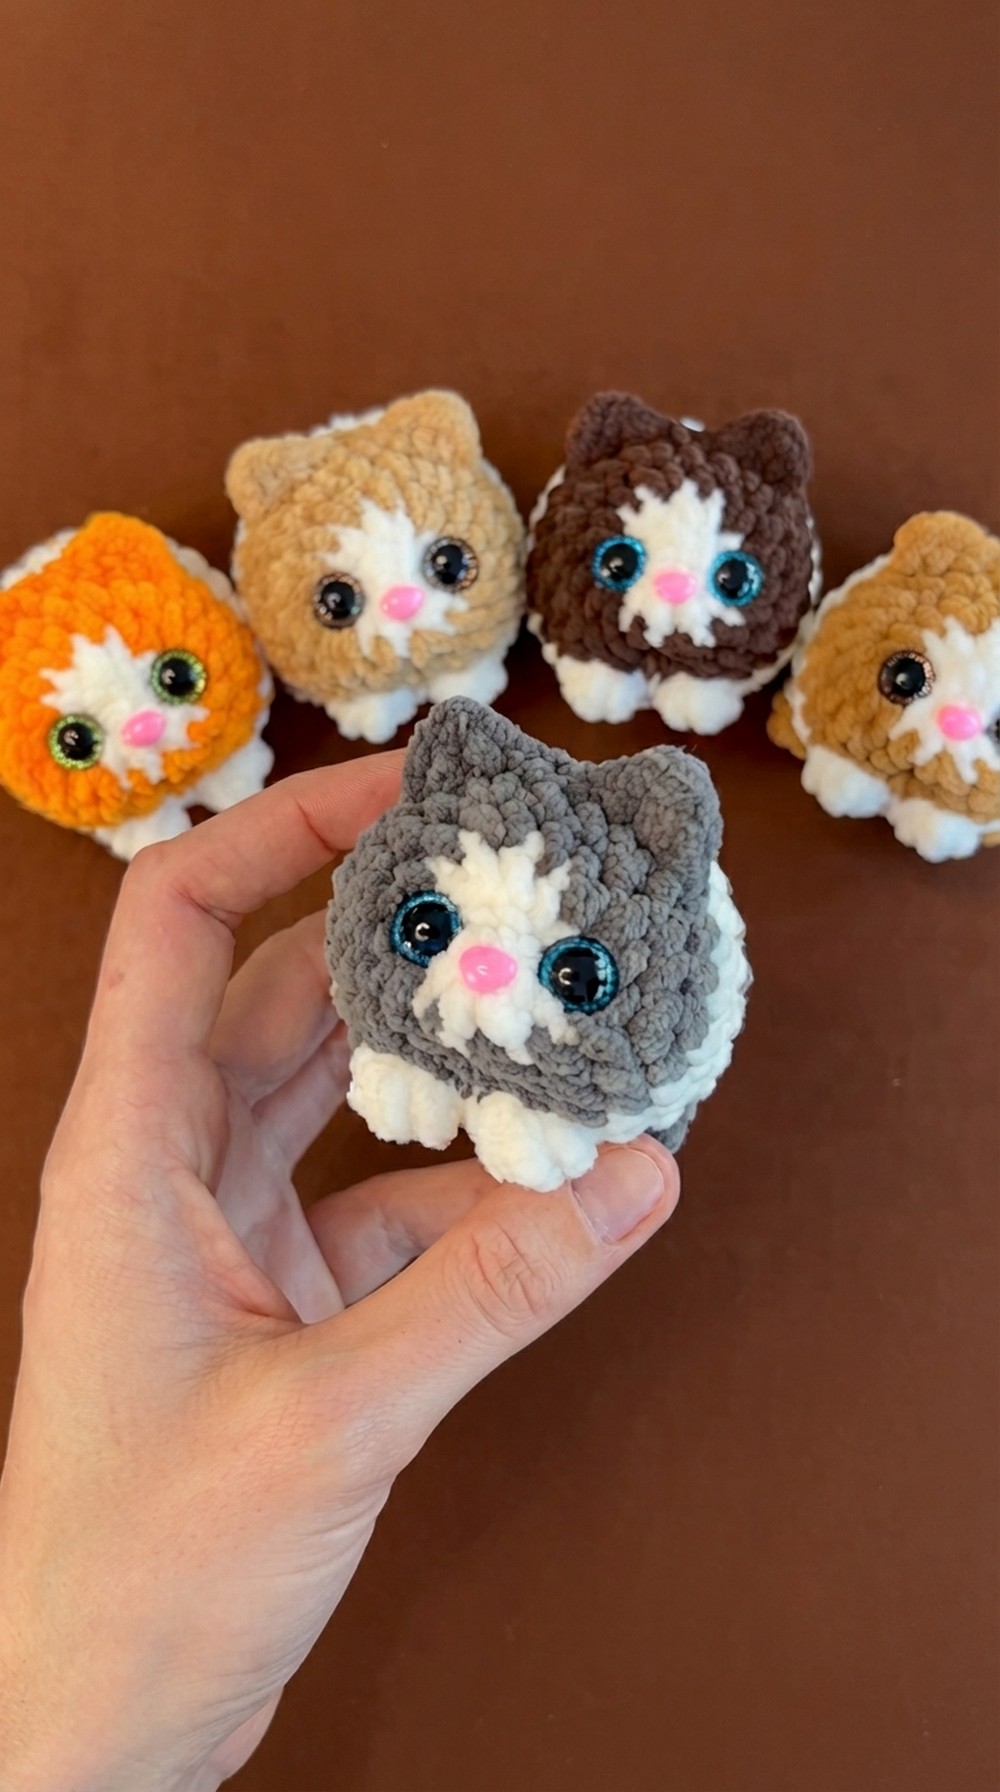
Mini Cat Crochet Pattern – Slava Handmade Studio
Introduction
Hi, everyone, and welcome to Slava Handmade Studio. Let's crochet this cute little mini cat together! They make a perfect gift for the people you love or a great option for your craft markets.
Quick Overview Of Pattern
- The cat is worked from the bottom up, in continuous rounds.
- You start with a circle base, then increase to form the body.
- The ears, legs, and tail are crocheted as you go in specific rounds.
- Safety eyes and a nose are added for a realistic touch.
- After stuffing, some simple shaping and finishing steps complete your mini amigurumi cat.
Notes
- Make sure to use stitch markers to keep track of rounds.
- Change yarn colors as indicated for a neat colorwork finish.
- Use the front loops only where specified for ears.
- Invisible decreases are recommended for smooth shaping.
- Eyes and nose are inserted/glued after crocheting and before closing.
- Beginners should not skip marking back loops during ear rounds to avoid mistakes.
- Stuff firmly but do not overstuff to keep the shape balanced.
Skill Level
Beginner to Intermediate:
Requires basic knowledge of single crochet, increases, decreases, working in the round, color changes, and simple shaping.
Materials
- Two colors of yarn (suggested: one for body, one for accent/legs)
- 12 mm safety eyes (2)
- 6x8 mm nose (to glue at the end)
- 3.75 mm crochet hook
- Stitch markers
- Scissors
- Yarn needle
- Stuffing (polyester or dacron)
- Polyester sewing thread (for shaping)
- Optional: Large tapestry needle (to make a hole for the nose)
- Craft glue (for nose)
Measurements / Sizing
- Finished cat stands approximately 8–10 cm tall (with listed materials).
Gauge
- Not critical, but the fabric should be tight enough to hold stuffing and shape.
- If you see large gaps after the first two rounds, use a smaller hook or adjust tension.
Stitch Abbreviations
- ch – chain
- sc – single crochet
- inc – increase (2 sc in one stitch)
- dec – decrease (sc two together)
- sl st – slip stitch
- hdc – half double crochet
- dc – double crochet
- st(s) – stitch(es)
- BL – back loop only
- FL – front loop only
Special Stitches
- Puff leg: (used for legs) – Yarn over, insert hook, pull up loop (as for dc), repeat a total of 4 dc partly closed in same stitch, then yarn over and pull through all loops.
- Ear (as per round):
- FL1: sl st, hdc, dc
- FL2: hdc, sl st (for first ear)
- FL1: sl st, hdc (for second ear)
- FL2: dc, hdc, sl st
The Crochet Pattern
Body and Head
Work in continuous spiral rounds. Use a stitch marker for the first stitch of each round.
Round 1:
- Start with chain 2 (or magic ring if preferred).
- 6 sc in 2nd ch from hook (or in magic ring).
- (6 sts)
Round 2:
- 6 inc (2 sc in each st) around.
- Mark the start of round with a stitch marker.
- Do not finish last sc of the sixth increase; instead, change color before pulling through final loop.
- (12 sts)
Round 3:
- (1 sc, inc) repeat 6 times (one single crochet, then an increase, repeat to end).
- (18 sts)
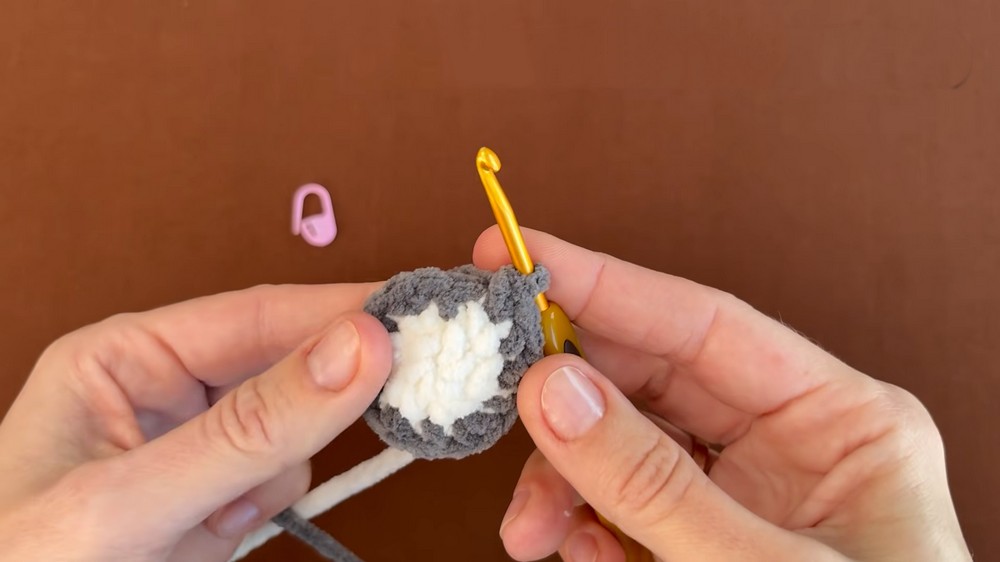
Round 4:
- (2 sc, inc) repeat 6 times (two single crochets, then an increase, repeat to end).
- (24 sts)
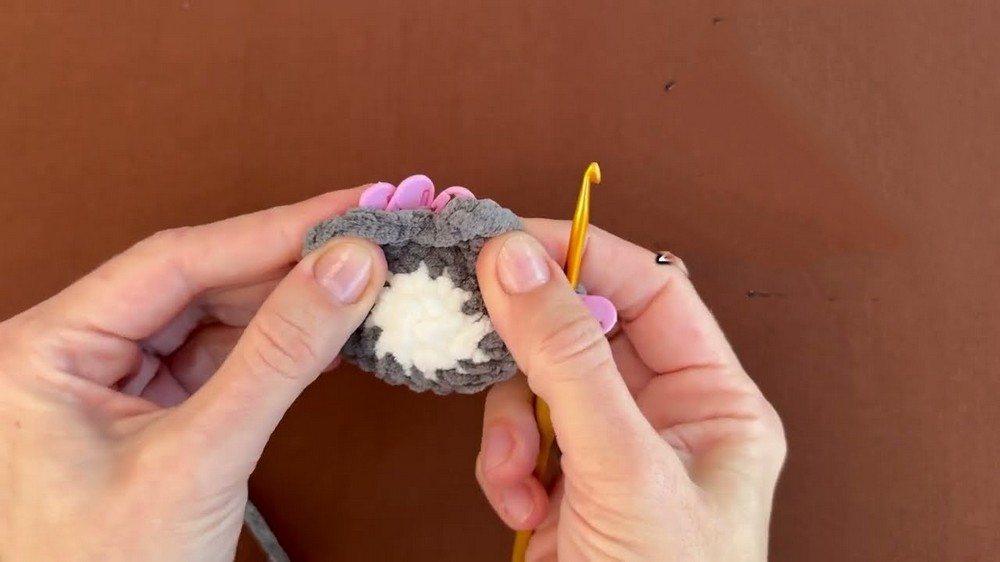
Round 5: (Ears)
- 3 sc (in 2 front loops:
- Ear 1 (work into next 2 FL only):
- Front loop 1: sl st, hdc, dc
- Front loop 2: hdc, sl st
(Mark the back loops with a stitch marker so they aren't used.)
- 2 sc between ears
- Ear 2 (work into next 2 FL only):
- Front loop 1: sl st, hdc
- Front loop 2: dc, hdc, sl st
(Again, mark back loops if helpful.)
- 15 sc to end of round
- (24 sts)
Round 6: (Front Legs)
- 16 sc (using back loops after ears where marked)
- Change color before finishing the 16th sc.
- Front Leg 1: Puff stitch (4-partial dc puff in same stitch; then yarn over, pull through all loops)
- 2 sc between legs
- Front Leg 2: Puff stitch (same as above)
- 4 sc to end of round
- (24 sts)
Pause here to add eyes:
- Place safety eyes between the 2nd and 3rd rows, centered between the ears and above the front legs.
- Check alignment with legs and ears for symmetry before securing.
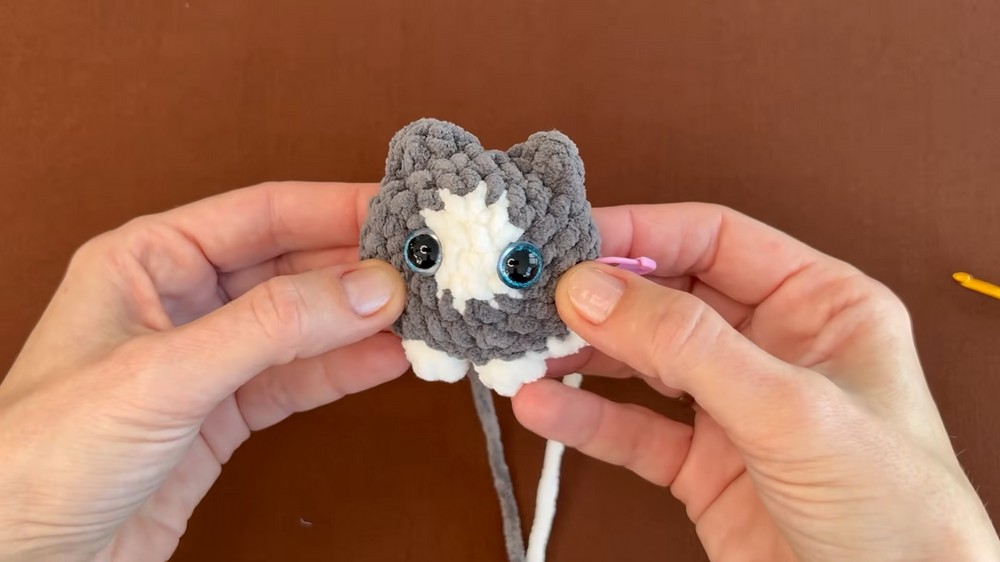
Round 7:
- 24 sc around
Round 8:
- 5 sc
- inc
- Repeat above (5 sc, inc) once more (for a total of 2 increases)
- 11 sc
- inc (last increase)
- (27 sts)
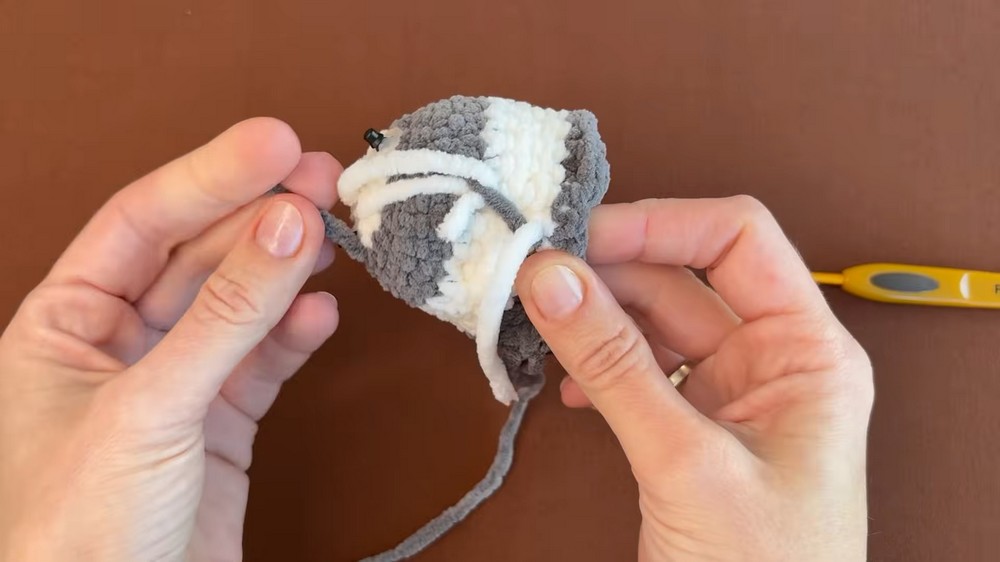
Round 9:
- 20 sc (in main color)
- Do not finish the 21st sc; change yarn color before pulling through
- 7 sc (in contrast color) to complete round
- (27 sts)
Round 10: (Back Legs)
- 17 sc (in contrast color if continuing)
- Back Leg 1: Puff stitch (same as before, using 4 partial dc)
- 6 sc
- Back Leg 2: Puff stitch (as above)
- 2 sc to end of round
- (27 sts)
Round 11:
- 27 sc
- After the round, cut the main color yarn and tie the ends together.
Round 12:
- (1 sc, dec) repeat 9 times (one single crochet, decrease over the next 2 stitches; repeat to end)
- (18 sts)
Round 13: (Tail & Final Decreases)
- 3 dec
- (decrease over the next 2 sts, repeat x3)
- Tail:
- ch 5, turn
- Starting in the 2nd ch from hook: 4 sc back along chain
- 6 dec
- (decrease over next 2 sts, repeat x6)
- (You should have stitched the tail so it ends in the center as you start decreases.)
Stuff the cat body firmly.
Closing the Opening:
- Cut yarn, leaving a long tail.
- With needle, sew through the front loops of remaining stitches and pull tight to close.
- Secure and hide tail end inside the body.
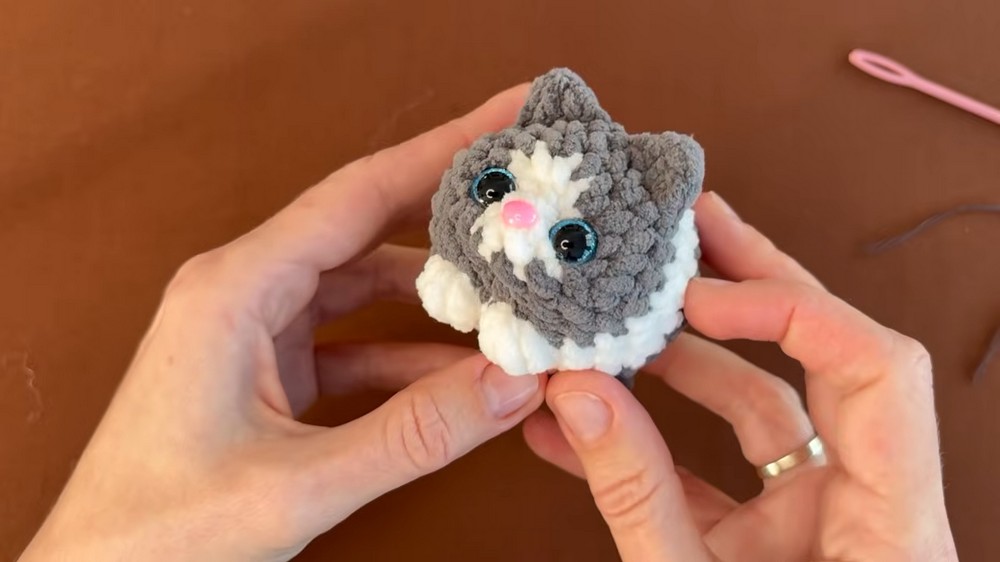
Assembly & Finished Size
- Sculpt face shape:
- Use doubled polyester thread and a needle.
- Skip one round after the legs on the underside, bring the needle to one eye corner, then to the other, passing through all face points for shaping.
- Tie off tightly inside the body and shape as desired.
- Adjust ears and eyes as needed for symmetry.
- Attach nose: Use glue to attach the pre-made nose below the eyes, centered.
- Finished size: about 8–10 cm high
Conclusion
And finally, your mini cat is finished! All that's left is gluing on the nose. I hope you enjoyed making this little cat with me. Let me know how yours turned out in the comments.