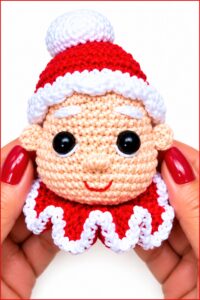
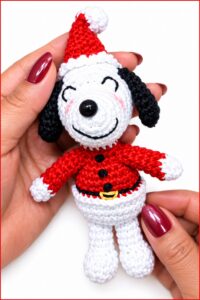
Bring holiday cheer to your home with this free crochet Christmas reindeer pattern that's offering charming details perfect for festive decorations this season.
About The Channel:
GUMILUPIS CROCHET is a creative YouTube channel offering clear and easy-to-follow crochet tutorials. Their videos provide step-by-step guidance, making projects like the Christmas reindeer accessible to all skill levels.
The holiday season brings joy and warmth, often highlighted by charming decorations that brighten homes. One delightful way to add a festive touch is by creating a cute crochet toy designed to resemble a festive forest animal. This is where the free crochet Christmas Reindeer pattern shines, offering a fun and creative project fitting perfectly as a handmade gift or an adorable decoration for your Christmas space.
Free Crochet Christmas Reindeer - Step-by-Step Pattern
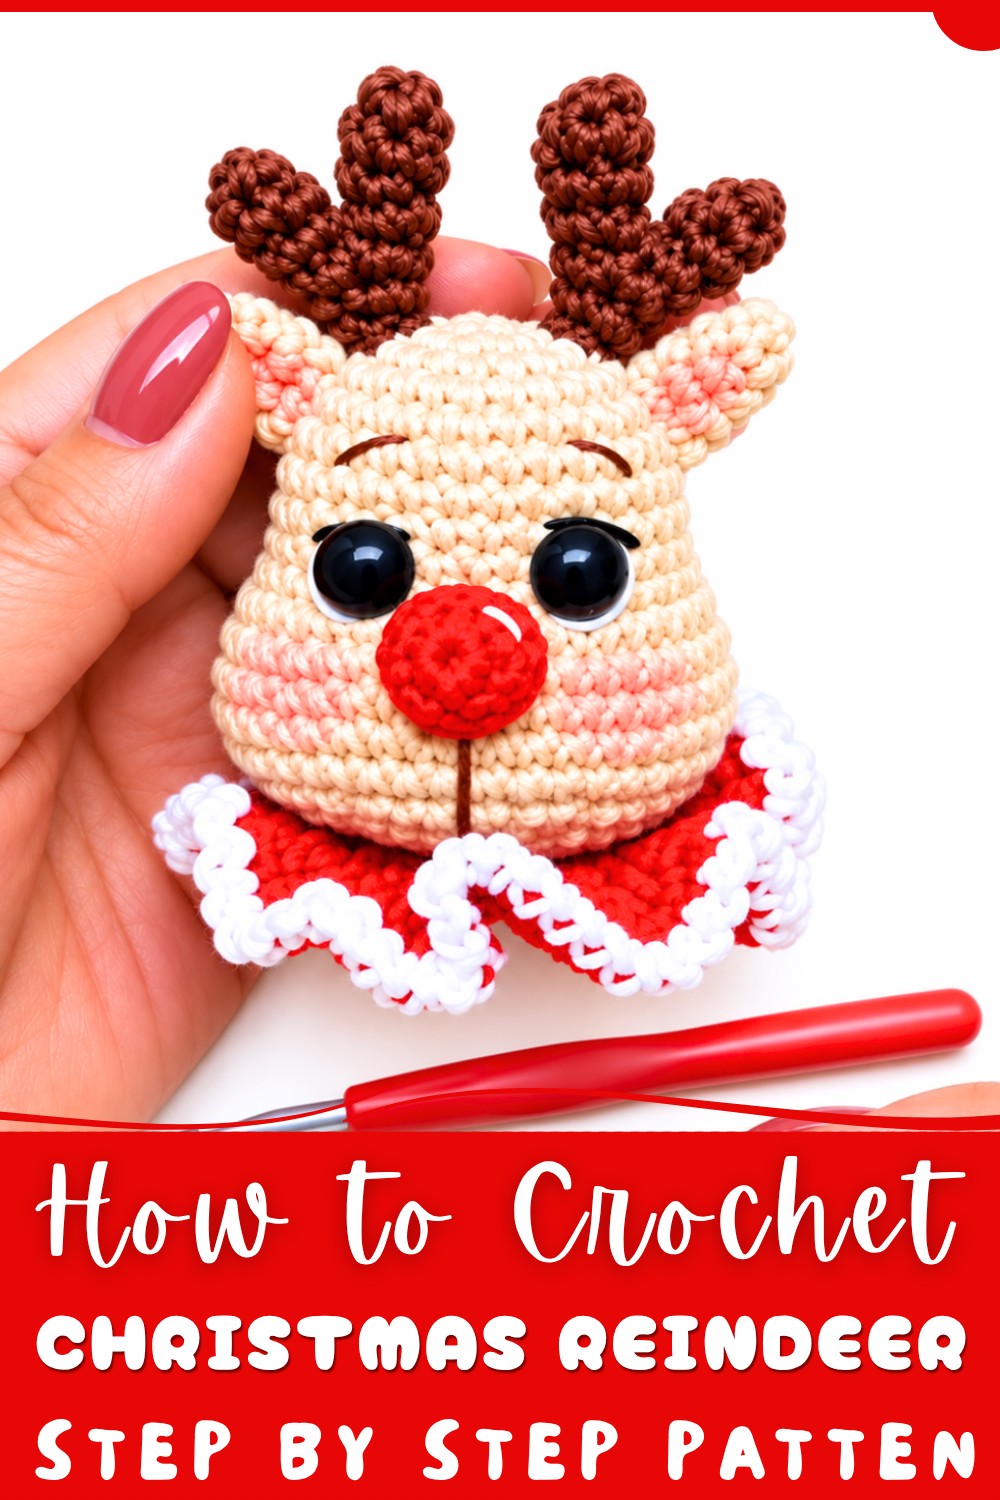
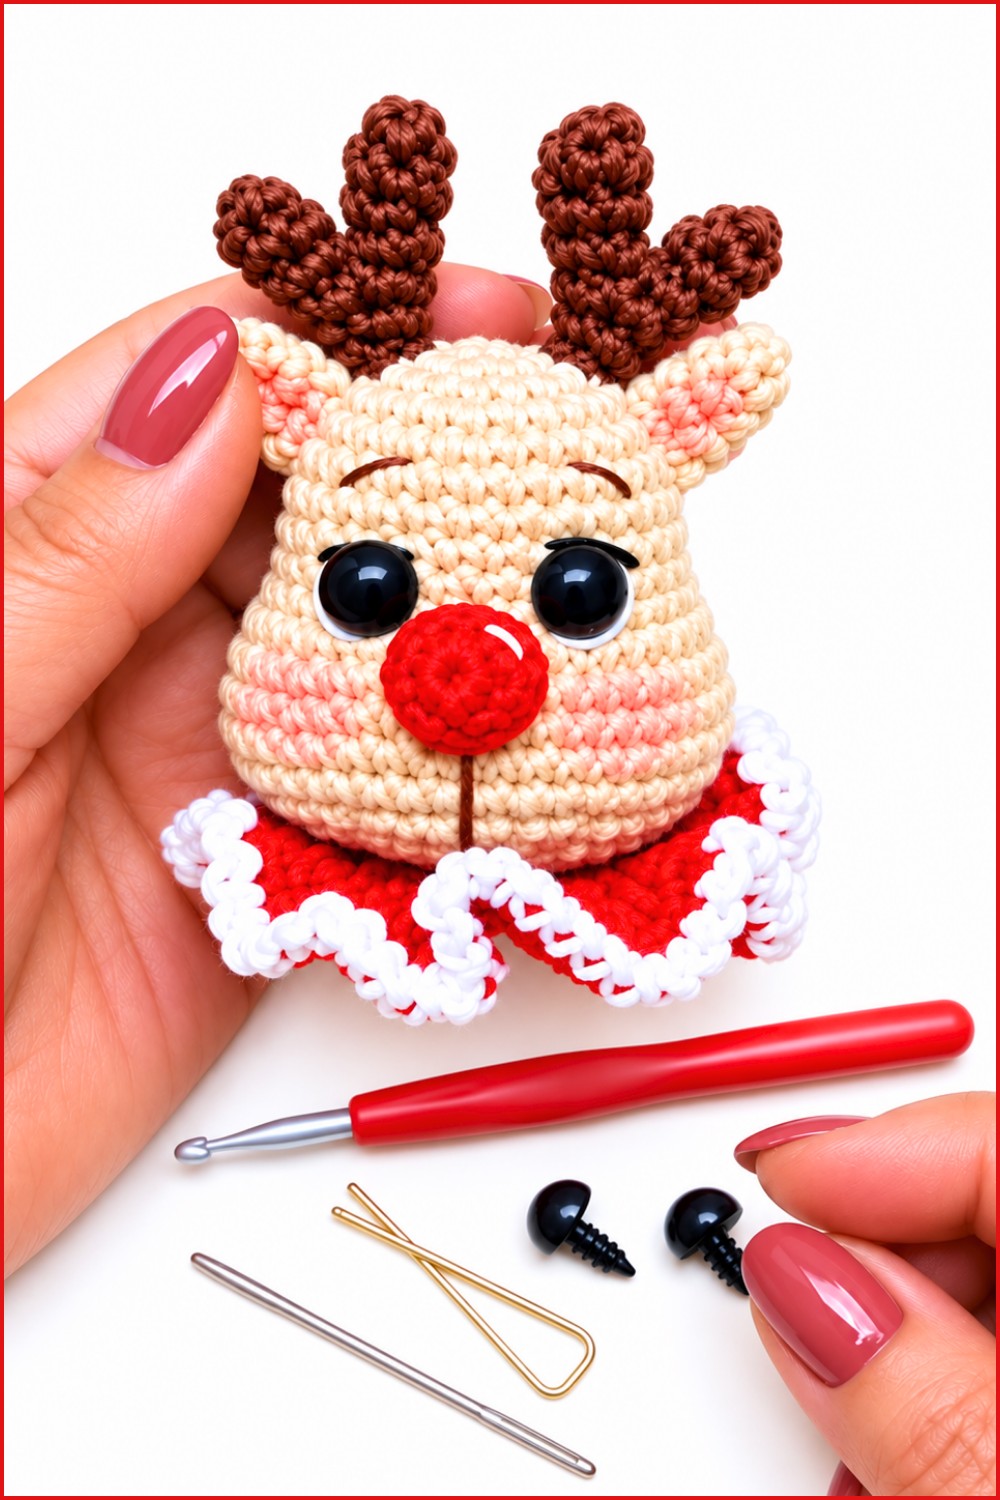
This free crochet Christmas Reindeer pattern results in a small, handmade reindeer with a soft and cozy texture, perfect for cuddling or displaying. The design features classic shapes like a rounded body and charming antlers, crocheted with neat stitches and a warm yarn choice that give it a gentle, inviting appearance. Its style blends simplicity with festive charm, making it a standout piece whether placed on a mantel, a Christmas tree, or given as a heartfelt present to loved ones.
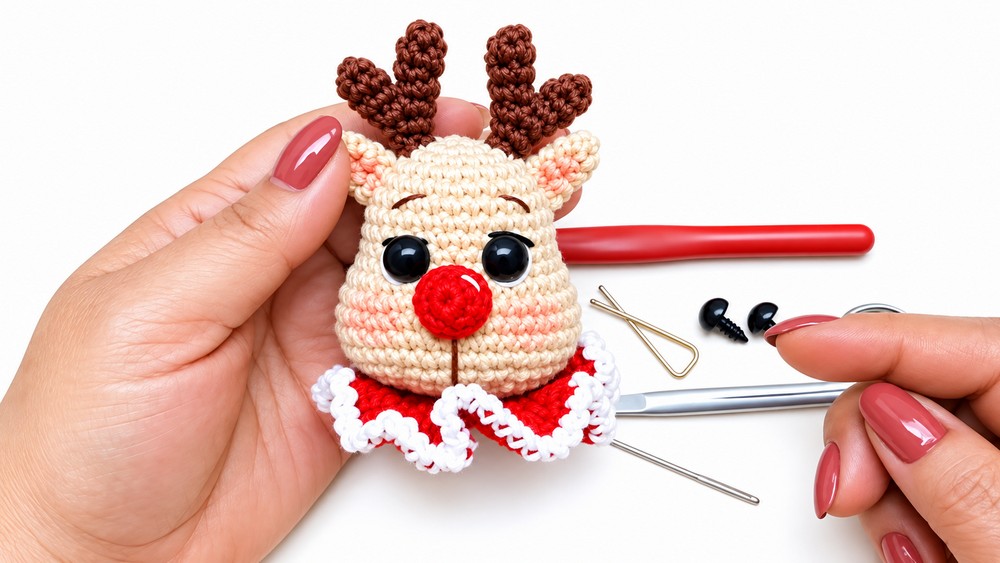
Such a crochet project not only brings joy in creation but also serves practical decorative purposes. It can be used as a cute ornament, a table centerpiece, or a stocking stuffer. The reindeer’s friendly face and sweet details make it especially appealing to those who enjoy handmade items that carry personal and holiday spirit.
Rodolfo the Reindeer Christmas Ornament Crochet Pattern
Create a charming 9 cm tall Rodolfo the Reindeer Christmas ornament with this easy-to-follow crochet pattern. This guide breaks down every step, round by round, with explanations designed for beginners as well as intermediate crocheters.
Pattern Highlights
- Worked in the round using magic ring, single crochet (sc), increase (inc), and decrease (dec) stitches
- Multi-colored for natural detailing — uses Wheat (main body), Brown, Red, and White yarns
- Includes shaping for head, ears, antlers, nose, and decorative collar
- Final finishing includes embroidery and placement of safety eyes for character
- Perfect as a festive decoration or gift
Notes for Beginners
- Use a stitch marker to mark the start of each round — this helps keep track of rounds
- Work in continuous rounds (spiral) unless otherwise noted, avoid joining rounds unless the instruction says
- When you see inc, increase means working 2 stitches in one stitch
- When you see dec, decrease means crocheting two stitches together into one
- Use firm stuffing to help the shape hold well but don’t overstuff
- For best results, check your tension and use the recommended hook size
Skill Level
Intermediate to Advanced Beginner – familiar with basic crochet stitches like single crochet, increases, decreases, magic ring, and basic embroidery for finishing.
Materials
- Yarn: Sinfonia mercerized cotton (2mm)
- Wheat (main body)
- Brown (ears and antlers)
- Red (nose)
- White (collar detailing)
- Hook: 2.5 mm crochet hook
- Extras:
- 10 mm safety eyes
- Polyester fiber stuffing
- Stitch marker
- Tapestry needle
- Scissors
- Blush (optional) for cheeks
Stitch Abbreviations
| Abbreviation | Stitch Name | Description |
|---|---|---|
| sc | single crochet | Insert hook, yarn over, pull through both loops |
| inc | increase | 2 sc in the same stitch |
| dec | decrease | single crochet two stitches together |
| dc | double crochet | Yarn over, insert hook, yarn over, pull through, yarn over, pull through two loops twice |
| tr | triple crochet | Yarn over twice, insert hook, yarn over, pull through, yarn over, pull through two loops three times |
| ch | chain | Yarn over and pull through loop |
| sl st | slip stitch | Insert hook, yarn over, pull through loop |
Finished Size
Approximately 9 cm tall when completed.
Detailed Step-By-Step Pattern
1. Head
Round 1 (R1):
- Using Wheat yarn, start with a magic ring
- Make 6 sc into the ring (6 stitches)
Round 2 (R2):
- 6 inc (increase in every stitch): 2 sc in each stitch around (12 sts)
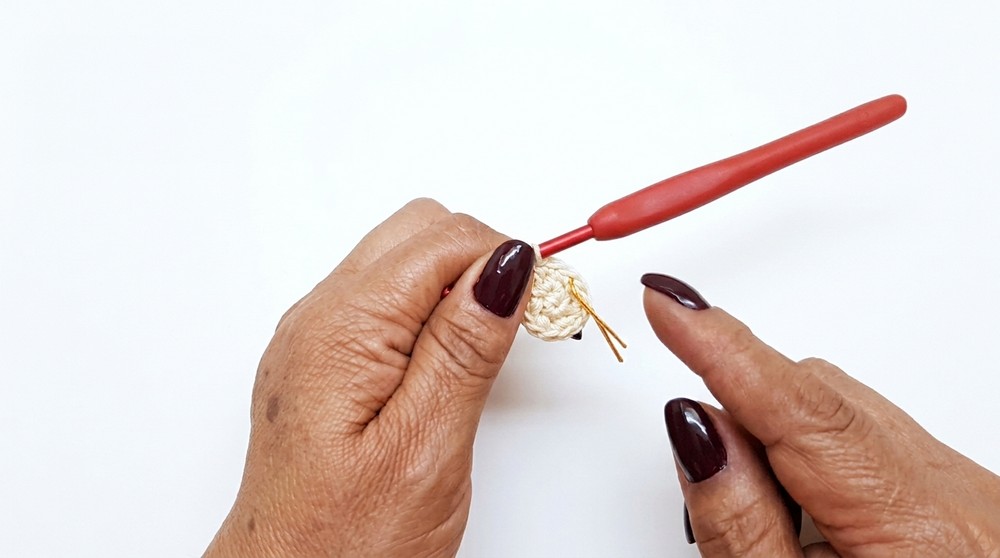
Round 3 (R3):
- Repeat 1 sc, 1 inc — 6 times (18 sts)
Round 4 (R4):
- Repeat 2 sc, 1 inc — 6 times (24 sts)
Round 5 (R5):
- Repeat 3 sc, 1 inc — 6 times (30 sts)
Rounds 6-10 (R6-R10):
- Work 1 sc in each stitch around (30 sts)
Round 11 (R11):
- Work 7 sc, 6 inc, 4 sc, 6 inc, 7 sc (42 sts)
Rounds 12-15 (R12-R15):
- Work 1 sc in each stitch around (42 sts)
Round 16 (R16):
- Repeat 5 sc, 1 dec — 6 times (36 sts)
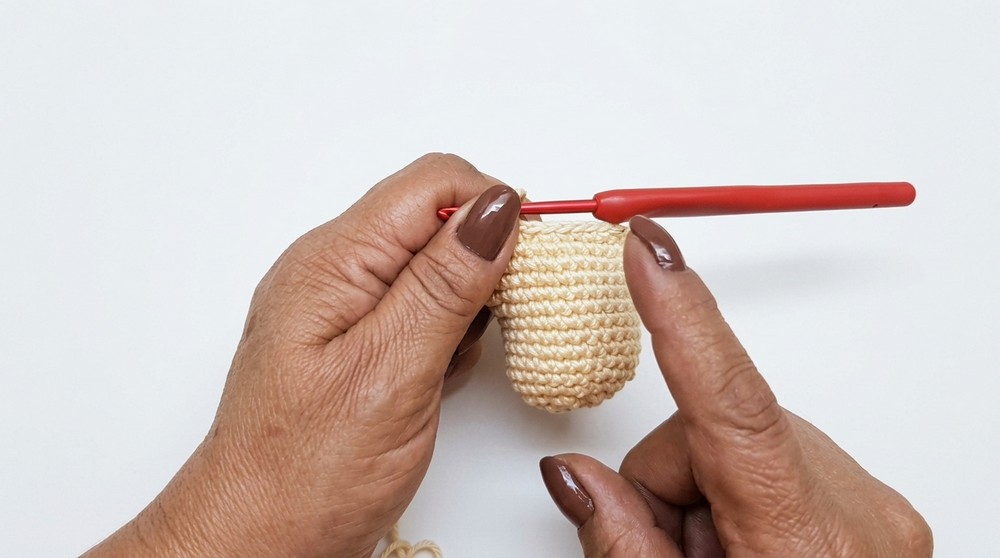
Round 17 (R17):
- Repeat 4 sc, 1 dec — 6 times (30 sts)
Round 18 (R18):
- Repeat 3 sc, 1 dec — 6 times (24 sts)
Round 19 (R19):
- Repeat 2 sc, 1 dec — 6 times (18 sts)
Round 20 (R20):
- Repeat 1 sc, 1 dec — 6 times (12 sts)
Round 21 (R21):
- 6 dec (Decrease every stitch pair) (6 sts)
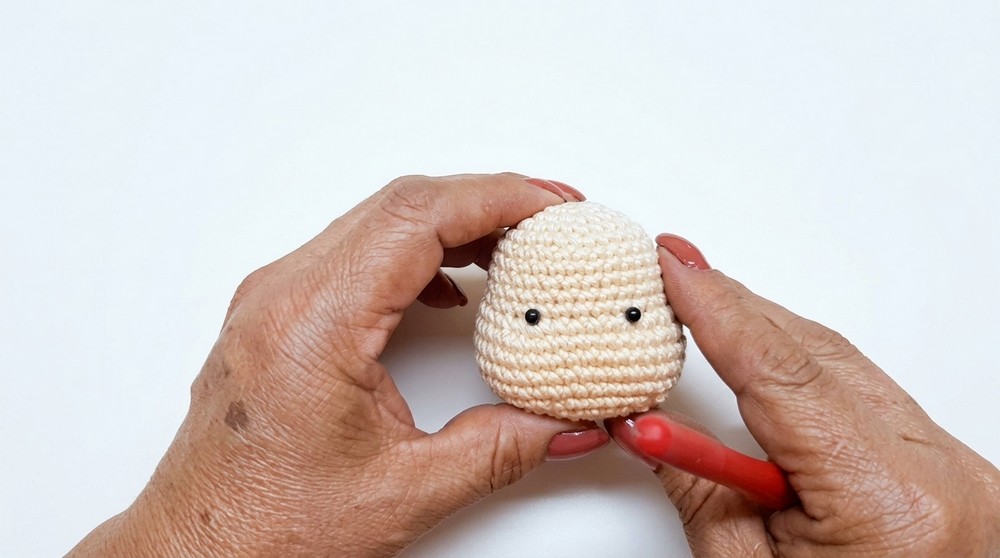
- Stuff firmly then close the head by sewing or continuing the decreases
2. Ears
Round 1:
- Magic ring with 4 sc (4 sts) using Brown yarn
Round 2:
- Repeat 1 sc, 1 inc — 2 times (6 sts)
Round 3:
- 1 sc in each stitch (6 sts)
Round 4:
- Repeat 2 sc, 1 inc — 2 times (8 sts)
- Flatten ear and sew to the sides of the head in position
3. Antlers
Make 2 identical pieces (A and B) in Brown yarn.
Rounds 1-3 (for each piece):
- Magic ring with 5 sc (5 sts)
- Round 2: 5 sc
- Round 3: 5 sc
Joining pieces A and B:
- Stack or align both pieces and join yarn
Round 4 (Joining round):
- Work 3 sc, 1 dec, 3 sc, 1 dec (8 sts)
Round 5:
- Repeat 2 sc, 1 dec — 2 times (6 sts)
Round 6:
- 1 sc in each stitch (6 sts)
- Sew the joined antlers securely to the head
4. Nose
Using Red yarn:
Round 1:
- Magic ring, 6 sc (6 sts)
Round 2:
- Repeat 1 sc, 1 inc — 3 times (9 sts)
Round 3:
- 1 sc in each stitch around (9 sts)
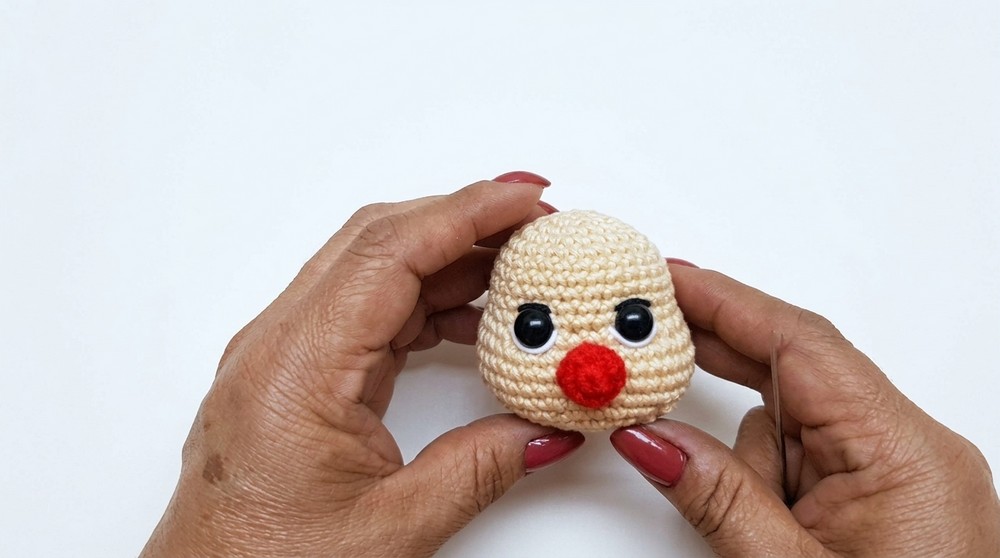
- Stuff lightly and sew onto the front center of the head
5. Collar / Ruffle
Using Brown, then switch to White yarn:
Round 1:
- 15 dc in magic ring (15 sts)
Round 2:
- 15 dc increases (dc inc in every stitch) (30 sts)
Round 3:
- Work triple dc increase, then 1 dc increase, repeated around for ruffled texture
Round 4:
- Switch to White yarn
- (Ch 1, sl st in next st) repeat around to create a neat edging
- Sew collar around the base of the head
Assembly & Finishing
- Place the 10 mm safety eyes between Rows 10 and 11 on the head — secure tightly
- Embroider eyelids above the eyes for expression using Brown or Black yarn/thread
- Add white eye highlights with embroidery thread to enhance sparkle
- Sew on ears, antlers, and nose firmly and symmetrically
- Embroider the eyebrows and mouth for personality using a needle and yarn/thread
- Optionally, apply blush on cheeks carefully with a small brush or fingertip for warmth
- Weave and hide all yarn ends properly to maintain a neat finish
Tips to Help Beginners
- Take your time with stuffing — aim for firm but not overly tight
- If a stitch is unclear, practice individual stitches (increases and decreases) before continuing
- Use stitch markers religiously to keep count and avoid errors
- For the embroidered details, practice on scrap yarn before working on the ornament
- Keep scissors and tapestry needles handy for neat finishing
Final Thoughts
You have just completed a beautiful Rodolfo the Reindeer Christmas ornament! This compact, hand-crafted piece embodies holiday cheer and your crocheting skills. Take pride in the shaping, colorwork, and delicate embroidery that bring Rodolfo to life. Perfect for gifting or decking your own tree, this ornament shows how handmade touches brighten the festive season.