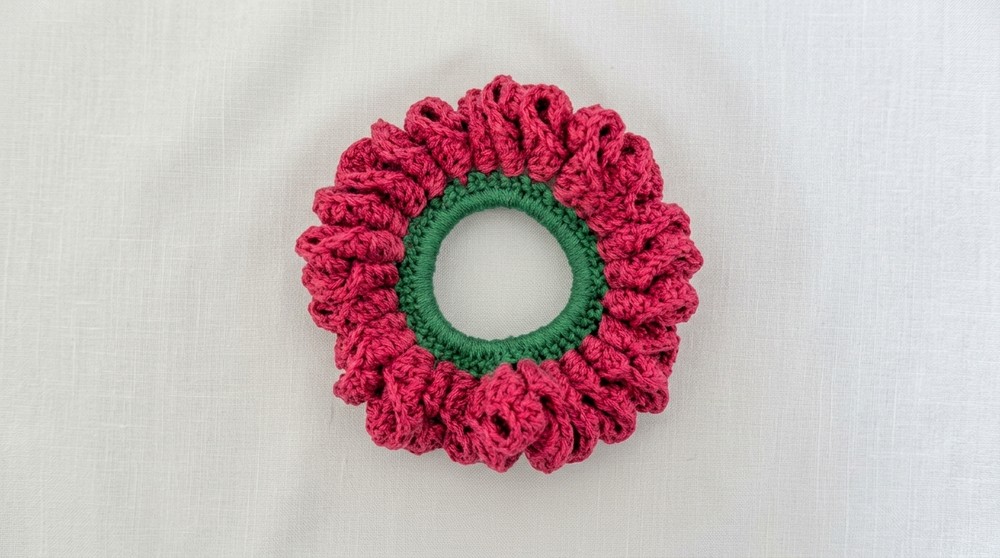
Style your ponytail with this Crochet Tulip Hair Tie Free Pattern and wear a lovely floral accent that gives simple hairstyles a playful finish.
Looking for a charming accessory that adds a touch of springtime elegance to your everyday look? This crochet pattern, designed by Mônica Moda Crochê, offers a delightful way to brighten up any hairstyle with a floral flair. Thanks to Mônica Guimarães’s expert tutorial and creative design, you’ll be able to make a comfortable and stylish hair tie that blends perfectly with various outfits. This Crochet Tulip Hair Tie Pattern strikes a lovely balance between beauty and practicality, giving you a snug fit without compromising on style.
Lovely Crochet Tulip Hair Tie Free Pattern With A Cute Flower Accent
Ideal for warmer months like spring and summer, this hair tie complements casual days out, garden parties, or even festive occasions where you want your hair accessory to stand out. Its subtle yet vivid tulip motif evokes feelings of freshness and vitality, making it an excellent pairing with light blouses, sundresses, or even a chic ponytail for a casual work setting. Use it to add a handcrafted touch to your daily hair routine or as a thoughtful gift for friends who appreciate unique accessories.
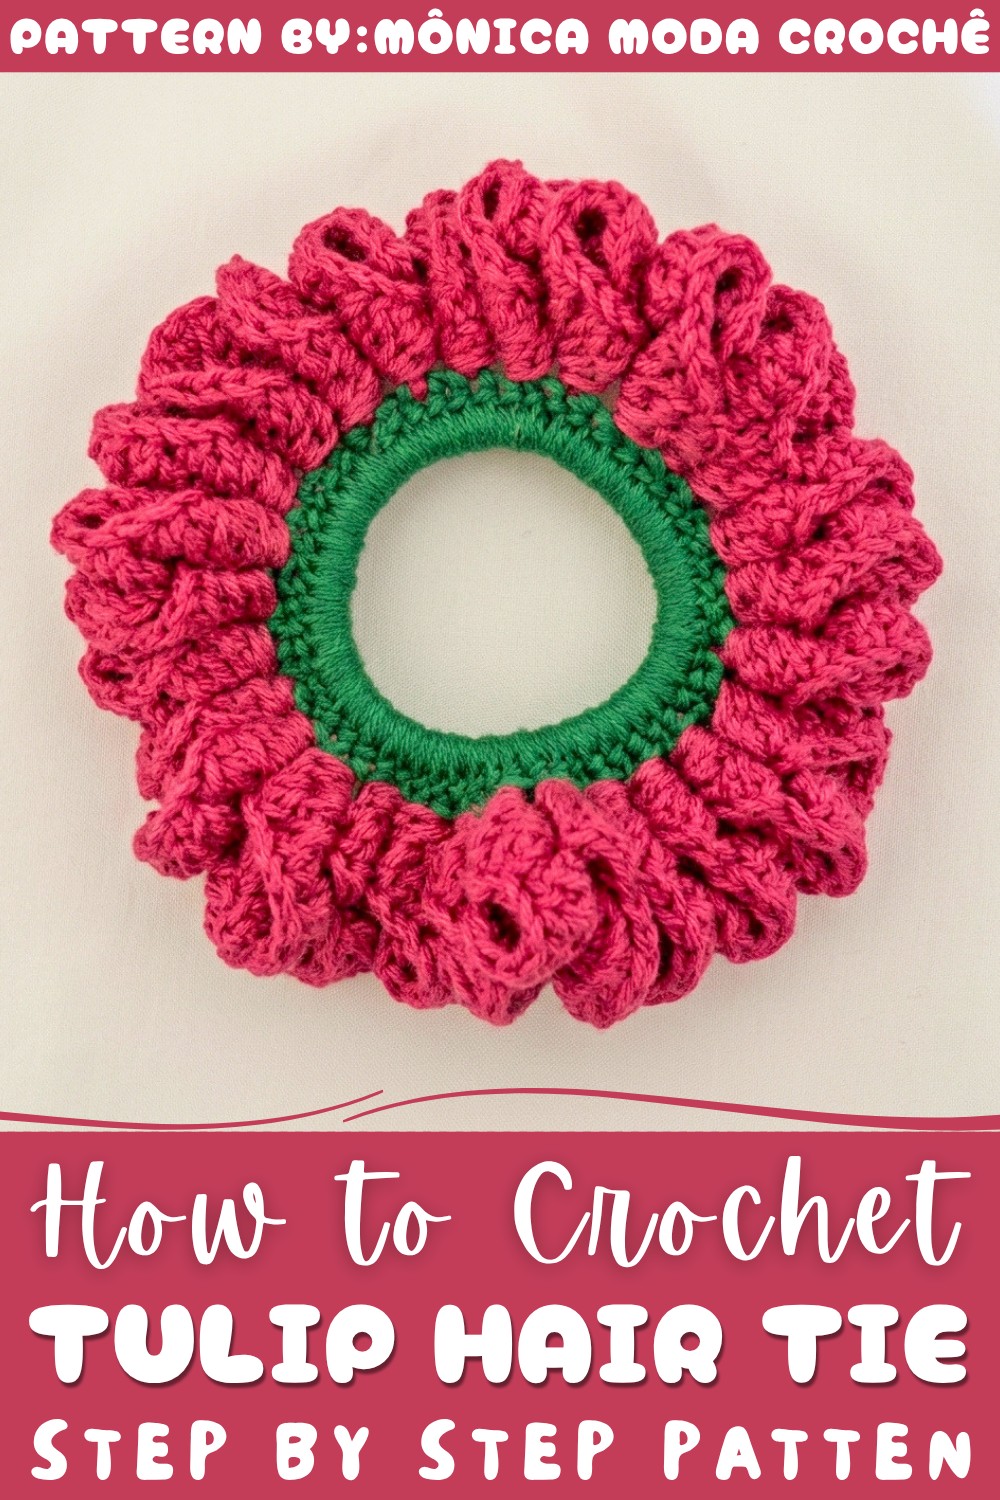
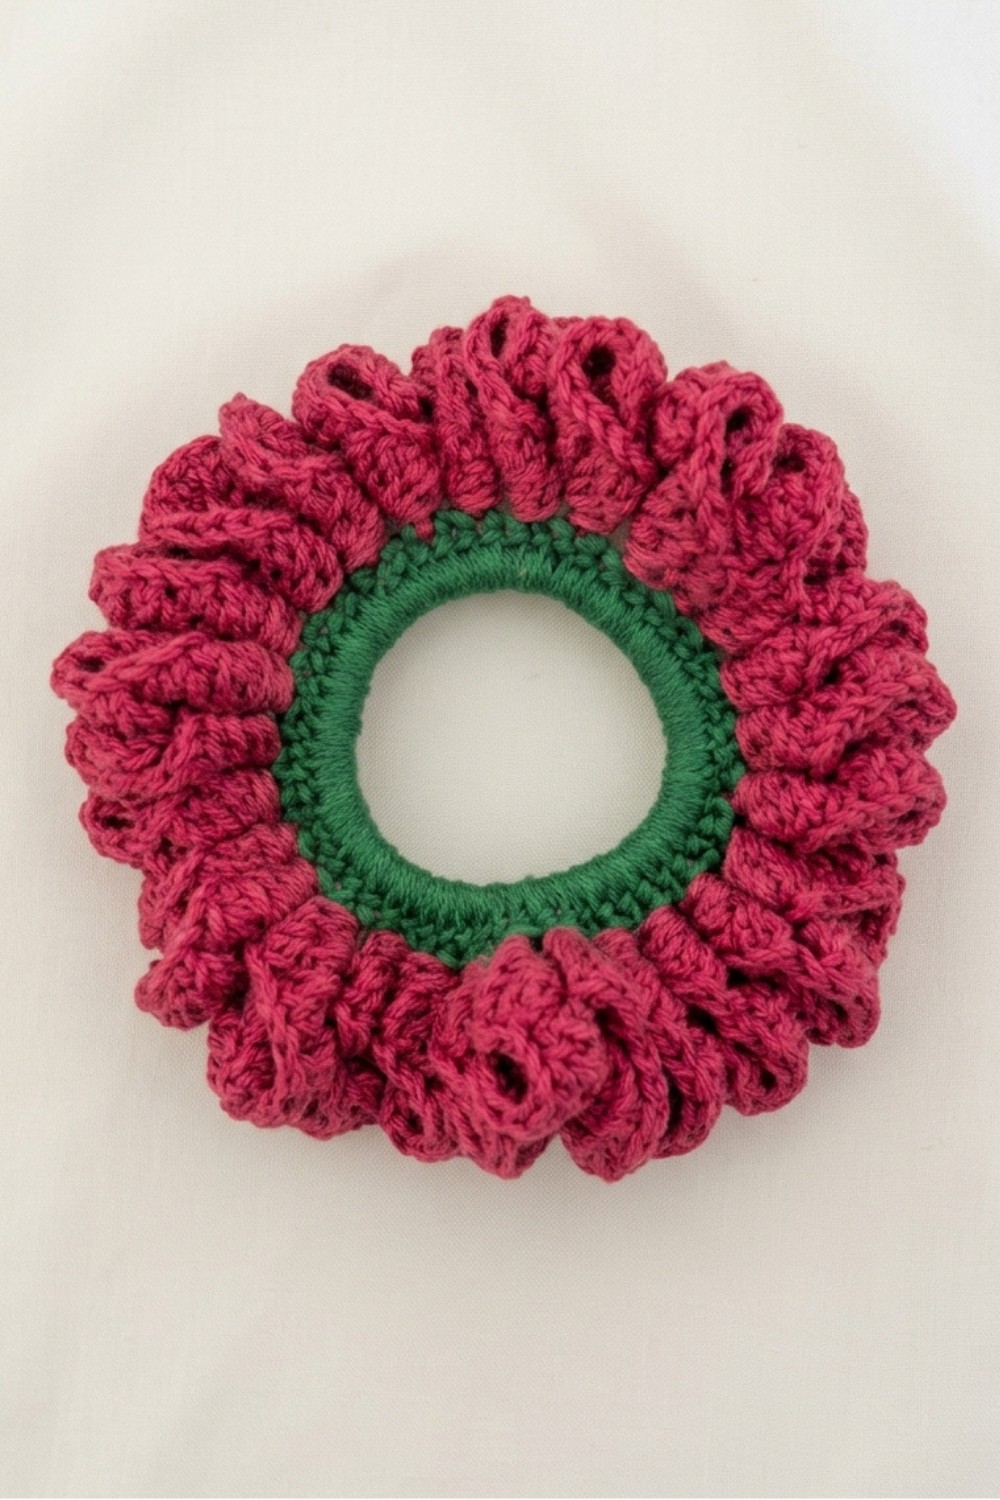
The texture is soft yet sturdy, combining the smoothness of a charme yarn base covered by delicate Amigurumi yarn details. This layering results in a hair tie that feels gentle on the hair while maintaining its shape and durability. The standout design feature is the row of intricately formed tulip "petals" that elegantly crown the elastic band, giving it a three-dimensional floral silhouette that catches the eye effortlessly.
If you want to add a splash of blossoming beauty to your hair accessories, the Crochet Tulip Hair Tie Pattern offers the perfect blend of aesthetic charm and functionality. Dive into the full tutorial to bring these lovely tulip blooms to life.
Crochet Tulip Hair Tie Free Pattern
Create a beautiful and cheerful scrunchie with delightful tulip flower motifs, using simple stitches and vivid yarns. This pattern, inspired by Mônica Guimarães's tutorial, transforms an ordinary elastic into a strikingly dimensional hair accessory, perfect as an everyday accent or thoughtful handmade gift. The design features a base of green-covered elastic and a floral mesh of tulip petals, achieved through clever combinations of basic crochet stitches. Follow the detailed instructions below for a result that is as practical as it is eye-catching.
Quick Overview Of Pattern
- Cover the elastic base completely with half double crochet using green yarn.
- Work a mesh/arch foundation row with pink yarn around the covered base.
- Form small tulip flower petals in each mesh space using chains, double crochets, and slip stitches.
- Finish cleanly by weaving in all ends for a polished look.
Notes
- The pattern uses standard US crochet terms.
- This scrunchie stretches to fit standard-sized hair elastics.
- Color choices may be varied to achieve a custom appearance.
- Each "tulip" is structured in two phases and adds texture and fullness.
- Keep tension even to ensure full coverage and neat petals.
Skill Level
Confident Beginner
An excellent project for those comfortable with basic stitches and working in the round.
Materials
- Yarn: Charme yarn and Amigurumi yarn or similar in green (for the base) and pink, red, yellow, or white (for flowers)
- Elastic: Standard black hair elastic band
- Crochet Hook: Nickel-plated size 4 (or appropriate for yarn weight)
- Tools: Scissors, tapestry needle (for weaving in ends)
Measurements / Sizing
- Finished diameter of scrunchie (unstretched): approx. 7–9 cm (will stretch to fit most ponytails)
- Fits standard ponytail elastics
Gauge (and Stitch Pattern, if applicable)
- Gauge is not critical, but stitches should be dense enough to prevent base showing through.
- Main body: half double crochet (base), double crochet (flowers and mesh)
Stitch Abbreviations
| Abbreviation | Definition |
|---|---|
| ch | chain |
| sl st | slip stitch |
| hdc | half double crochet |
| dc | double crochet |
| sp | space |
Special Stitches
- Back Post Double Crochet (BPDC):
Yarn over, insert hook from back to front around the post of the indicated stitch, yarn over, pull through (three loops on hook), yarn over, pull through two, yarn over, pull through last two loops. - Slip Stitch (sl st):
Insert hook into stitch, yarn over, pull through.
The Crochet Pattern
Covering the Elastic Base
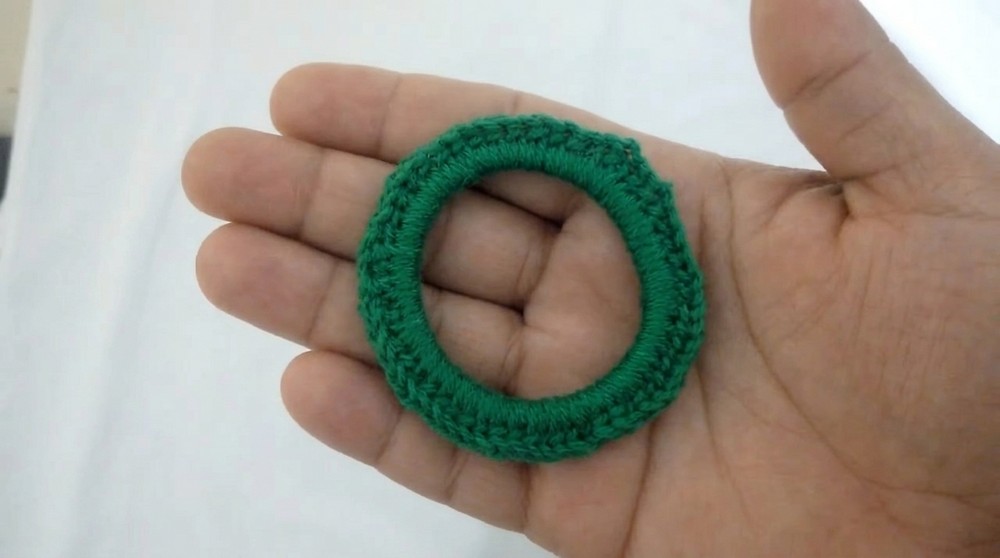
- Begin by tying a slip knot with your green yarn.
- Insert your hook through the center of the elastic band.
- Yarn over and pull through the elastic, then yarn over again and pull through both loops to make your first half double crochet (hdc) over the elastic.
- Continue: Yarn over, insert hook under elastic, yarn over, pull up loop, yarn over, pull through all three loops (hdc).
- Repeat hdc stitches, working around the elastic, until it is completely covered with no gaps visible.
- When you reach the beginning, join with a slip stitch (sl st) in your first hdc to close the round.
Foundation Mesh Row for Tulips
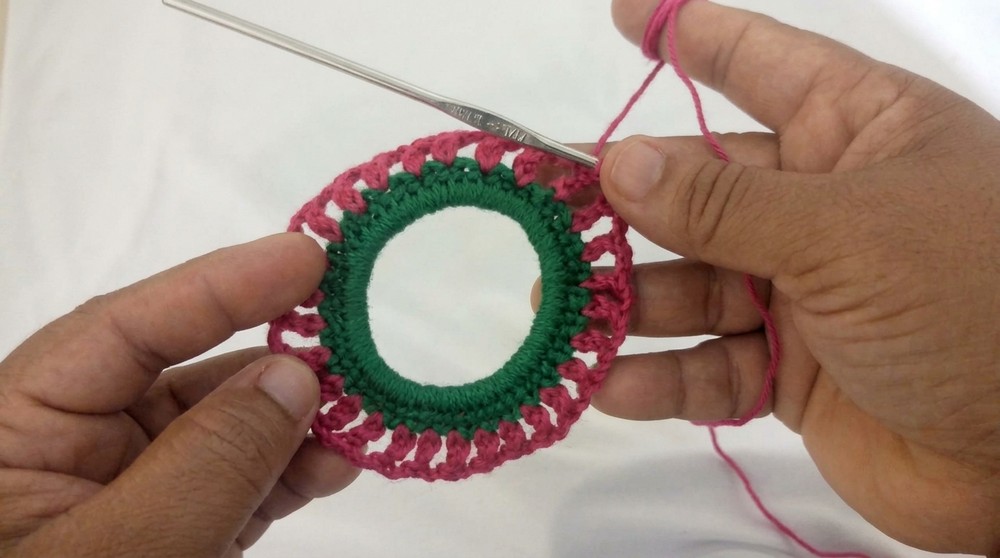
- Change to pink yarn (or desired flower color).
- Attach with a slip stitch to any stitch on the green base.
- Chain 5 (ch 5).
- Skip 1 base stitch, then work a double crochet (dc) into the next stitch.
- Chain 2 (ch 2).
- Skip 1 base stitch, then work a dc into the next stitch.
- Repeat from * to * around the ring: ch 2, skip 1, dc in next stitch.
- When you return to the start, join with a slip stitch into the third chain of your initial ch-5.
Forming the Tulip Flowers
Follow these steps for each mesh/arch space created in the previous round:
Row Phase 1: (Back of Scrunchie)
- Chain 4 (ch 4).
- Slip stitch (sl st) into the next dc (mesh post) of the previous row.
- Chain 3 (ch 3).
- Turn work to the wrong side.
- In the newly created arch/loop space, work 6 double crochet (dc):
1, 2, 3, 4, 5, 6 dc into the loop.
Row Phase 2: (Front/Right Side)
- Turn to the front of the work.
- Working around the back post of the adjacent dc from the previous mesh row, work 5 double crochet (dc):
- Insert hook behind the post, yarn over, pull up loop, complete dc. Repeat 5 times.
- Slip stitch (sl st) into the same dc to anchor the petal.
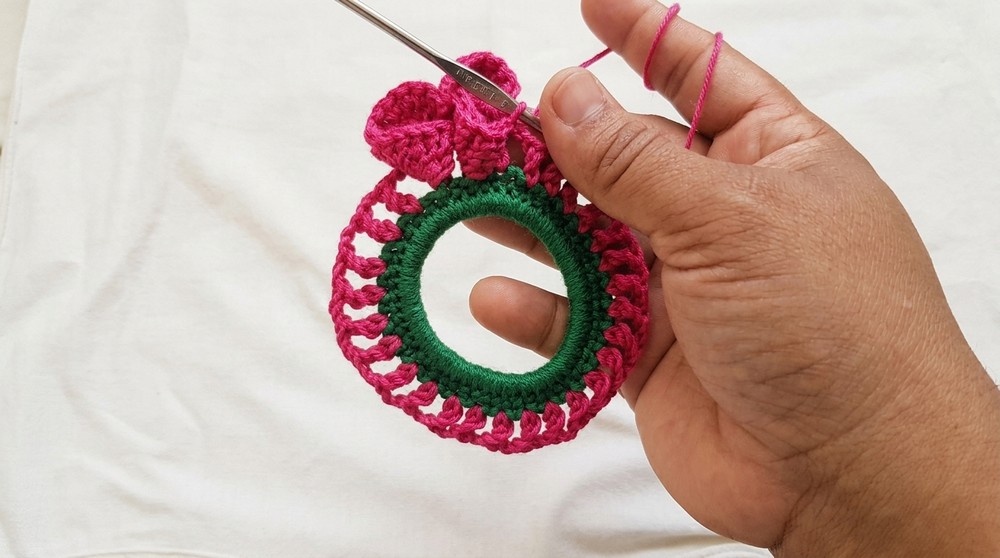
- This forms your first tulip petal.
Continue this sequence in every mesh space:
- Chain 4 (ch 4), sl st into next dc,
- Chain 3 (ch 3), turn to wrong side,
- 6 dc into mesh space,
- Turn to right side,
- 5 dc (back post) around mesh dc,
- Sl st to anchor.
Work all the way around the scrunchie until you have a complete ring of tulip petals.
Finishing
- After the last tulip is completed, slip stitch to close the round.
- Chain 1, snip yarn, and pull through to fasten off.
- Weave in any remaining ends securely using your tapestry needle.
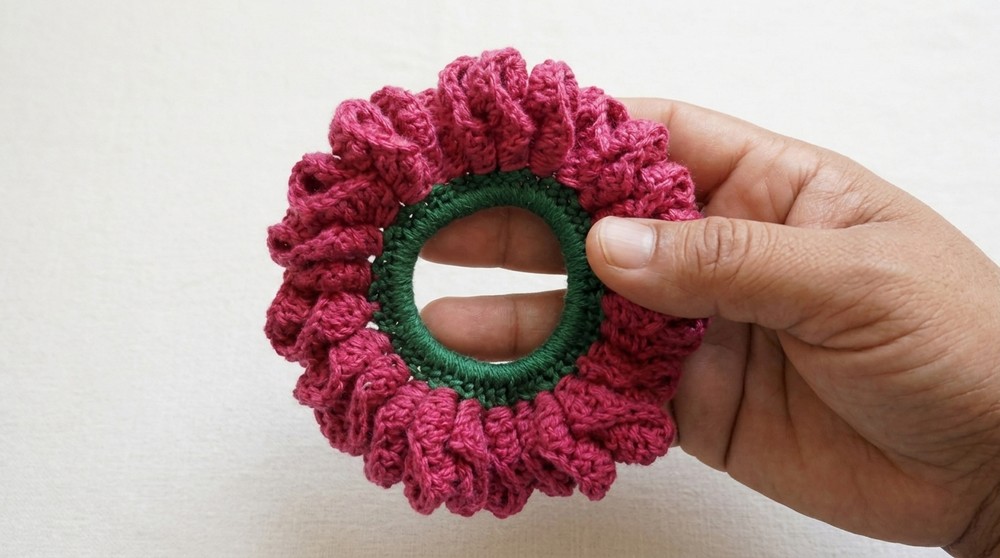
Assembly & FinishedSize
- No special assembly is required: the scrunchie is complete after weaving in ends.
- Your finished piece should fully cover the elastic and display a vibrant 3D ring of tulip petals.
- The height and fullness can be adjusted by adding or subtracting stitches in each flower segment, or altering yarn thickness.
Conclusion and Ending Words
This cheerful tulip scrunchie unites practicality with playful, floral elegance, easily adaptable to any palette for year-round charm. The neat base ensures durability, while the double-layered tulip petals introduce dimensional delight. Furthermore, customizing color choices and yarn types gives every scrunchie unique appeal, making it ideal for gifts or personal use. With careful attention to the foundation, consistent tension in each round, and thoughtful finishing, the end result is a striking, secure, and versatile accessory. Enjoy the creative process, and let every completed tulip bring color and joy to your style.