Refresh your look with this Crochet Puff Stitch Headband Free Pattern, a cozy project that pairs nicely with jackets, sweaters, and jeans.
A stylish and cozy accessory that can enhance any outfit is the crochet headband, and one particularly beautiful design is the Crochet Puff Stitch Headband Pattern. This pattern, masterfully demonstrated by Mônica Moda Crochê in her YouTube tutorial, combines both elegance and functionality in a simple to create project. Giving full credit to Mônica Moda Crochê for this clear and inspiring tutorial, the headband design offers an approachable way to produce a fashionable piece that is perfect as a gift or a charming addition to personal accessory collections. The Crochet Puff Stitch Headband Pattern stands out for its unique texture and decorative appeal, making it ideal for those who appreciate handmade styles with a plush, tactile element.
Trendy Crochet Puff Stitch Headband Free Pattern For Stylish Outfits
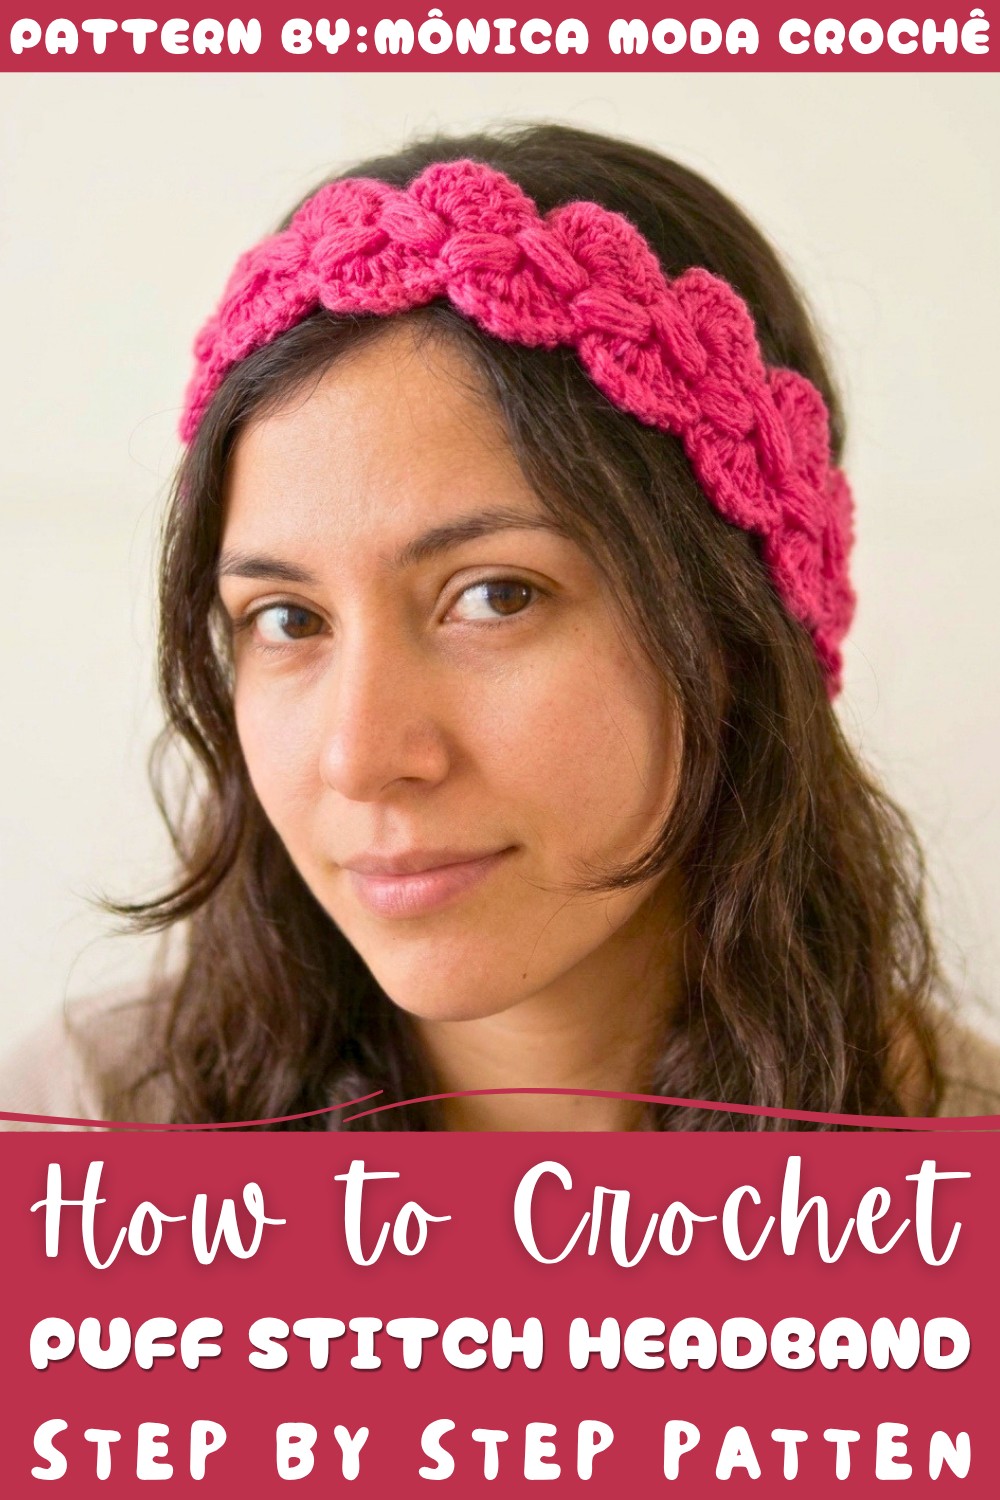
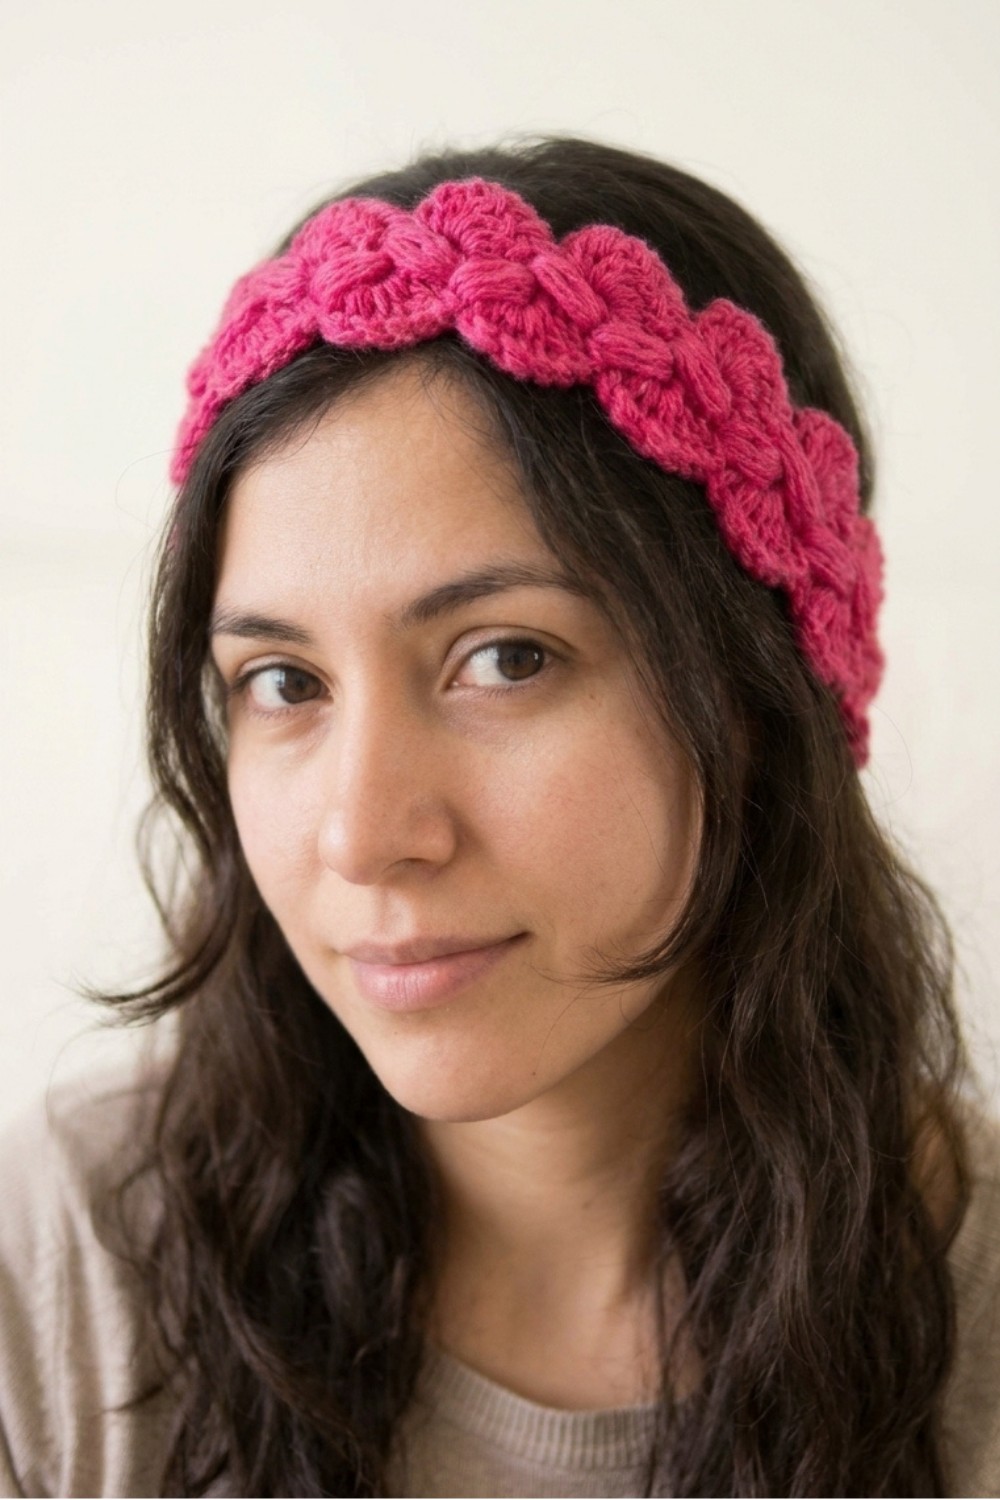
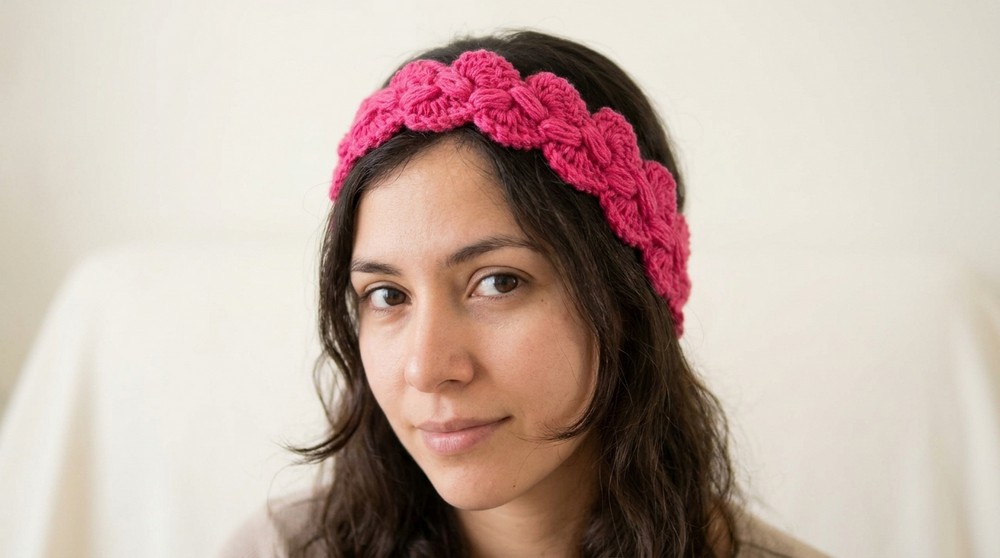
This headband is a soft, textured piece featuring puff stitches that create delightful, raised clusters along its length. The pattern involves alternating rows of puff stitches with more traditional double crochet stitches, lending the design a balanced rhythm of lacy openness and dense texture. The completed project has a slender and elastic shape, providing comfort and a secure fit that suits many head sizes. Its plush texture feels cozy against the skin, making it an excellent choice for cooler seasons or breezy days when a stylish way to keep hair controlled is needed.
Beyond its practical use in holding hair back, this headband shines as a decorative accessory. Its unique puff stitch texture enhances casual or dressy outfits, and it works wonderfully for women and girls of all ages. Available in various colors, it can adapt to different personal styles—whether making a subtle statement or offering a bold pop of color. The headband’s design combines comfort with elegance, making it a versatile and attractive accessory suitable for everyday wear or special occasions.
Fashionable Crochet Puff Stitch Headband Free Pattern
In this step-by-step pattern, you will learn how to make an attractive and practical crochet headband using the puff stitch, as demonstrated in the referenced video tutorial by Mônica Guimarães. This headband features an elastic base for a snug fit, making it comfortable and versatile for any head size. The project utilizes foundational techniques, puff stitches for texture, and double crochets to produce a lovely raised effect across the headband. With a repeating pattern, you can easily adjust the length to your preferred size and colorway.
Quick Overview of Pattern
- Begins with a foundation chain and elastic band for stability.
- First row combines a puff stitch and double crochets to establish the pattern.
- Rows are repeated, alternating puff stitches and double crochets for texture.
- Ends by securely attaching to the elastic band for a neat finish.
Notes
- Keep your tension even for a uniform texture, especially when working the puff stitch.
- Make sure the elastic band is stretched slightly as you crochet, ensuring a snug fit when worn.
- You can adjust the length by working more or fewer rows.
- This project is excellent for using up small amounts of leftover yarn.
Skill Level
Advanced Beginner
You should be comfortable with chain, double crochet, slip stitch, and working into spaces. Puff stitch experience is helpful, but this project is accessible, even for those learning it for the first time.
Materials
- Yarn: Amigurumi yarn or other standard medium-weight yarn (color of your choice)
- Elastic Band: (Standard hair elastic, as shown in the video)
- Crochet Hook: Nickel-plated, size Q (or as specified on yarn label)
- Scissors
- Yarn Needle: For weaving in ends
Measurements / Sizing
- The finished headband is adjustable; demonstrated size fits most adults.
- Width: ~2.5–3 cm (1–1.25 in)
- Length: Number of rows can be adjusted (video shows 15 rows).
- Elastic provides additional stretch for a snug fit.
Gauge
- Not essential for this pattern, as you can adjust the number of rows for head size.
- Stitch Gauge: Approximately 6 double crochets per row equals about 2 cm across.
Stitch Abbreviations
| Abbreviation | Stitch Name |
|---|---|
| ch | Chain |
| sl st | Slip Stitch |
| dc | Double Crochet |
| puff | Puff Stitch |
| yo | Yarn Over |
Special Stitches
Puff Stitch:
Yo, insert hook in indicated space, yo, pull up a loop; repeat until you have 6 loops on the hook. Yo and pull through all 6 loops, yo and pull through one more time to close the stitch.
The Crochet Pattern
Foundation and Attaching the Elastic
- Round 1: Foundation
- Begin by chaining 6 (ch 6).
- Take your elastic band and insert your hook through it.
- Next, slip stitch (sl st) into the first chain you made. This secures the foundation chain to the elastic band and forms a small loop.
- This step is important, as it ensures a strong starting point for the headband.
First Row and Puff Stitch
- Round 2: First Row
- Ch 3 (counts as the first double crochet; this raises your work to the height of the row).
- Create the first puff stitch:
- Yo, insert the hook into the next space, yo, pull up a loop (repeat until you have 6 loops on the hook).
- Yo and pull through all 6 loops to complete the puff stitch.
- Yo and pull through once more to lock the puff stitch.
- Now, work 6 dc (double crochets) into the space right alongside the puff stitch.
- Each dc: Yo, insert hook, yo, pull up a loop (3 loops on hook), yo, pull through 2 loops (2 loops left), yo, pull through last 2 loops.
- Repeat for a total of six dc.
- You should now have a puff stitch followed by six double crochets in the first row.
Subsequent Rows (Repeating Sequence)
- Round 3–End: Repeat Rows
- Ch 3 to start the new row; turn your work so the previous puff stitch is at the side.
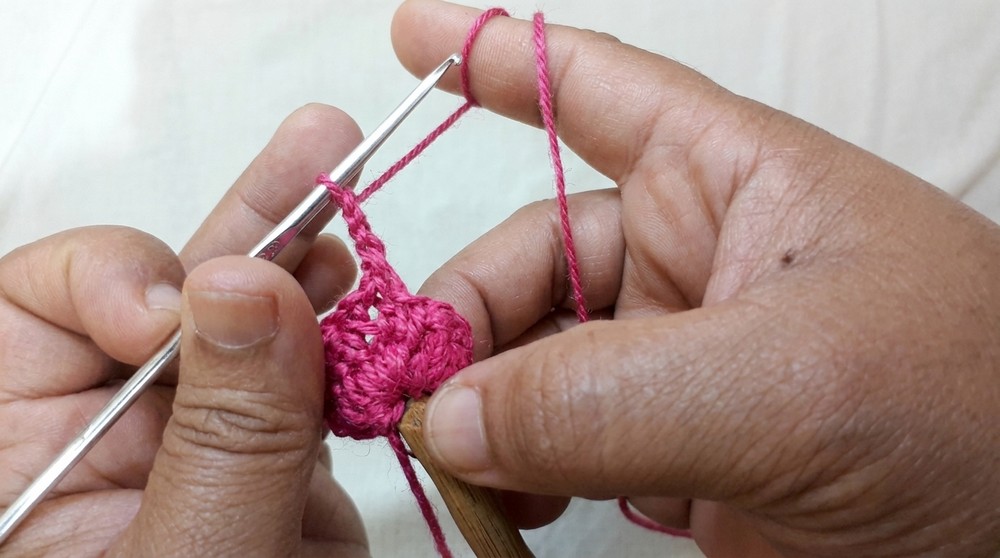
- You will be working “in the space” between the previous puff stitch and the subsequent set of dc.
- In this space:
- Work a puff stitch (see Special Stitches above).
- Then, in the same space or next, work 6 dc (one in each gap as established).
- For each dc, yo, insert hook, yo, pull up loop, yo, pull through 2 loops, yo, pull through 2 loops.
- At the end of the row, finish as before, pulling through two loops at a time until you reach the end.
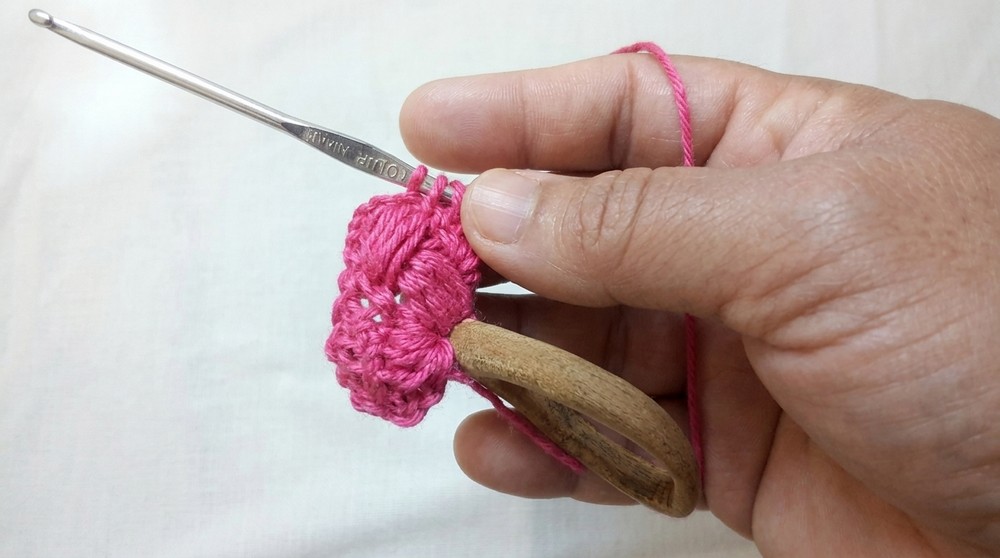
- Repeat this Ch 3, Puff Stitch, and 6 dc pattern for each row.
- Continue this sequence until your work reaches the desired length. In the video, 15 rows were made, but measure around your head and adjust if needed.
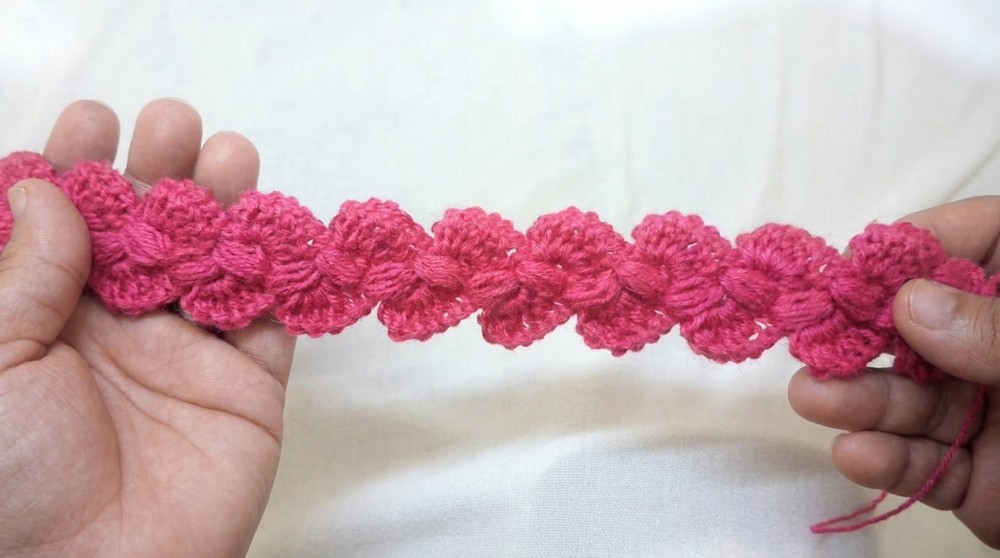
Finishing and Securing to the Elastic
- Final Round: Attaching to Elastic
- After you complete the last row of your headband (last set of 6 dc), ch 6 to mirror the beginning.
- Take your elastic band, insert your hook through it, then slip your hook into the top of the last stitch you made.
- Complete a sl st to close and secure the yarn/end of the headband to the elastic.
- Ch 1 to reinforce, then cut your yarn.
- Use a yarn needle to weave in any remaining ends for a neat finish.
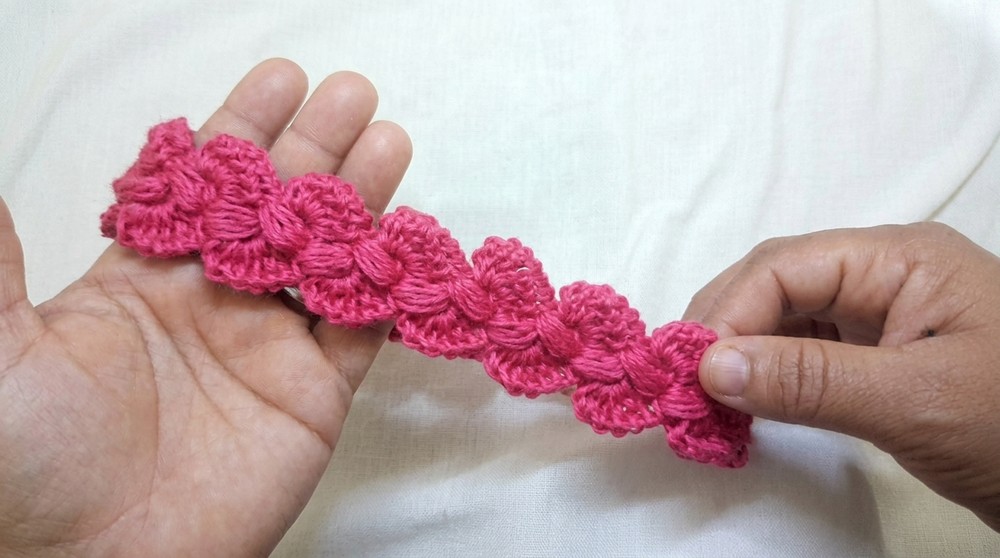
Assembly & Finished Size
After fastening off and weaving in all ends, ensure the starting and ending elastic attachments are secure and even. Give the headband a gentle stretch to distribute the stitches. The finished headband will be neat, stretchy, and ready to wear or gift. If you desire, add decorative buttons or appliqués to customize further.
Conclusion and Ending Words
Through the use of foundational crochet techniques and the yarn-over-rich puff stitch, this project combines both functionality and textured beauty. The elastic base ensures comfort and adaptability, while the repeat pattern structure means the headband can be easily tailored to fit any head size. As you continue to practice and perfect the puff stitch, you’ll appreciate the rhythm of this crochet sequence. Not only is this headband stylish and practical for everyday wear, but the skills learned can be transferred to future textured projects. Experiment with different yarn colors or add embellishments to make each headband your own—a delightful handmade accessory achieved with a handful of basic materials and a dash of patience.