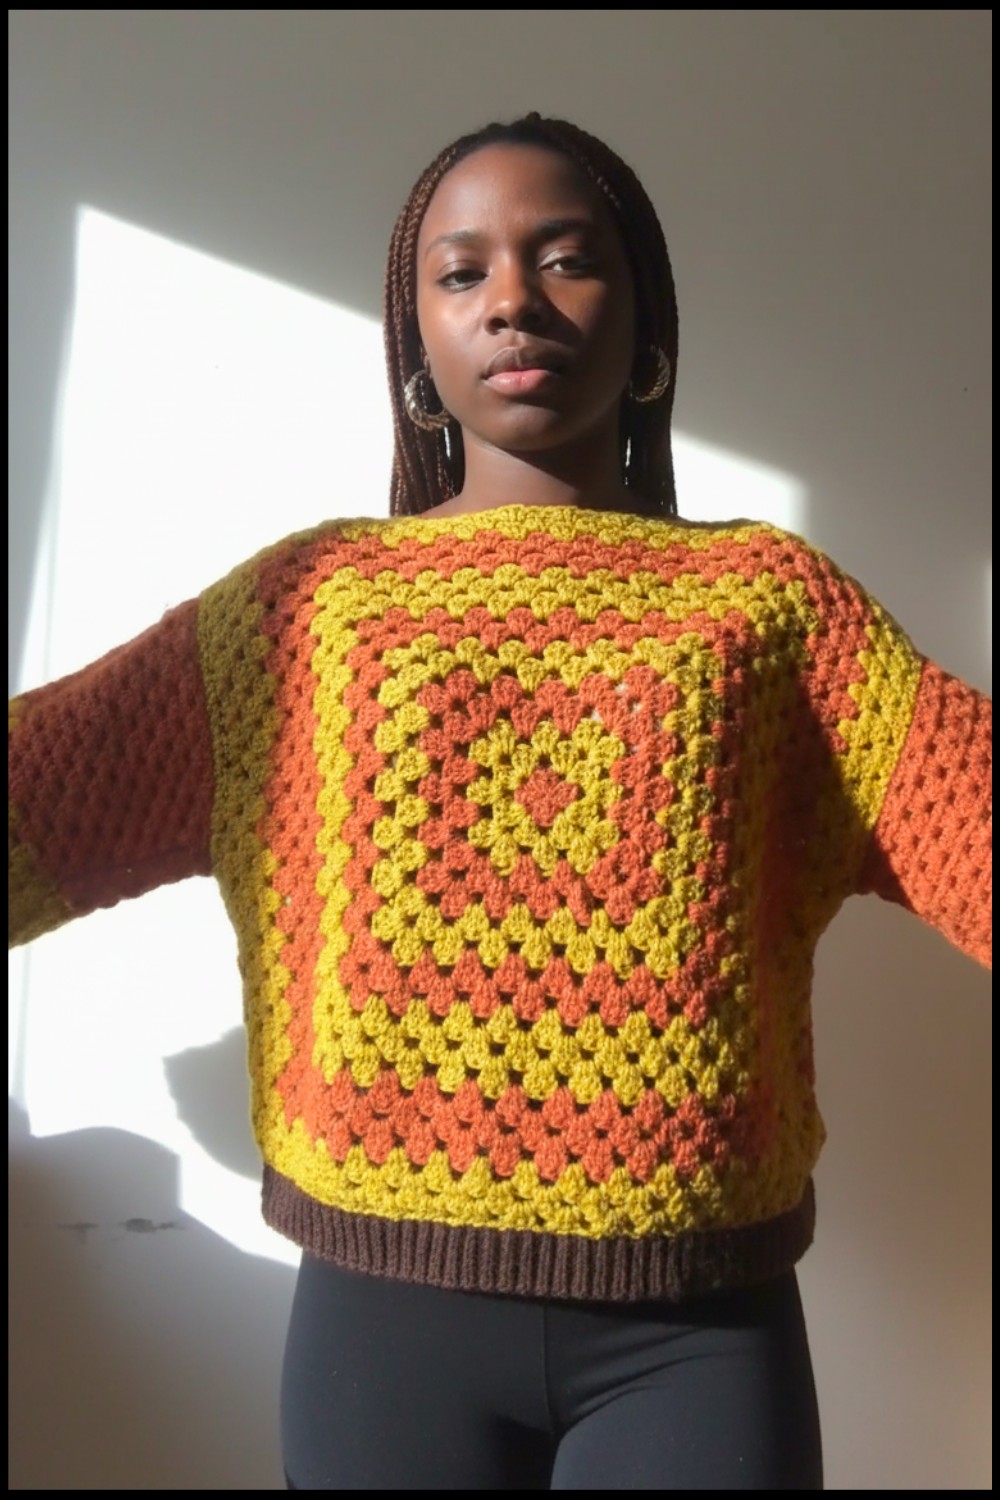
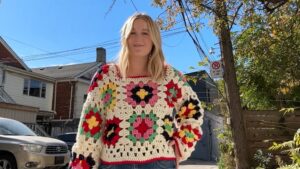
Dress up in warmth and color with a free crochet granny square sweater pattern that anyone can follow for a cheerful and cozy look every day.
Colorful squares come together to form a sweater that catches the eye and invites smiles. Every piece shines with its own personality and the crochet granny square sweater pattern blends these into a lively garment that feels friendly and cheerful. With comfortable fit and pattern that play across the surface, it stands out wherever you go—perfect for cool weather or just relaxing at home. Each part of the sweater offers warmth and a gentle touch, making it a favorite for both children and adults.
Cozy Free Crochet Granny Square Sweater Pattern
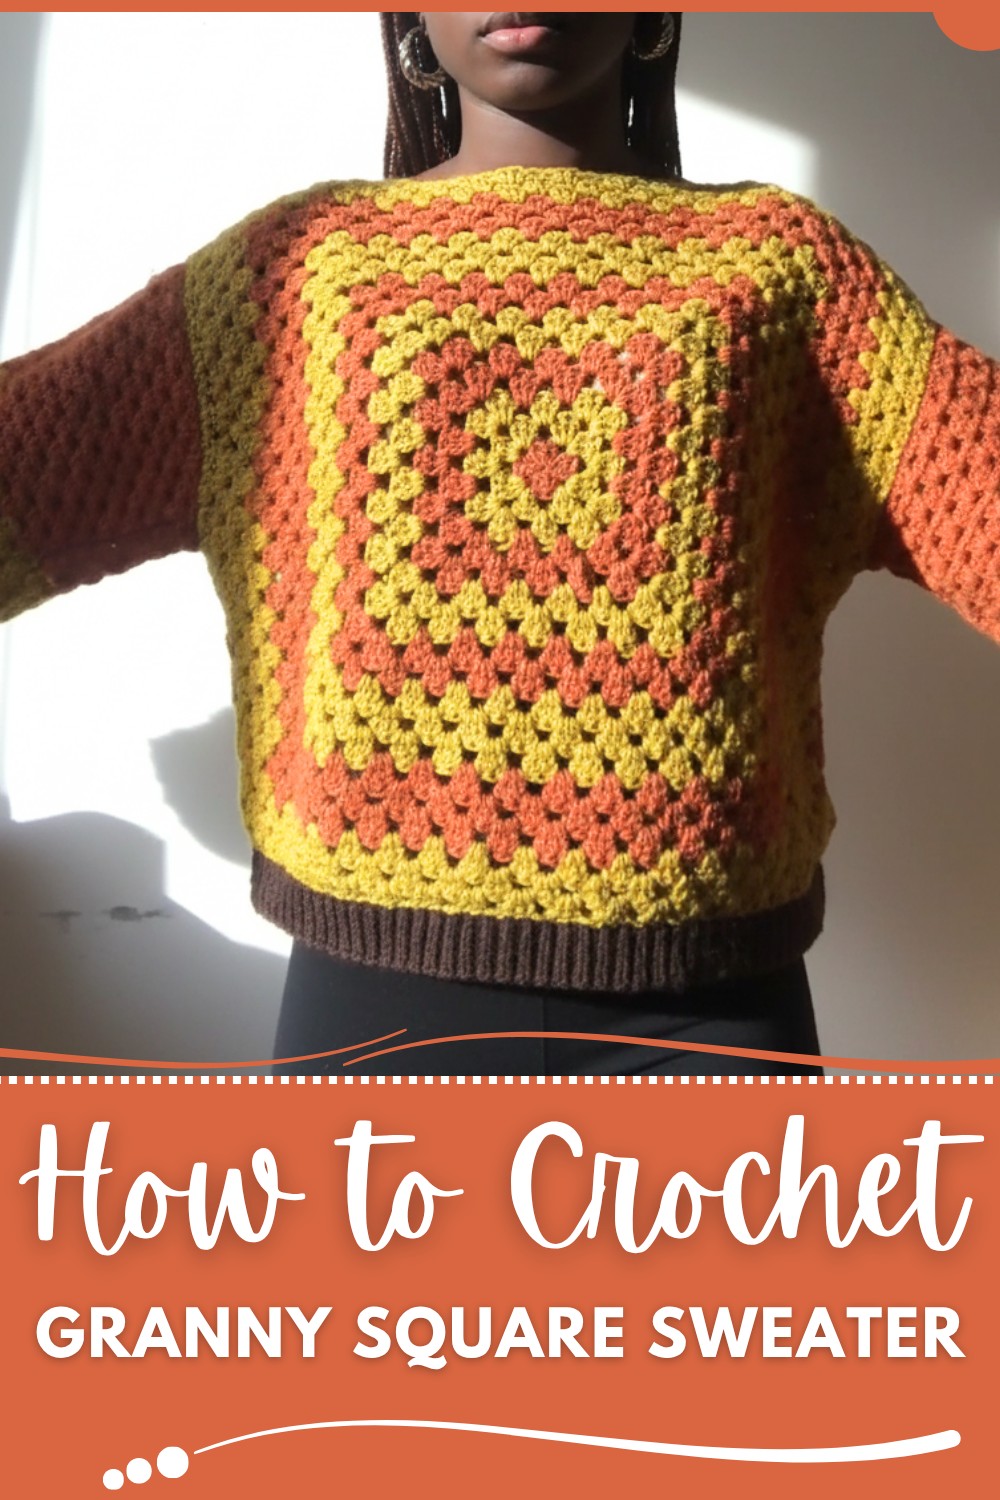
It’s easy to match with other clothes and fits different tastes thanks to its flexible style. Friends often notice the bright squares and want to hear the story behind them. The crochet granny square sweater pattern gives everyone a chance to put together something special with easy steps and simple shapes, even if you’re new to crocheting. A wonderful addition to any wardrobe, it brings energy and joy with every square.
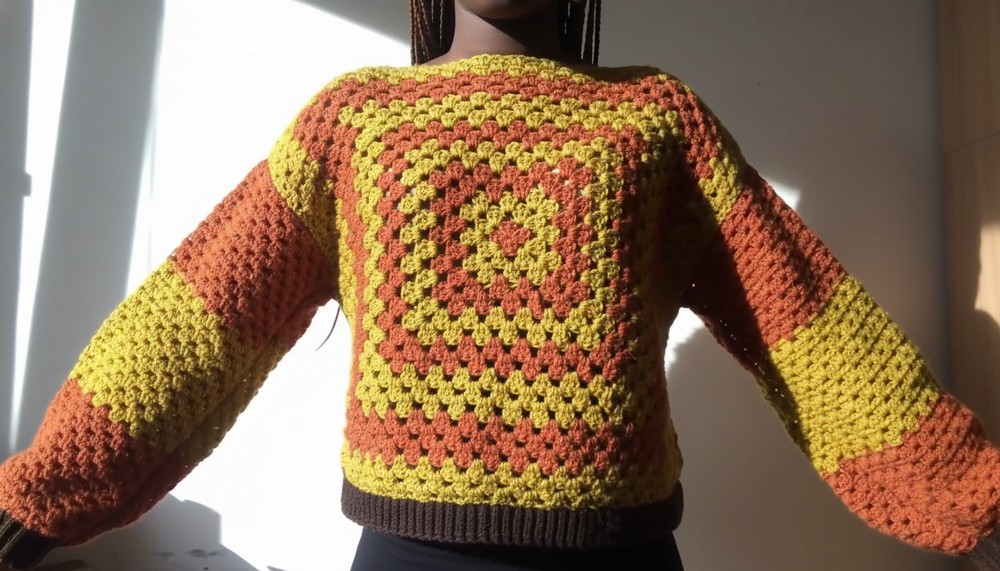
Granny Square Sweater — Step-by-Step Crochet Pattern
Materials
- Yarn: Worsted weight yarn in two colors (amount depends on size; for small, approx. 3–4 skeins each)
- Hook: 5.5 mm (I/9) crochet hook (main fabric), 4.5 mm (7) crochet hook (for ribbing)
- Notions:
- Scissors
- Yarn needle
- Stitch markers
- Measuring tape (recommended)
Key Abbreviations (in US terms)
- ch: chain
- st: stitch
- sl st: slip stitch
- sc: single crochet
- dc: double crochet
- fp sc: front post single crochet
- yo: yarn over
- sp: space
- rep: repeat
Special Notes
- This pattern is for a size small; adjust the number of rounds and sleeve measurements as needed for larger sizes.
- All rounds are joined with a slip stitch at the top of the starting ch-3 unless noted otherwise.
- Always turn your work unless otherwise directed.
- Combine colors as desired; pattern describes alternating them as shown in the transcript.
- “Cluster” refers to 3 double crochets worked in the same space.
- For ribbing, always work the front post single crochet into the previous row’s front post single crochet, and finish the row with a regular single crochet.
Instructions
1. Granny Square Panel (Make 2: Front & Back)
Foundation Ring
- With Color A and 5.5 mm hook, make a slip knot.
- Ch 3.
- Sl st into first ch to form a ring.
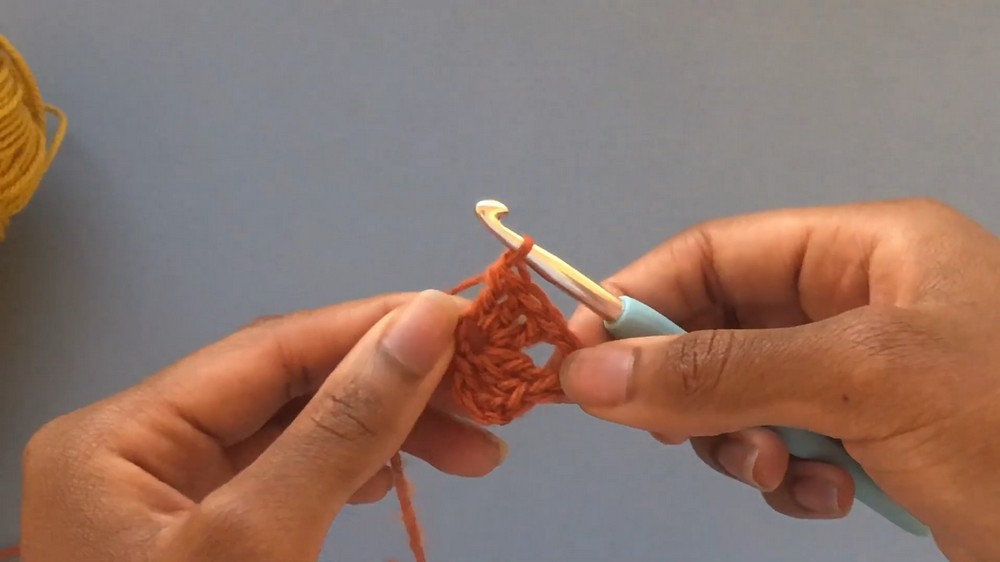
Round 1
- Ch 3 (counts as first dc),
- Work 2 dc into the ring
- Ch 2 (forms corner)
- [Work 3 dc into the ring, ch 2]—repeat from * 2 more times (four clusters total)
- Join with sl st to top of starting ch-3. Fasten off if changing colors.
Subsequent Rounds ([General Granny Square Round])
- Attach new color if desired at any ch-2 corner, ch 3 (counts as first dc)
- Into the same corner, 2 dc, ch 2, 3 dc (first corner cluster and second corner cluster)
- For each side space, work 3 dc (no chain in between side clusters)
- At each corner (ch-2 sp), work (3 dc, ch 2, 3 dc)
- Continue around; sl st to top of starting ch-3 to join
- Repeat this process, increasing on each round at each corner as described, until panel has 18 rounds or desired width (approx. 18 inches for size small).
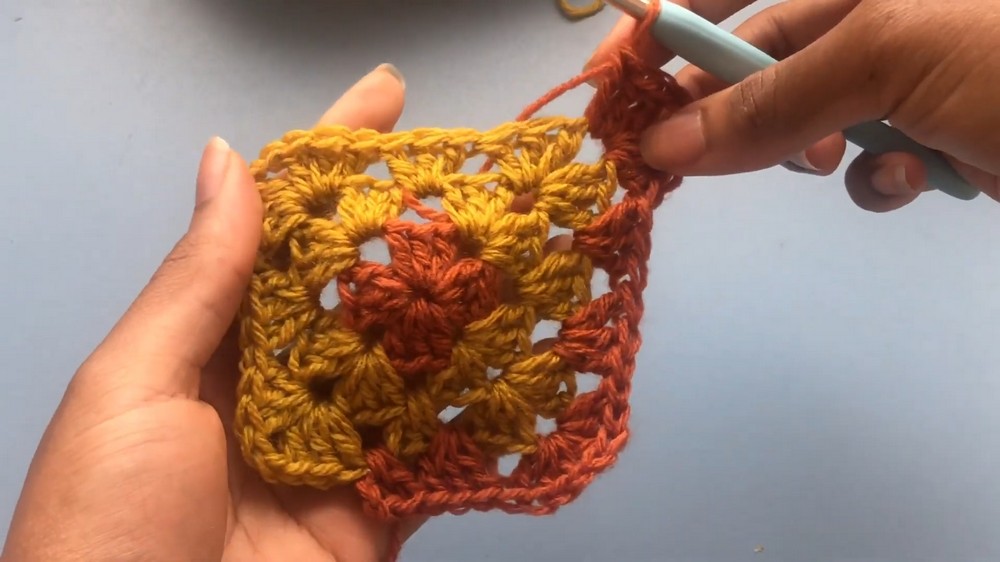
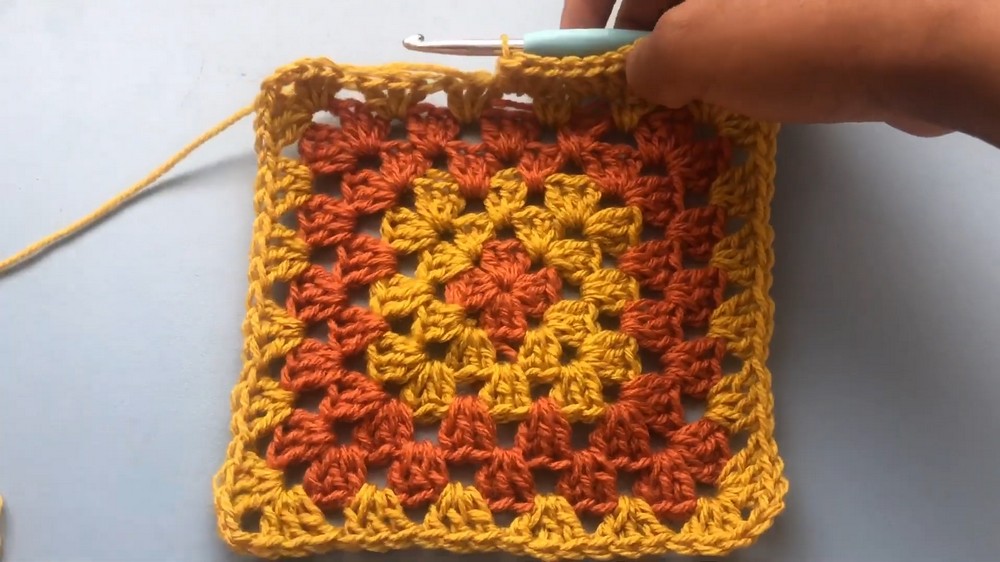
Color Note: The sample uses 1 round Color A, 2 rounds Color B, and from round 9, 3 rounds per color. Alternate as desired.
2. Fold & Set Aside
- When both front and back panels are done, fold and set aside.
3. Ribbed Cuff for Sleeves (Make 2)
With 4.5 mm hook:
- Ch 10
- Row 1: In 2nd ch from hook, sc in each ch across (9 sts), ch 1, turn.
- Row 2: Fp sc in next 8 sts, sc in last st, ch 1, turn.
- Repeat Row 2 until the ribbing measures ~9 inches or fits comfortably around your wrist.
- For small, sample had 44 rows. Ensure an even number of rows.
- Fasten off (leave a long tail for sewing later).
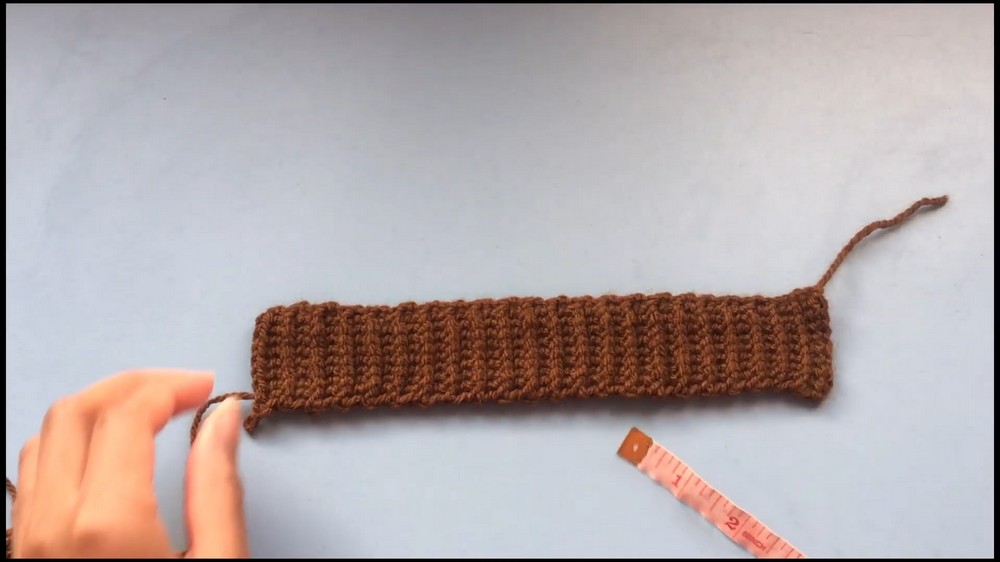
4. Sleeve — Granny Stitch
- Attach 5.5 mm hook to long edge of cuff.
- Attach yarn, ch 2.
- Work dc evenly across edge of ribbing (~44 sts or one per row end).
- Ch 2, turn.
- Row 1: In first st: (ch 2 counts as first dc), 2 dc,
- [Skip 2 sts; 3 dc in next st], repeat to end. At the last sp, work 3 dc (increase).
- Ch 2, turn.
- Row 2: In space of last dc from previous row, 2 dc (increase), 3 dc in each space to end; at end, 3 dc (increase).
- Repeat this granny stitch pattern, increasing at both ends for 8 rows (increases only in first 8 rows).
- Then work remainder of sleeve straight (no increases), until total length of granny portion is ~18.5 inches (for size small: sample made 41 rows, including 1 row dc and 14 granny rows in each color).
- Change colors as desired; fasten off at end.
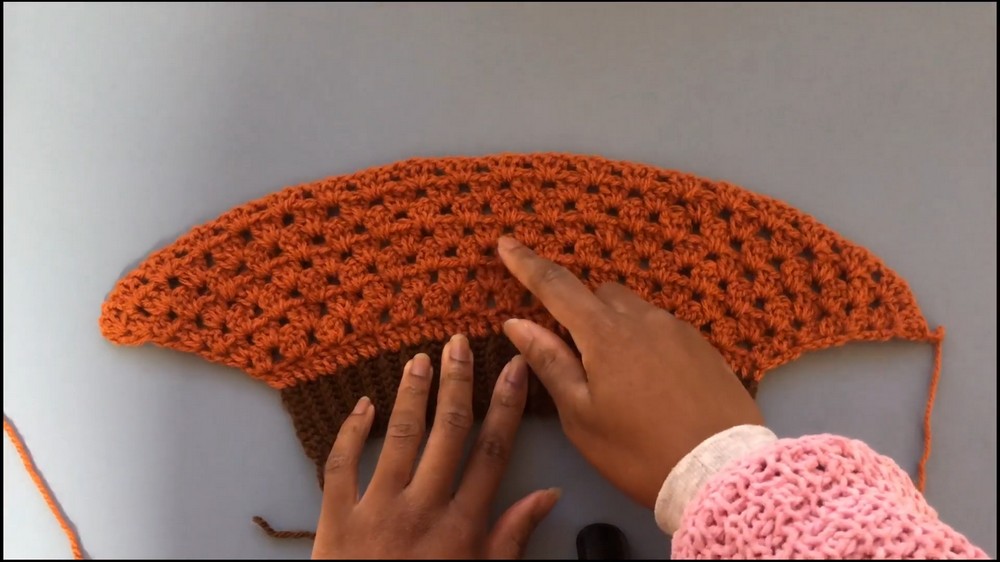
Sleeve Width: Should be approx. 17 inches flat at the widest point for S. Adjust for your sizing.
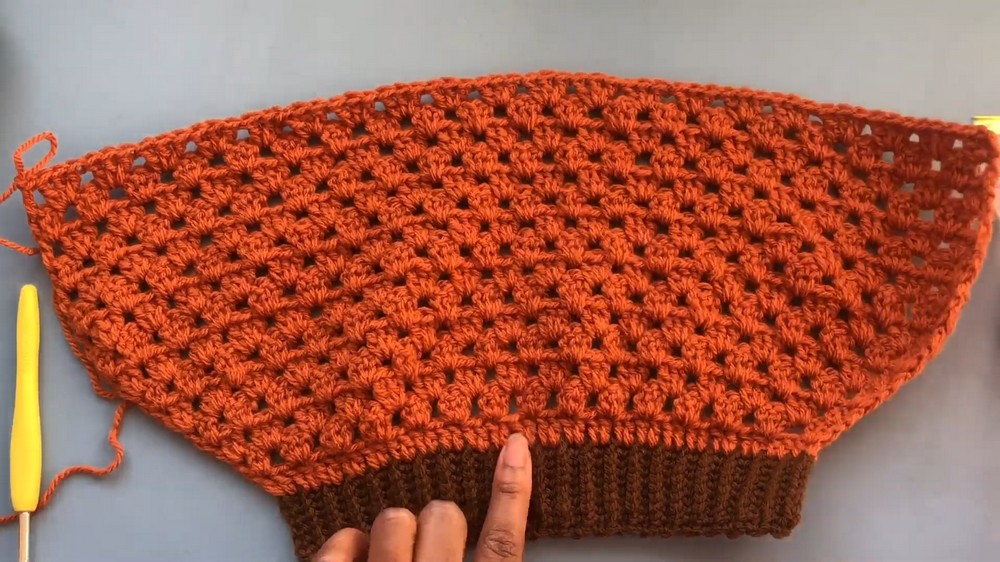
5. Assembly — Body Panels
- Place panels with right sides together.
- Mark neck opening: Count out 5 granny clusters from each end for shoulders, place stitch markers.
- Join shoulders: With sl st, join front and back panels at shoulder (from edge to marker). Fasten off. Repeat for other shoulder.
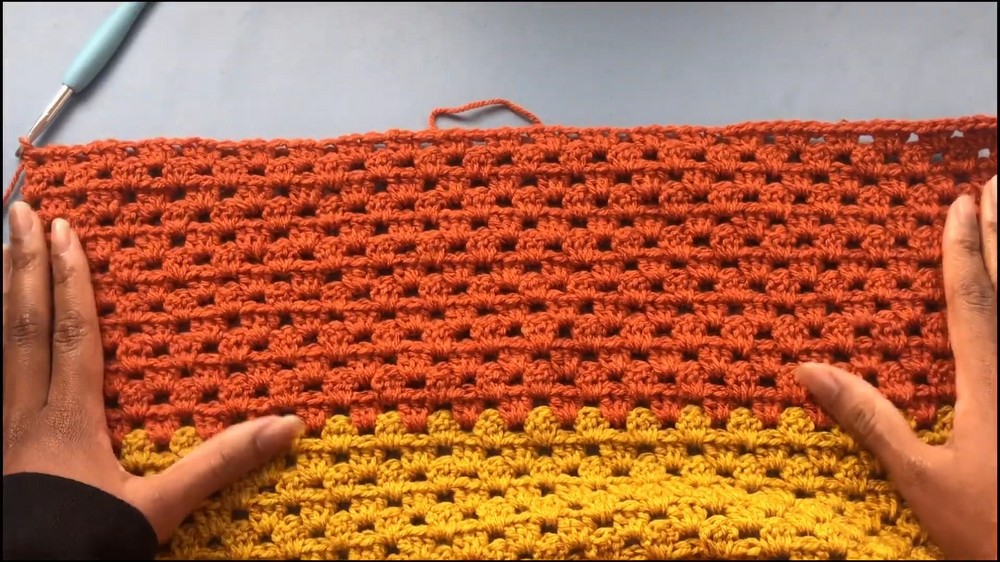
6. Attach Sleeve to Body
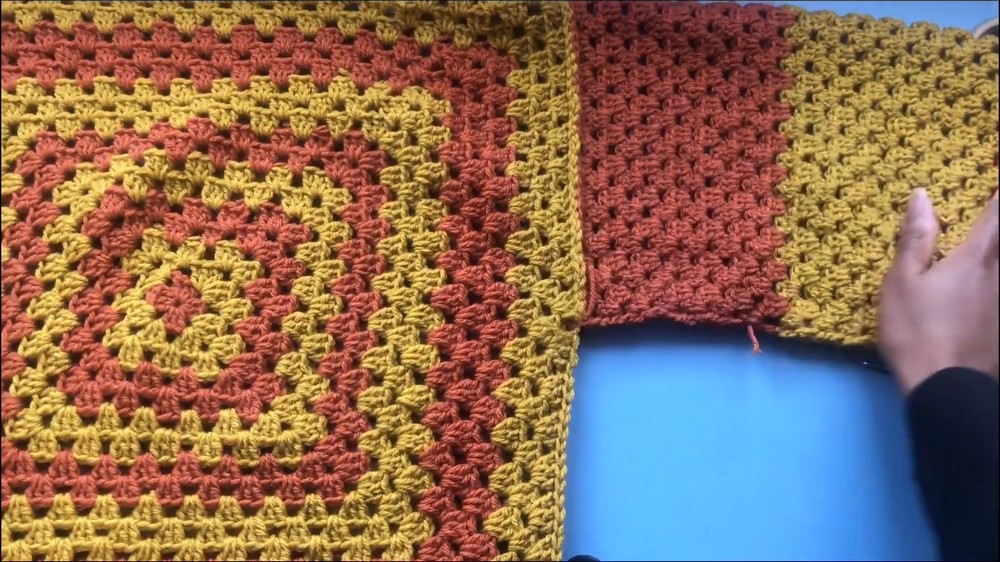
- Mark center of sleeve and match to shoulder seam, using stitch marker.
- Align and evenly pin sleeve around opening; make sure same number of clusters on front and back.
- Slip stitch or sew sleeve to body using preferred method.
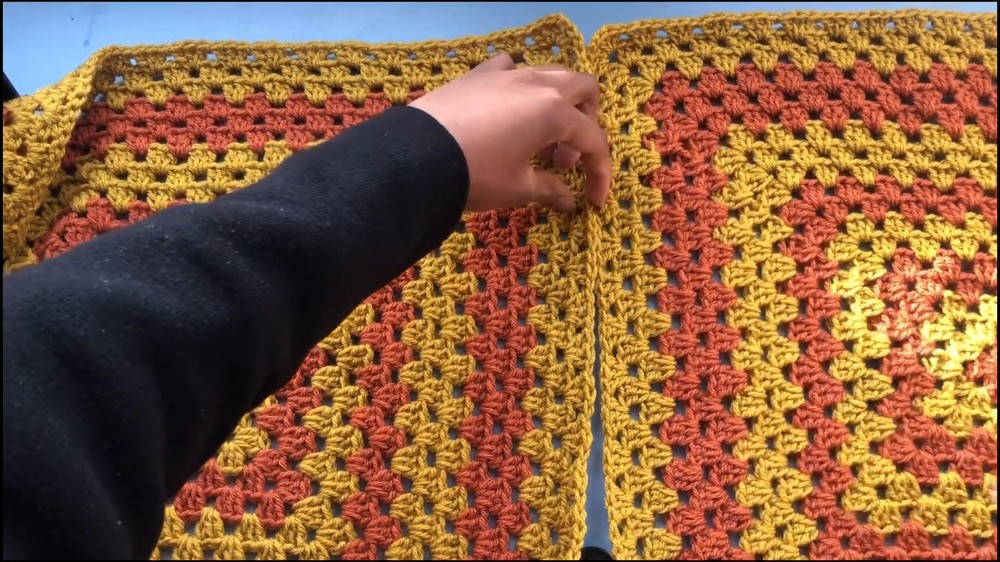
7. Side Seams & Sleeve Seams
- Fold sweater so body and sleeves are ready to join.
- Slip stitch from sleeve cuff up to underarm, continuing down the body side seam to hem. Fasten off.
- Repeat for other side.
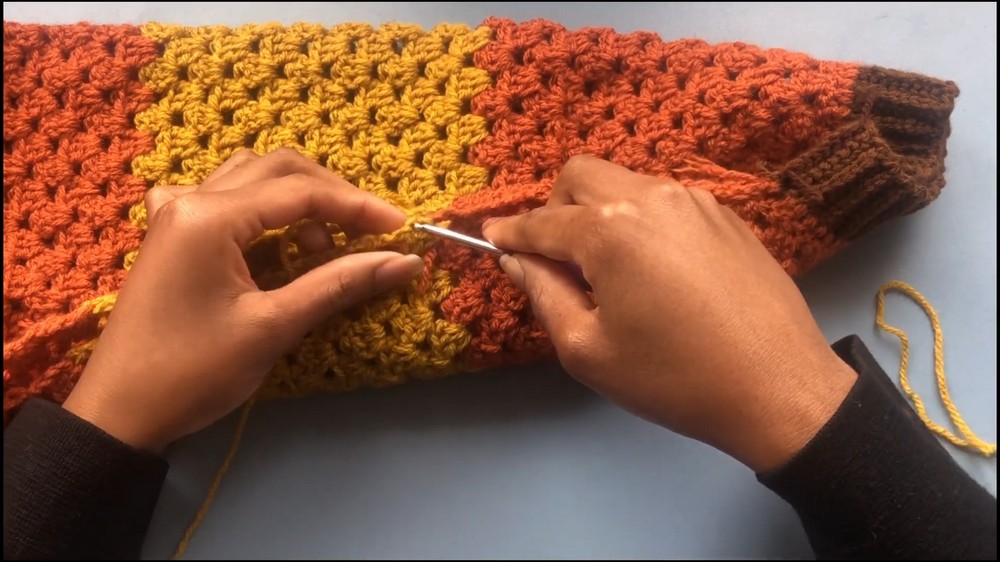
8. Ribbing for Neck & Hem
Hem Ribbing
- With 4.5 mm hook, ch 10.
- Row 1: Sc in 2nd ch from hook and across. Ch 1, turn.
- Row 2: Fp sc in next 8 sts, sc in last st. Ch 1, turn.
- Rep Row 2 until ribbing measures the same as sweater hem width (about 18 inches, sample made 87 rows).
- Slip stitch ribbing to hem: Insert hook through ch-2 at panel edge and ribbing, sl st together across.
- Note: Skip a ribbing stitch every two stitches to ease length.
Neck Ribbing
- Repeat above method to make ribbing to fit neck hole length. Attach with slip stitches.
9. Optional: Colorful Cuff Edging
- Add additional slip stitch rounds in contrasting colors around cuffs or hem, working into large spaces.
- Change color after each round as desired, fastening off between colors.
Final Finishing
- Weave in all ends neatly with yarn needle.
- Block if desired for a professional finish.
Conclusion
Congratulations! You have completed a classic granny square sweater — a timeless and customizable crochet project. Adjust size, length, and color placement as you wish.
Pattern Correction & Tips
- Count Regularly: Ensure cluster and corner counts match between front and back panels.
- Sl St Joins: Slip stitches can be tight; use a slightly larger hook if pulling is difficult.
- Ribbing Fit: Test ribbing lengths before attachment to ensure snug yet comfortable fit.
- Customize Sizing: To increase size, simply add more granny square rounds to the body panels and sleeve length/width.
- Keep Sides Aligned: Always align panels and sleeves from the center outwards to avoid uneven joins.
- Try On as You Go: Modular construction allows you to check fit at each stage.
- Color Transitions: When changing colors, weave in ends as you go to minimize finishing work.