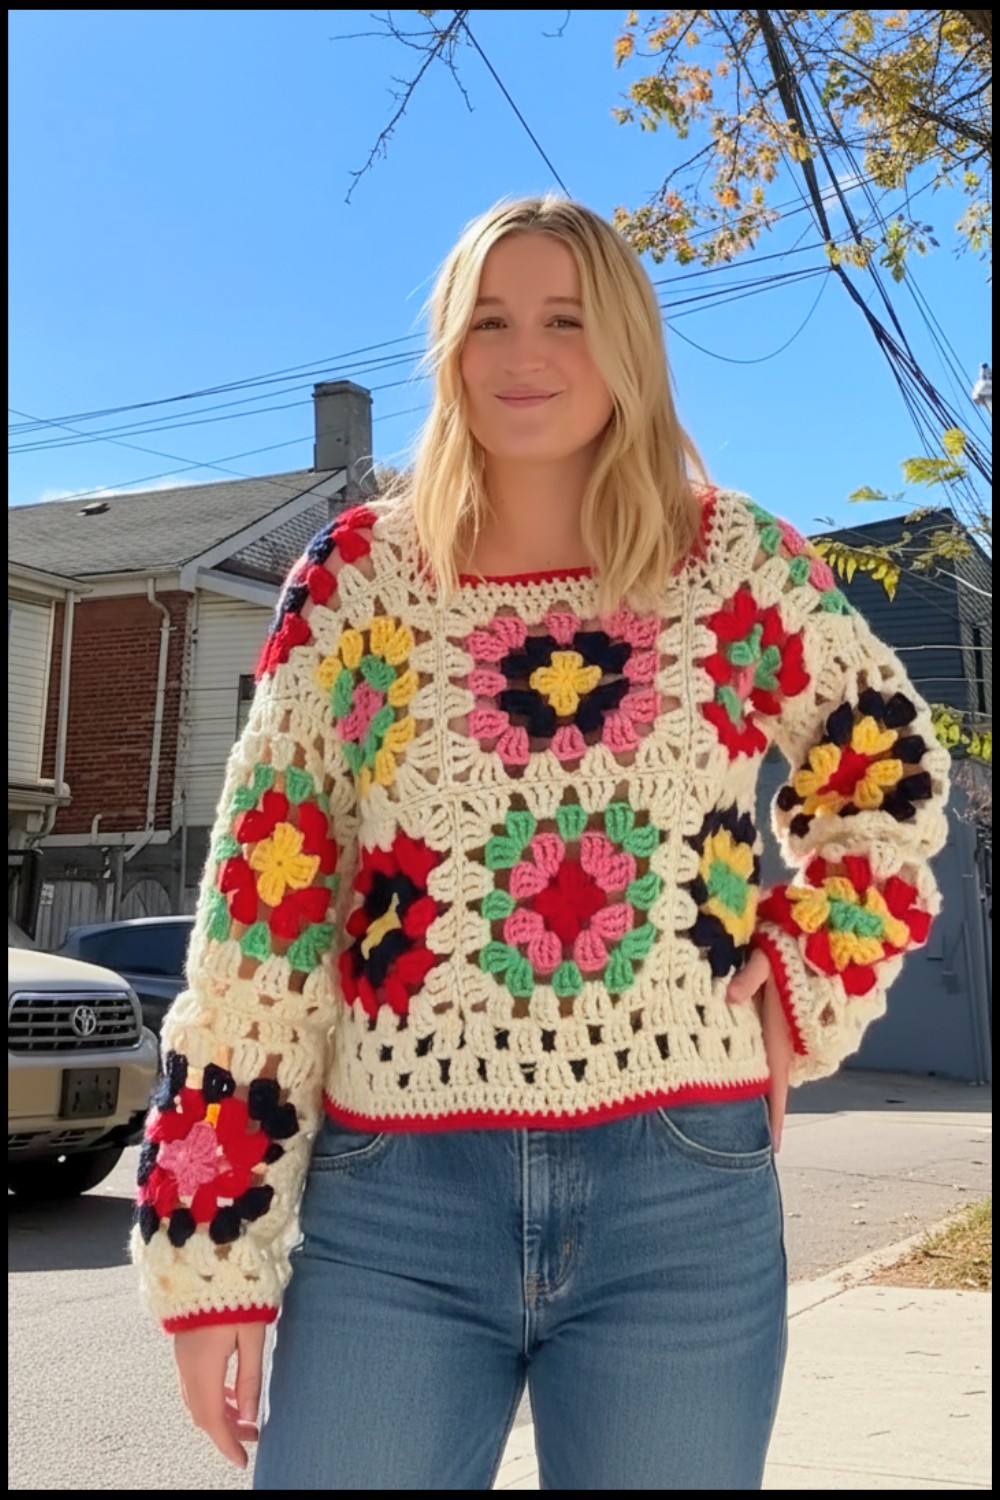
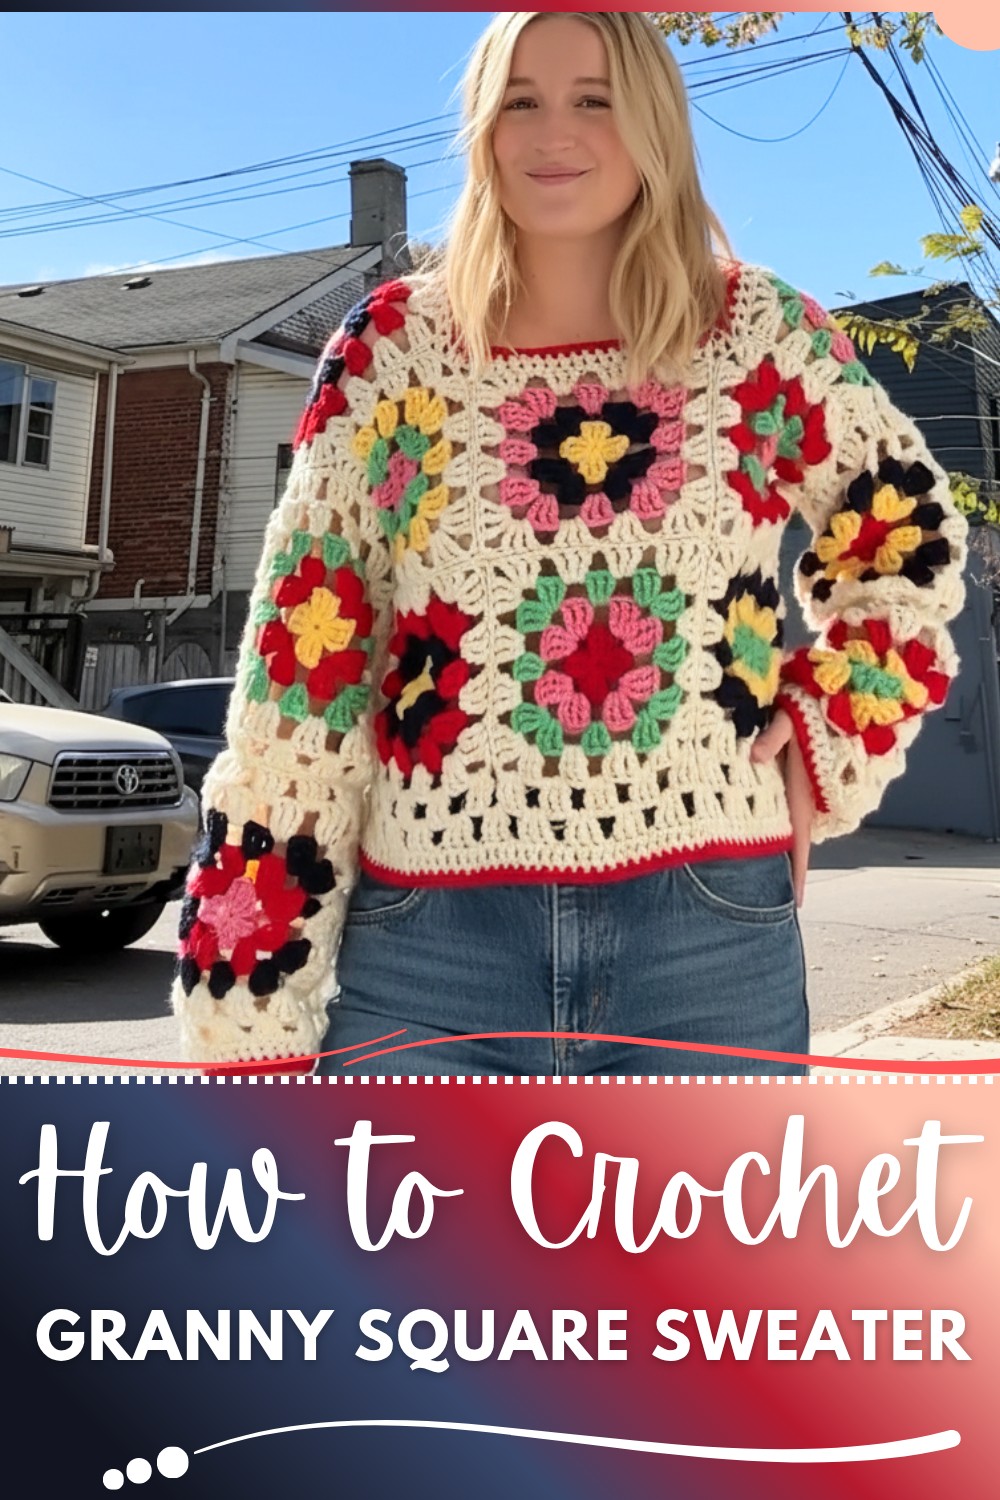
Free Crochet Granny Square Sweater Pattern You'll Love
This sweater is easy to create, even for those new to making clothes, since the simple squares come together quickly. Wear it for fun times with friends or layer it for a cozy walk outside. With the Crochet Granny Square Sweater pattern, you get more than just something to wear—you add beauty and memories to every day. Its light touch and lovely look make it useful and meaningful, helping everyone feel special with every stitch.
Crochet Granny Square Sweater Pattern
Materials Needed
- Yarn (all worsted weight/Category #4, for uniformity):
- Loops & Threads Soft Classic in Off-White (2 skeins)
- Loops & Threads Soft Classic in Butter Yellow, Red, Pink, Navy Blue
- Loops & Threads Impeccable in Kelly Green
- (Or: Caron Baby Cakes in Retro, or any variegated/multicolor worsted yarn)
- Crochet Hook: 6.0 mm (J-10)
- Notions: Yarn needle for weaving in ends, scissors, blocking board or clean towel, straight pins, steamer (optional)
- Optional: Stitch marker for beginning of round
Key Abbreviations
| Abbreviation | Meaning |
|---|---|
| ch | chain |
| sl st | slip stitch |
| sc | single crochet |
| dc | double crochet |
| tr | triple/treble crochet |
| sp | space |
| st(s) | stitch(es) |
| rep | repeat |
| RS | right side |
Special Notes
- Squares are worked using triple crochet (tr) granny clusters for a lacier, larger motif.
- Gauge is important. Adjust square size to get desired fit: each Square should be approximately 6.5" (16.5cm) x 6.5" (16.5cm) for a standard adult medium. Adjust the number of rounds or hook size as needed.
- All yarns used for the sweater should be of the same weight for uniform sizing and appearance.
- Joining method: Slip stitch join with RS facing together for durable seams with a slight stretch.
- The pattern can be adapted for other sizes by adjusting the number of squares, square size, or layout.
Sizing & Measuring
- Bust measurement: Measure around the fullest part of your torso.
- Ease: Add 2" (5 cm) to your bust measurement for comfort.
- Front/Back Panel Width: Divide eased bust measurement by 2.
- Square Calculation: Divide Panel Width by 3 – aim for that size per granny square (round to nearest logical value, e.g., 6.5”).
- Length: Measure from armpit to waist or desired length. You will use 2 squares for body length (for cropped), or add extra rows/rounds if you want longer.
- Sleeve squares are made larger: add one extra round of border to 8 of the squares.
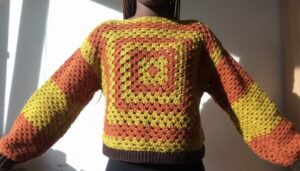
Sweater Construction Overview
- Body: 3 squares wide by 2 squares long (front and back each; 12 total).
- Shoulders: 2 squares.
- Sleeves: 4 squares per sleeve, larger (with an extra round); 8 total.
- Total: 22 granny squares (16 small, 8 large).
Instructions
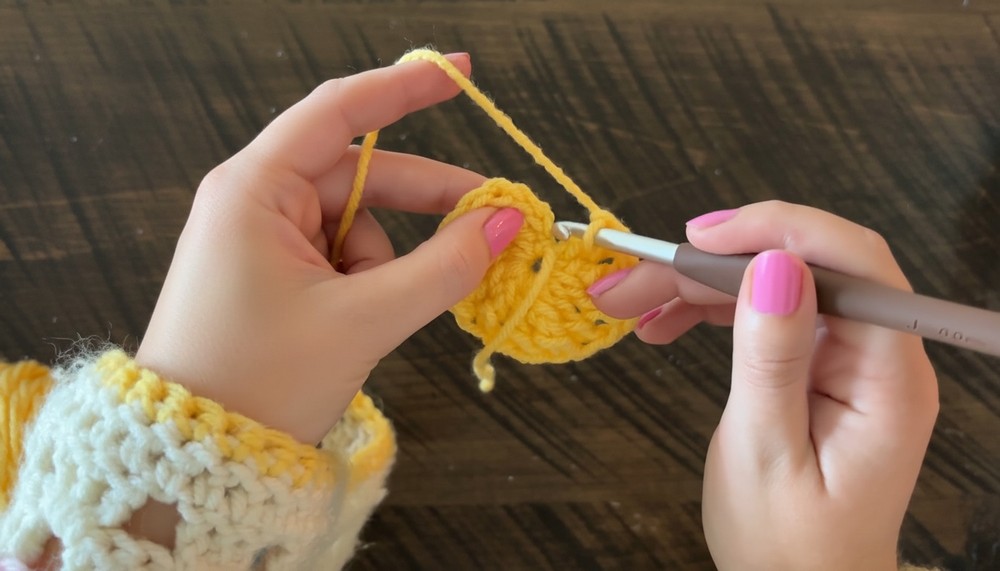
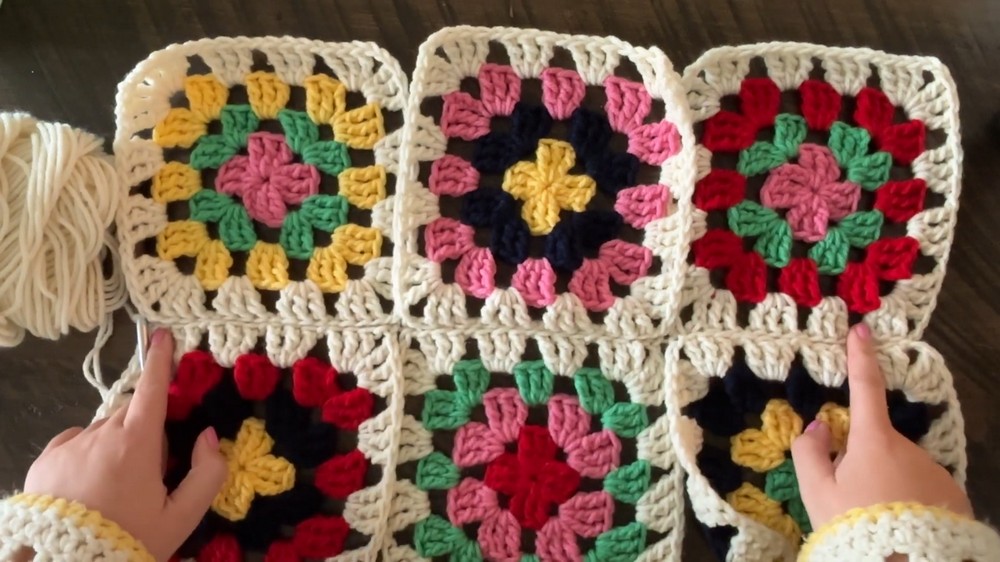
1. Granny Square (Triple Crochet Version)
Foundation:
Start with a magic ring, or ch 4 and join with sl st to form a ring.
Round 1:
Ch 4 (counts as 1 tr), 2 tr into ring, ch 1, 3 tr into ring; rep from * to * until you have 4 sets of 3 tr, with ch-1 between each. Join with sl st to top of beg ch-4. Fasten off. (4 clusters, 4 ch-1 sps)
Round 2 (Join new color):
Join in any ch-1 sp, ch 4 (counts as 1 tr), 2 tr into same sp, ch 2, 3 tr into same sp (corner made), ch 1.
In next ch-1 sp: 3 tr, ch 2, 3 tr (corner), ch 1; rep from * to * twice more. Join with sl st to top of beg ch-4. Fasten off.
Round 3:
Join new color in any corner sp, ch 4, 2 tr in same sp, ch 2, 3 tr in same sp (corner), ch 1.
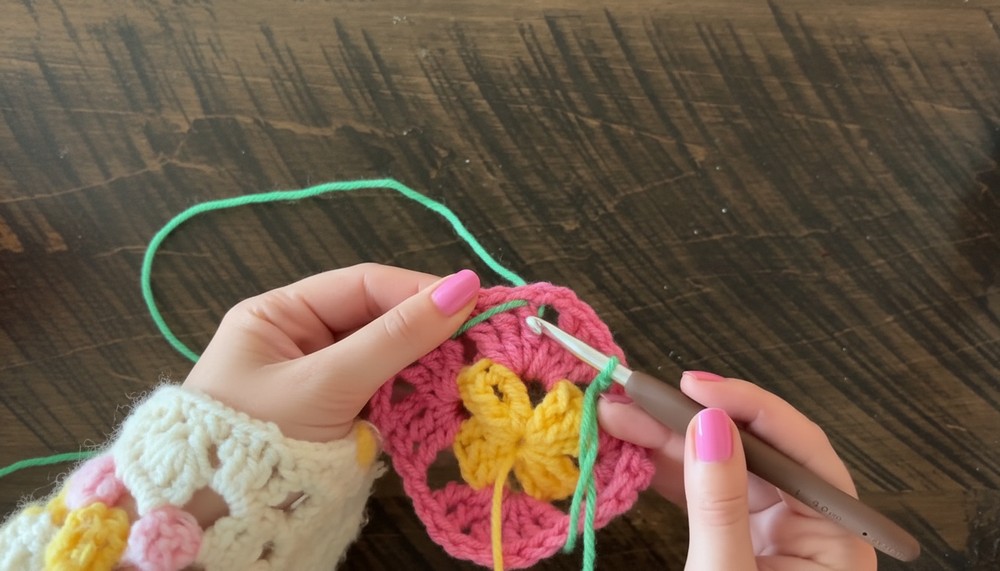
In next side sp: 3 tr, ch 1. In next corner: 3 tr, ch 2, 3 tr, ch 1; rep from * to * around. Join with sl st to top of beg ch-4. Fasten off.
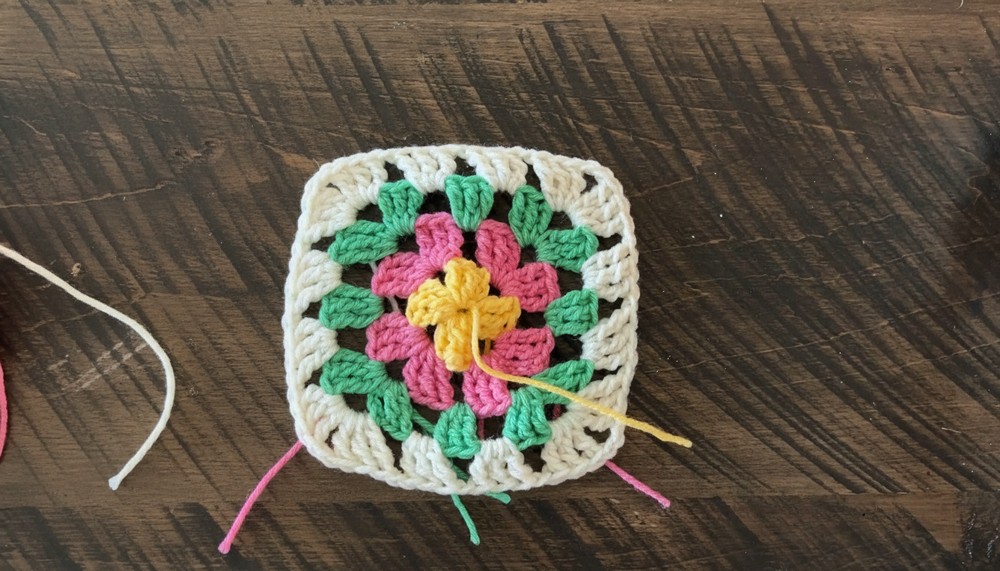
Round 4 (Border, repeat as needed):
Join border color in any corner sp, ch 4, 2 tr in same sp, ch 2, 3 tr in same sp (corner), ch 1.
In next side sp: 3 tr, ch 1 (rep for each side sp as needed).
In each corner sp: 3 tr, ch 2, 3 tr, ch 1.
Continue around, join with sl st to top of beg ch-4. Fasten off.
Extra Round for Sleeves:
Repeat Round 4 once more (for a total of 5 rounds) on 8 squares for the sleeves.
Tips
- Change colors at the end of rounds before joining new yarn.
- Each round increases the number of side clusters; maintain pattern of (3 tr, ch 1) along the sides and (3 tr, ch 2, 3 tr, ch 1) in corners.
2. Block the Squares
- Place finished squares on a blocking board, pin each corner, and steam gently until relaxed.
- Let dry completely before assembly for best results.
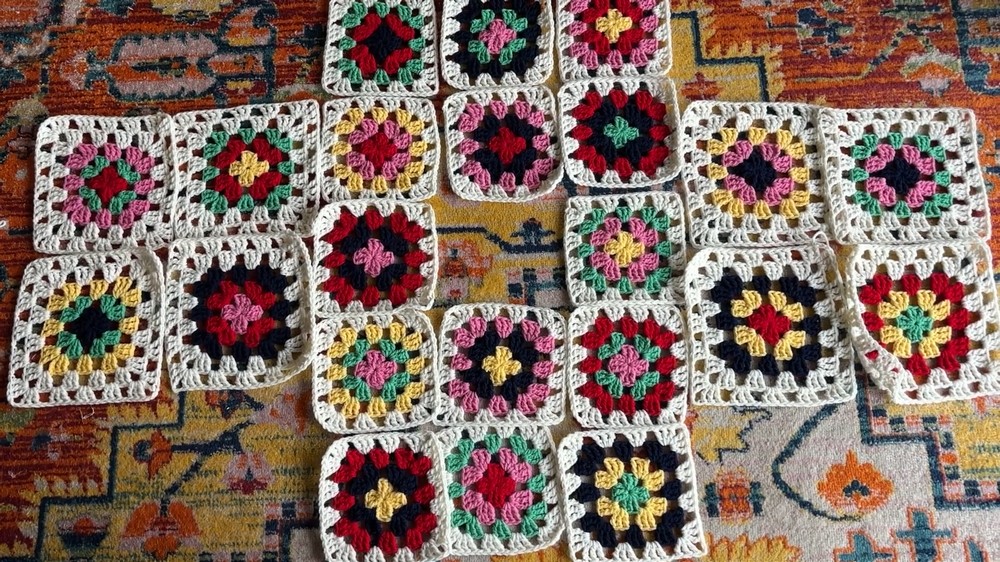
3. Layout & Assembly
Layout:
- Assemble two rectangles of 3 squares wide by 2 squares long for the front and back panels (6 squares each).
- Add 1 square to each shoulder (2 squares joining front and back at top).
- Arrange 4 large squares for each sleeve, lining up the center square with the shoulder join.
Joining:
- Place RS of two squares together.
- Join with slip stitch seam into each st along join, working through the outer loops of each square. Take care to match stitches/rows.
- Seam horizontally and then vertically for panels, then join panels at shoulders.
- For sleeves: seam squares together, then join sleeves to body panel.
Constructing the Sweater:
- Lay out seamed panels, fold in half at the shoulders.
- With RS together, seam underarms and down the sides from underarm to hem using slip stitch seam. Stop at the wrist edge for sleeves and hem for the body, leaving openings for hands and body.
4. Optional: Add Length to Sweater
- With base color yarn, join to side seam at hem.
- Work 2 rounds Granny Stitch (clusters of 3 tr, ch 1 in each space around) evenly along the hem, no corners needed.
- Fasten off.
5. Finishing Border
- Sleeve edge, Bottom edge, Neckline:
- Join base color at any st, ch 3 (for dc), dc in each st around. Join with sl st, fasten off.
- For neckline, use a contrasting color if desired.
- Join yarn, ch 1, sc in each st around. Join and fasten off.
- Weave in all ends securely with a tapestry needle.
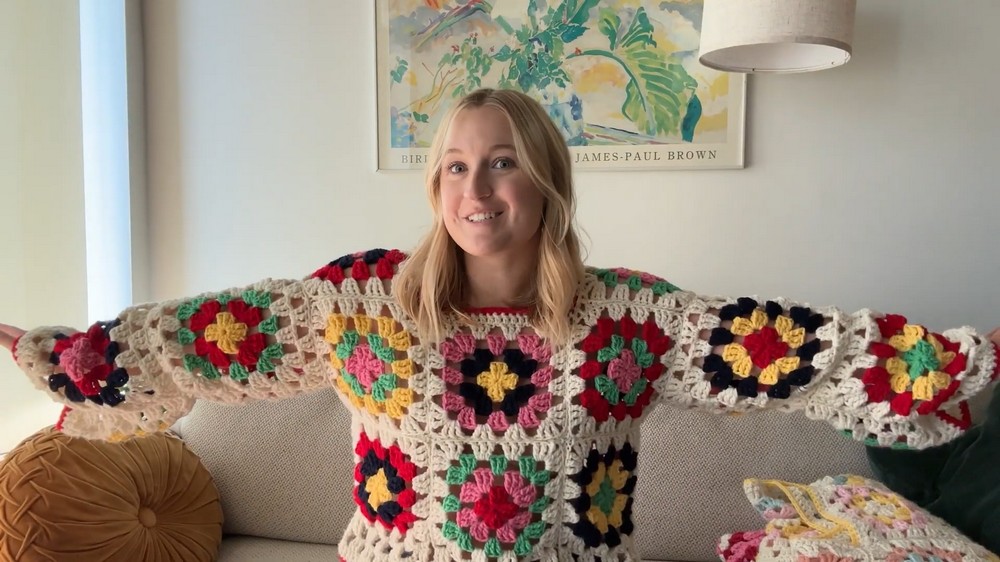
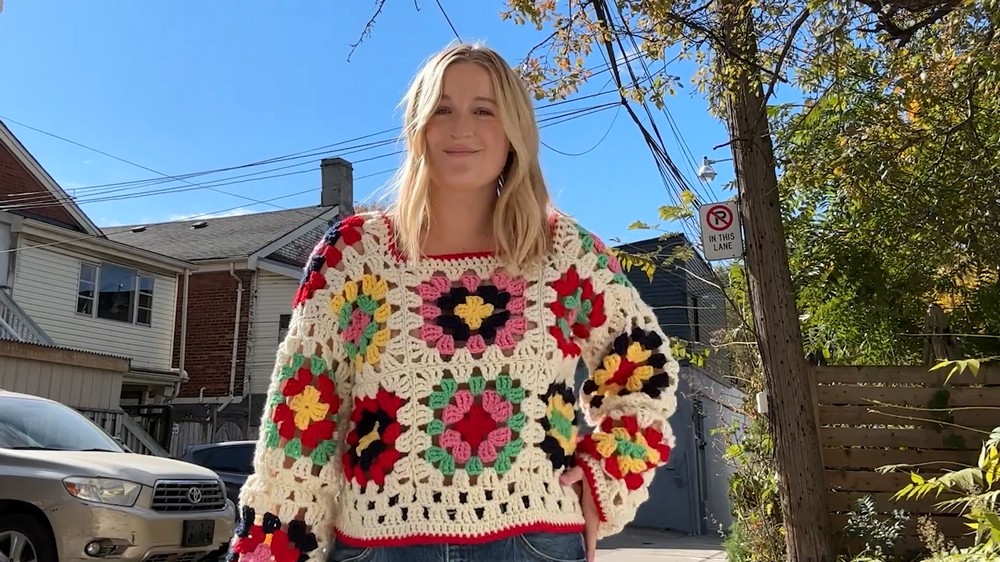
Conclusion
You have completed a stylish and customizable Granny Square Sweater—a modern take on a timeless classic. Fit can easily be altered by changing square size or number. Borders and color placement are an opportunity for further personalization.
Pattern Corrections & Tips
Corrections
- Square measurement: If your squares are smaller or larger than needed, adjust the number of rounds or your hook size. Each must be square—measure both width and height.
- Slip Stitch Seam: Always work with RS together to hide seam on inside.
Tips
- Color Coordination: Using a multi-color cake or pre-matched color palette makes color selection easier.
- Blocking: Strongly recommended. It shapes squares, improves drape, and assists assembly.
- Fade or ombré effect: Plan your color order before you start.
- Customize: Try a cardigan (add opening, edge with buttons), different sleeve lengths, or border variations.