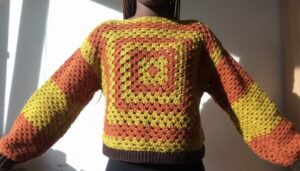
When the weather turns cooler wearing becomes key to keeping kids warm without sacrificing comfort or style. A lightweight and versatile crochet children vest pattern is perfect for those in-between seasons when a bulky sweater feels too much, yet a light cardigan isn’t quite enough. Ideal for school days, outdoor play, or family gatherings, these handmade vests offer breathability and ease of movement while maintaining warmth.
Choose soft, durable yarn in fun color combinations or textures to match their personality, and style it over long-sleeve tees or dresses for a polished look. Aside from being practical, crochhting a vest allows you to create a one-of-a-kind piece that lasts through time, making it a meaningful addition to their wardrobe.
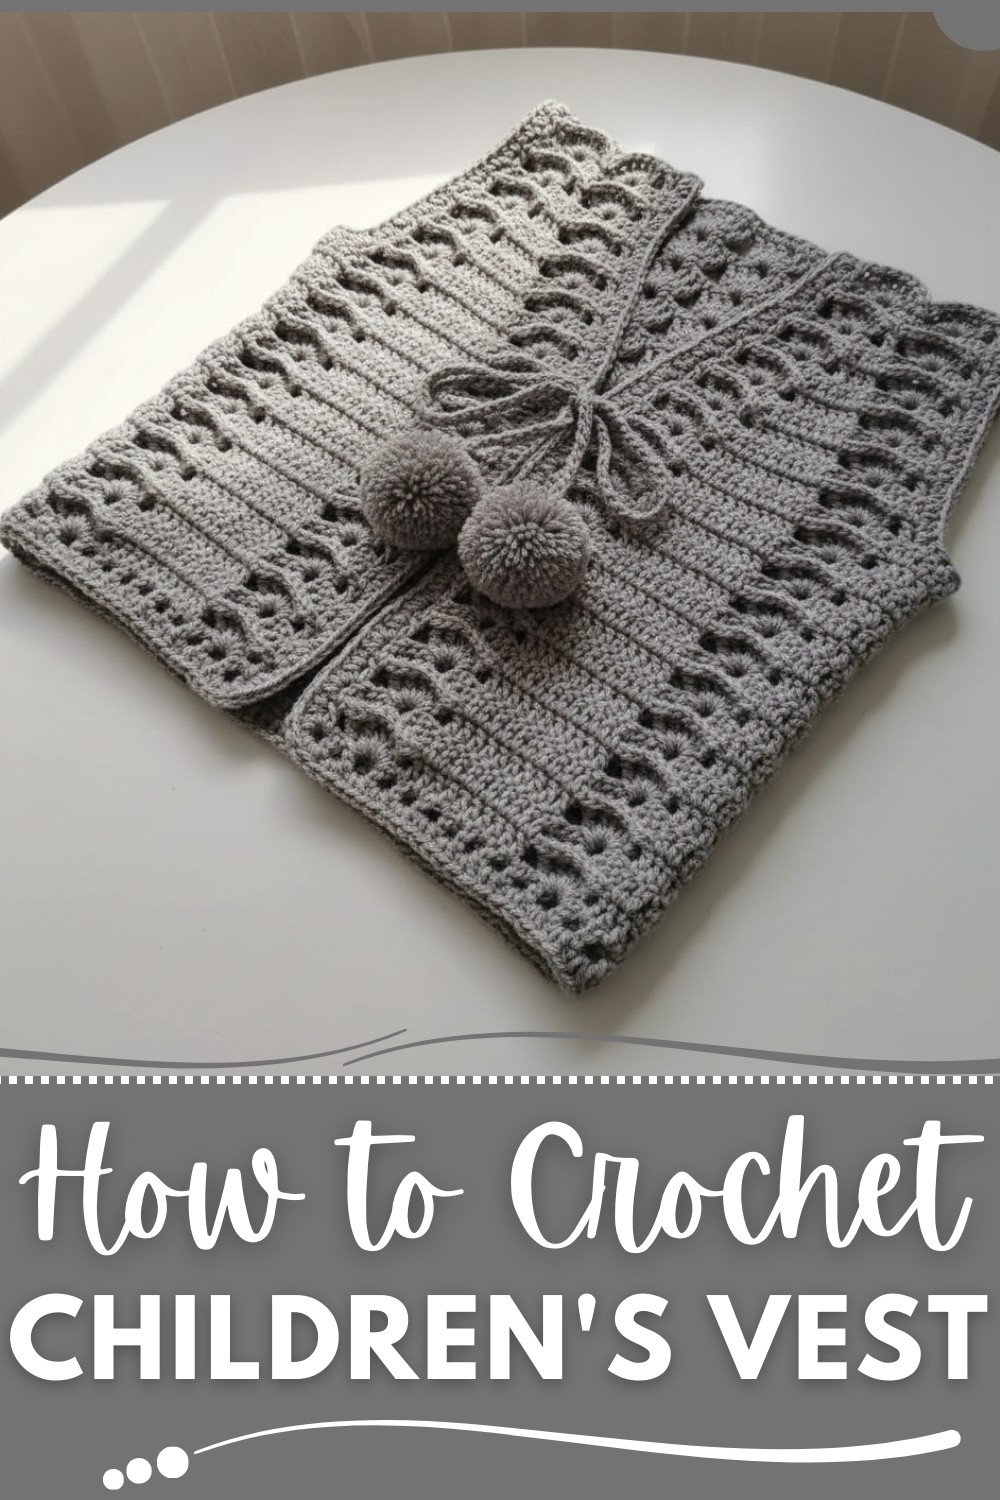
Quick Crochet Vest Pattern Perfect for School Days
Materials Needed
- Yarn:
- Option 1: Stone Grey Yarn (Tex: 250) for thicker results
- Option 2: Amore Baby Yarn (Tex: 200) for a finer texture
- Approximately 65g of yarn for the vest
- Crochet Hook:
- Size 2.5mm for finer wool
- Size 3mm for thicker wool
- Additional Tools:
- Tapestry Needle for finishing
- Scissors for cutting yarn
- Stitch markers to mark sleeve points
Gauge
- 10 stitches x 10 rows = 4cm x 4cm
Ensure your yarn and hook combination meet this gauge to achieve the correct size.
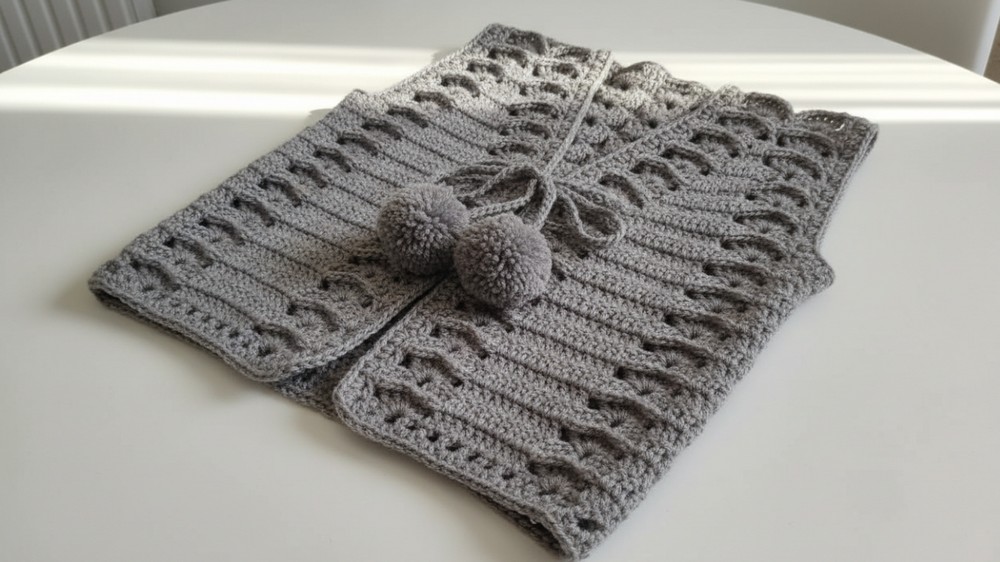
Baby Crochet Vest Pattern
This pattern, inspired by the video transcription, provides detailed instructions for a baby vest along with customization options and tips. It is suitable for babies aged 9–12 months, ensuring a thoughtful handmade touch for the little ones. Let's journey through the step-by-step process to bring this adorable creation to life.
Finished Size
- For 9–12 months:
- Height: 29cm
- Width: 27cm
- For 3–6 months:
- Height: 25cm
- Width: 25cm
Special Techniques
- Relief Stitches – Used in fan stitches for texture and detailing.
- Elongated Double Crochet – Pull through yarn three times for a unique elongated look.
Step-by-Step Instructions
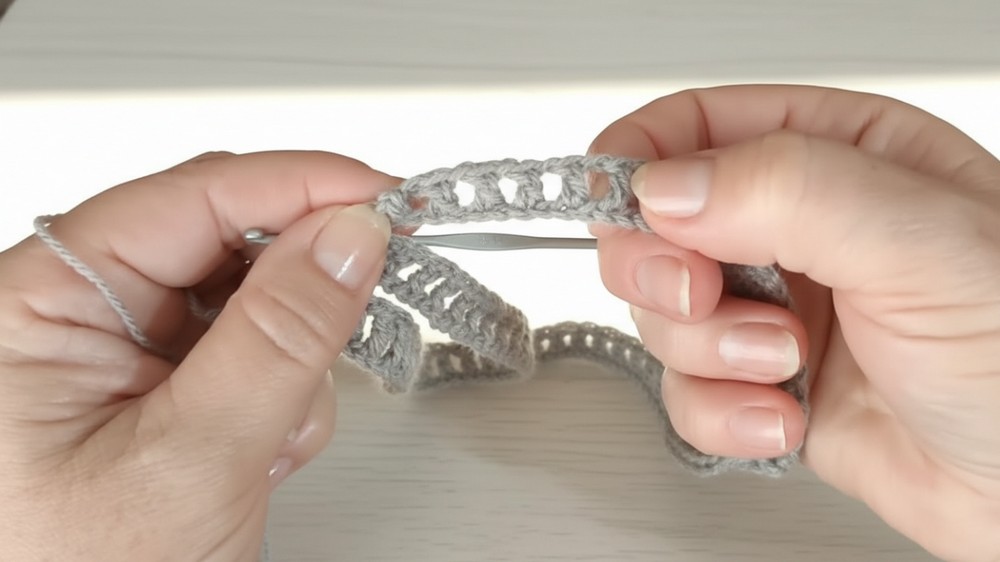
Starting Chain & Foundation (Row 1):
- Begin by making a chain of 117 stitches.
- Skip 5 chains, and on the 6th stitch, create a double crochet stitch.
- Alternate between chain stitches and double crochet stitches, skipping one chain in between each.
- By the end of Row 1, ensure you have 57 spaces.
Rows 2–18:
Row 2:
- Start with 3 chain stitches, turn your work.
- In the first space from the previous row, make a double crochet stitch.
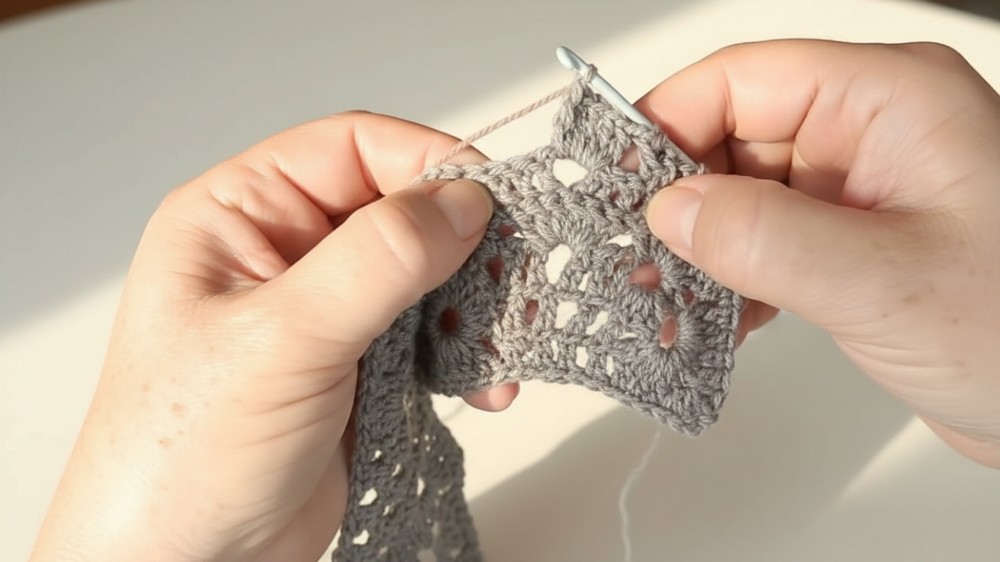
- Create two chain stitches, skip one space, and begin forming a fan stitch in the next space.
- Fan Stitch: Make 6 elongated double crochet stitches into the same space.
- Follow with two chains, skip one space, and then do 10 double crochet stitches, one stitch per previous stitch.
- Alternate sections of fan stitches and double crochet stitches across the row.
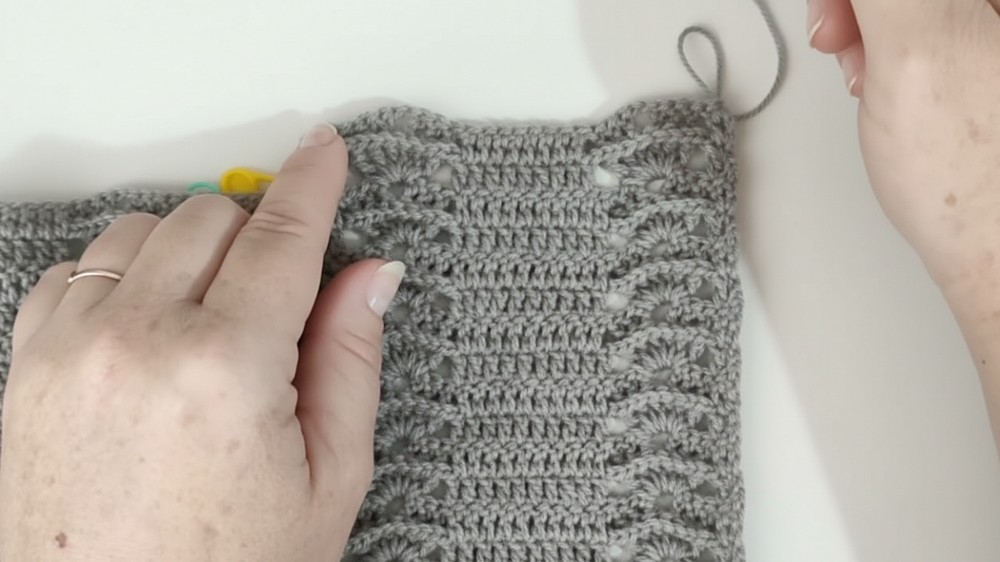
Rows 3–18:
- Repeat the process above, maintaining the alternating pattern of fan stitch (6 treble elongations) and double crochet blocks (10 stitches).
- Decreases: On one side, leave one stitch out during each row, reducing the block of double crochets gradually. The decreases define the vest shape.
Sleeve and Body Separation:
- Mark the sleeves using stitch markers:
- Leave 6 stitches at the base of each armhole unworked, which forms the sleeve-gap.
- Place markers to separate the two front panels and the back panel.
- Create Front Panels:
- Work 12 rows for either side, continuing the alternation of fan and double crochet stitches.
- Gradually decrease one stitch on the outer edge in every row to taper the front panels.
- Back Panel:
- Work straight across 12 rows between the armholes without any decreases.
Joining and Sewing:
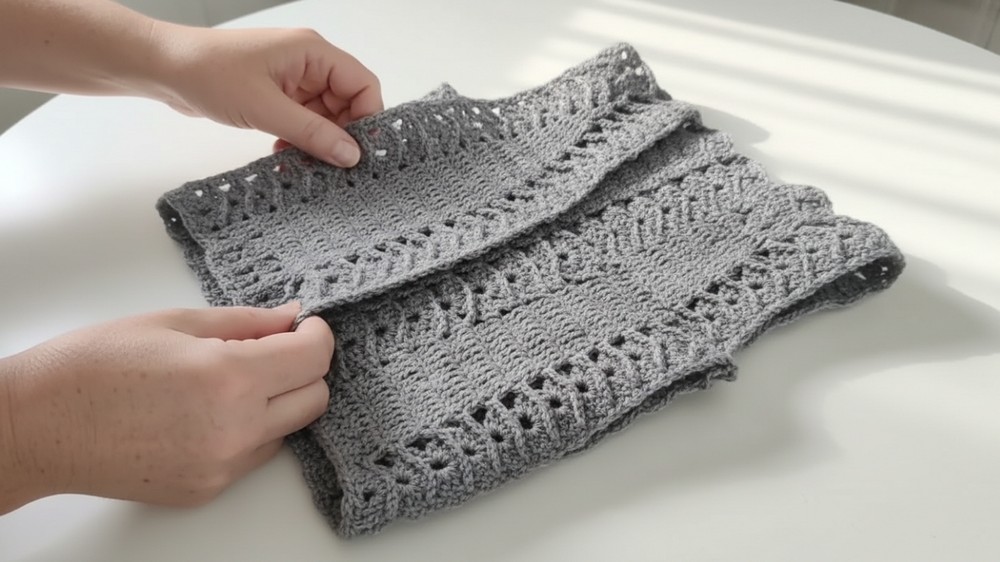
- Fold the work to align the panels. Use a tapestry needle to sew the shoulder seams tightly, ensuring clean stitches.
- Sew the edges using a running stitch, picking up one stitch on each side at a time.
Finishing Touches:
Edging and Sleeves:
- Around the armholes:
- Start with a slip knot in an armhole space.
- Make two single crochet stitches into each space.
- When you reach the corners, make 4 stitches to turn smoothly.
- Around the vest:
- Follow the same approach to crochet neatly around the edges.
Optional Cord:
- Create 70 chain stitches for each side of the vest.
- (Optional) Return to the chain with slip stitches to give the cord a thicker appearance.
- Add pom-poms or decorative ends for extra charm.
Tips and Customization Ideas
- Yarn Choice: Use vibrant colors for a bold piece or pastel shades for a delicate look.
- Size Adjustments: Add or decrease rows to make the vest larger or smaller.
- Cord Styling: Replace crochet cords with ribbons for a luxurious touch.
- Gift Idea: Personalize the vest by embroidering a baby's name or initials.
Final Look
The vest showcases an elegant alternation of textured fan stitches with blocks of double crochet stitches, forming a stunning geometric pattern. The finished piece is soft, warm, and stylish, perfect for gifting, selling, or donating.
Conclusion and Important Remarks
This baby crochet vest pattern reflects simplicity and elegance, making it suitable for all skill levels. Always count stitches precisely to ensure symmetry and a polished outcome. Whether you're creating it as a loving gesture or a practical project, this vest guarantees satisfaction.