Revamp every winter wardrobe with free crochet sweater pattern because it provides thick comfort and luxury while giving snug warmth for all.
Cold winds never feel good when they bite at your skin during a chilly day outside. A heavy layer of protection covers your torso and arms to trap heat and keep you feeling tucked in all day long. A crochet sweater pattern helps you build a sturdy piece of clothing that looks very smart and keeps you comfortable in any weather. It works well for a long walk through a windy field or a quiet sit inside a peaceful house.
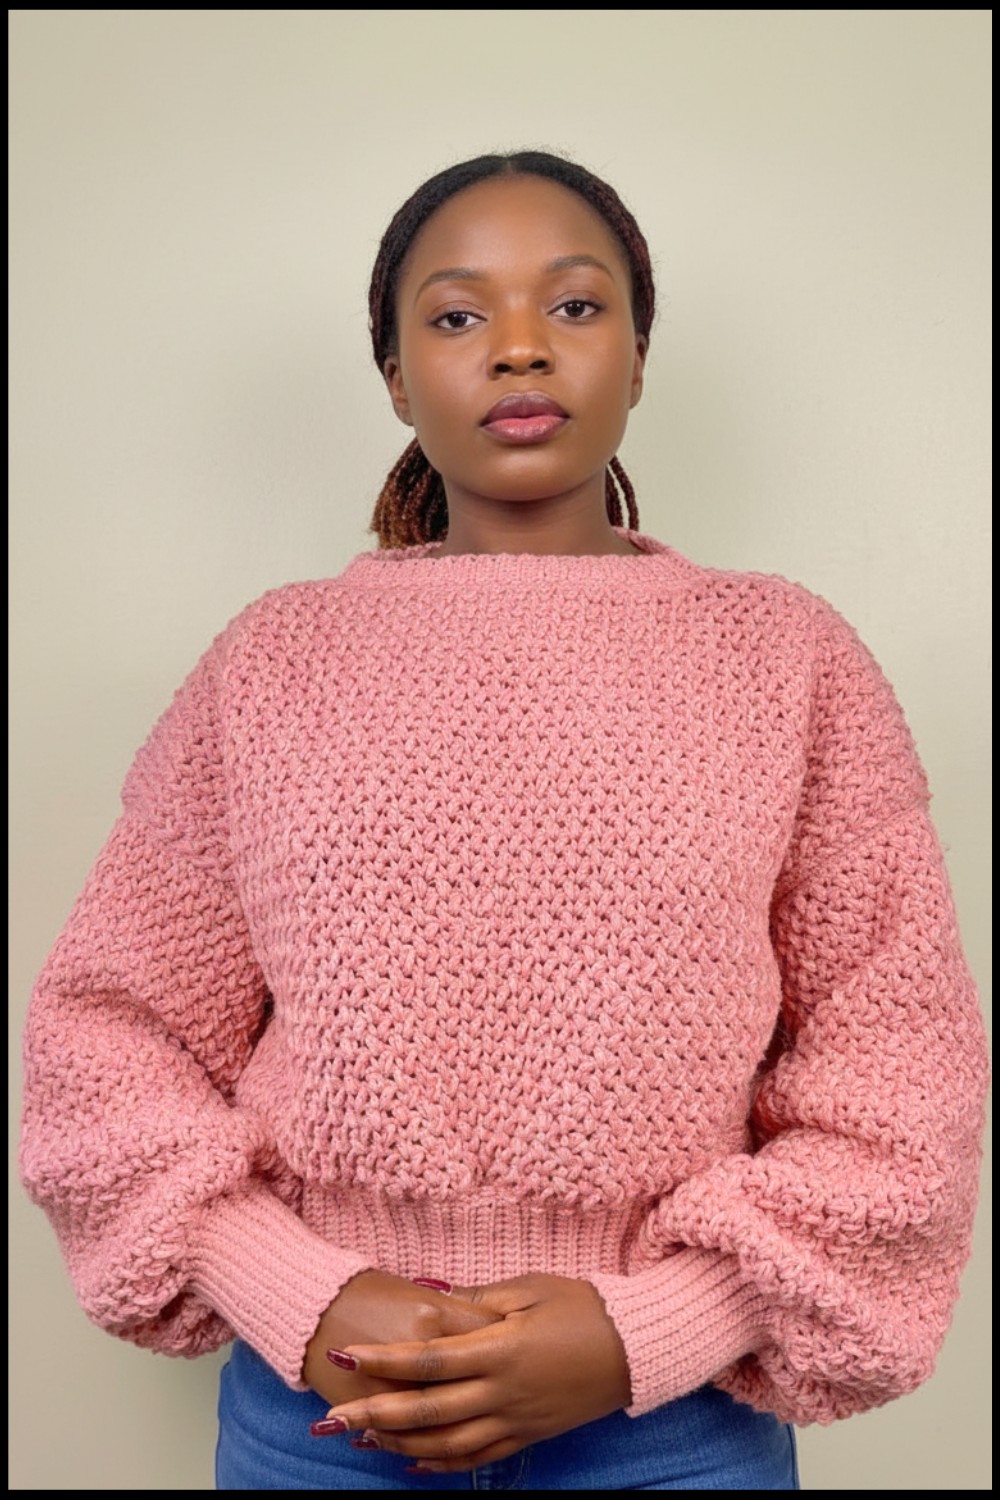
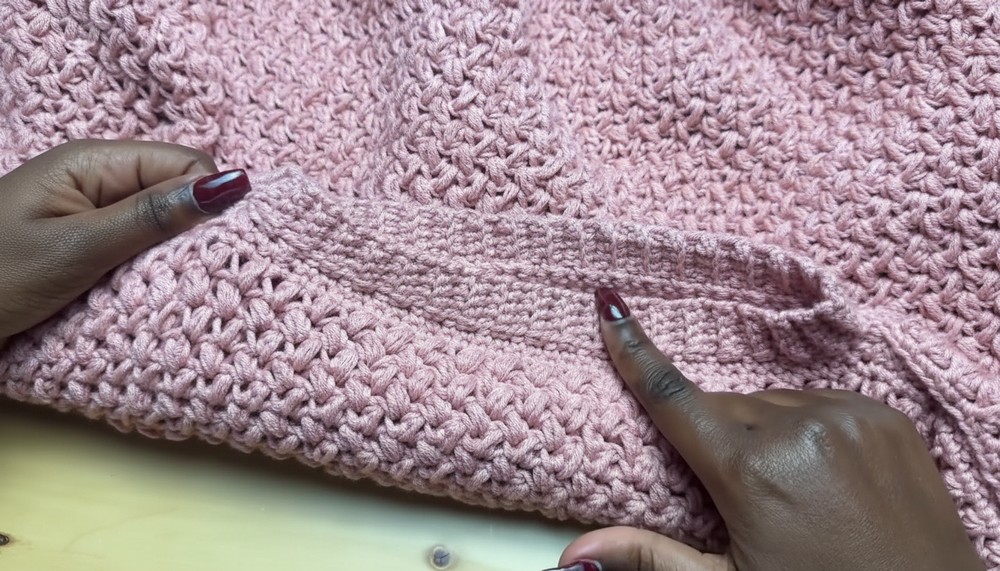
Free Crochet Sweater Pattern: One-Row Repeat Design
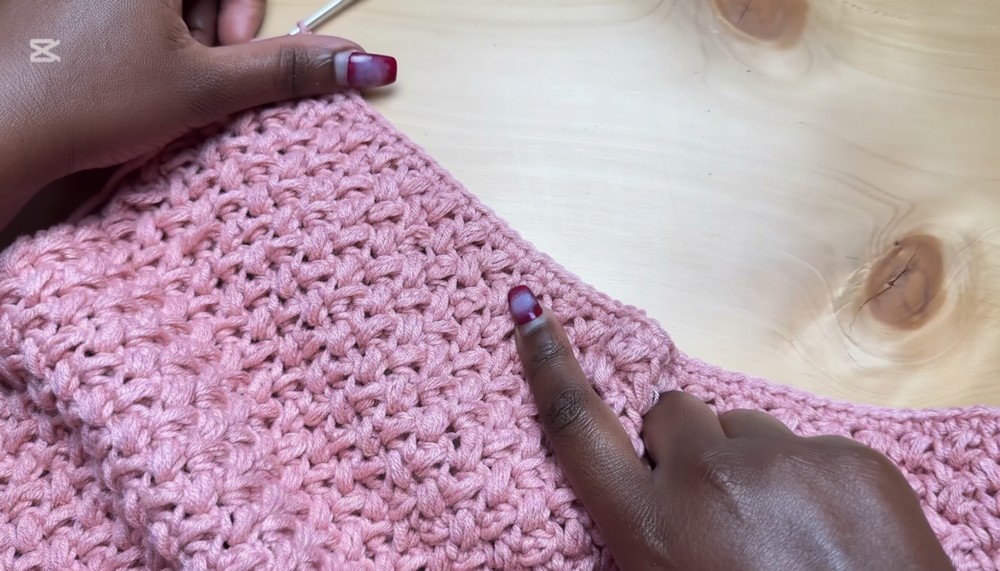
The neat rows of stitches make the fabric look like a field of tiny hills resting under a clear sky. This special item is great because it fits your shape perfectly and feels very light while still being very warm. A helpful feature is that the strong weave stays in place even after you wash it many times in cool water. This single top can change a plain outfit into something very grand and beautiful. It stays tough for many years and keeps you feeling happy and very neat.
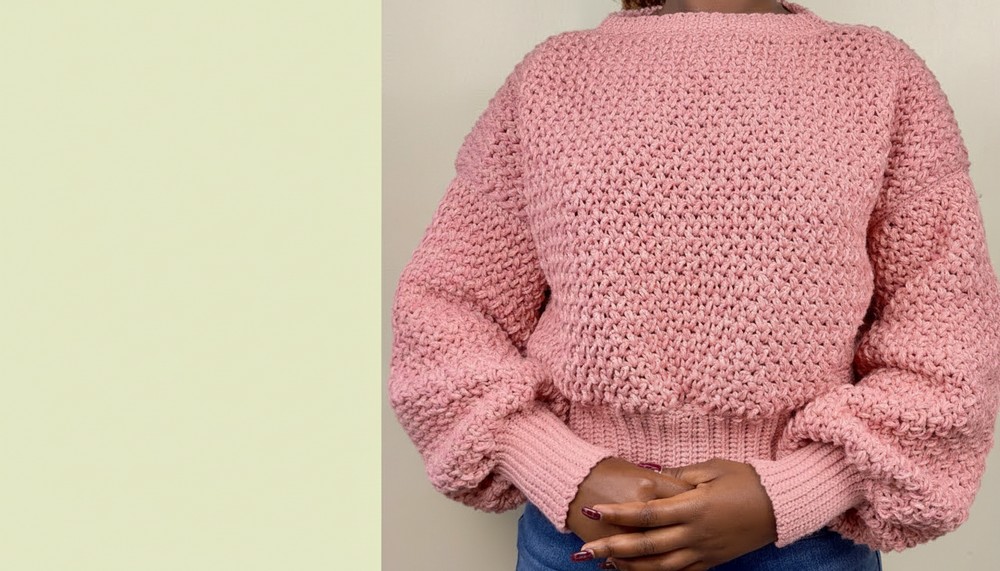
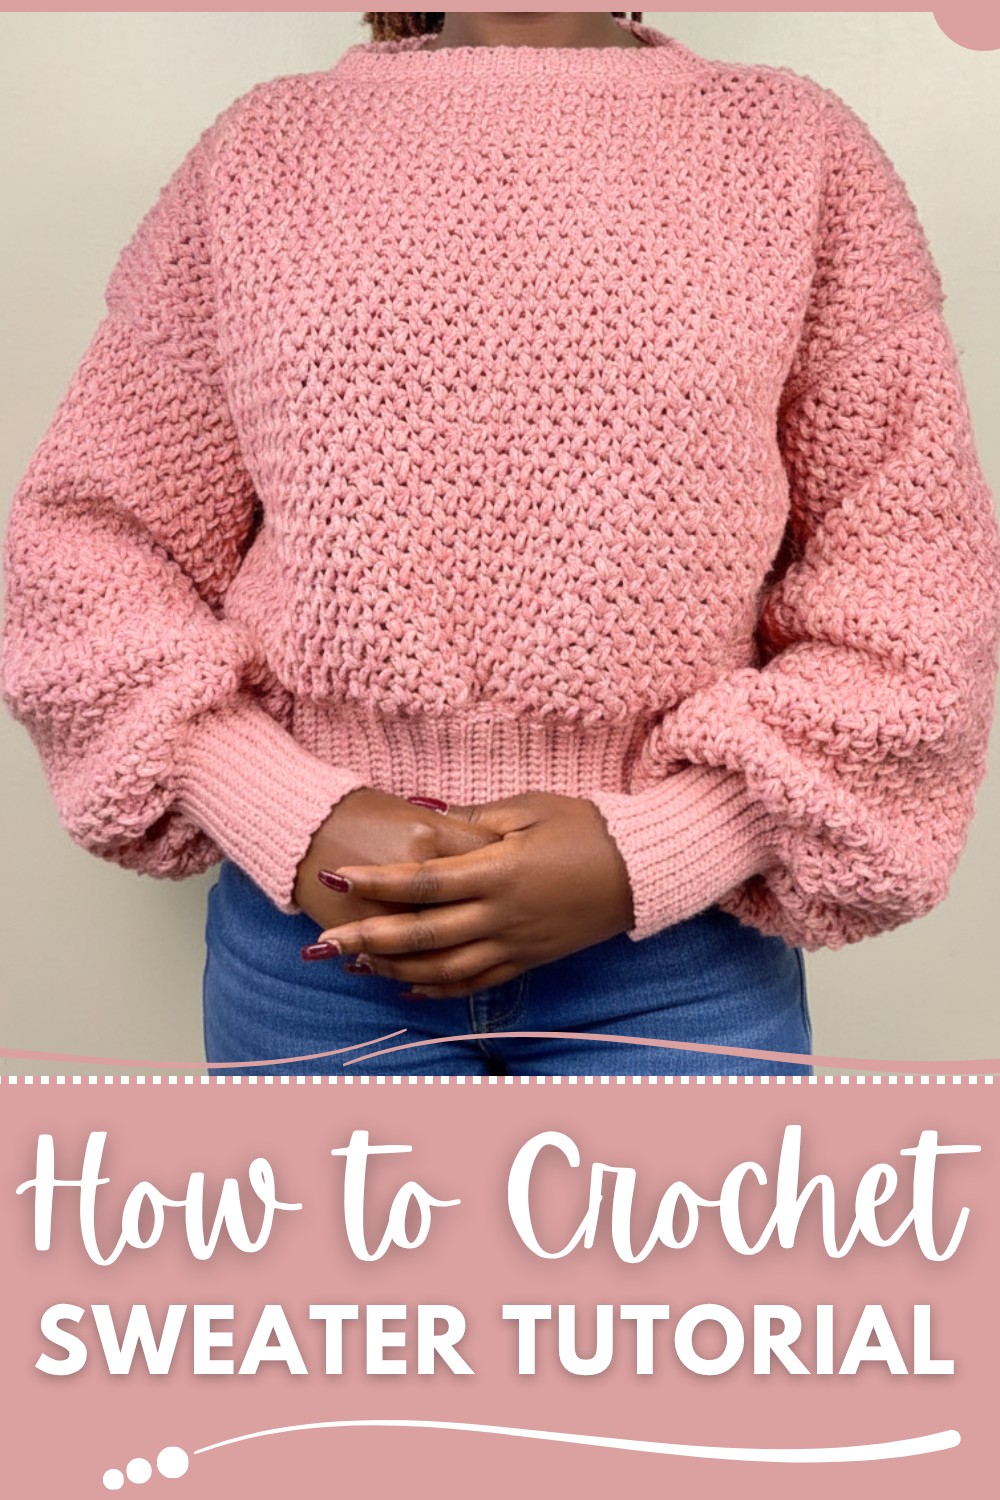
Cropped Sweater – Step-by-Step Crochet Pattern
Materials
- Worsted weight yarn (e.g. Red Heart Super Saver, 400 m/200 g per skein): approx. 5 skeins
- 3 mm crochet hook
- Stitch markers
- Scissors
- Tape measure
- Yarn needle (for weaving in ends, optional)
Abbreviations
| Abbreviation | Meaning |
|---|---|
| ch | chain |
| st(s) | stitch(es) |
| sc | single crochet |
| sl st | slip stitch |
| YO | yarn over |
| rep | repeat |
| RS | right side |
| WS | wrong side |
| sp | space |
Special Stitch
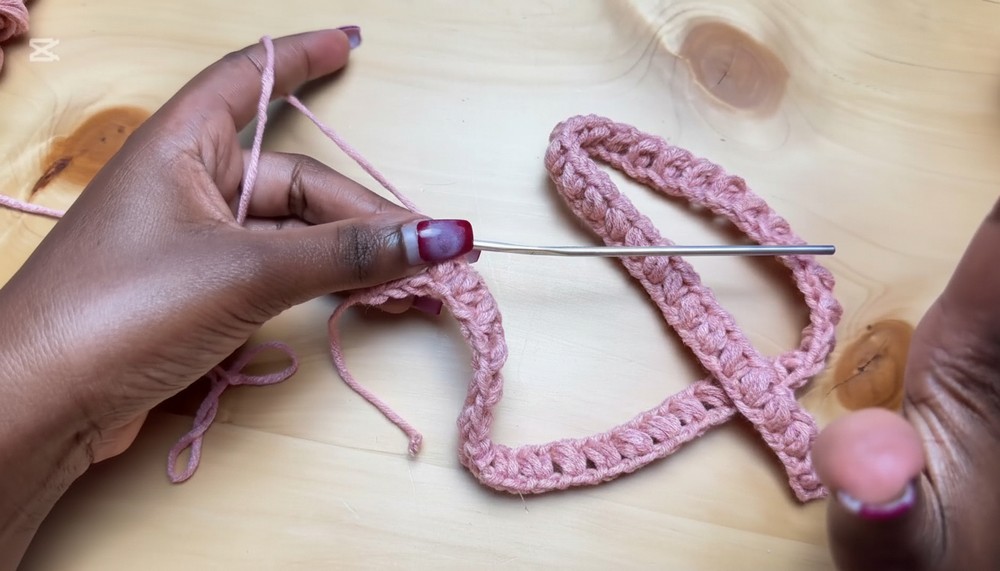
Elizabeth Stitch:
Insert hook into indicated space, YO, pull up a loop (2 loops on hook), YO, insert hook into same space, YO, pull up a loop (4 loops on hook), YO, pull through all 4 loops.
Notes
- Sweater is worked in panels from the bottom up, seamed at shoulders and sides. Sleeves and neckline are worked flat then attached.
- Adjust length/width by adding or removing chains or rows.
- Ch 3 at the beginning of a row counts as the first st where specified.
- Always check gauge for size accuracy.
Pattern
1. Back and Front Panels (Make 2)
Foundation Row:
Ch 92.
Your starting chain should measure approx. 21 in (53.5 cm).
Row 1:
Ch 3 (counts as first st).
Elizabeth Stitch in 4th ch from hook:
- Insert hook, YO, pull through, YO, insert into same ch, YO, pull through—4 loops on hook, YO, pull through all 4 loops.
- Ch 1, skip 1 ch, Elizabeth Stitch in next ch.
- Rep from * to last 2 sts.
- [You may have an extra ch due to the turning ch; skip or unravel as needed to finish the row neatly.]
Row 2:
Ch 3, turn. Elizabeth Stitch in each ch-1 sp across:
- Ch 1, skip to next ch-1 sp, Elizabeth Stitch in next sp.
Continue across.
Repeat Row 2 until you have 43 rows total.
Each panel should measure about 13.5 in (34.5 cm) in height.
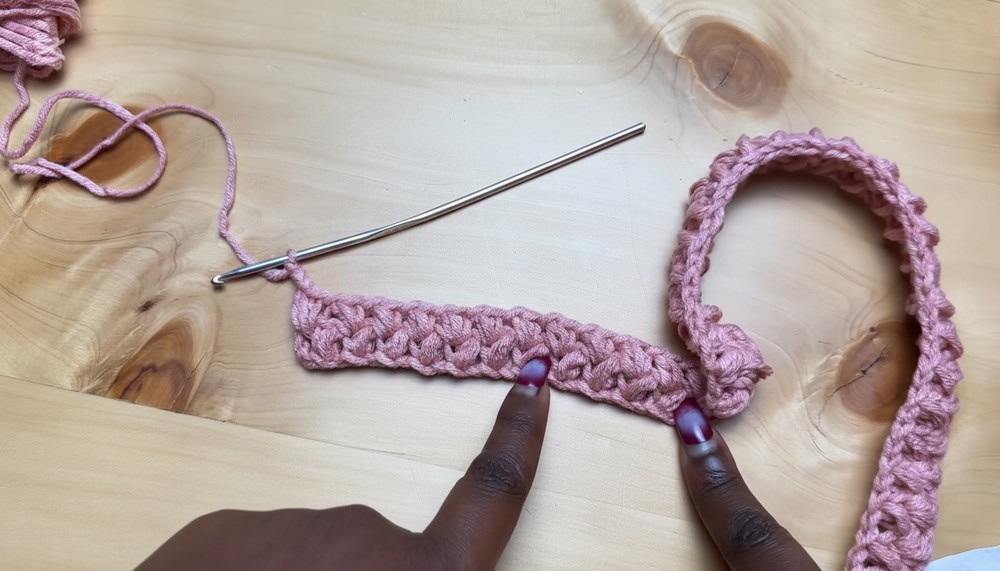
2. Finishing Panel Edge
- Ch 1, turn.
- Sc in each st across for 1 row. Fasten off, leaving a long tail for seaming.
Repeat for second panel.
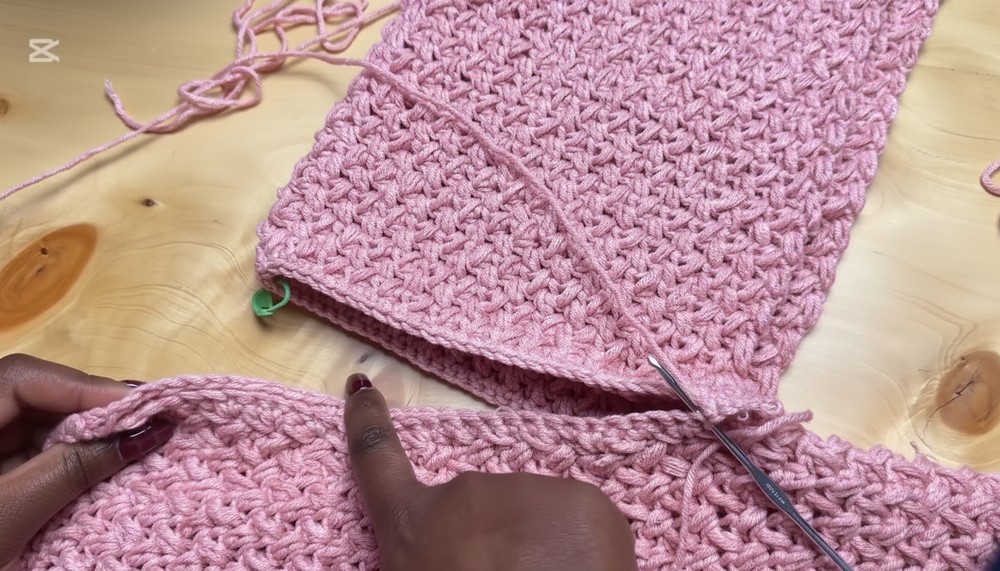
3. Join Shoulders
- With WS together, count 28 sts from each outside edge towards the center and mark with stitch markers (shoulder seams).
- Seam from each edge to the stitch marker using sc (or sl st).
- Secure and fasten off.
4. Join Side Seams
- From the bottom edge, count 11 rows upwards from the hem, place stitch markers (armhole opening).
- Join sides with sc or sl st from hem to marker.
- Repeat for other side.
5. Sleeves (Make 2)
Foundation:
Ch 64 (approx. 14 in/35.5 cm length).
Row 1:
Elizabeth Stitch in 4th ch from hook, ch 1, skip 1 ch, Elizabeth Stitch in next ch across, until 2 chs remain.
Row 2:
Ch 3, turn. Elizabeth Stitch in ch-1 sp across.
Repeat Row 2 until you have 45 rows (14 in/35.5 cm width).
Finish Edge:
- Ch 1, turn.
- Sc in each st across for 1 row.
Make second sleeve.
6. Prepare Body for Sleeve Attachment
- On each armhole opening, count 32 rows remaining (i.e., 43 total rows minus 11 joined at underarm).
- With WS facing, attach yarn and sc evenly across open sleeve edge (32 sts on front, 32 on back, plus 1 st at shoulder for total of 65 [if you have one extra st, distribute evenly]).
7. Join Sleeve to Body
- With WS facing, align center of sleeve (32nd st) at shoulder seam.
- Sc evenly to join sleeve edge to armhole opening, aligning stitches and seams.
- Continue to seam underarm edge (45 rows), using sc.

Repeat for second sleeve.
8. Sleeve Cuff with Curve (on RS)
- After joining: sc evenly around sleeve opening (63–64 sts).
- At sleeve center, ch 24 for the curved cuff extension.
- Working back down ch, sl st in back bump of each ch to base.
- Skip 1 sleeve st, sl st in next 2 sts, turn, sl st in back loops of cuff until base.
- Rep until 3 sleeve sts remain; join ends with sl st.
9. Bottom Ribbing
- With RS facing, attach yarn and sc evenly around bottom edge.
- Ch 18.
- In second ch from hook, sc in each ch back to base. Sl st to next 2 body sc, turn.
- Skip the 2 sl sts, work back lp sc up to end of ribbing, ch 1, turn, back lp sc down to base, sl st to next 2 body sc.
- Continue until ribbing encircles body; seam ends together.
10. Neckline Ribbing
- With RS facing, attach yarn at any shoulder seam, sc evenly around neckline.
- At each corner/shoulder, sc2tog (decrease) for round neckline.
- When round is complete: ch 4.
- In second ch from hook, back lp sc across, sl st to next 2 neckline sc, turn.
- Skip the 2 sl sts, back lp sc up strip, ch 1, turn, back lp sc down. Sl st to next 2 neckline sc.
- Rep until neckline is fully ribbed. Sl st ends together, fasten off.
Conclusion
Your cropped sweater is complete! It features a modern Elizabeth stitch fabric, comfortable curved sleeves, ribbed waist and neckline, and a cropped fit. Weave in all ends, block lightly if preferred, and enjoy your new handmade garment.
Pattern Correction & Tips
Correction
- Chain counts: Always use an even number for Elizabeth Stitch row counts and starting chain.
- Make sure stitch and row counts align when joining sides and sleeves for a balanced, symmetrical fit.
- If numbers differ from actual measurements or tension, adjust by adding or removing chains/rows as needed.
Tips
- Measure as you go to ensure fit.
- Join with single crochet for a sturdy, neat seam.
- To avoid puckering, distribute slip stitch/ single crochet stitches evenly when attaching ribbing or sleeves.
- Use stitch markers at key points for easier assembly.