
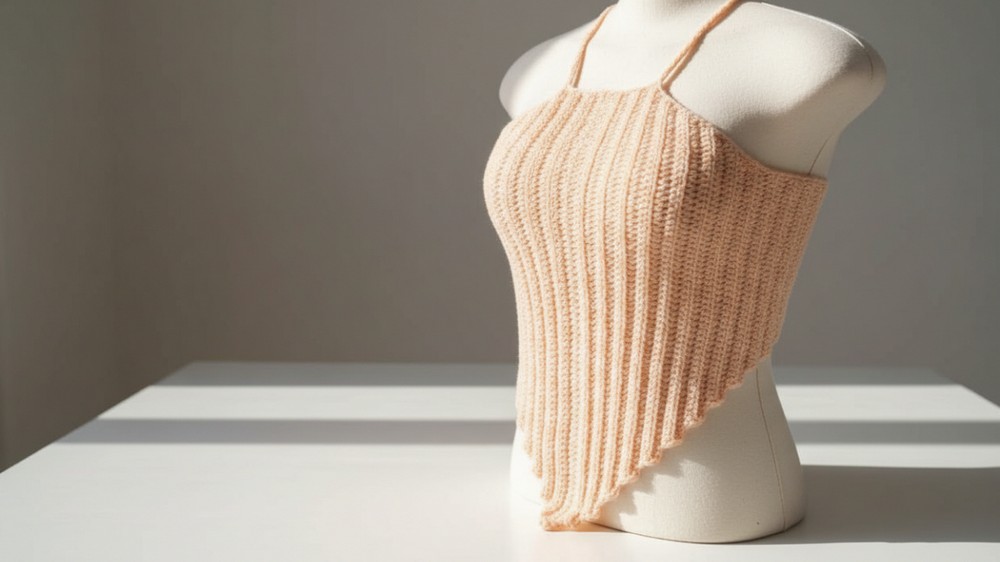
Looking for a creative way to elevate your summer wardrobe? A crochet halter top is the perfect project to combine style and functionality while showcasing your crafting skills. This trendy top is ideal for sunny beach days, lively festivals, or layering with a light jacket for chic everyday wear. You can customize the design with your favorite colors, textures, and embellishments to suit your personal style.

Pair it with denim shorts for a casual look or a flowy maxi skirt for a boho vibe. Lightweight, breathable, and easy to make, crocheted halter tops are not only a fun project but also a practical addition to your wardrobe that’s sure to turn heads wherever you go.
Crochet Halter Top Pattern for Boho Vibes
Materials
- Yarn:
- Lightweight yarn or acrylic yarn, such as Butterfly lightweight, doubled for thickness.
- Use any color based on preference—solid, striped, or multicolored.
- Hook: 4mm crochet hook.
- Notions:
- Darning needle (for weaving in ends).
- Scissors.
- Measuring tape.
Crochet Lace-Up Crop Top Pattern
This guide details the process of creating a beginner-friendly crochet lace-up crop top with straps. The design is sized for a petite upper body and is fully adjustable with lace.
Finished Size:
- Bust Measurement: Approximately 33 inches (with adjustments possible).
- Length: Customized during creation.
Pattern Variation (Size Adjustments)
- To Adjust Width: Add or subtract chains in the starting foundation chain (e.g., increase or decrease the initial chain count of 80).
- To Adjust Length: Add or subtract rows according to your preference.
Abbreviations (US Terminology)
- ch = Chain
- hdc = Half Double Crochet
- sc = Single Crochet
- sl st = Slip Stitch
- st = Stitch
- BLO = Back Loop Only
- rep = Repeat
Special Notes
- Back Loop Pattern: The crop top texture is achieved by working in Back Loop Only (BLO) for most rows. Ensure you consistently work on the BLO for the textured ribbed effect.
- Adjustable Fit: Lace-up creates adjustability for different bust sizes.
Pattern Instructions
Part 1: First Panel
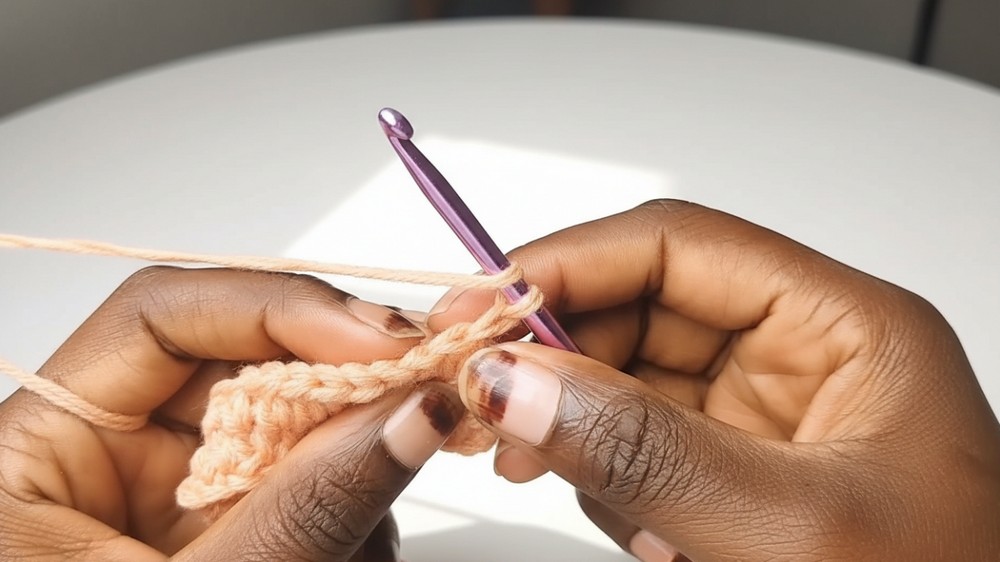
Step 1: Foundation Chain
- Begin by making a slip knot.
- Chain 80 (or adjust the chain length based on your bust size and fit).
- This chain length represents the width of half the crop top.
- Row 1: Yarn over, insert hook into the 2nd ch from the hook, and work 1 hdc.
- Continue working hdc across each chain.
- At the end of Row 1, you should have 79 hdc.

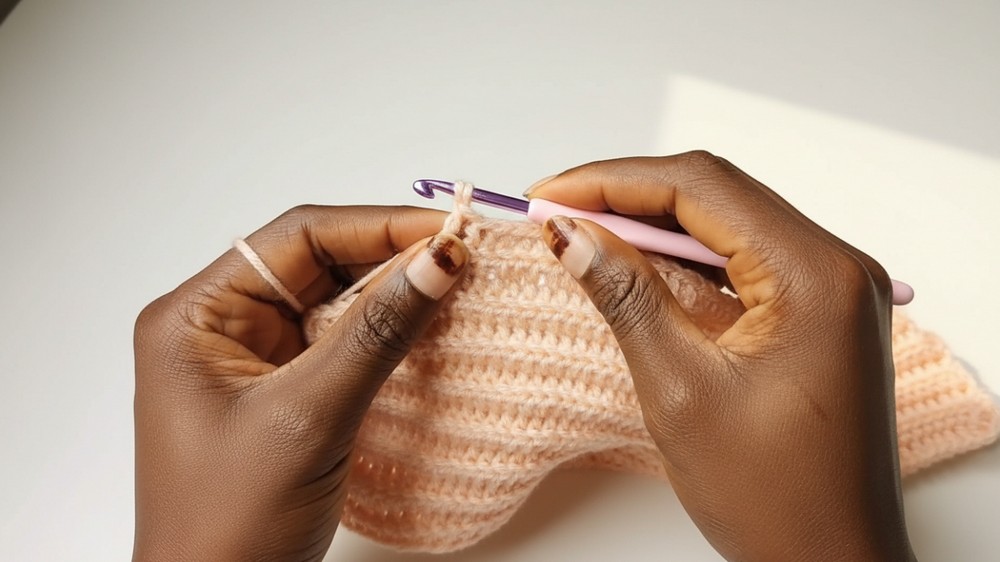
Step 2: Start Ribbed Rows
- Row 2:
- Chain 1, turn your work, and work hdc into the BLO of each stitch across. Leave the last 3 stitches unworked.
- Total for Row 2 = 76 hdc.
- Row 3:
- Chain 1, turn your work, and work hdc into the BLO across each stitch (working the full row).
- Row 4:
- Chain 1, turn your work, and once again leave the last 3 stitches unworked at the row's end.
- Repeat Rows 2–4 until you have 5 rows, alternating between working the full width and leaving the last 3 stitches unworked.
Step 3: Decrease Side
- Row 6 Onwards:
- Start working 1 decrease at the beginning (by stitching together the first two hdc stitches in BLO).
- Continue with regular hdc in BLO stitches across, leaving the final 3 sts unworked on one side.
- Continue this decrease pattern on one side of the panel until you complete Row 17.
Step 4: Maintaining Length Without Decrease
- After completing Row 17, stop decreasing.
- Work regular BLO hdc rows without decreasing for the remaining rows, stopping at the desired crop top length.
- Example: Work until the full height measures 12.5 inches.
- At the end of the last row, fasten off and weave in the ends.
Part 2: Second Panel
Step 1: Start the Second Panel
- Follow the same instructions as the First Panel, starting with a chain of 80 and working up to 31 rows.
- Repeat the same pattern of decreases, BLO hdc, and regular rows for the second side.
- Maintain symmetry by matching all dimensions and row counts to the first panel.

Part 3: Decorative Lace Holes
Step 1: Final Lace-Up Row (Both Panels)
- On the final row of both panels, create holes for the lace:
- Work 1 sc in the first st, then ch 2, skip 2 sts, and work 1 sc.
- Repeat this sequence across the row, ending with a single sc in the last stitch.
- This creates evenly spaced holes or loops for the lace straps.

Part 4: Lace Straps
Step 1: Creating the Straps
- Cut two strands of yarn, and attach them to specific points for lacing:
- Insert the crochet hook into the 5th row from the center point on one panel, and pull up a loop.
- Chain 150 for a long lace.
- Repeat for the second strap on the opposite side.
Step 2: Lacing
- Thread the straps through the lace holes created in the previous step, crossing them back and forth evenly.
- Tie at the top for a secure, adjustable fit.

Tips for Success
- Fit As You Work: Use a measuring tape to regularly confirm dimensions, ensuring a snug, adjustable fit.
- Consistent Tension: Keep tension even to avoid wavy edges on the panels.
- Customize Size: Adjust the foundation chain length and number of rows for the perfect size.
- Burn Strap Ends: Burn or seal the edges of yarn straps (if not crocheted) to prevent fraying over time.
Pattern Variations
- Colors:
- Use striped or two-tone yarn for a bold look.
- Create ombré effects by gradually switching yarn colors.
- Size Adjustments:
- Bust Size: Add or reduce chains in multiples of 2 to alter the width of each panel.
- Length: Add more rows to make the crop top longer or remove rows to make it more cropped.
- Ribbon Straps: Instead of crocheted straps, use colorful ribbons for a decorative and polished appearance.
Conclusion
Congratulations—your crochet lace-up crop top is complete! This top is a versatile and stylish addition to any wardrobe, perfect for layering or wearing on warm days. The lace-up detail on the sides offers adjustability and ensures a snug fit, while the ribbed BLO effect adds a textured dimension.
Remarks on the Final Look
- The back loop ribbing gives the top a modern, elegant structure while still being lightweight and breathable.
- The lace-up closure is functional and visually pleasing, adding a trendy element to this wearable piece.


